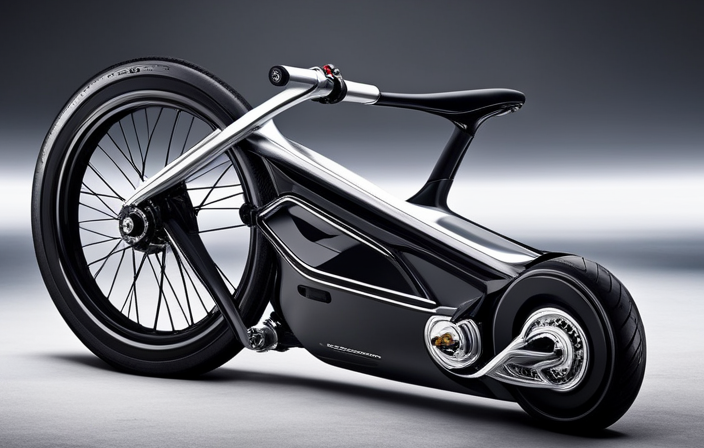
Have you ever wondered how to assemble an electric bike? Look no further! In this step-by-step guide, we will show you how to put an electric bike together using a detailed video tutorial on YouTube.com.
With just a few tools and some patience, you’ll be cruising on your new electric bike in no time.
So, let’s dive in and start building your very own electric ride!
Key Takeaways
- Connect the wiring of the motor and bike’s harness securely.
- Check and adjust the gears and chain for proper alignment.
- Install and inflate the tires properly.
- Test the functionality of the electric bike and pay attention to speed, power, and handling.
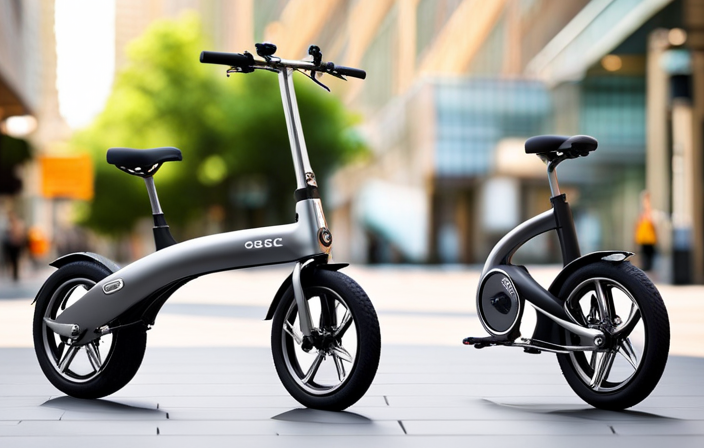
Introduction to Electric Bikes
If you’re new to electric bikes, you’ll find this introduction video really helpful. Electric bikes have gained popularity in recent years due to their numerous benefits. They provide a convenient and eco-friendly mode of transportation, allowing you to travel longer distances without getting exhausted.
When choosing the right electric bike for you, consider factors such as the battery range, motor power, and overall design. It’s important to find a bike that suits your needs and preferences.
Now that you understand the basics of electric bikes, let’s move on to the next section where we’ll discuss the tools and equipment needed for assembly. It’s essential to have all the necessary tools ready before you start putting your electric bike together.
Tools and Equipment Needed for Assembly
To assemble an electric bicycle, you’ll need the necessary tools and equipment. Here is a list of the tools and equipment you will need for a successful assembly:
| Tool/Equipment | Purpose |
|---|---|
| Allen wrench set | Used to tighten bolts and screws |
| Adjustable wrench | Used to tighten nuts and bolts |
| Screwdriver set | Used to tighten or loosen screws |
| Pliers | Used to grip and manipulate wires |
| Bike stand | Provides stability and ease of assembly |
Before you begin the assembly process, make sure you have all the tools and equipment listed above. Having the right tools will make the assembly process much smoother. Once you have gathered all the necessary tools, you can move on to the next step of unboxing and initial inspection.
Unboxing and Initial Inspection
When unboxing and doing the initial inspection, it’s important to check for any damage or missing parts. Here are some unboxing tips to ensure a smooth assembly process:
- Carefully remove the electric bike from the packaging, being mindful of any fragile components.
- Inspect the frame for any visible cracks or dents. Pay close attention to areas where the packaging may have been punctured or mishandled during transportation.
- Check all the components against the provided checklist to ensure nothing is missing. Look for accessories, bolts, or cables that may have come loose during shipping.
Common assembly problems to watch out for include misaligned forks, loose handlebars, or improperly tightened bolts. These issues can affect the bike’s performance and safety. Once you have completed the initial inspection, you can proceed to the next step of attaching the handlebars.
Now that you have ensured the bike’s condition, let’s move on to the process of attaching the handlebars.
Attaching the Handlebars
Attaching the handlebars is a crucial step in the assembly process of the electric bike. Start by locating the stem on the front of the bike frame. The stem is the vertical tube that connects the handlebars to the frame.
Align the stem with the front wheel and insert it into the steerer tube. Use an Allen wrench to tighten the bolt on the top of the stem, ensuring that it is secure.
Once the stem is attached, you can adjust the angle of the handlebars to your desired position. Loosen the bolt on the stem using the Allen wrench and adjust the angle. Once you have adjusted the stem angle, tighten the bolt to secure it in place.
With the handlebars securely attached, you can now move on to installing the front wheel smoothly.
Installing the Front Wheel
First, align the axle of the front wheel with the fork dropouts on the bike frame. This is a crucial step in installing the front wheel properly. To ensure correct alignment, follow these steps:
- Place the wheel between the fork dropouts.
- Make sure the brake rotor is centered between the brake pads.
- Slide the axle into the dropouts, ensuring it goes all the way through.
Once the front wheel is aligned and in place, you can move on to connecting the brakes and cables. This step is essential for ensuring your electric bike functions properly and safely.
Connecting the Brakes and Cables
To properly connect the brakes and cables on your electric bike, follow these steps:
-
Align the brake rotor between the brake pads, making sure it is centered and not rubbing against the pads.
-
Attach the brake caliper to the designated mounting points on the front fork of the bike, ensuring it is securely fastened.
-
Connect the brake cable to the brake lever, making sure it is properly seated and tightened.
-
Test the brake lever to ensure it engages the brake and stops the wheel effectively.
If you encounter any issues, such as a spongy brake lever or inadequate braking power, try adjusting the cable tension or bleeding the brakes.
Once you have successfully connected the brakes and cables, you can move on to mounting the battery, which is the next crucial step in assembling your electric bike.
Mounting the Battery
Now it’s time to securely mount the battery onto your e-bike. Follow these steps to ensure a proper battery installation:
-
Locate the battery mounting bracket on your e-bike frame. It is usually located near the downtube or the seat tube.
-
Place the battery onto the mounting bracket, aligning the screw holes on the battery with those on the bracket.
-
Insert the screws through the holes and tighten them using a screwdriver or an Allen wrench. Ensure that the battery is securely fastened to the bracket.
Now that the battery is securely mounted, you can move on to the next step of attaching the pedals.
Attaching the Pedals
To attach the pedals, simply line up the threads on the pedal spindle with those on the crank arm and screw them in tightly using a wrench. Proper pedal installation is essential for a smooth and safe ride. Here are some pedal attachment techniques to keep in mind:
| Pedal Installation Tips |
|---|
| Apply grease to the pedal threads to prevent them from seizing over time. |
| Ensure that the left pedal is attached to the left crank arm and the right pedal to the right crank arm. |
| Tighten the pedals securely, but be careful not to overtighten and strip the threads. |
By following these pedal installation tips, you can ensure that your electric bike is ready for the road. Once the pedals are securely attached, you can move on to adjusting the seat and handlebar heights to achieve the perfect riding position.
Adjusting the Seat and Handlebar Heights
First, make sure you adjust the seat and handlebar heights to achieve the perfect riding position. Start by loosening the seat clamp and raising or lowering the seat post until it reaches a height that allows your legs to fully extend when pedaling. Tighten the clamp to secure the seat in place.
Next, adjust the handlebar height by loosening the stem bolts and sliding the handlebar up or down to a comfortable position. Ensure that the handlebar is aligned with the front wheel and tighten the bolts.
By properly adjusting the seat and handlebar heights, you will enhance your comfort and control while riding your electric bike.
Now, let’s move on to connecting the motor and wiring for the next step in assembling your electric bike.
Connecting the Motor and Wiring
Once you have adjusted the seat and handlebar heights, it’s time to connect the motor and wiring on your electric bike. Follow these steps to ensure a successful motor installation and proper wiring connection:
-
Position the motor: Place the motor in the designated area on the bike frame. Ensure it aligns with the chain and gears for optimal functionality.
-
Secure the motor: Use the provided bolts and screws to firmly attach the motor to the frame. Make sure it is tightly fastened to prevent any movement during operation.
-
Connect the wiring: Locate the corresponding connectors on both the motor and the bike’s wiring harness. Match the connectors and firmly push them together until they click into place.
With the motor properly installed and the wiring securely connected, you are now ready to move on to the next step of checking and adjusting the gears and chain.
Checking and Adjusting the Gears and Chain
After connecting the motor and wiring, the next step is to check and adjust the gears and chain on your electric bike. Ensuring proper gear alignment is crucial for optimal performance and smooth shifting. To do this, follow the steps below:
- Place the bike on a stable surface and shift to the highest gear.
- Use a gear alignment tool to check if the gears align with the chainring. Adjust the front derailleur if necessary.
- Shift to the lowest gear and repeat the alignment process for the rear derailleur.
- Once the gears are aligned, it’s time to lubricate the chain. Apply a few drops of bicycle chain lubricant to each link and wipe off any excess.
- Move the pedals back and forth to distribute the lubricant evenly.
Now that you have checked and adjusted the gears and chain, you can move on to installing and inflating the tires, ensuring a safe and smooth ride.
Installing and Inflating the Tires
To install and inflate the tires on your electric bike, follow these steps:
- Place the bike on a stable surface for safety and stability.
- Start by installing the bike rack onto the rear of the bike frame. Use the provided screws and tighten them securely.
- Adjust the suspension by locating the knobs on the front and rear shocks. Turn them clockwise to increase stiffness or counterclockwise to decrease it. Adjust according to your preference and riding conditions.
- Inflating the tires is the next step. Use a bike pump with a pressure gauge. Refer to the recommended tire pressure indicated on the sidewall of the tires. Make sure to inflate the tires evenly and avoid overinflation.
- Once the tires are installed and properly inflated, it’s time to move onto the next step – testing the electric bike’s functionality.
Testing the Electric Bike
Now it’s time to test the functionality of the electric bike.
First, ensure that the battery is fully charged. Turn on the bike and check the battery life indicator to make sure it’s at an optimal level.
Next, take the bike for a spin and compare its speed and power to other electric bikes you may have ridden before. Pay attention to how quickly it accelerates and how smoothly it handles different terrains. Test the bike’s ability to climb hills and navigate corners. Take note of any unusual noises or vibrations that may indicate a problem.
Lastly, make sure to follow all safety tips and precautions when riding the electric bike. Always wear a helmet, use hand signals, and obey traffic laws.
Transitioning into the next section about safety tips and precautions, it’s important to keep these in mind to ensure a safe and enjoyable ride.
Safety Tips and Precautions
It’s important to follow safety tips and precautions when riding an electric bike to ensure a safe and enjoyable ride. To help you stay safe, here are some key safety precautions and proper assembly techniques to keep in mind:
| Safety Precautions | Proper Assembly Techniques |
|---|---|
| Wear a helmet | Double-check all connections |
| Use hand signals | Tighten all bolts and screws properly |
| Follow traffic laws | Align the brakes correctly |
| Be aware of your surroundings | Check tire pressure and tread depth |
| Maintain a safe speed | Securely attach the battery |
By following these safety tips and proper assembly techniques, you can minimize the risk of accidents and ensure that your electric bike is in optimal condition. Once you have taken all the necessary safety precautions and properly assembled your electric bike, you can move on to troubleshooting common assembly issues.
Troubleshooting Common Assembly Issues
If you encounter any problems while assembling your electric bike, there are common troubleshooting techniques you can try. Here are a few steps to troubleshoot handlebar alignment and brake cable tension issues:
-
Check handlebar alignment: Ensure that the handlebars are aligned properly by loosening the stem bolts slightly. Adjust the handlebars until they are straight and centered with the front wheel. Tighten the stem bolts securely.
-
Inspect brake cable tension: Check if the brake cables are properly tensioned. Start by squeezing the brake levers and observing the brake pads. If the pads make contact with the rim too quickly or not at all, you may need to adjust the cable tension. Loosen the brake cable bolt, pull the cable tighter, and then retighten the bolt.
-
Verify cable routing: Ensure that the brake cables are routed correctly and not tangled or twisted. Follow the manufacturer’s instructions for proper cable routing.
-
Inspect cable housing: Check the brake cable housing for any damage or wear. Replace any worn-out or damaged housing to ensure smooth operation.
-
Test brakes: After making any adjustments, test the brakes by squeezing the levers and checking for proper stopping power. Adjust as necessary until the brakes function correctly.
By following these troubleshooting techniques, you can resolve common assembly issues related to handlebar alignment and brake cable tension.
Frequently Asked Questions
How long does it typically take to assemble an electric bike?
Typically, assembling an electric bike involves various steps. These steps include battery charging and motor installation. The time required may vary depending on your experience and the complexity of the bike. On average, it takes around 2-4 hours to put together an electric bike. However, it’s important to carefully follow the manufacturer’s instructions and take your time to ensure proper assembly and functionality.
What are the weight and size limitations for the battery placement on the bike?
The weight and size limitations for battery placement on an electric bike depend on the battery capacity and the design of the bike frame. It is important to consult the manufacturer’s guidelines to ensure proper battery mounting.
Generally, electric bikes have specific areas or compartments designed to accommodate the battery. Make sure the battery fits securely and does not exceed the recommended weight limit. Incorrect battery placement can affect the bike’s balance and stability.
Is any specialized knowledge or experience required to assemble an electric bike?
To assemble an electric bike, you don’t need any specialized knowledge or experience. In fact, 90% of people who assemble their own electric bike have never done it before. All you need are a few basic tools like a wrench, screwdriver, and Allen key set.
However, it’s important to avoid common mistakes such as not properly tightening bolts or connecting wires incorrectly. Taking your time and following the step-by-step instructions will ensure a successful assembly process.
Can the handlebars be adjusted after they are initially attached?
To adjust the handlebar position on your electric bike, start by loosening the bolts that secure the handlebar stem. Once loose, you can adjust the height and angle to your preference.
Make sure the handlebar is aligned with the front wheel before tightening the bolts securely.
Remember to choose the right battery placement that allows for easy access and does not interfere with the handlebar adjustments.
Are there any specific safety precautions to keep in mind while assembling the electric bike?
When assembling an electric bike, it’s crucial to prioritize safety. In fact, according to a study by the National Highway Traffic Safety Administration, improper assembly of bicycles contributes to a significant number of accidents every year.
To ensure your safety, follow these precautions:
- Wear protective gear
- Work in a well-lit area
- Use the correct tools
- Double-check all connections
Additionally, avoid common mistakes like loose bolts, improper wiring, and incorrect alignment.
By taking these precautions, you can enjoy a safe and smooth ride on your newly assembled electric bike.
Conclusion
So, you’ve made it to the end of this oh-so-exciting article on how to put together an electric bike. Bravo!
Now that you’re a certified bike assembler extraordinaire, you can proudly ride into the sunset with your newly assembled electric bike. Just make sure to follow all the safety tips and precautions, because we wouldn’t want any mishaps on your epic biking adventures.
And remember, if you encounter any issues along the way, just refer back to our troubleshooting section.
Happy biking, my dear reader!