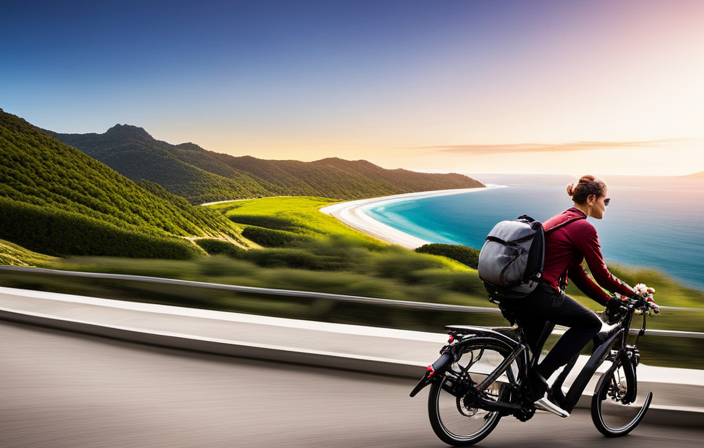
I’ve always loved the freedom and convenience of riding my bike, but sometimes I wish I had a little extra power to tackle those long and hilly rides. That’s why I decided to explore the world of electric motors for bikes.
In this article, I’ll share with you the step-by-step process of how to put an electric motor on your bike. From researching different types of motors to connecting and testing the wiring, I’ll guide you through every detail to ensure a successful installation.
So, let’s get started and transform your bike into a motorized marvel.
Key Takeaways
- Ensure proper wiring connections and test them for continuity and voltage levels
- Align and securely mount the motor to the bike frame to minimize vibration
- Adjust the speed and torque settings of the motor for desired power output
- Prioritize safety precautions such as wearing protective gear and regularly checking the bike’s condition.

TOBWOLF 1 Pair MTB Disc Brake Set, Hydraulic Disc Brake Kit with 160mm Rotors, Left Front 81cm & Right Rear 147cm, Aluminum Oil Pressure Calipers Levers for Mountain Bike E-Bike Fat Bike Road Bike
【Important NOTE】-- This set works on the principle of Left Front and Right Rear, which means the left...
As an affiliate, we earn on qualifying purchases.
Determine Your Needs and Budget
First, you’ll need to determine your needs and budget before putting an electric motor on your bike.
Determining your requirements is crucial because it will help you choose the right motor that meets your specific needs. Factors to consider include the type of terrain you’ll be riding on, the distance you plan to travel, and the weight of your bike and yourself.
Evaluating costs is equally important as it will help you stay within your budget. Take into account the cost of the motor, battery, charger, and any additional accessories or installation fees.
Once you have determined your needs and budget, you can then proceed to research different types of electric motors, comparing their features, performance, and compatibility with your bike.
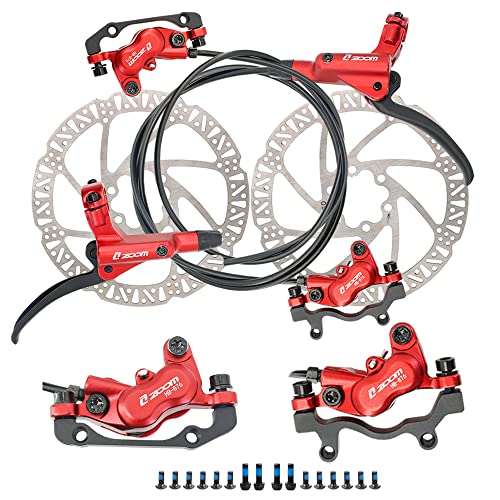
JFOYH zoom HB876 4-Piston Pre-Bled Hydraulic Disc Brake Set for Mountain Bike, Bike Disc Brake Kit with 160mm Rotors, Front and Rear Levers(PM Adapter Included) - Left-Front&Right-Rear
Experience Powerful Braking: Our 4-piston dual-way brake system provides exceptional braking force, allowing you to stop on a...
As an affiliate, we earn on qualifying purchases.
Research Different Types of Electric Motors
Before we delve into the various electric motor options, it’s important to understand their features and capabilities. When researching different types of electric motors, there are several key factors to consider in order to make an informed decision.
Here is a comparison of the advantages of different electric motor options:
-
Direct Drive Motors: These motors offer simplicity and durability, as they have fewer moving parts and no gears. They provide a smooth and quiet ride.
-
Geared Motors: Geared motors are known for their efficiency and torque. They are ideal for hilly terrains and offer a great balance between power and range.
-
Mid-drive Motors: These motors are placed near the bike’s center of gravity, providing a more natural riding experience. They offer excellent torque and are suitable for off-road adventures.
-
Hub Motors: Hub motors are easy to install and maintain. They offer a high level of reliability and are suitable for both front and rear wheel applications.
-
Friction Drive Motors: These motors are lightweight and compact. They offer simplicity and can be easily installed on most bikes.
Understanding the advantages of each type of electric motor will help you choose the right motor for your bike without getting overwhelmed by the options available.

4-Pistons E-Bike Hydraulic Disc Brake Set, 2-PIN Electric Power-Off Hydraulic Brakes Set with 160mm Rotors, Pre-Bled with Mineral Oil Brakes Kit for eBike, MTB, Electric Scooters
【4-Piston Powerful Braking】2026 Upgrade Hydraulic Disc Brake Set Features with a 4-piston pistons, which makes the dual-side breaking...
As an affiliate, we earn on qualifying purchases.
Choose the Right Motor for Your Bike
When selecting the ideal motor for your bicycle, it’s crucial to consider factors such as power, range, and riding experience. Not all electric motors are created equal, and finding the right one for your bike requires careful consideration. To help you make an informed decision, here is a comparison table of different electric motors commonly used for bicycle conversions:
| Motor Type | Power (Watts) | Range (Miles) |
|---|---|---|
| Hub Motor | 500 | 20 |
| Mid-Drive Motor | 750 | 30 |
| Crank Motor | 1000 | 40 |
| Front Wheel | 250 | 15 |
| Rear Wheel | 500 | 25 |
As you can see, the power and range of each motor type vary. Consider your specific needs and preferences when choosing a motor. Once you have selected the right motor for your bike, the next step is to gather the necessary tools and equipment. This will ensure a smooth and successful electric motor conversion process.

Hycline Zoom Hydraulic Disc Brake Calipers: HB-100 MTB Bike Brake Caliper Front + Rear Set for Mountain, Road Bicycle and E-Bike (Red)
Braking System: Cable-actuated hydraulic disc brake.
As an affiliate, we earn on qualifying purchases.
Gather the Necessary Tools and Equipment
Once you’ve chosen the ideal motor for your bicycle conversion, it’s time to gather all the necessary tools and equipment. To ensure a smooth installation process, you will need the following tools:
- Wrench set: This will allow you to loosen and tighten the bolts and nuts during the installation.
- Screwdriver set: Different types and sizes of screwdrivers will be required for various components of the motor.
- Allen key set: These hexagonal-shaped keys are essential for adjusting and securing parts of the motor.
- Wire cutter/stripper: This tool is necessary for handling the electrical wiring during the installation.
- Multimeter: This device will help you test the electrical connections and ensure everything is properly connected.
In addition to the tools, you will also require the following equipment:
- Mounting brackets: These brackets will securely attach the motor to your bicycle frame.
- Battery pack: This will provide the power needed to run the electric motor.
- Controller: The controller regulates the power output and allows you to control the speed and acceleration.
With all these tools and equipment in hand, you are now ready to prepare your bike for installation by making necessary adjustments and modifications.
Prepare Your Bike for Installation
Now that you have all the necessary tools and equipment, it’s time to get your bicycle ready for installation. Before you can modify and customize your bike, you need to ensure that it is in the right condition to handle the electric motor and battery. Here is a step-by-step guide to preparing your bike for the installation process:
| Task | Description | Tools Required |
|---|---|---|
| Check bike frame | Inspect the frame for any cracks or damages. | Visual inspection |
| Secure loose parts | Tighten any loose bolts, nuts, or screws on the bike. | Wrench |
| Lubricate chain and gears | Apply bicycle chain oil to ensure smooth movement. | Chain lubricant |
| Adjust brakes and gears | Fine-tune the brakes and gears for optimal performance. | Allen wrench |
Install the Electric Motor and Battery
To begin the installation process, make sure you have all the necessary tools and equipment ready.
The first step in installing the electric motor is to determine the optimal battery placement on your bike. This is crucial for achieving the right balance and weight distribution. Consider the battery’s size and weight, as well as the available space on your bike frame.
Next, you need to choose the appropriate motor power options based on your needs and preferences. Factors such as terrain, desired speed, and range will influence your decision. It’s important to carefully research and compare different motor options to find the one that suits your requirements.
Once the battery placement and motor power options have been decided, you can move on to the next section and connect and test the wiring seamlessly.
Connect and Test the Wiring
Check all connections and ensure that the wiring is properly attached before proceeding with the testing phase.
Using the appropriate test equipment, such as a multimeter, carefully inspect each connection point to ensure there are no loose or damaged wires.
Troubleshoot any issues by tracing the wiring path from the motor to the battery, controller, and throttle.
Test each connection for continuity and proper voltage levels, comparing them to the manufacturer’s specifications.
If any abnormalities are detected, address them promptly by reattaching or replacing the faulty wiring.
Once all connections have been verified and resolved, proceed with the testing phase.
This will involve applying power to the motor and monitoring its performance to ensure it functions correctly.
With the wiring properly connected and tested, it is now time to adjust and fine-tune the motor for optimal performance without compromising safety.
Adjust and Fine-Tune the Motor
After ensuring that the wiring is properly connected and tested, it’s time to adjust and fine-tune the motor for optimal performance.
Motor troubleshooting is an essential step in maximizing motor performance. Start by checking the motor’s alignment with the bike frame and making any necessary adjustments. Ensure that the motor is securely mounted and there is no excessive vibration.
Next, adjust the motor’s speed and torque settings to achieve the desired level of power output. Fine-tune the motor’s controller settings to ensure smooth acceleration and deceleration. Pay attention to any unusual noises or vibrations during operation and address them promptly.
By carefully adjusting and fine-tuning the motor, you can optimize its performance and enhance your riding experience.
Now, let’s move on to the next section and ensure proper safety measures are in place.
Ensure Proper Safety Measures
Make sure you have all the necessary safety equipment in place before starting your ride. Safety precautions are crucial when it comes to operating a motorized bike.
Always wear protective gear such as a helmet, gloves, and knee pads to minimize the risk of injury.
It is also important to check the condition of your bike regularly, ensuring that the brakes, tires, and lights are all in working order.
Before each ride, make sure to adjust the seat and handlebars to a comfortable position, as this will help maintain control and reduce fatigue.
Enjoy Your Newly Motorized Bike
Riding your new motorized bike can be an exhilarating experience, giving you a sense of freedom and excitement. Not only does it allow you to travel faster and farther, but it also offers numerous benefits. By motorizing your bike, you can reduce your carbon footprint and contribute to a greener environment. Additionally, it provides a convenient and cost-effective mode of transportation, saving you money on fuel and parking. To ensure that your motorized bike continues to perform optimally, regular maintenance is essential. Here are some tips to keep in mind:
| Benefit of Motorizing Your Bike | Tips for Maintaining Your Motorized Bike |
|---|---|
| Increased speed and range | Regularly check and clean the motor |
| Reduced carbon footprint | Inspect and tighten all bolts |
| Cost-effective transportation | Monitor battery levels and charging |
| Convenient | Keep tires properly inflated |
| Fun and exciting | Lubricate the chain regularly |
Frequently Asked Questions
Are there any legal requirements or restrictions for putting an electric motor on a bike?
Yes, there are legal requirements and restrictions for putting an electric motor on a bike. These regulations ensure safety concerns are addressed, such as speed limits, power limits, and the use of appropriate safety equipment.
How long does it typically take to install an electric motor on a bike?
Installing an electric motor on a bike can vary in time, typically taking a few hours. With the necessary tools like wrenches and screwdrivers, the process involves mounting the motor, connecting wires, and securing the battery.
Can I still pedal my bike with an electric motor installed?
Yes, you can still pedal your bike with an electric motor installed. The pros of installing an electric motor on a bike include increased speed and less effort required while cycling. To choose the right electric motor, consider factors such as power, battery life, and compatibility with your bike.
How much weight does the electric motor add to the bike?
Adding an electric motor to my bike felt like strapping a small backpack on my back. The motor’s weight depends on the model and can range from 5 to 15 pounds. This additional weight slightly affects the bike’s performance, mainly on steep inclines and quick accelerations.
How far can I expect to ride on a single charge with an electric motor?
With an electric motor, the battery life determines how far you can ride on a single charge. To maximize range on an electric bike, you can adjust the pedal-assist level, maintain a consistent speed, and avoid excessive acceleration and braking.
Conclusion
In conclusion, successfully installing an electric motor on your bike requires careful planning, research, and preparation.
By determining your needs and budget, researching different motor options, and choosing the right one for your bike, you can create a truly customized and efficient ride.
With the necessary tools and equipment, proper wiring connections, and thorough motor adjustments, your bike will be transformed into a powerful and reliable mode of transportation.
So, don’t hesitate to embrace this exciting technological upgrade and enjoy the thrill of riding your newly motorized bike.