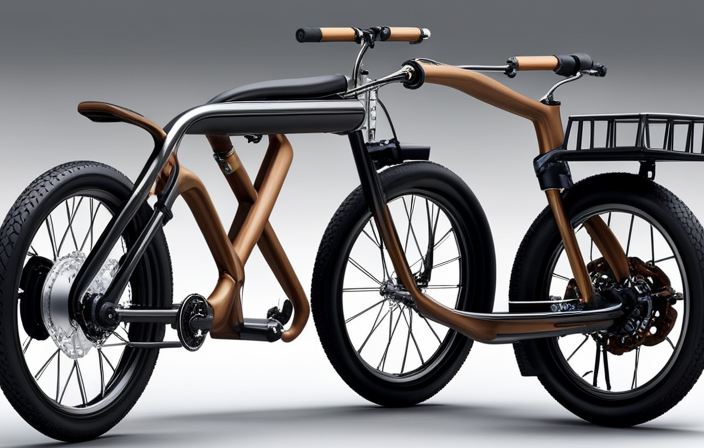

Have you ever found yourself with a flat tire on your Merax electric bike? Don’t worry, I’ve got you covered.
In this detailed, step-by-step guide, I will walk you through the process of removing the rear wheel to replace or repair the flat tire. By following these instructions, you’ll be back on the road in no time.
So let’s gather our tools and materials, prepare our workspace, and get started on this essential maintenance task.
Key Takeaways
- Place the wheel back into the dropouts of the frame securely.
- Tighten the axle nuts or quick-release lever to hold the wheel in place.
- Check alignment by spinning the wheel and observing clearance.
- Adjust wheel position if necessary by loosening the axle nuts or quick-release lever.

Under Armour Squeeze Water Bottles, 32 oz Water Bottles, Sideline Sports Water Bottle with Quick-Shot Lid, Quick & Easy Hydration, Gym Water Bottles, Squeeze Bottle, 1 32oz Bottle
- Easy Hydration: Quick-shot lid and one-way valve
- On-the-Go Use: One-hand operation for active hydration
- Measurement Markings: Ounces and milliliters for tracking
As an affiliate, we earn on qualifying purchases.
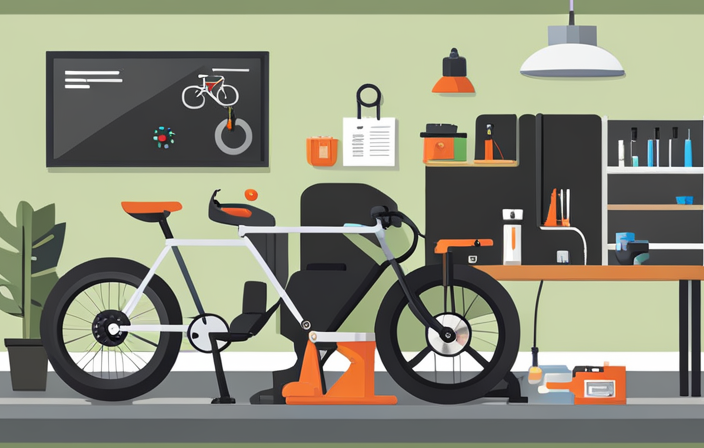
Gather the necessary tools and materials
You’ll need to gather the necessary tools and materials for removing the rear wheel of your Merax electric bike with a flat tire. To start, you’ll need a set of Allen wrenches, a pair of pliers, a small adjustable wrench, a tire lever, and a bike stand or a sturdy object to prop your bike up. These tools will help you efficiently remove the rear wheel.
First, locate the quick-release lever or axle nuts on either side of the rear wheel. Use the appropriate tool to loosen and remove them.
Next, carefully lift the bike off the ground and place it on a bike stand or a sturdy object. This will provide stability and make it easier to remove the wheel.
Incorporate these tools and materials needed, along with this step-by-step guide for removing the rear wheel, and you’ll be ready to move on to preparing your workspace for the next phase.
Prepare your workspace
First, make sure you have a suitable workspace ready. Workspace organization is important for efficient and safe work. Here are four key items to consider:
-
Clear the area: Remove any obstacles or clutter to create a spacious work environment.
-
Secure the bike: Use a bike stand or secure the bike against a wall to prevent it from tipping over during the process.
-
Lighting: Ensure sufficient lighting to clearly see the components and avoid any mishaps.
-
Ventilation: If working indoors, open windows or use a fan to maintain good ventilation and prevent the buildup of fumes.
Safety precautions are crucial when working with any bike. Now that your workspace is ready, you can proceed to the next step of releasing the brake tension.
Release the brake tension
To release the brake tension, make sure to check the brake cables and gently squeeze the brake levers.
Start by inspecting the brake cables for any signs of damage or wear. If you notice any issues, such as fraying or kinks, it may be necessary to replace the cables.
Next, gently squeeze the brake levers to determine if they are functioning properly. If the levers feel loose or do not provide enough resistance, you may need to adjust the brake tension. This can usually be done by turning the barrel adjuster on the brake caliper.
If you are still experiencing brake issues after adjusting the tension, it may be necessary to troubleshoot further.
Now that the brake tension has been released, we can move on to removing the quick release skewer.
Remove the quick release skewer
After releasing the brake tension, the next step is to take off the quick release skewer.
To remove the skewer, start by flipping the bike upside down and locating the lever on the side of the wheel hub. Pull the lever outward to release the skewer from the hub. Once the skewer is loose, unscrew it completely by turning the opposite end counterclockwise.
With the skewer removed, carefully slide the wheel out of the dropouts. Take note of the position of any washers or spacers that may be present.
To reattach the skewer, simply reverse the process by sliding the wheel back into the dropouts, aligning the rotor with the brake caliper if applicable, and inserting the skewer through the hub. Finally, tighten the skewer by turning the opposite end clockwise.
With the skewer securely in place, we can now move on to the next step of taking off the chain from the rear derailleur.
Take off the chain from the rear derailleur
Now, you’ll need to detach the chain from the rear derailleur. This step is important in order to remove the rear wheel of your Merax electric bike with a flat tire.
Start by shifting the gears to the smallest chainring and the smallest rear cog. This will loosen the tension on the chain and make it easier to remove.
Next, locate the quick link on the chain and use a pair of pliers to squeeze the two ends together. This will separate the chain and allow you to remove it from the derailleur.
Once the chain is detached, you can proceed to replace the derailleur or clean the chain as needed.
Now, you’re ready to move on to the next step and loosen the nuts or bolts securing the wheel.
Loosen the nuts or bolts securing the wheel
Start by loosening the nuts or bolts that secure the wheel in place. Here are four techniques to help you loosen them:
-
Use a socket wrench: Place the appropriate socket on the wrench and turn it counterclockwise to loosen the nuts or bolts.
-
Utilize a crescent wrench: Adjust the wrench to fit the size of the nuts or bolts, then turn it counterclockwise to loosen them.
-
Grab a pair of pliers: Use the pliers to firmly grip the nuts or bolts, and then turn them counterclockwise to loosen.
-
Try a combination wrench: Select the correct size on the wrench, fit it onto the nuts or bolts, and turn counterclockwise to loosen.
Remember to take safety precautions such as wearing gloves and using the appropriate tools.
Once the nuts or bolts are loosened, carefully remove the rear wheel from the frame.
Carefully remove the rear wheel from the frame
Carefully take off the back wheel from the frame. Start by flipping your Merax electric bike upside down so that it rests on the handlebars and seat.
Locate the nuts or bolts that secure the wheel to the frame. Using the appropriate wrench or tool, loosen and remove these nuts or bolts.
Once they are completely removed, gently slide the wheel out of the frame, being cautious not to damage any other components.
Now that the wheel is removed, you can easily fix the flat tire. Inspect the tire for any signs of damage or punctures, such as nails or shards of glass.
Look for any visible holes or tears in the rubber. This will help you identify the cause of the flat and determine the best course of action for repair.
Inspect the tire for damage or punctures
After carefully removing the rear wheel from the frame, it is important to inspect the tire for any damage or punctures. Start by checking the tire pressure using a pressure gauge. Ensure that the pressure is within the recommended range specified by the manufacturer.
Next, visually inspect the tire for any signs of wear and tear. Look for cuts, bulges, or any objects embedded in the tread. If you notice any damage or punctures, it is crucial to address them before proceeding. Small punctures can often be repaired using a tire repair kit, while larger damages may require the tire to be replaced entirely.
By thoroughly inspecting the tire, you can identify any issues that may affect the overall performance and safety of your electric bike.
Now, let’s move on to the next step, which is to replace or repair the flat tire.
Replace or repair the flat tire
To fix a flat tire, you can either replace it with a new one or repair it using a tire repair kit.
If the tire has a puncture, you can repair it by following these steps.
First, locate the puncture by inflating the tire and listening for any hissing sounds or feeling for air leaks.
Once you have identified the puncture, use a tire repair kit to insert a plug into the hole. Make sure to follow the instructions provided with the kit for proper plug insertion.
If the tire is severely damaged and cannot be repaired, you will need to choose the right replacement tire. Consider factors such as tire size, tread pattern, and durability before making your selection.
With the repaired or new tire in hand, you can now move on to the next step of reinstalling the rear wheel and ensuring proper alignment and tension.
Reinstall the rear wheel and ensure proper alignment and tension
Before you can move on to the next step, make sure the rear wheel is properly aligned and tensioned. This is crucial for the smooth operation of your Merax electric bike.
To reinstall the wheel, start by placing the wheel back into the dropouts of the frame, ensuring that the axle is seated securely. Next, tighten the axle nuts or quick-release lever to hold the wheel in place.
Once the wheel is secure, check the alignment by spinning the wheel and observing the clearance between the tire and the frame or brake pads. Adjust as necessary by loosening the axle nuts or quick-release lever and repositioning the wheel.
Finally, check the tension of the chain by pulling it away from the rear wheel and ensuring there is a slight amount of play. If the tension is too loose or tight, adjust the derailleur using the barrel adjuster until the desired tension is achieved.
Frequently Asked Questions
How long does it typically take to remove a rear wheel with a flat tire on a Merax electric bike?
It typically takes me around 10-15 minutes to change a flat tire on a Merax electric bike. Common causes of flat tires on Merax electric bikes include punctures from sharp objects or low tire pressure.
Can I use regular tools to remove the rear wheel, or do I need specialized equipment?
Regular tools can be used to remove the rear wheel on a Merax electric bike. No specialized equipment is needed. With a few simple steps, the wheel can be easily removed and replaced.
Is it necessary to release the brake tension before removing the rear wheel?
It is not safe to remove the rear wheel without releasing the brake tension. Not releasing the brake tension can cause damage to the wheel, tire, brakes, and other components of the bike.
What should I do if I notice damage or punctures on the tire while removing it?
If I notice damage or punctures on the tire while removing it, I should carefully inspect the extent of the damage. If repair is possible, I can patch the puncture or replace the tube. If not, I’ll need to find a reliable bike repair shop.
How do I ensure that the rear wheel is properly aligned and tensioned when reinstalling it?
To ensure proper alignment and tensioning when reinstalling the rear wheel, start by inserting the axle into the dropouts. Tighten the nuts evenly on both sides, making sure the wheel is centered. Then, check the tension of the chain and adjust as necessary.
Conclusion
As I carefully inspected the rear wheel of my Merax electric bike, I couldn’t help but admire the symbolism it held.
Just like the tire that needed repair, sometimes we encounter obstacles in our journey that require us to pause and fix what’s broken.
But with the right tools and knowledge, we can overcome any challenge.
So, as I aligned and tensioned the wheel back into place, I felt a sense of accomplishment, knowing that I had the power to keep moving forward, no matter what comes my way.