
If you’ve ever felt the need for more speed while riding your electric bike, then this article is for you.
I’m going to show you how to remove the restrictor on your electric bike, unlocking its full potential and giving you the freedom to ride at higher speeds.
With just a few tools and some simple steps, you’ll be able to enjoy the thrill of an unrestricted electric bike.
So, let’s get started and take your ride to the next level.
Key Takeaways
- Legal compliance and safety considerations are of utmost importance when removing the restrictor on an electric bike.
- It is crucial to research and understand local laws and regulations regarding electric bikes and unrestricted riding.
- When modifying the bike, take necessary precautions, such as ensuring proper connections and tightening of wires, and consider alternative ways to increase speed without removing the restrictor.
- Maintenance, insurance, and ethical considerations should be taken into account before making modifications, including evaluating the potential impact on performance, checking insurance coverage, and being mindful of the environmental and community impact.

Under Armour Squeeze Water Bottles, 32 oz Water Bottles, Sideline Sports Water Bottle with Quick-Shot Lid, Quick & Easy Hydration, Gym Water Bottles, Squeeze Bottle, 1 32oz Bottle
- Easy Hydration: Quick-shot lid and one-way valve
- On-the-Go Use: One-hand operation for active hydration
- Measurement Markings: Ounces and milliliters for tracking
As an affiliate, we earn on qualifying purchases.
Understand the Purpose of the Restrictor
To remove the restrictor on your electric bike, you first need to understand why it’s there in the first place. The restrictor is a safety feature designed to limit the speed of the bike, ensuring that it remains within legal limits and promotes rider safety.
Removing the restrictor can have potential risks, such as exceeding the bike’s maximum speed capacity, which can lead to loss of control, accidents, and legal consequences. It is important to consider these risks before proceeding with removing the restrictor.
Additionally, there are alternative ways to increase the speed of an electric bike without removing the restrictor. These include upgrading the motor or battery, optimizing aerodynamics, or adjusting the bike’s gear ratios. By exploring these alternatives, you can enhance your electric bike’s speed while maintaining safety.
Now that we understand the purpose of the restrictor, let’s move on to gathering the necessary tools and equipment.
Gather the Necessary Tools and Equipment
Make sure you have all the tools and equipment needed for the task. Removing the restrictor on your electric bike requires precision and knowledge. Here are the necessary steps to gather the necessary tools and equipment:
-
Tools:
-
Wrench set
-
Screwdriver set
-
Equipment:
-
Safety goggles
-
Gloves
Understanding the importance of safety precautions is crucial before attempting any modifications to your electric bike. Research the potential risks and benefits associated with removing the restrictor to ensure you make an informed decision. Safety goggles and gloves are essential to protect your eyes and hands during the process. A wrench set and screwdriver set are the primary tools needed for this task.
Now that you have gathered all the necessary tools and equipment, let’s move on to locating the restrictor on your electric bike.
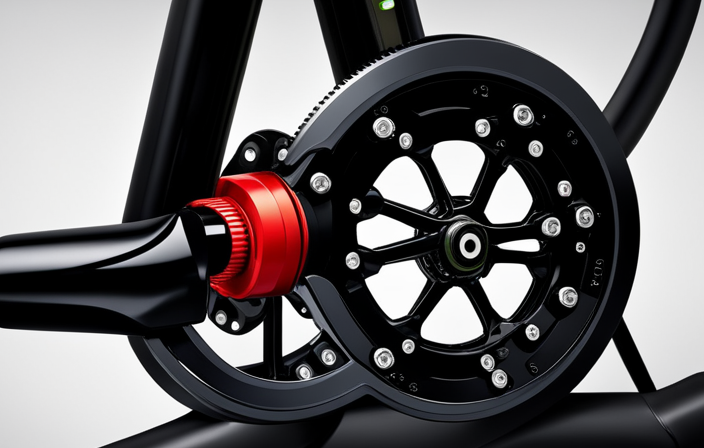
Locate the Restrictor on Your Electric Bike
Once you’ve gathered all the necessary tools and equipment, it’s time to find where the restrictor is located on your electric bike.
Understanding the importance of the restrictor on an electric bike is crucial before attempting to remove it. The restrictor is a device that limits the maximum speed of the bike, ensuring safety and compliance with regulations.
Different types of restrictors are used in electric bikes, including mechanical, electronic, and software-based restrictors. Mechanical restrictors are physical components that restrict the flow of power, while electronic restrictors use sensors and controllers to limit the speed. Software-based restrictors rely on programming to control the bike’s performance.
To locate the restrictor, refer to the owner’s manual or consult with the manufacturer. Once you’ve identified its location, you can proceed to remove the battery and disconnect the power source.
Remove the Battery and Disconnect Power Source
First, locate the battery and power source on your electric bike. It’s important to disconnect the power source before attempting to remove the restrictor. This will ensure your safety and prevent any potential risks associated with removing the restrictor.
The restrictor is designed to limit the speed and power output of your electric bike, and there are benefits to keeping it intact. By keeping the restrictor on your electric bike, you can maintain a controlled and safe riding experience. Removing the restrictor may increase the speed and power of your bike, but it can also void any warranties and put you at risk of accidents or damage.
Once the power source is disconnected, you can carefully remove any screws or bolts securing the restrictor, as we will discuss in the next section.
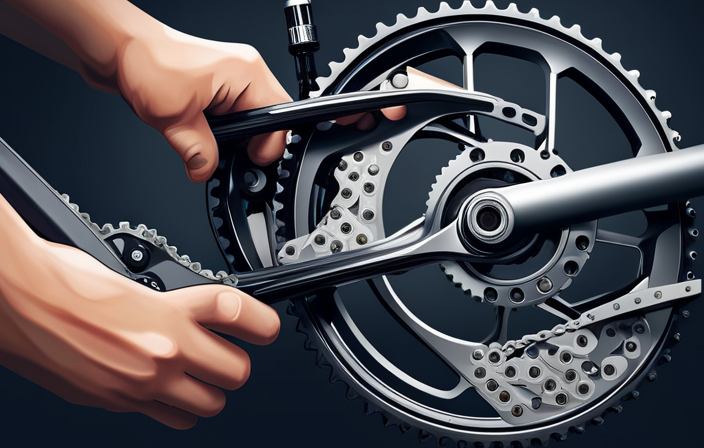
Carefully Remove any Screws or Bolts Securing the Restrictor
After disconnecting the power source, you can carefully unscrew or unbolt the parts securing the restrictor.
Removing the restrictor on an electric bike can have both risks and benefits. It is important to consider the potential risks and safety precautions before proceeding. Some risks include voiding the warranty, exceeding legal speed limits, and compromising the overall safety of the bike.
To mitigate these risks, it is advisable to wear protective gear, have a good understanding of the bike’s capabilities, and follow any manufacturer guidelines. Additionally, removing the restrictor can impact the performance and lifespan of the electric bike. It may increase the top speed and power output, but it can also put additional strain on the motor and battery, potentially reducing their lifespan.
Therefore, it is important to weigh the benefits against the potential consequences before making any modifications. As you carefully remove the screws or bolts, take note of the restrictor’s position and orientation for reinstallation purposes.
Take Note of the Restrictor’s Position and Orientation
Be sure to carefully observe and remember the position and orientation of the restrictor as you remove the screws or bolts. This is crucial because it will help you reinstall the restrictor correctly, if needed, or allow you to identify any potential issues that may arise during the removal process.
Common restrictor locations can vary depending on the make and model of your electric bike, but they are often found near the throttle or in the controller.
When removing the restrictor, it is important to exercise caution and follow the manufacturer’s guidelines to avoid damaging any components.
While removing the restrictor can increase the speed and power of your electric bike, it also comes with potential risks and benefits. It is recommended to weigh these pros and cons before proceeding with the removal process.
Once you have successfully removed the screws or bolts, the next step is to disconnect any wiring or connectors attached to the restrictor.
Disconnect any Wiring or Connectors Attached to the Restrictor
Now that you have taken note of the restrictor’s position and orientation, it is important to proceed with caution when disconnecting any wiring or connectors attached to the restrictor. This step is crucial to ensure a safe removal process and prevent any potential risks associated with removing the restrictor from your electric bike.
Here are some points to consider:
- Carefully inspect the wiring and connectors for any signs of damage or wear.
- Use appropriate tools, such as pliers or screwdrivers, to disconnect the wiring or connectors.
- Take note of the specific connections and their corresponding locations to ensure proper reinstallation later on.
By following these steps, you will be able to remove the restrictor safely without compromising the integrity of your electric bike.
Now, let’s move on to the subsequent section and learn how to remove the restrictor from the electric bike without causing any damage.
Remove the Restrictor from the Electric Bike
To safely take out the restrictor from your e-bike, start by carefully disconnecting any attached wiring or connectors. This step is crucial to ensure that you can remove the restrictor without causing any damage to the electrical components.
Once the wiring and connectors are detached, you can move on to removing the restrictor itself. This is an important modification to increase the performance of your electric bike and enhance its acceleration capabilities. By removing the restrictor, you allow for a greater flow of power to the motor, resulting in a more powerful and responsive ride.
However, before proceeding further, it is essential to inspect the restrictor for any damage or wear that might have occurred over time. This will help you determine if it needs to be replaced or if it can be reused.
Inspect the Restrictor for any Damage or Wear
Once you’ve detached the wiring and connectors, it’s important to inspect the restrictor for any signs of damage or wear. Inspecting restrictor parts is crucial in troubleshooting restrictor issues.
Start by visually examining the restrictor for any visible cracks, dents, or corrosion. Check the wiring and connectors for any loose connections or frayed wires. Use a multimeter to test the restrictor’s functionality and ensure it is providing the desired level of restriction. Pay close attention to any abnormal readings or fluctuations. Additionally, check for any signs of overheating, such as discoloration or burnt smells.
Identifying any damage or wear will help determine if the restrictor needs repair or replacement. Once you have thoroughly inspected the restrictor, you can proceed to modify or disable it according to your preferences.
Modify or Disable the Restrictor According to Your Preferences
First, consider how you would like to adjust or turn off the restrictor to better suit your needs. Modifying the settings of the restrictor on an electric bike can provide you with a more personalized riding experience.
However, it is important to be aware of the legal implications that come with making these modifications. Depending on your jurisdiction, tampering with the restrictor may violate local laws or regulations. It is essential to understand the legal restrictions and consequences before proceeding.
Once you have considered the legal aspects, you can begin the process of modifying or disabling the restrictor. This can typically be done by adjusting the settings on the bike’s control unit or by physically removing the restrictor.
Whichever method you choose, it is crucial to reassemble the electric bike, ensuring all connections are secure. This will guarantee that the bike operates safely and efficiently.
Reassemble the Electric Bike, Ensuring all Connections are Secure
Make sure all the connections on your electric bike are secure when reassembling it. This step is crucial to ensure the proper functioning of the bike after removing the restrictor.
Start by carefully examining each connection point, including the battery, motor, controller, and throttle. Ensure that all wires are properly inserted and tightened, and that there are no loose or damaged connectors. It is also a good idea to double-check any electrical tape or zip ties used to secure the wires.
By taking the time to properly secure all the connections, you can avoid potential issues such as loose wires or intermittent electrical connections.
Once you are confident that everything is securely connected, you can move on to the next step, which is testing the electric bike to ensure the restrictor has been successfully removed.
Test the Electric Bike to Ensure the Restrictor has been Successfully Removed
After securing all the connections, it’s important to test the bike to ensure the restrictor has been successfully removed. Testing the speed of your electric bike is crucial to ensure that the restrictor has been effectively eliminated. Here are the steps to test the speed and ensure the safety measures:
-
Find a clear and open space: Choose a location free from obstacles, traffic, and pedestrians to conduct the speed test safely.
-
Warm up the bike: Start by riding the bike for a few minutes to ensure that the battery is fully charged and the motor is adequately warmed up.
-
Acceleration test: Gradually increase the throttle and observe how quickly the bike accelerates. Ensure it is smooth and responsive without any sudden jerks or hesitations.
-
Top speed test: Gradually increase the throttle to the maximum and record the top speed reached. Make sure the bike maintains stability and control throughout the test.
By following these safety measures and conducting the speed test, you can determine whether the restrictor has been successfully removed. This will help in assessing the bike’s performance and ensuring a smooth and enjoyable riding experience.
Now, let’s move on to adjusting the speed settings on your electric bike (if applicable).
Adjust the Speed Settings on your Electric Bike (if applicable)
To adjust the speed settings on your e-bike, locate the control panel and use the buttons or touchscreen to customize your desired speed levels. Adjusting the speed settings can provide several advantages.
For instance, if you prefer a slower pace for leisurely rides, you can lower the speed limit to conserve battery life and extend your range. On the other hand, if you need to reach your destination quickly, increasing the speed can help you arrive faster.
However, there are also disadvantages to consider. Higher speeds may decrease your battery life and increase the risk of accidents if you’re not comfortable with the increased velocity. Additionally, common issues to watch out for when adjusting speed settings include potential damage to the motor or controller if the settings are not compatible.
It’s important to familiarize yourself with local laws and regulations regarding electric bikes to ensure you are riding within the legal speed limits and maintaining your safety on the road.
Familiarize Yourself with Local Laws and Regulations regarding Electric Bikes
Ensure that you familiarize yourself with the local laws and regulations before riding your e-bike. Understanding the legal implications and safety precautions to consider is crucial for a smooth and worry-free experience.
Different regions may have specific rules regarding the use of electric bikes, including speed limits, age restrictions, and where they are allowed to be ridden. It is important to know if you need a license or registration, and if helmets and safety gear are mandatory.
Additionally, understanding the rules of the road, such as right of way and signaling, is essential for your safety and the safety of others. By being aware of and following these regulations, you can confidently enjoy the freedom and increased speed of your unrestricted electric bike.
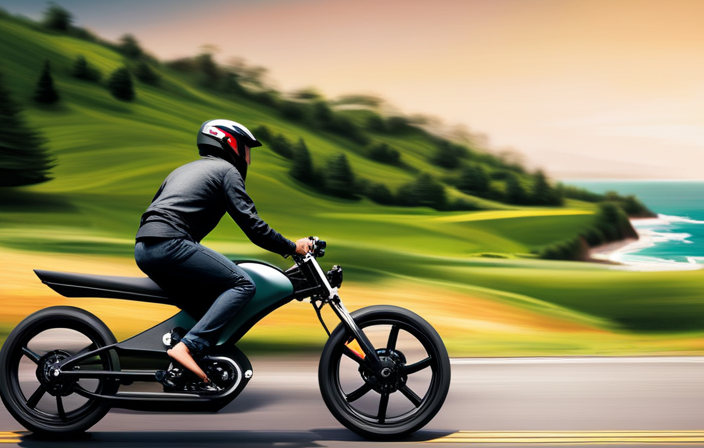
Enjoy the Freedom and Increased Speed of your Unrestricted Electric Bike
Now that you have familiarized yourself with the local laws and regulations surrounding electric bikes, it’s time to unleash the full potential of your electric bike by removing the restrictor. By doing so, you can experience the thrill of increased power and enjoy the freedom of riding at higher speeds.
However, it’s important to be aware of the legal implications that come with this modification. Here are some key points to consider:
-
Check your local laws: Make sure to research and understand the specific laws and regulations regarding unrestricted electric bikes in your area.
-
Consult with professionals: Seek advice from experienced electric bike mechanics or manufacturers who can guide you through the process and ensure that you stay within legal boundaries.
-
Be responsible: Understand that riding an unrestricted electric bike comes with increased speed and power, so it’s crucial to ride responsibly and prioritize safety.
-
Stay updated: Laws regarding electric bikes can change, so stay informed about any updates or modifications to the regulations to avoid any legal consequences.
Frequently Asked Questions
What is the purpose of the restrictor on an electric bike?
The purpose of the restrictor on an electric bike is to limit its top speed and power output. This restrictor impacts the bike’s performance by ensuring it complies with legal regulations and enhances safety for riders and pedestrians.
What tools and equipment do I need to remove the restrictor?
To remove the restrictor on an electric bike, you will need a few tools such as a wrench and pliers. Follow this step-by-step guide: 1) Locate the restrictor. 2) Use the wrench to loosen the bolts. 3) Remove the restrictor carefully.
How do I locate the restrictor on my electric bike?
To locate the restrictor on your electric bike, you can start by troubleshooting common issues related to restrictors. Look for any components that limit speed or power. This will help improve your bike’s performance when removing the restrictor.
How can I modify or disable the restrictor according to my preferences?
To modify or disable the restrictor on an electric bike, I can adjust the settings in the bike’s control system or reprogram the software. This allows me to customize the bike’s performance according to my preferences.
What are the local laws and regulations regarding electric bikes that I should be aware of?
When it comes to electric bike safety, it is important to be aware of local laws and regulations. Understanding these guidelines can help minimize potential risks and ensure the benefits of using electric bikes are realized.
Conclusion
So there you have it, folks. By following these simple steps, you can liberate your electric bike from the confines of its restrictor and experience the true potential of its speed and power.
Remember to always familiarize yourself with local laws and regulations to ensure you’re riding in a responsible and legal manner.
Now, go forth and enjoy the exhilarating freedom that an unrestricted electric bike can offer. Happy riding!