Many of us have a deep fondness for cycling, and there’s an unparalleled sense of liberation and excitement in discovering new areas on a bicycle. Yet, for journeys to more distant locations, opting for a train could be a more sensible choice than cycling the entire distance. However, what do you do if you wish to take your bicycle with you?
Luckily, many train services offer the option to reserve a spot for your bicycle, making it easier to plan a trip that combines both modes of transportation.
Reserving a bicycle spot on a train can feel like securing a ticket to a concert or a sports game – there is a mix of excitement and nervousness, and you want to make sure everything goes smoothly. But fear not: with a bit of preparation and knowledge, reserving a bicycle spot on a train can be a straightforward process that opens up a world of possibilities for your next adventure.
In this article, I will guide you through the steps of how to reserve a bicycle on a train, from checking the policies and procedures to boarding the train with peace of mind.
Key Takeaways
- Train travel is a more practical option for longer distances and offers the option to reserve a spot for bicycles.
- Policies and procedures for bringing bicycles on trains vary by service, so clear communication with customer service is important.
- Arrive early at the station, ensure your bicycle is in good condition, and locate the designated bicycle area to secure your bicycle with an appropriate lock.
- To fully enjoy the journey, take in the scenery and bring necessary gear, including a camera to capture the sights.
Bike Travel Bag, Upgraded Heavy Duty Waterproof 900D Mountain Bike Travel Bag, 55.11×10.23×31.49 inch Large Transport Bicycle Storage Bags for Airplane, 26-29 inch Bicycle Bags with Strong Webbing
Upgraded Material: This bike transport bag is crafted from high-strength 900D Oxford fabric, offering water resistance and heavy-duty...
As an affiliate, we earn on qualifying purchases.
Check the Policies and Procedures of the Train Service
It’s imperative to peruse the policies and procedures of the train service before attempting to reserve a bicycle on board. Understanding regulations is key to ensuring a hassle-free experience.
Some train services have specific rules about the type of bicycles allowed on board or the number of bicycles that can be transported at any given time. Knowing these regulations in advance can help you prepare accordingly and avoid any last-minute disappointments.
Another important aspect to consider is customer service communication. Some train services may require you to call ahead and reserve your spot, while others may have an online booking system. Regardless of the method used, it’s important to communicate clearly with the train service’s customer service team to ensure that your reservation is confirmed and that you have all the necessary details about the reservation process.
Once you have a clear understanding of the policies and procedures surrounding bicycle reservations, you can move on to the next step of reserving your spot.
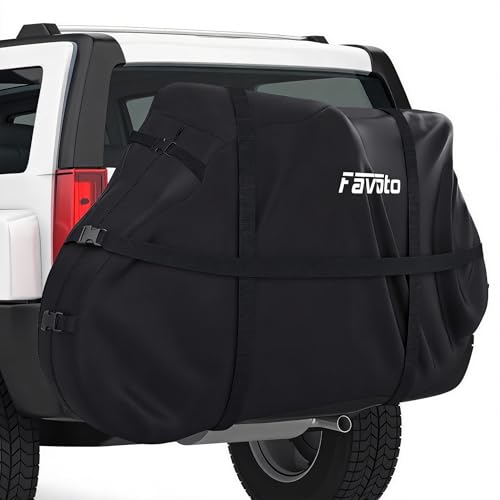
Favoto Bike Cover for Transport 2 Bikes - Waterproof Outdoor Bicycle Cover on Rear Bike Rack, 600D Thicken Oxford Heavy Duty Bike Rack Covers for 2 Bikes on Hitch Travel Storage
Before using the car cover, please wrap any sharp parts of the cover with handlebar covers or other...
As an affiliate, we earn on qualifying purchases.
Reserve Your Spot
To guarantee your spot, make sure you book ahead of time so that you don’t miss out on the chance to bring your bike onboard. Most train services have an online booking system that allows you to reserve a spot for your bicycle. You may need to pay a reservation fee, which varies depending on the train service and the length of your journey. It’s important to check the cancellation policy before making your reservation, as some train services may charge a fee if you cancel your reservation.
Once you’ve reserved your spot, be sure to arrive at the train station early on the day of your journey. You’ll need to check in your bicycle at the designated area before boarding the train. Before doing so, make sure that your bicycle is properly prepared for transport.

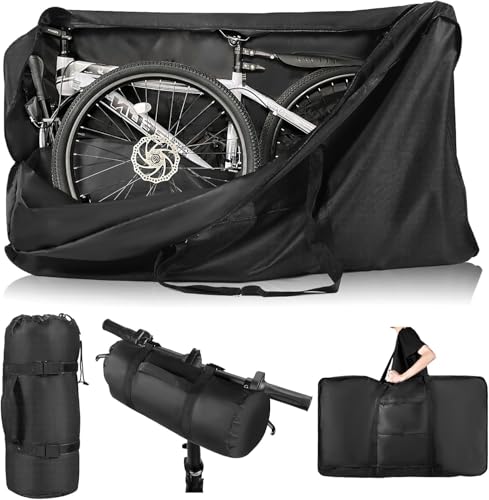
Folding Bike Travel Bag,Heavy Duty 840D Transport Bicycle Storage Carry Bag with Strong Webbing for 26-29 in Mountain 700C Road Bike MTB,Portable Folding Cycling Bags Waterproof for Airplane Shipping
Extra Thick 840D Material:Mountain bike bag is made of extra thick 840D oxford fabric with nano material triple...
As an affiliate, we earn on qualifying purchases.
Prepare Your Bicycle
Make sure your bike is in good condition before you board the train, by checking the tires, brakes, and gears. To ensure a smooth ride, here are three things you should do before boarding the train:
-
Clean your bike: Dirt, mud, and debris can cause damage to your bike and make it less efficient. Use a soft cloth and water to wipe down your bike and remove any dirt or grime.
-
Pack your accessories: Before you board the train, make sure you have all the necessary accessories for your ride. This may include a helmet, lights, a lock, and any other equipment you need for your journey.
-
Check your tires, brakes, and gears: Make sure your tires are properly inflated, your brakes are functioning correctly, and your gears are shifting smoothly. This will ensure a safe and comfortable ride.
Now that your bike is ready for the journey, it’s time to board the train.

Bike Travel Bag,Upgraded 900D Mountain Bike Travel Bag with 3 Fixed Buckles,Strong Webbing and Seperate Compartments Inside,Large MTB Case for 26-29 inch Mountain Bicycle,55.11×10.82×31.29 inch
Extra Thick 900D Material: This air travel bike bag features extra thick 900D high-density Oxford fabric with a...
As an affiliate, we earn on qualifying purchases.
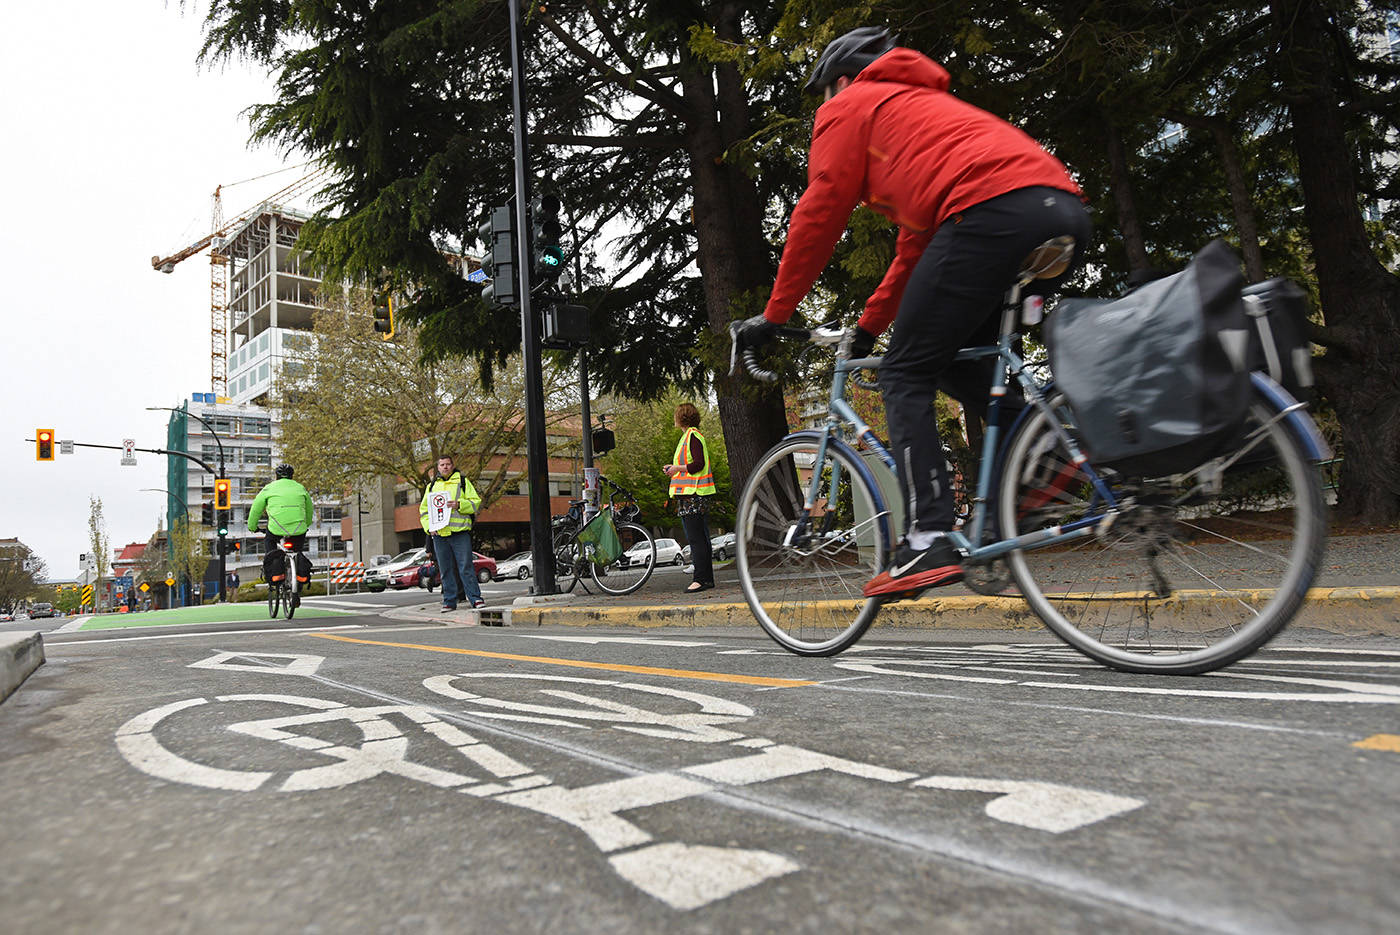
Board the Train
When boarding the train with my bicycle, I make sure to arrive early to avoid any delays or complications.
Once on board, I find the designated bicycle area and securely fasten my bike to the designated hooks or straps. It’s important to ensure that my bicycle won’t move or cause any obstructions during the journey.
I adjust my seat and settle in for the ride, knowing that my bike is safe and secure for the duration of the journey.
Arrive Early
Hey, if you want to reserve a bicycle on the train, arriving early is key! There are many benefits of arriving early, including avoiding unexpected delays and having enough time to find the designated bicycle area. This is especially important if you’re traveling during peak hours or on a busy train.
To manage unexpected delays, it’s important to plan ahead and give yourself plenty of time to get to the train station. You never know when there might be traffic, construction, or other unexpected obstacles that could delay your journey. However, if you arrive early, you can relax and enjoy the ride, knowing that you have plenty of time to get settled and find the designated bicycle area.
Once you arrive at the train station, take your time and follow the signs to find the designated bicycle area. It should be clearly marked and easy to find, but if you have any questions, don’t hesitate to ask a member of staff.
With a bit of planning and preparation, reserving a bicycle on the train can be a stress-free and enjoyable experience.
Find the Designated Bicycle Area
As you step off the platform, keep your eyes peeled for the bright symbols pointing the way to where you can securely park your trusty steed during your journey. Locating the designated bicycle area can be tricky, especially if it’s your first time visiting the train station.
Here are three tips to help you navigate the train station and find the bicycle area:
-
Look for signs or symbols: Many train stations have clear signage or symbols indicating where the designated bicycle area is located. Keep an eye out for these signs as you navigate the station.
-
Ask for assistance: If you’re having trouble finding the bicycle area, don’t hesitate to ask for help from a station staff member. They can provide you with directions or escort you to the bicycle area.
-
Check the train schedule: It’s important to check the train schedule before you arrive at the station. This way, you can plan your arrival time accordingly and avoid rushing to find the bicycle area.
Once you’ve located the designated bicycle area, it’s time to secure your bicycle.
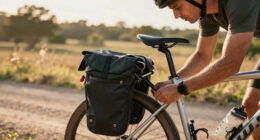
Secure Your Bicycle
Now that you’ve found the designated bicycle area on the train, it’s time to secure your bicycle. This is an important step in preventing theft and ensuring that your bicycle is safe during the journey. Before leaving your bicycle unattended, make sure it is properly locked to the designated bicycle rack or other secure location.
There are several types of bicycle locks available, such as cable locks, U-locks, and chain locks. Choose a lock that is appropriate for the level of security you need, and make sure to lock both the frame and the wheels of your bicycle. Additionally, consider purchasing bicycle insurance or liability coverage to protect your investment in case of theft or damage. By taking these precautions, you can enjoy your journey with peace of mind knowing that your bicycle is secure.
| Emotion | Description | Example |
|---|---|---|
| Frustration | A feeling of annoyance or discomfort | "I was frustrated when I realized I had forgotten my bike lock at home." |
| Relief | A feeling of reassurance or comfort | "I felt relieved when I saw that the train had a designated area for bicycles." |
| Anxiety | A feeling of unease or worry | "I was anxious about leaving my expensive bicycle unattended on the train." |
| Confidence | A feeling of self-assurance or trust | "I felt confident that my bicycle was secure with the strong U-lock I had purchased." |
As you secure your bicycle, remember to also consider the emotions that come with traveling with your bicycle. It can be frustrating to forget something important, but finding a designated bicycle area can provide relief. Anxiety may arise when leaving your bicycle unattended, but having a strong lock and insurance coverage can provide confidence. By taking the necessary precautions, you can enjoy your journey with peace of mind knowing that your bicycle is secure.
Enjoy Your Journey
Make the most of your trip by taking in the beautiful scenery while riding your reserved bicycle on the train. Once you’ve secured your bicycle and boarded the train, it’s time to sit back, relax, and enjoy the journey.
Here are some tips to help you fully enjoy your ride:
-
Pack essentials: Make sure to bring along any necessary gear for your journey, such as a water bottle, snacks, and a map of your route. This will ensure that you’re comfortable and prepared for any unexpected situations.
-
Bring a camera: The scenery from a train can be stunning, so don’t forget to bring a camera to capture the beautiful views.
-
Listen to music or an audiobook: If you’re looking to pass the time, consider bringing along your favorite music or an audiobook to keep you entertained.
By following these tips, you can ensure that your journey is comfortable, enjoyable, and memorable. So sit back, relax, and take in the beautiful scenery on your reserved bicycle ride on the train.
Remember to enjoy your journey!
Frequently Asked Questions
Can I reserve a spot for my bicycle on any train or are there specific trains that allow it?
I highly recommend taking your bicycle on a train for the scenic ride and exercise benefits. When packing, remove pedals and secure handlebars. Most trains allow bike reservations, but check with your specific carrier for details.
Is there a fee for reserving a spot for my bicycle on the train?
There may be a fee for reserving a spot for my bicycle on the train. Weighing the pros and cons of this option is important. Alternatively, I could consider alternative options such as bringing a folding bike or taking a bike sharing service at my destination.
Are there any restrictions on the size or type of bicycle that can be brought on the train?
When bringing a bicycle on a train, it is important to consider the types of bike racks available and to pack and secure your bicycle properly. Some trains may have size restrictions for bicycles.
Can I reserve a spot for my bicycle last minute or is there a deadline for reserving?
As the saying goes, "better late than never."Last minute reservation options for bicycles on trains vary by carrier. Alternatives include arriving early to secure a spot or considering a folding bike.
What happens if the train is full and there is no space for my bicycle even if I reserved a spot?
If my reserved bicycle spot on the train is full, I am entitled to compensation options or alternate transportation. To avoid overbooking, I recommend reserving in advance and confirming availability with the train company.
Conclusion
In conclusion, reserving a bicycle spot on a train is a simple process that can make your journey much more enjoyable. It’s important to check the policies and procedures of the train service beforehand to ensure you’re following their guidelines.
Once you’ve reserved your spot, make sure to prepare your bicycle by securing it properly and packing any necessary gear. Boarding the train with your bicycle may seem daunting, but with a little practice, it’ll become second nature. Just remember to be respectful of other passengers and follow any instructions given by the train staff.
With your bicycle safely stowed, you can sit back and relax as you watch the world go by.
As a metaphor, reserving a bicycle spot on a train is like packing for a camping trip. Just as you need to carefully plan and pack your gear for a camping trip, you need to prepare your bicycle and reserve your spot on the train. And just as a camping trip can be a relaxing and enjoyable adventure, taking a train journey with your bicycle can be a wonderful way to explore new places and enjoy the great outdoors.
So why not give it a try? You may be surprised at how much you’ll enjoy it.