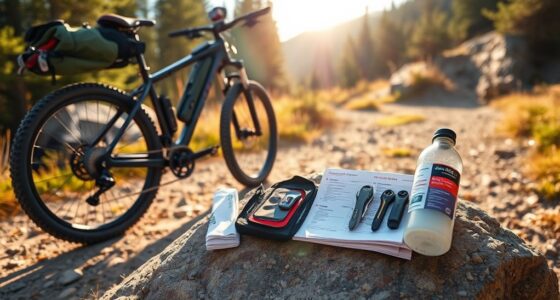
To set up tubeless tires, first make certain your rims are tubeless-compatible and tape is correctly applied. Carefully mount the tire, making sure beads seat evenly, then inject sealant through the valve. Inflate slowly to seat the beads properly, listening for pops, and check for leaks with soapy water. Maintain your setup by replenishing sealant regularly and troubleshooting issues like leaks or bead seating issues. If you want to master every step, there’s more to discover.
Key Takeaways
- Verify compatibility of rims and tires, ensuring they are tubeless-ready before mounting.
- Use tubeless tape and sealant properly, ensuring beads seat fully with audible pops during inflation.
- Inflate slowly, rotating the wheel, and check for leaks with soapy water to confirm a proper seal.
- Replenish sealant every few months and after punctures to maintain optimal sealing performance.
- Troubleshoot leaks or bead seating issues by reseating the tire, tightening valves, or replacing damaged components.
Top picks for "tubeles told cycl"
Open Amazon search results for this keyword.
As an affiliate, we earn on qualifying purchases.
Selecting the Right Tubeless Components for Your Bike
Choosing the right tubeless components is vital for a reliable and efficient setup. First, verify your tires are compatible with tubeless systems by checking their specifications. Proper tire pressure is essential; too high, and you’ll risk poor grip and comfort, too low, and you might experience frequent flats or rim damage. Selecting the correct valve stems that fit your rims and seal well is also key to maintaining an airtight system. Rim compatibility matters greatly—your rims need to be tubeless-ready or compatible with tubeless tape and sealant. Avoid mismatched components, as they can cause leaks or poor sealing, leading to a frustrating ride. By paying close attention to tire pressure needs and rim compatibility, you set yourself up for a smooth, hassle-free tubeless experience. Additionally, choosing vetted tubeless accessories ensures you get high-quality parts that enhance durability and performance.
Preparing Your Wheel and Tire for Tubeless Setup
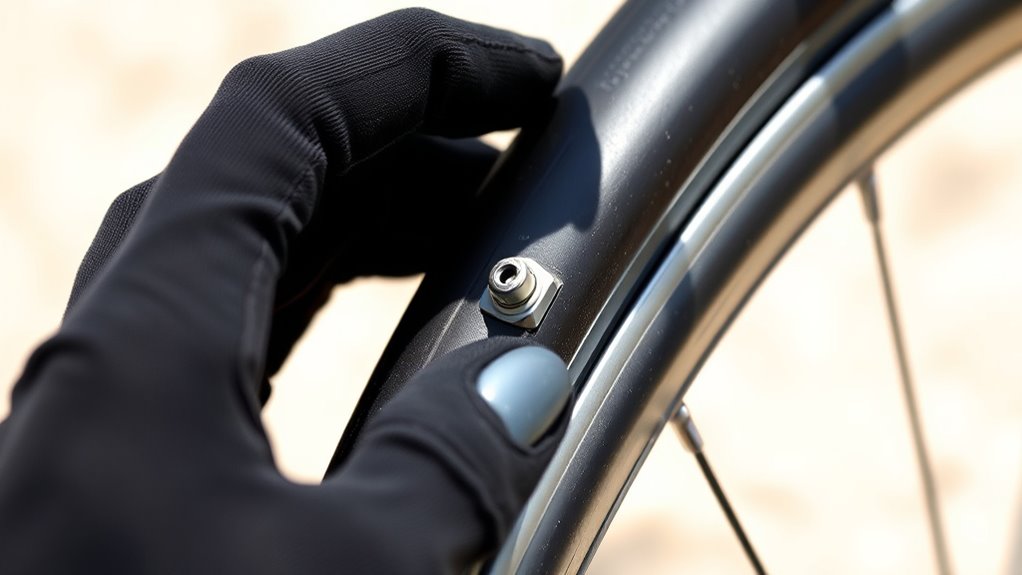
Before installing tubeless tires, you need to prepare your wheel and tire to guarantee a proper seal. Start by inspecting the rim for rim durability, ensuring there are no cracks or damage that could compromise the seal or affect tire pressure. Clean the rim bed thoroughly to remove dirt, oil, or debris that might prevent proper sealing. Check the tubeless-compatible rim tape; it must be intact and properly seated to prevent leaks. Ensure your tire beads are clean and free of debris to improve sealing performance. Finally, verify that your tire fits the rim correctly, as improper fit can cause air leaks and affect rim durability. Proper preparation helps maintain ideal tire pressure and reduces the risk of issues during ride. Additionally, understanding the tuning options available for different Honda models can enhance your vehicle’s performance and handling.
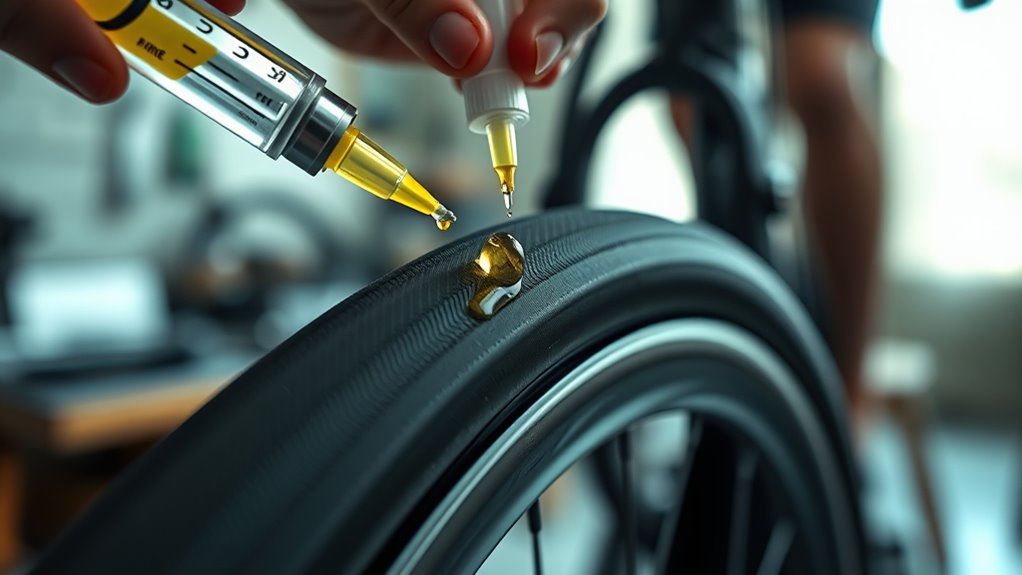
Applying Tubeless Sealant: Tips and Tricks

Applying tubeless sealant effectively guarantees your tires stay airtight and can quickly seal punctures. Start by carefully mixing the sealant according to the manufacturer’s instructions, guaranteeing a smooth, consistent solution. When handling sealant, prioritize sealant safety—wear gloves and work in a well-ventilated area to avoid contact with skin or eyes. To visualize the process, consider this table:
| Step | Tips |
|---|---|
| Sealant mixing | Shake or roll the bottle thoroughly to blend components evenly. |
| Application method | Use a syringe or valve core removal tool for precise injection. |
| Safety precautions | Wear gloves, avoid inhaling fumes, and dispose of spillage properly. |
Mastering these tips helps ensure your sealant performs effectively, sealing punctures and maintaining air pressure. Additionally, understanding the contrast ratio of your setup can influence your ability to detect leaks or punctures quickly.
Mounting the Tire on the Rim Correctly
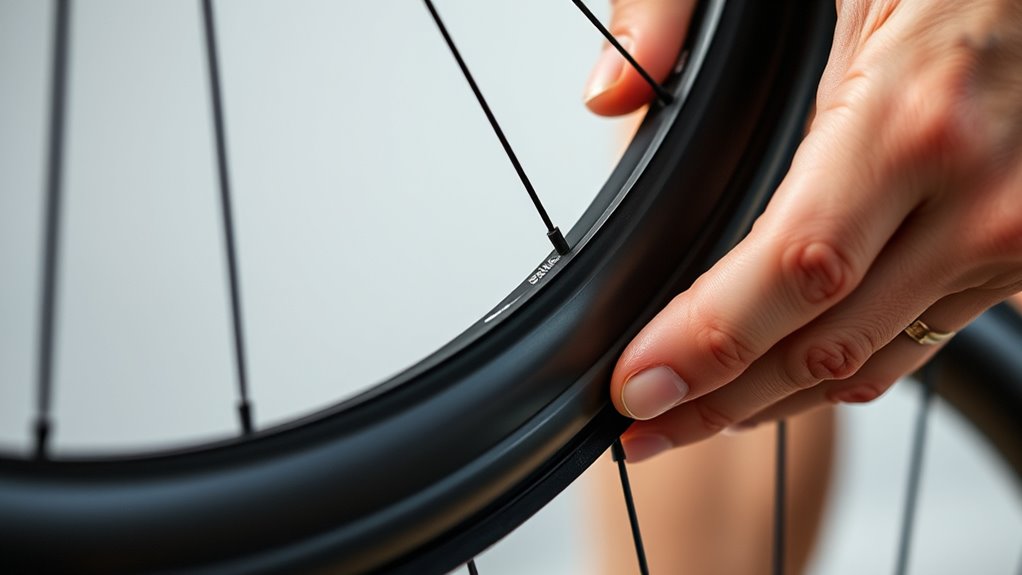
Properly mounting the tire on the rim is essential to guarantee a secure fit and peak performance. A correct mount ensures ideal rim compatibility and maintains proper tire pressure, preventing leaks or blowouts. To do this, start by verifying the rim and tire are compatible. When installing, follow these key points:
- Make sure the tire beads are evenly seated on the rim.
- Use your hands to push the tire onto the rim, avoiding tools that could damage the bead.
- Check that the tire’s bead is fully engaged around the rim’s circumference.
- Ensure the tire pressure is at the recommended level during mounting.
- Confirm that the tire beads are securely seated before inflating further.
- Taking the time to properly mount your tubeless tires can also help prevent issues like bead leaks and ensure the best sealing performance.
This careful process promotes a strong seal and helps your tubeless setup perform reliably.
Ensuring the Tire Beads Seat Properly
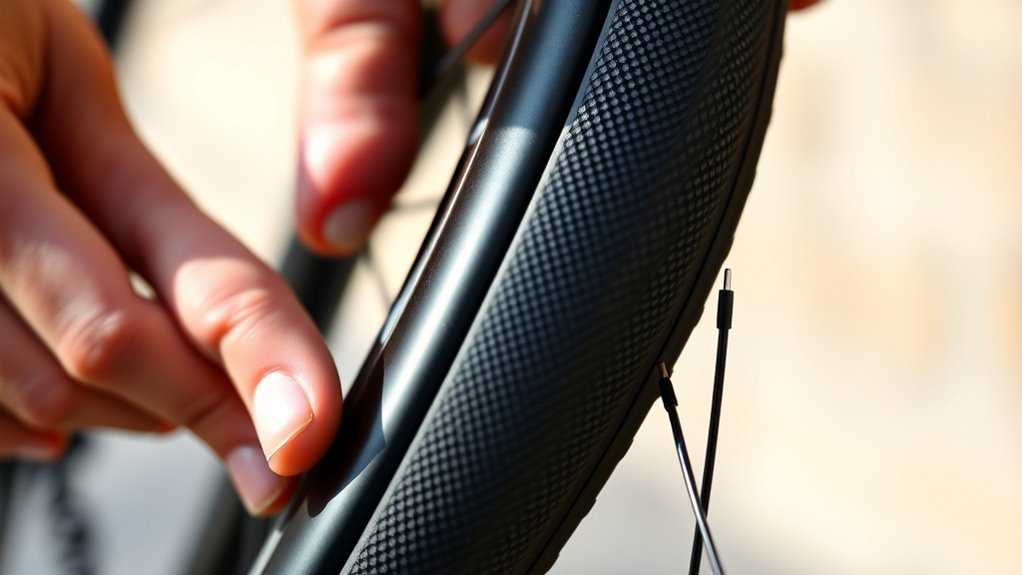
To guarantee your tubeless tire seats properly, start by checking that the beads are correctly aligned on the rim. Using sealant effectively helps fill small gaps and creates a reliable seal. Proper bead placement combined with the right amount of sealant is key to a secure, tubeless setup.
Proper Bead Placement
Ensuring the tire beads seat properly is essential for a safe and reliable tubeless setup. Proper bead placement guarantees a secure seal and prevents leaks. First, check that the valve placement aligns correctly; it should be positioned to facilitate easy access and avoid interference with tire rotation. When installing, make sure the beads sit evenly on both sides of the rim, avoiding pinched areas. During inflation, keep an eye on bead positioning to confirm they seat fully. To assist in even seating, rotate the tire slightly as you inflate, ensuring the beads settle uniformly. Remember these points:
- Position the valve correctly during installation
- Rotate the tire to help beads seat uniformly
- Avoid pinched beads for a proper seal
- Check for even bead seating after inflation
- Confirm valve accessibility for future maintenance
- Tire bead seating is critical for preventing leaks and ensuring safety.
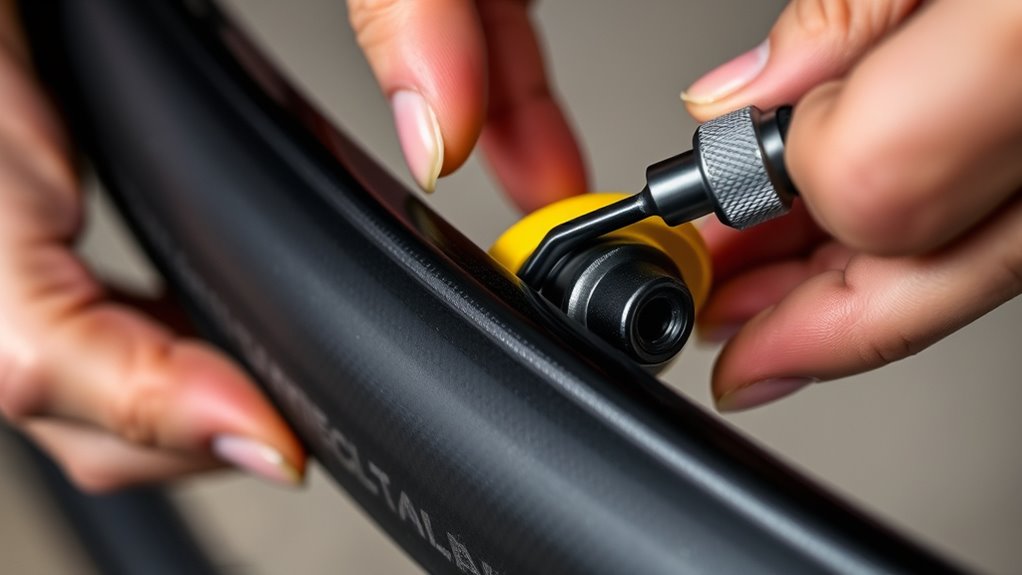
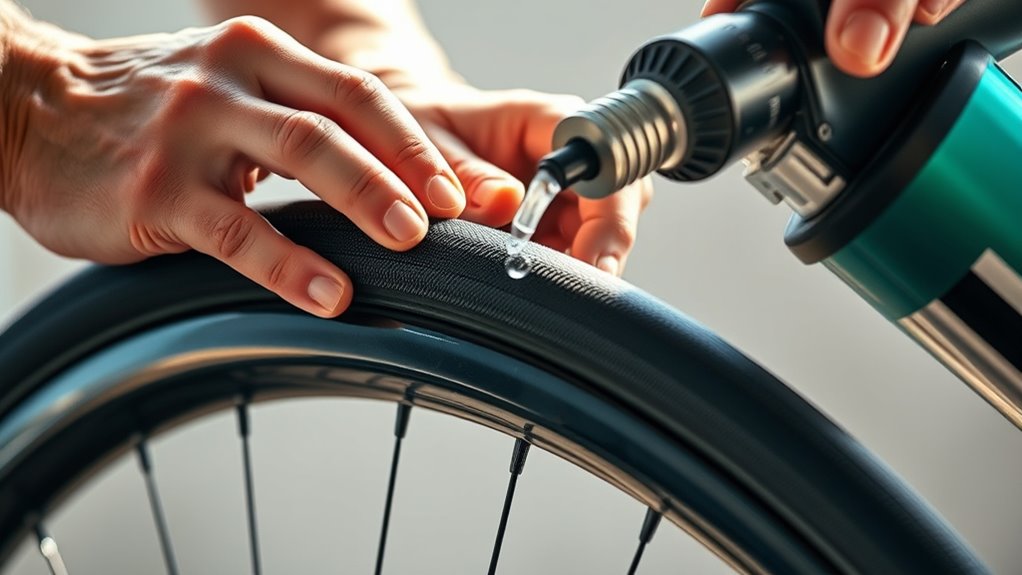
Use of Sealant Properly
Applying sealant correctly is key to making sure the tire beads seat fully and form an airtight seal. To do this, choose a sealant with the right consistency—not too thick or runny—to ensure even distribution and effective sealing. Shake the sealant bottle well before application, and add the recommended amount into the tire through the valve. Be mindful of sealant safety by wearing gloves and eye protection, as some formulas can be irritating or harmful if touched. Once filled, rotate and spin the tire to spread the sealant evenly across the bead area. Proper sealant use helps prevent leaks, ensures a tight bead seat, and maintains the integrity of your tubeless setup.
Inflating and Seating the Tubeless Tire
Now it’s time to properly inflate and seat your tubeless tire. You’ll want to use correct inflation techniques to make sure the bead seats evenly and securely. Applying sealant effectively also helps create a reliable seal and maintain proper pressure. Remember to monitor your pressure levels regularly to ensure optimal performance and reduce the risk of flats.
Proper Inflation Techniques
To properly inflate and seat a tubeless tire, you need to use the right techniques to guarantee a secure fit and peak performance. Start by selecting appropriate tire pressure based on your riding style and terrain. Use quality inflation tools, such as a floor pump with a pressure gauge or a high-volume air compressor, to achieve the correct pressure quickly. Maintain steady pressure until the bead seats firmly against the rim. Check for leaks around the tire and rim. If necessary, add a bit more air or use soapy water to identify leaks. Proper inflation assures the tire bead locks securely, reducing the risk of burping or losing air during rides. Remember, consistent tire pressure helps optimize performance and prolongs your tubeless setup’s lifespan. Ensuring that the tire is properly sealed also minimizes the chances of air loss due to improper installation techniques.
Sealing the Bead Properly
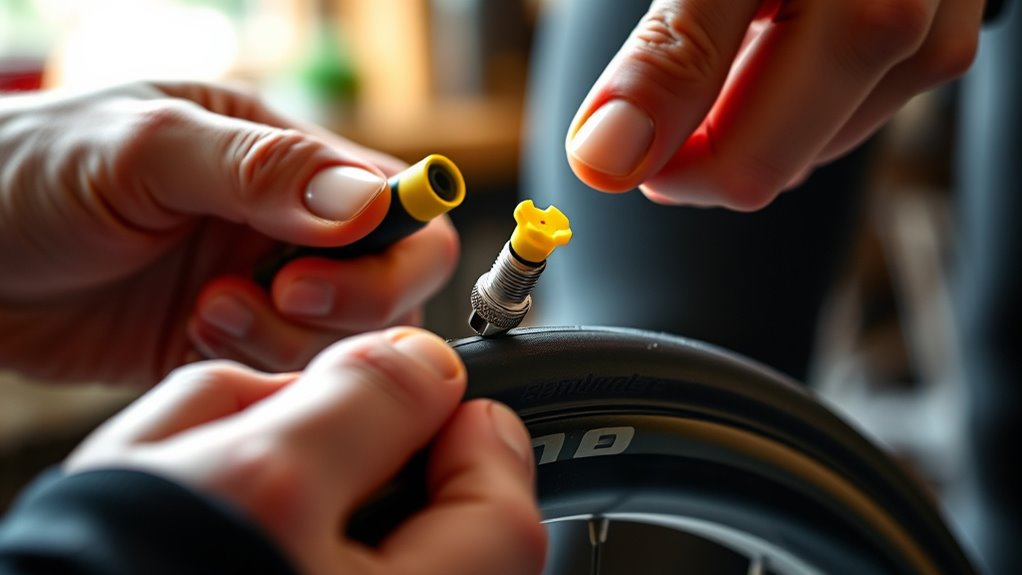
Seating the bead properly is vital to guarantee a secure and airtight tubeless setup. First, ensure the valve stem is fully seated and tightened to prevent leaks during inflation. Begin by inflating the tire slowly, aiming to push the bead against the rim flange. You’ll notice the bead seating as the tire audibly pops into place and forms a tight seal. Keep the pressure steady and consistent, using a high-volume pump if possible, to help the bead seat evenly all around. Confirm that the valve stem is correctly positioned and that the bead is fully engaged on both sides of the rim. Proper bead seating is essential for preventing leaks and ensuring your tubeless setup holds air reliably from the start. Additionally, paying attention to the riding environment and ensuring the tire is clean can help achieve a better seal.
Using Sealant Effectively
Using sealant effectively is key to ensuring your tubeless tire seats properly and maintains air pressure over time. To do this, focus on how you introduce and distribute sealant during inflation. Proper tire pressure helps seat the bead and seal any small leaks. Be aware of different valve types—Presta or Schrader—as they influence how you add sealant and inflate. Here are some tips:
- Shake the sealant bottle well before use
- Use the correct valve adapter for your valve type
- Inject sealant through the valve core or valve stem
- Inflate to recommended tire pressure immediately after sealing
- Rotate and bounce the wheel to evenly distribute sealant
- Understanding the importance of regional resources can help you access the best guidance and tools for your setup
This approach maximizes sealing performance and prolongs the lifespan of your tubeless setup.
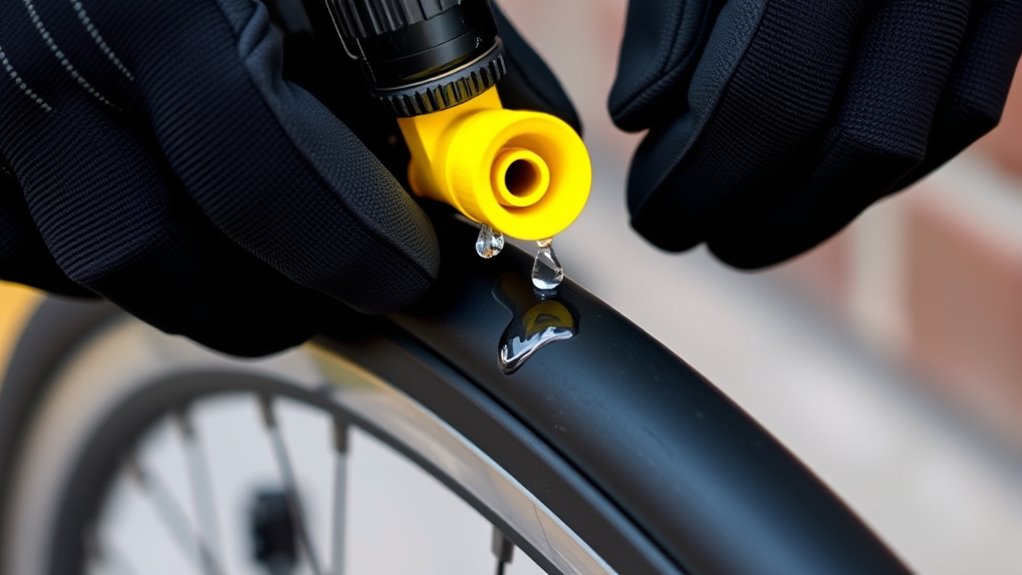
Checking for Leaks and Sealing Gaps
Before riding on your tubeless tires, it’s essential to verify for leaks and sealing gaps to guarantee they hold air properly. Start by inspecting the rim tape to ensure it’s correctly installed and covering all spoke holes; any gaps here can cause leaks. If you notice bubbles or hissing sounds, apply a small amount of sealant around the rim and check for escaping air. Remember, an inner tube isn’t used in tubeless setups, so any leaks aren’t from a tube but from improper sealing or rim tape issues. To identify leaks, spray soapy water around the tire bead and rim, watching for bubbles. Address any leaks immediately by resealing or adjusting the rim tape to prevent air loss during rides. Ensuring proper cookie consent management helps maintain transparency and trust during the setup process.
Maintaining and Replenishing Sealant Over Time
To keep your tubeless tires performing well, you need to monitor the sealant‘s lifespan and know when to add more. Watching for signs like decreased sealing ability or visible dryness helps determine how often you should top it off. Proper application guarantees your tires stay sealed and safe on the trail.
Sealant Lifespan Indicators
Over time, sealant in tubeless tires can dry out, lose its effectiveness, or harden, making it essential to monitor its condition regularly. Recognizing lifespan indicators helps you determine when to add or replace sealant. Signs of sealant degradation include frequent slow leaks, reduced sealing ability, visible crusts or clumps inside the tire, decreased foam or bubbling during inflation, and a noticeable drop in tire pressure over days. These indicators reveal that your sealant is no longer providing ideal protection. Regularly inspecting the tire’s interior or listening for hissing sounds can help catch issues early. Staying attentive to these lifespan indicators ensures your tubeless setup remains effective and prevents unexpected flats. Proper maintenance keeps your ride smooth and safe.
Replenishment Frequency Tips
Regularly replenishing your sealant is key to maintaining an effective tubeless setup, especially as it naturally dries out or loses its sealing power over time. Sealant evaporation occurs gradually, so check your tires every few months and top off as needed. A good rule of thumb is to inspect your sealant during tire rotation, which helps distribute the sealant evenly and identify any dry spots. If you notice a decrease in puncture resistance or find the sealant isn’t sealing well, it’s time for a refill. Keeping your sealant fresh guarantees ideal sealing and reduces the risk of flats. Don’t wait until you notice leaks—regular maintenance prevents issues and keeps your tubeless system performing at its best.
Proper Sealant Application
Maintaining proper sealant application requires you to carefully add sealant when needed to guarantee your tubeless tires stay sealed and puncture-resistant. Over time, sealant can dry out or become less effective, so regular checks are essential. Keep an eye on tire pressure, as fluctuations can indicate sealant loss or rim compatibility issues. To ensure peak performance:
- Check the sealant level regularly
- Add sealant through the valve stem or rim hole
- Use compatible sealant formulas for your rims
- Replenish sealant every few months or after numerous punctures
- Confirm rim compatibility before application
Proper sealant maintenance helps preserve tire pressure, prevents leaks, and extends your riding experience. Regular upkeep ensures your tubeless setup remains reliable and efficient.
Troubleshooting Common Tubeless Setup Issues
Even with careful preparation, tubeless setups can encounter common issues that hinder performance. Mounting errors often cause leaks or difficulty seating the tire. Valve issues, like improper seating or damage, can prevent inflation or cause slow leaks. To troubleshoot, double-check tire bead seating and ensure the valve is securely installed. If you experience leaks, try reinflating with a boost of pressure or using soapy water to locate leaks. Sometimes, removing and reseating the tire solves mounting errors. For valve problems, replace or reseat the valve core. Use this quick reference:
| Issue | Solution |
|---|---|
| Mounting errors | Reseat bead, re-inflate, check rim tape |
| Valve leaks | Tighten or replace valve core |
| Slow leaks | Reapply sealant or reseat bead |
| No inflation | Inspect for punctures or valve issues |
Tips for Long-Term Tubeless Tire Care and Performance
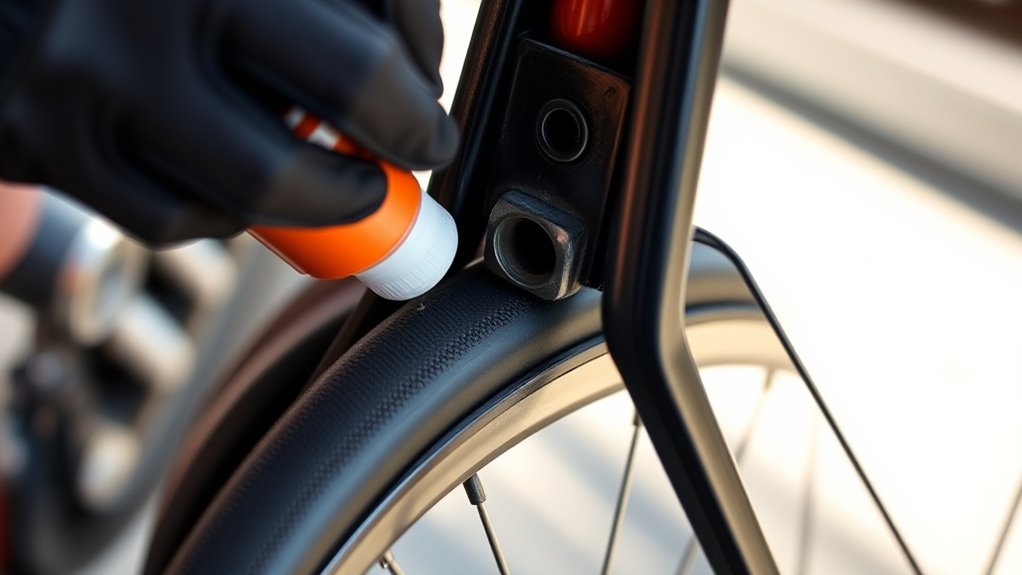
To keep your tubeless tires performing well over time, focus on consistent maintenance and careful observation. Regularly check your tire pressure to ensure it stays within recommended levels, as fluctuations can affect performance and longevity. Proper rim compatibility is essential—make sure your rims are designed for tubeless setups to prevent leaks and damage. Additionally, inspect your tires for cuts or embedded debris that could cause flats. Keep an eye on sealant levels, replenishing as needed to maintain sealing ability. Finally, rotate your tires periodically to promote even wear and prevent dry rot. Maintaining ideal tire pressure, verifying rim compatibility, and routine inspections are key to long-term tubeless success and a smooth ride.
Frequently Asked Questions
How Often Should I Replace My Tubeless Sealant?
You should replace your tubeless sealant every 2 to 6 months, depending on sealant longevity and riding conditions. Check for signs of dry or clumpy sealant, which indicate it’s time for a replacement. Regularly inspecting and revitalizing your sealant guarantees peak sealing, prevents flats, and maintains tire performance. Keep an eye on your sealant’s consistency and follow a consistent replacement schedule for the best results.
Can I Convert Any Traditional Tire to Tubeless?
Can you convert any traditional tire to tubeless? Usually, yes, but you should verify tire compatibility first. Some tires are incompatible, increasing conversion risks like leaks or blowouts. You need a compatible tire, a suitable rim, and sealant to succeed. Don’t forget, not all tires are designed for tubeless use, so confirming compatibility prevents potential problems and ensures a smooth, seamless switch to tubeless tires.
What Are Signs That My Tubeless Setup Is Failing?
You’ll notice your tubeless setup is failing if the tire bead doesn’t seat properly or if you hear frequent air leaks. Check the sealant consistency—if it’s dried out or uneven, it won’t seal well. You might also see persistent low pressure, or if you have to re-inflate often, those are signs your tubeless system isn’t holding. Address these issues promptly to avoid flats and maintain peak performance.
Does Tubeless Setup Affect Wheel or Tire Warranty?
Worrying about wheel warranty woes? Tubeless setups can sometimes complicate warranty coverage, especially if improper installation damages your wheel or tire. Always check wheel compatibility before converting, and follow manufacturer guidelines closely. Proper setup minimizes risks, ensuring your wheel remains protected under warranty. Keep in mind, if you damage parts during installation or maintenance, it might void your warranty, so proceed carefully and consult your warranty policy.
Are There Specific Tools Recommended for Tubeless Installation?
You’ll need specific tools like a tire lever designed for tubeless setups, a valve core removal tool, and a floor pump with a high-volume or pressure gauge. Make certain you have rim tape to seal the rim properly, and check that the tire bead seats correctly on the rim. These tools help guarantee a smooth installation, prevent leaks, and keep your tubeless system airtight and functioning at its best.
Conclusion
Setting up tubeless tires is like planting a seed—you need the right components, patience, and care to see it thrive. With the tips and tricks you’ve learned, you’ll build a seamless, reliable system that rides smooth and stays leak-free. Keep your sealant topped up and check for issues regularly, so your tubeless setup becomes a steady garden of performance. Ride confidently—your perfect tire setup is now in your hands, ready to grow with every mile.