As an avid electric bike enthusiast, I’ve always been drawn to the thrill of riding at night. There’s something magical about gliding through the darkness with the help of my trusty bike lights.
In this article, I’ll share my expertise on how to tap into the power source of your electric bike and install the perfect lighting system. With the right tools and a little know-how, you’ll be well on your way to safe and illuminated rides.
Let’s dive in!
Key Takeaways
- Adjust light angles to direct the beam where needed
- Choose brighter settings for dark areas and lower settings for well-lit areas
- Regularly clean and maintain lights for longevity and performance
- Ensure secure connections and check for corrosion

TS TST GRP LLC Electric Bike for Adults, Peak 1500W Motor Retro Ebike, Range 65Miles, 48V 15Ah Removable Battery, 20"x4" Fat Tires, Full Suspension, Off-Road E Bike for City Commuting
【Conquer Any Terrain: Powerful 1500W Motor】Experience unstoppable performance with our 1500W peak motor, delivering 90N.m of torque to...
As an affiliate, we earn on qualifying purchases.
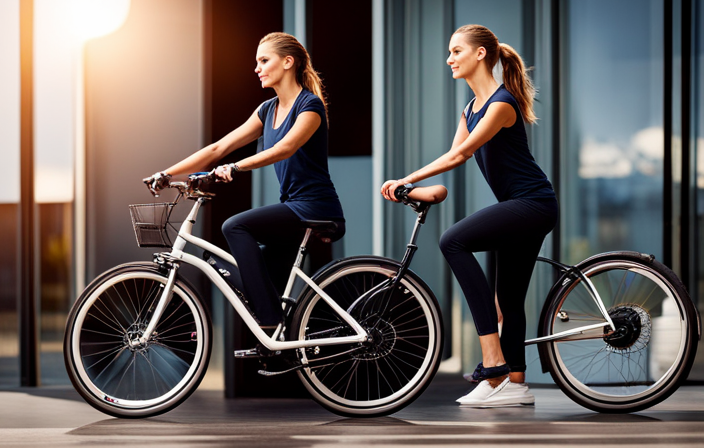
Understand the Power Source of Your Electric Bike
To understand the power source of your electric bike, you’ll need to locate the battery pack and determine whether it’s removable or built-in.
The battery is the heart of your electric bike, supplying the necessary energy to power the motor and other electrical components. There are different types of batteries commonly used in electric bikes, such as lithium-ion and lead-acid batteries, each with their own advantages and considerations.
It’s important to familiarize yourself with the specific battery type used in your electric bike to ensure proper usage and maintenance. Troubleshooting common battery issues, such as low power or a sudden decrease in battery life, can also help you identify potential problems and find solutions.
Understanding the power source of your electric bike is essential before moving on to choosing the right lighting system for your needs.

PUJH 6000W Dual Motor Ebike for Adults, 60V 20Ah Fast Electric Bike,Up to 110 Miles,24" Fat Tire Full Suspension Electric Bike for Snow Off-Road Commuter Mountain E-Bike for Men Women (Black)
🚲 【Powerful Brushless Motors】 Equipped with 6000W peak out dual motors, this electric bike delivers exceptional power and...
As an affiliate, we earn on qualifying purchases.
Choose the Right Lighting System for Your Needs
Make sure you pick the lighting system that best suits your needs. Choosing the right lighting system for your electric bike is crucial, especially if you ride at night or in low-light conditions. The benefits of using bike lights at night cannot be overstated – they enhance your visibility to other road users, increasing safety, and allowing you to see potential hazards ahead. To help you make an informed decision, consider the following table:
| Lighting System | Key Features |
|---|---|
| Headlights | Illuminate the road ahead, ensuring clear visibility |
| Taillights | Alert drivers and cyclists behind you of your presence |
| Wheel lights | Add stylish flair and enhance side visibility |
| Safety vests | Provide additional visibility and reflectivity |
Now that you understand the different lighting options available, you can move on to gathering the necessary tools and materials for the installation process.

Max4out 26 inch 7-Speed Bike,Men's/Women's Cruiser Bike Commuter Bicycle Mountain Bike Hybrid Bicycle,V Brake,Metal Frame, Adult Bike (White)
[Hybrid Bicycle] Versatile men’s hybrid touring and commuter bike, perfect for cruising, leisure rides, daily commutes, and everything...
As an affiliate, we earn on qualifying purchases.
Gather the Necessary Tools and Materials
Once you have chosen the appropriate lighting system for your needs, gather all the necessary tools and materials for installation. Here are the key items you will need:
- Screwdriver set: A screwdriver with various interchangeable heads will be essential for removing and installing screws during the process.
- Wire cutters/strippers: These tools will allow you to properly cut and strip the wires for a secure connection.
- Electrical tape: Use electrical tape to insulate and protect the exposed wires, ensuring safety and preventing any short circuits.
- Zip ties: These will help secure the wires and prevent them from getting tangled or caught in any moving parts of the bike.
- Mounting brackets: Depending on the type of lighting system you have chosen, you may need mounting brackets to securely attach the lights to your bike frame.
By gathering these tools and materials, you will be fully prepared to proceed with the proper installation techniques.
Now, let’s move on to locating the power source on your electric bike.
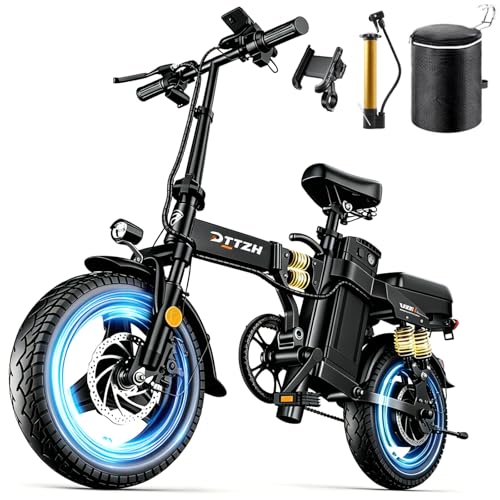
DTTZH A12 1000W Folding Ebikes for Adults, Electric Bike Foldable, 14" Commuter Foldable Ebike, 750W Motor Folding Electric Bicycle, 48V 15Ah Battery UL 2849 Certified, 60 Miles Range (Black)
[Peak 1000W Motor & 48V 15Ah Battery] - The A12 foldable ebike zips through city traffic effortlessly with...
As an affiliate, we earn on qualifying purchases.
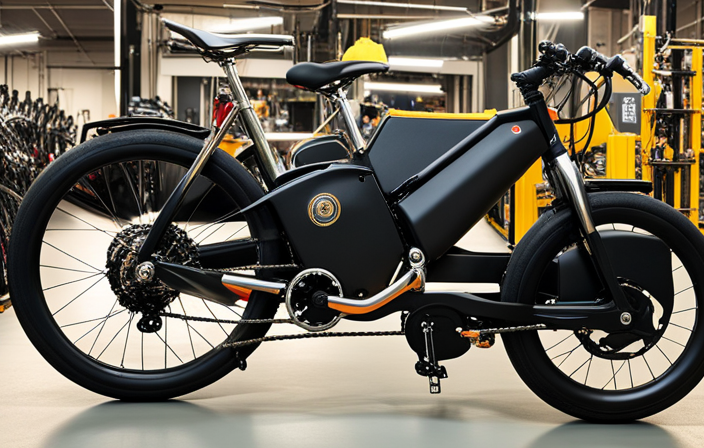
Locate the Power Source on Your Electric Bike
First, you’ll need to find where the power source is located on your e-bike. The power source is typically located near the battery or controller.
To troubleshoot common power source issues, it is important to first ensure that the power source is properly connected and securely fastened. If the lights are not turning on, check for any loose connections or damaged wires.
Upgrading the power source for brighter lights can be done by replacing the existing power source with a higher voltage or higher capacity battery. This will provide more power to the lights and improve their brightness.
In order to connect the light system to the power source, follow the instructions in the next section without writing ‘step’.
Connect the Light System to the Power Source
To connect the light system, you’ll need to ensure a secure and proper connection between the power source and the light components. Start by identifying the appropriate wires on your electric bike.
Usually, there will be a positive and negative wire for each light. Once identified, match the corresponding wires and connect them securely using electrical connectors or soldering. Make sure to troubleshoot common light connection issues such as loose connections or faulty wiring.
Additionally, consider these tips for extending the battery life of your electric bike lights: use lower brightness settings, turn off the lights when not in use, and charge the battery fully before each ride.
Once the connection is secure, you can proceed to secure the lights in the desired positions, ensuring maximum visibility and safety.
Secure the Lights in the Desired Positions
Now that you have identified the appropriate wires and connected them securely, make sure to position the lights in the desired locations for optimal visibility. Proper positioning is crucial to maximize the effectiveness of your electric bike lights.
Here are three key considerations when securing the lights:
-
Determine the ideal angle: Angle the lights to ensure they illuminate the road ahead without blinding oncoming traffic or obstructing your view.
-
Install brackets: Use sturdy brackets to securely attach the lights to your bike frame or handlebars. This will prevent them from moving or getting damaged during your rides.
-
Balance the light distribution: Position the lights evenly on both sides of your bike to create a balanced illumination that enhances your visibility from all angles.
Once you have securely positioned the lights, you can move on to testing them to ensure proper functionality.
Test the Lights to Ensure Proper Functionality
Once you’ve positioned the lights, it’s important to test them to ensure they are functioning properly. Testing the lights is a crucial step in the process of tapping in electric bike lights.
To ensure accurate results, there are several test methods and troubleshooting tips you can employ. Firstly, you can manually turn on the lights and check if they illuminate correctly. Additionally, you can use a multimeter to measure the voltage and current flowing through the lights. This will help you identify any potential issues with the electrical connections or the lights themselves.
Furthermore, it is recommended to test the lights while riding the bike to ensure they remain stable and functional under different conditions. By following these test methods and troubleshooting tips, you can guarantee that your electric bike lights are working as intended.
Now, let’s move on to adjusting the angle and brightness of the lights.
Adjust the Angle and Brightness of the Lights
You can easily adjust the angle and brightness of your lights to ensure optimal visibility while riding. Adjusting light angles is crucial to direct the light beam exactly where you need it, whether it’s straight ahead or slightly angled to the side. Most electric bike lights feature adjustable mounts or brackets that allow you to change the angle effortlessly.
This way, you can illuminate the road ahead and be aware of any potential obstacles or hazards. Additionally, choosing the right light brightness is important for both safety and energy efficiency. Brighter settings are ideal for riding in dark areas with minimal street lighting, while lower settings can be used in well-lit areas to conserve battery life. By finding the perfect balance, you can ensure your visibility without draining your battery unnecessarily.
Speaking of batteries, maintaining and cleaning your electric bike lights is essential for their longevity and performance.
Maintain and Clean Your Electric Bike Lights
Regularly cleaning and maintaining your e-bike lights will help ensure their longevity and optimal performance. Here are some cleaning tips to keep your electric bike lights in top shape:
-
Use a soft, lint-free cloth to wipe the surface of the lights. Avoid using abrasive materials that could scratch or damage the lenses.
-
Clean the lenses with a mild soap solution to remove any dirt or grime. Be sure to rinse thoroughly and dry completely before using the lights again.
-
Check the connections and wiring to troubleshoot common issues. Make sure all connections are secure and free from corrosion. If you notice any loose wires or damaged parts, it’s best to consult a professional for repair.
Enjoy Safe and Illuminated Rides on Your Electric Bike
After ensuring that your electric bike lights are well-maintained and clean, it’s time to focus on enjoying safe and illuminated rides.
By tapping into the power of your electric bike lights, you can greatly improve visibility and enhance safety on the roads. With properly functioning lights, you can confidently navigate through low-light conditions, making yourself more visible to other motorists and pedestrians. This not only reduces the risk of accidents but also increases your overall riding experience.
Additionally, by regularly checking and adjusting your lights, you can ensure that they are aligned correctly, providing maximum illumination in the right direction. Remember, a well-lit electric bike not only makes you visible but also contributes to the safety of others around you.
Frequently Asked Questions
Can I tap into the power source of any electric bike?
Yes, you can tap into the power source of most electric bikes. However, it is crucial to ensure power compatibility and prioritize wiring safety. Proper knowledge and precautions are necessary for a successful and safe integration.
What are the different types of lighting systems available for electric bikes?
When choosing lighting systems for electric bikes, it’s important to consider the pros and cons of using dynamo powered lights. Dynamo lights are reliable and don’t require batteries, but they can add extra drag. Additionally, selecting the right color temperature is crucial for optimal visibility and safety.
How do I determine the appropriate brightness level for my electric bike lights?
To determine the appropriate brightness level for your electric bike lights, start by adjusting the light settings based on your surroundings. Assess the amount of ambient light and adjust accordingly for optimal visibility.
Are there any specific tools or materials required to connect the light system to the power source?
To connect the light system to the power source, you will need a few tools and materials. Tools required include wire cutters, wire strippers, and a soldering iron. Materials needed include wires, connectors, and heat shrink tubing.
How often should I clean and maintain my electric bike lights for optimal performance?
To ensure optimal performance, it is important to clean and maintain electric bike lights regularly. This includes removing any dirt or debris, checking for any loose connections, and inspecting the condition of the bulbs. Regular maintenance helps prolong the lifespan and functionality of the lights.
Conclusion
In conclusion, tapping into the power source of your electric bike lights is a simple and essential task for any rider. By understanding the power source, choosing the right lighting system, and connecting it properly, you can ensure a safe and illuminated ride.
Remember to test the lights for functionality, adjust their angle and brightness, and regularly maintain and clean them. By following these steps, you can enjoy the convenience and safety of well-lit rides on your electric bike.
So, get ready to pedal into the night with confidence and style!