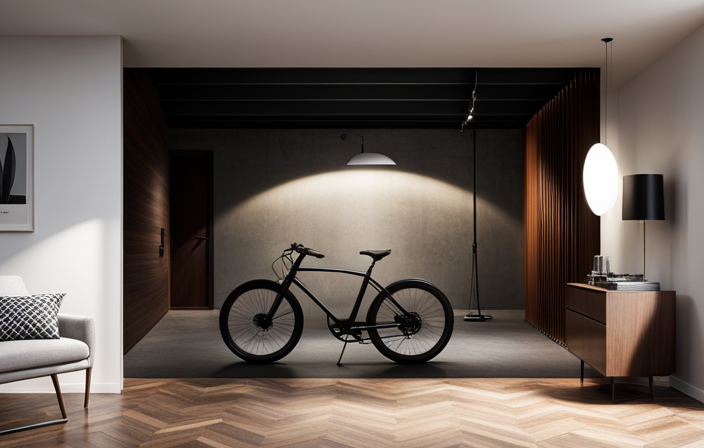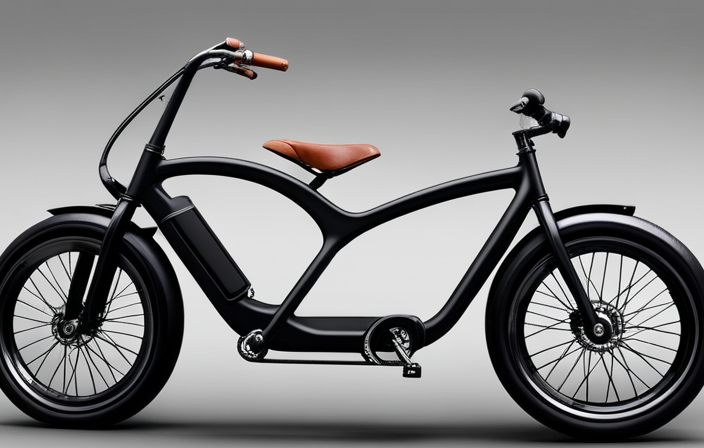
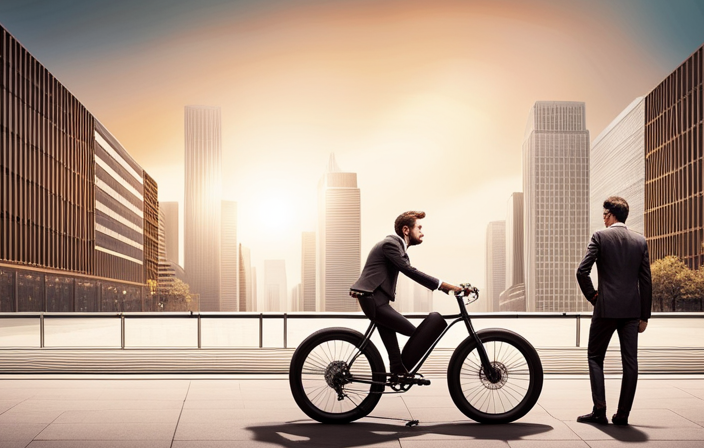
Picture yourself riding by the shore, with the breeze flowing through your hair and the sun shining on your cheeks. Now, envision enhancing your beach cruiser with the **speed** and ease of an electric motor. Discover the thrill and freedom of riding with added power at your fingertips. Experience a whole new level of cruising by electrifying your beach adventure. Start your journey to an electrifying beach ride today and revolutionize the way you explore the coast!
With the right conversion kit and a little know-how, you can transform your beloved bike into an electric powerhouse. In this article, I will guide you through the step-by-step process of turning your beach cruiser into an electric bike, from selecting the right conversion kit to fine-tuning the performance.
Get ready to elevate your beach cruising experience to a whole new level.
Key Takeaways
- Optimizing gear ratio and chain tension is essential for better performance, smooth operation, and improved acceleration, speed, and handling.
- Testing the e-cruiser on various terrains helps evaluate its performance, including acceleration, speed, and handling on flat roads, hills, and rough surfaces.
- Paying attention to unusual noises, vibrations, or jerky movements can help identify potential issues with loose or damaged electrical connections, brakes, and motor settings.
- Converting a beach cruiser to an electric bike offers benefits such as effortless navigation through traffic, faster travel and reduced commuting time, decreased physical strain, and cost savings compared to gasoline or public transportation fees.

SAVADECK Carbon Gravel Bike - T800 Carbon Frame & Fork | Shimano U6000 11-Speed Groupset | Hydraulic Disc Brakes | 700CX40mm All-Terrain Tires | Men & Women Road/Off-Road Bicycle (Gray, 53cm)
【Ultralight T800 Carbon Performance】: Featuring a premium T800 R21 carbon fiber frame and fork weighing just 10.4kg (22.92...
As an affiliate, we earn on qualifying purchases.
Selecting the Right Conversion Kit for Your Cruiser
You should start by selecting the right conversion kit for your cruiser. When it comes to electric motor types, there are a few options to consider. The most common types are hub motors and mid-drive motors. Hub motors are easier to install and require less maintenance, while mid-drive motors provide better torque and performance. Depending on your needs, you can choose a motor with varying power outputs.
Battery capacity options are another important factor to consider. The capacity of the battery determines how far you can ride on a single charge. It is important to choose a battery with enough capacity to meet your desired range. Common battery options include 36V and 48V batteries, with higher voltage batteries offering more power and longer range.
By carefully considering the electric motor type and battery capacity options, you can select the right conversion kit for your beach cruiser and transform it into an efficient and powerful electric bike.
SAVADECK Carbon Gravel Bike - T800 Carbon Frame & Fork, Shimano GRX400 10-Speed Groupset, Hydraulic Disc Brakes, 700C x 40mm Tires - Lightweight Design for Road & Off-Road Adventures (Black, 58cm)
【Ultra-Lightweight T800 Carbon Frame】Built with a T800 R21 carbon fiber frame and fork, this bike weighs just 10.4kg...
As an affiliate, we earn on qualifying purchases.
Gathering the Necessary Tools and Equipment
First, gather all the essential tools and equipment needed for the conversion process. Here is a list of items you will need:
-
Wrench set: This will help you remove and install various components such as the pedals, bottom bracket, and handlebars.
-
Wire cutters: You’ll need these to trim and strip wires during the installation of the electric components.
-
Multimeter: This tool is essential for troubleshooting electrical issues and ensuring proper connections.
-
Safety gear: Don’t forget to wear a helmet and protective eyewear to safeguard yourself during the conversion process.
When converting a beach cruiser to an electric bike, there are some common challenges to keep in mind. The weight of the battery and motor can affect the bike’s balance and handling, so it’s important to distribute the weight evenly. Additionally, consider safety considerations such as ensuring the brakes are in good working condition and the electrical connections are secure.
Taking these precautions will help ensure a successful and safe conversion.

Faireach 800D Heavy Duty Bike Cover for Transport 2 Bikes, Outdoor Bike Covers for 2 Bikes on Rear Bike Rack, Waterproof Windproof Electric Bicycle Cover with Straps & Storage Bag
800D Heavy Duty & Super Waterproof Bike Cover: Crafted from premium 800D Oxford fabric with PU coating, Faireach...
As an affiliate, we earn on qualifying purchases.
Removing the Pedals and Crankset
After gathering all the necessary tools and equipment, it’s time to remove the pedals and crankset. This step is crucial in upgrading the beach cruiser’s drivetrain and converting it into a pedal-free electric bike.
To begin, I will need a pedal wrench and a crank puller. First, I will loosen the pedal bolts using the pedal wrench in a counterclockwise direction. Once the pedals are loose, I can use my hands to remove them completely.
Next, I will use the crank puller to remove the crankset. This tool will thread into the crank arm, applying pressure and pulling it off the bottom bracket spindle.
With both the pedals and crankset removed, the beach cruiser is now ready for the next step in the conversion process.

Topcrown Bike Cover Waterproof Outdoor Storage for 1/2/3 Bikes, Bicycle Cover Rain Sun UV Dust Wind Proof with Storage Bag for Mountain Road Bike/Ebike (210D Black+Green, XL Size for 1 bike)
Fabric Characteristics - Topcrown bike cover uses 210D fabric combined with a hydrophobic coating, PU waterproof coating, and...
As an affiliate, we earn on qualifying purchases.
Installing the Electric Motor and Battery
To start, it’s time to install the electric motor and battery. This step is crucial in turning a beach cruiser into an electric bike. Here’s what you need to do:
-
Installing the motor controller:
- Begin by finding a suitable location on the bike frame to mount the motor controller.
- Secure the controller using zip ties or brackets, ensuring it is well-protected from vibrations and moisture.
- Connect the motor controller to the electric motor according to the manufacturer’s instructions.
-
Choosing the right battery capacity:
- Consider the range you desire and the weight of the bike when selecting a battery.
- Calculate the power requirements based on the motor’s voltage and current specifications.
- Choose a battery with sufficient capacity to meet your needs, taking into account factors like terrain and rider weight.
By following these steps, you will successfully install the electric motor and battery, bringing your beach cruiser to life as an electric bike.
Connecting the Wiring and Controls
When connecting the wiring and controls, I always make sure to follow the manufacturer’s instructions and secure all connections properly. This is crucial for the safe and efficient operation of the electric bike.
Before starting the wiring process, it is important to have a clear understanding of the electrical components and their functions. I begin by carefully routing the wires along the frame, making sure to avoid any areas where they could get pinched or damaged.
I then connect the wires to the appropriate terminals on the motor and battery, double-checking that the connections are tight and secure. Once the wiring is complete, I perform a thorough inspection to ensure everything is in order.
If any issues arise, I refer to the troubleshooting guide provided by the manufacturer, taking all necessary safety precautions throughout the process.
Mounting the Battery and Controller
After successfully connecting the wiring and controls, it’s time to move on to the next step: mounting the battery and controller. This is a crucial part of the process as it ensures the functionality and efficiency of your electric beach cruiser.
When it comes to mounting the battery and controller, it is important to consider their compatibility. Ensure that the battery and controller are designed to work together, as this will optimize performance and prevent any potential issues.
Additionally, it’s essential to take into account the mounting options for different bike frames. Depending on the bike frame you have, there may be specific mounting points or brackets available. It’s crucial to choose the appropriate method for your bike to ensure a secure and stable attachment. This will prevent any unwanted movement or damage to the battery and controller while riding.
Attaching the Throttle and Brake Sensors
Attaching the throttle and brake sensors is an important step in the installation process of the electric beach cruiser. The throttle installation allows the rider to control the speed of the bike by twisting or pressing a lever. It is usually mounted on the handlebars for easy access. The brake sensor attachment ensures that the motor is disengaged when the rider applies the brakes, providing a safer riding experience. To attach the throttle, follow the manufacturer’s instructions and secure it to the handlebars using the provided mounting hardware. As for the brake sensors, they are typically installed near the brake levers. Connect the sensor wires to the corresponding brake wires and secure them in place. After completing these steps, ensure that the throttle and brake sensors are functioning properly before proceeding with the rest of the installation process.
| Throttle Installation | Brake Sensor Attachment |
|---|---|
| Follow manufacturer’s instructions | Install near brake levers |
| Secure to handlebars using mounting hardware | Connect sensor wires to brake wires |
| Test functionality | Ensure secure attachment |
Adjusting the Gearing for Optimal Performance
To optimize your performance, adjust the gearing of the electric beach cruiser for a smoother ride. Achieving the optimal gear ratio is crucial for efficient power transfer and increased speed. Here are five key steps to adjust the gearing for optimal performance:
- Determine your desired gear range based on your riding needs and terrain.
- Install a larger or smaller front chainring to adjust the gear ratio.
- Adjust the chain tension by loosening or tightening the rear derailleur.
- Test ride the bike to ensure the chain is running smoothly and not skipping gears.
- Fine-tune the gear ratio by making small adjustments to the front or rear derailleur.
By optimizing the gear ratio and adjusting the chain tension, you can enhance the performance of your electric beach cruiser, ensuring a smoother and more enjoyable ride.
Testing and Fine-Tuning Your Electric Beach Cruiser
Once you have adjusted the gearing, it’s important to test and fine-tune your electric beach cruiser to ensure optimal performance.
Testing methods play a crucial role in identifying any issues and making necessary adjustments. Start by taking your e-cruiser for a test ride on various terrains, including flat roads, hills, and rough surfaces. This will allow you to evaluate the bike’s acceleration, speed, and handling.
Pay close attention to any unusual noises, vibrations, or jerky movements, as these may indicate mechanical problems. Additionally, test the battery life and charging time to ensure they meet your expectations.
Troubleshooting tips include checking all electrical connections for loose or damaged wires, inspecting the brakes for proper functionality, and adjusting the motor settings if needed.
Regular testing and fine-tuning will guarantee a smooth and enjoyable ride on your electric beach cruiser.
Enjoying the Benefits of Electric Bike Conversion
Get ready to experience the countless benefits of converting your regular bike into an electric one.
Electric bike conversion opens up a whole new world of possibilities for commuting. One major advantage is the ease of travel. With an electric bike, you can effortlessly navigate through traffic and reach your destination faster.
Another benefit is the reduction in physical strain. Electric bikes provide assistance when pedaling, making it easier on your joints and muscles.
Additionally, electric bike commuting is environmentally friendly. By choosing to ride an electric bike, you are reducing your carbon footprint and contributing to a cleaner and healthier planet.
Finally, electric bike conversion saves you money in the long run. You no longer have to rely on expensive gasoline or public transportation fees.
Enjoy the convenience and savings that come with electric bike conversion.
Frequently Asked Questions
Can I convert any type of beach cruiser into an electric bike?
I can convert most beach cruiser models into electric bikes, but compatibility issues may arise with certain models. Converting a beach cruiser can present challenges and limitations, such as frame design or lack of space for batteries and motor components.
How much does a conversion kit for a beach cruiser typically cost?
The cost of a conversion kit for a beach cruiser varies depending on the brand and features, but on average, it ranges from $300 to $800. However, the benefits of electric beach cruisers outweigh the cost comparison.
Do I need any specialized tools or equipment to convert my beach cruiser?
To convert my beach cruiser into an electric bike, specialized tools such as wrenches, screwdrivers, and a wire cutter may be needed. Additionally, equipment like a conversion kit, battery pack, and motor will also be necessary.
How long does it usually take to complete the conversion process?
The conversion process timeline for turning a beach cruiser into an electric bike varies depending on the individual’s experience and the complexity of the project. Common challenges in beach cruiser conversion include finding the right components and ensuring proper installation.
Can I still ride my electric beach cruiser without using the electric motor?
Yes, you can still ride your electric beach cruiser without using the electric motor. By choosing not to engage the electric assist, you can enjoy a traditional riding experience while still benefiting from the added convenience and power when desired.
Conclusion
As I stand on the sandy shores, my newly converted electric beach cruiser beside me, I can’t help but feel a sense of accomplishment.
The journey from a simple cruiser to a powerful electric bike was not an easy one, but the end result is worth every effort.
The conversion kit, tools, and precise installation have transformed this cruiser into a symbol of freedom and efficiency.
With the wind in my hair and the smooth hum of the electric motor, I am ready to embark on new adventures, exploring the world in a whole new way.