Were you aware that electric bike sales have been on the rise for the past ten years? If you’re considering jumping on the electric biking bandwagon, you’re in the right spot.
In this article, I will guide you through the step-by-step process of turning your regular bike into an electric bike. From assessing compatibility to installing the motor and battery, I will provide you with all the technical details and precise instructions you need to successfully upgrade your bike.
Let’s get started!
Key Takeaways
- Proper wire management is essential for safety and organization during the electric bike conversion.
- Thorough testing and calibration of the electric system ensures a seamless and efficient ride.
- Reinstalling the rear wheel correctly is crucial for the successful completion of the electric bike conversion.
- Fine-tuning and adjusting the electric bike conversion improves power output, throttle response, and overall performance.
Assess Your Bike’s Compatibility
Before you start, make sure your bike is compatible with the necessary components for an electric conversion.
Begin by conducting a compatibility check to determine if your bike meets the requirements for the conversion process. Assess whether your bike has the appropriate frame, fork, and dropouts to support the added weight and power of an electric motor.
Additionally, consider the availability of space to accommodate the battery and wiring. If your bike lacks compatibility, necessary modifications may be required, such as reinforcing the frame or upgrading the suspension.
Once you have determined your bike’s compatibility, you can proceed to the next step of choosing the right electric bike conversion kit. This will ensure that all the components seamlessly integrate with your bike, allowing for a successful electric conversion.
Choose the Right Electric Bike Conversion Kit
When you’re ready to take your two-wheeled companion to the next level, it’s time to find the perfect electric bike conversion kit. Like a bolt of lightning that electrifies your ride, these kits are an excellent way to transform your regular bike into an electric-powered one, offering a range of advantages.
These kits typically include a motor, battery, controller, and other necessary components. One of the main advantages is that they are relatively affordable compared to purchasing a new electric bike. Additionally, converting your bike allows you to keep your familiar and comfortable frame while enjoying the benefits of electric assistance.
However, it’s important to consider some disadvantages too. Conversion kits can add extra weight to your bike, affecting its handling and maneuverability. They may also require some technical skills and tools for installation.
With this in mind, let’s move on to the next section and gather the necessary tools and equipment for the conversion process.
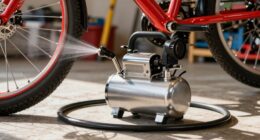
Gather the Necessary Tools and Equipment
To transform your trusty bicycle into a powerful electric ride, you’ll need to gather all the essential tools and equipment.
The first step is to assess the compatibility of your bike with the chosen conversion kit. Make sure to choose a kit that is suitable for your bike’s frame and wheel size.
To gather the necessary tools, you’ll need a set of metric wrenches, a pair of pliers, a wire cutter, and a screwdriver. Additionally, you’ll need a torque wrench to ensure proper tightening of bolts. It is also recommended to have a bike stand or a sturdy surface to work on.
Once you have gathered all the tools and equipment, you can proceed to the next step of removing the bike’s rear wheel. This is a crucial step in the conversion process as it allows for the installation of the electric motor.
Remove the Bike’s Rear Wheel
After gathering all the necessary tools and equipment, it’s time to give your bicycle a little "surgery" by removing its rear wheel, creating a blank canvas for the installation of the electric motor. Converting a bike into an electric bike offers numerous benefits, such as increased speed and ease of riding, reduced effort required for uphill climbs, and the ability to travel longer distances without fatigue. However, removing the bike’s rear wheel can present some common challenges. These include dealing with stubborn bolts or axles, ensuring proper alignment when reattaching the wheel, and potential damage to the bike’s frame or components. By carefully following the manufacturer’s instructions and using the appropriate tools, these challenges can be overcome. Now that the rear wheel has been removed, let’s move on to the next step of installing the electric motor and battery.
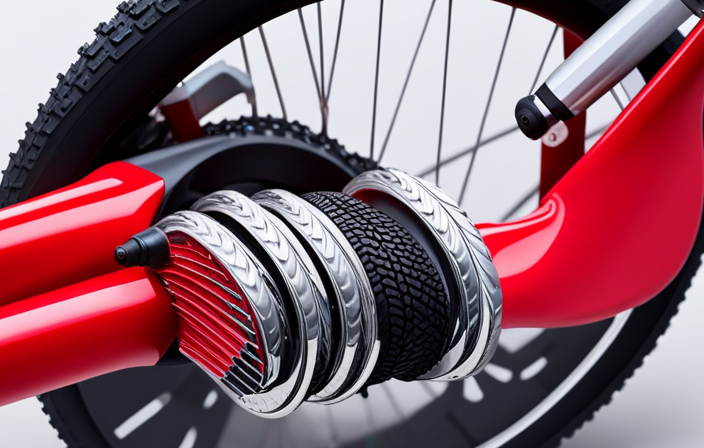
Install the Electric Motor and Battery
First, you’ll need to attach the electric motor and battery to your bicycle, creating the power source for your enhanced riding experience.
Begin by connecting the motor to the bike’s drivetrain. This step involves carefully aligning the motor with the rear wheel and securing it in place using the appropriate mounting brackets. Ensure that the motor is firmly attached and properly aligned with the chain and gears to allow for smooth operation.
Next, mount the battery and controller onto the frame of the bicycle. Find a suitable location that provides easy access and balance, while also considering the weight distribution of the bike. Secure the battery and controller using brackets or straps, ensuring they are tightly fastened and protected from any potential damage.
With the motor and battery securely in place, you can now move on to the next step of connecting the motor to the bike’s drivetrain, allowing for seamless power transfer and an electrifying ride.
Connect the Motor to the Bike’s Drivetrain
Attach the electric motor to your bicycle’s drivetrain, allowing for an enhanced riding experience with seamless power transfer. Here’s how to connect the motor to the bike’s drivetrain:
-
Motor Alignment: Ensure that the motor is aligned properly with the drivetrain. Align the sprocket on the motor with the chainring on the crankset to maintain efficient power transmission.
-
Troubleshooting Tips: If there are any issues with motor alignment, check if the chain is properly tensioned and aligned on the rear sprocket. Also, make sure the motor is securely attached to the frame and there are no obstructions hindering the drivetrain’s movement.
-
Test and Adjust: Once the motor is connected, test the drivetrain by pedaling the bike manually. Make any necessary adjustments to ensure smooth operation and avoid any chain skipping or misalignment.
To complete the conversion process, the next section will guide you on how to mount the battery and controller seamlessly.
Mount the Battery and Controller
After successfully connecting the motor to the bike’s drivetrain, the next step is to mount the battery and controller. This is a crucial step in converting your bike into an electric one.
There are various mounting options available depending on your bike’s frame and design. It is essential to choose a secure and stable location to ensure the safety and functionality of your electric bike.
Additionally, troubleshooting tips should be kept in mind, such as ensuring proper insulation and protection for the battery and controller to prevent any damage from vibrations or external elements.
With the battery and controller securely mounted, we can now move on to the next step, which is installing the throttle and/or pedal assist sensor to complete the conversion process seamlessly.
Install the Throttle and/or Pedal Assist Sensor
To seamlessly complete the conversion process, you will now need to install either the throttle or the pedal assist sensor on your newly transformed bicycle.
When installing the throttle, it is crucial to follow the instructions carefully to ensure correct placement and functionality. Begin by identifying the appropriate location on the handlebars and securely attach the throttle. Make sure to route the wiring in a way that avoids interference with other components.
On the other hand, if you choose to install the pedal assist sensor, be aware of common issues that may arise. Troubleshoot problems such as incorrect sensor alignment or faulty wiring connections to ensure optimal performance.
Once the throttle or pedal assist sensor is successfully installed, you can proceed to the next section, where we will discuss how to securely and route the wiring, integrating it seamlessly with your electric bike.
Secure and Route the Wiring
Now it’s time to ensure the safety and organization of your wiring, creating a seamless and professional-looking electric bicycle transformation. To achieve this, follow these routing techniques and cable management tips:
-
Begin by identifying the optimal path for your wires, ensuring they are tucked away from moving parts and potential hazards.
-
Use zip ties or cable clips to secure the wiring along the frame, keeping it neat and preventing it from hanging loose.
-
Bundle together wires that run parallel to each other, using Velcro straps or zip ties to keep them organized and minimize tangling.
-
If necessary, use heat shrink tubing or electrical tape to protect exposed wires and connections from moisture and wear.
With the wiring securely and neatly routed, you are now ready to move on to the next step of testing and calibrating the electric system.
Test and Calibrate the Electric System
Once you’ve successfully secured and organized the wiring, it’s time to put the electric system to the test and fine-tune its calibration, ensuring a thrilling and seamless ride every time.
To begin, start by testing the electric system’s functionality. Check if the battery is fully charged and connect it to the controller. Make sure all the connections are secure and that the motor is properly aligned with the bike’s drivetrain.
Next, turn on the electric system and test the throttle, brakes, and any other control features. Pay close attention to any unusual noises or vibrations.
Once the system is running smoothly, it’s time to calibrate it. This involves adjusting the motor’s power output, throttle sensitivity, and speed limits to suit your preferences. Experiment with different settings until you find the perfect balance of power and control.
Finally, with the electric system successfully tested and calibrated, it’s time to reinstall the rear wheel and get ready for an electrifying ride.
Reinstall the Rear Wheel
First, you’ll need to securely attach the rear wheel back onto your bicycle frame, ensuring a proper alignment with the chain and gears. This step is crucial as it provides the foundation for installing the motor and completing the rear wheel installation.
Begin by carefully placing the wheel into the dropouts, making sure it sits evenly on both sides. Next, tighten the axle nuts or quick-release skewer to hold the wheel in place. Check that the wheel spins freely and that the brakes are properly aligned.
Once the rear wheel is securely installed, you can move on to the next step of the electric bike conversion process. Make sure the chain is properly aligned and runs smoothly over the gears to ensure optimal performance. Next, connect the wiring from the motor to the controller, following the manufacturer’s instructions carefully. As you convert to electric bike functionality, double-check all connections to avoid any issues during operation.
Adjust and fine-tune the electric bike conversion to optimize performance and ensure a smooth ride.
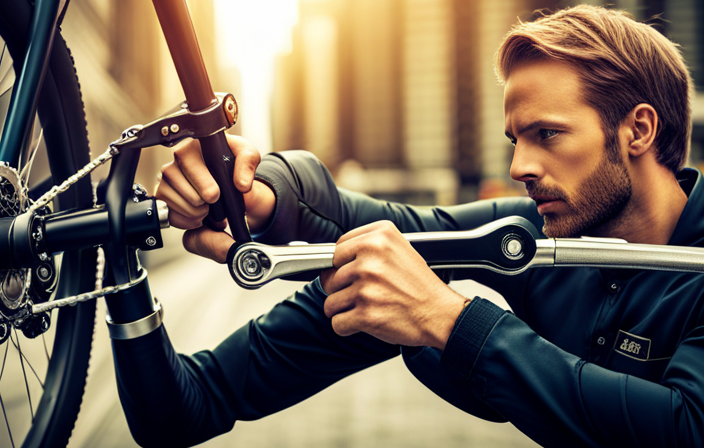
Adjust and Fine-tune the Electric Bike Conversion
To optimize performance and ensure a smooth ride, it’s crucial to make precise adjustments and fine-tune the electric bike conversion.
Fine-tuning performance is essential to achieving the desired power and efficiency. Here are some important steps to help you fine-tune your electric bike conversion:
- Adjust the motor controller settings to optimize power output.
- Fine-tune the throttle response to achieve better acceleration control.
- Troubleshoot common issues such as motor overheating or battery drains.
By carefully adjusting these aspects, you can enhance the overall performance of your electric bike.
Once you have fine-tuned your conversion, it’s important to ensure proper safety measures are in place to protect yourself and others. This includes wearing a helmet, using appropriate signaling devices, and following traffic rules.
Safety should always be a top priority when riding an electric bike.
Ensure Proper Safety Measures
Make sure you prioritize your safety by wearing a helmet, using proper signaling devices, and following traffic rules while riding your electric bike conversion.
Ensure proper safety measures by conducting thorough research on the legal requirements for electric bikes in your area. This includes understanding the maximum speed limits, age restrictions, and any additional safety equipment that may be required.
It is also important to regularly inspect your electric bike conversion for any signs of wear and tear, such as loose wires or malfunctioning brakes, and address them promptly.
Additionally, consider installing additional safety features such as lights, reflectors, and a bell to increase visibility and alert others of your presence on the road.
By taking these precautions, you can enjoy your upgraded electric bike with peace of mind and confidence.
Enjoy Your Upgraded Electric Bike
After ensuring proper safety measures, it’s time to enjoy the fruits of your labor and experience the thrill of riding your upgraded electric bike. By upgrading bike components and improving bike performance, you can enhance your riding experience to a whole new level.
Here are four essential components to consider upgrading:
- Battery: Invest in a high-capacity lithium-ion battery for longer rides.
- Motor: Upgrade to a more powerful motor for increased speed and torque.
- Controller: Install a programmable controller to customize your riding preferences.
- Brakes: Upgrade to hydraulic disc brakes for improved stopping power and safety.
With these upgrades, you’ll notice a significant boost in speed, range, and overall performance.
Now, let’s transition into the next section and learn how to maintain and service your electric bike regularly to ensure its longevity and optimal functioning.
Maintain and Service Your Electric Bike Regularly
Regular maintenance and servicing of my e-bike ensures optimal performance and longevity, allowing me to enjoy countless thrilling rides.
When it comes to electric bikes, regular maintenance is of utmost importance. By following a few simple steps, I can keep my electric bike running smoothly and avoid any potential issues.
Firstly, I need to regularly clean the bike, paying special attention to the chain, gears, and brakes. This helps prevent dirt and debris from causing unnecessary wear and tear.
Secondly, I should regularly inspect the tires for any signs of damage or wear, and replace them if necessary. Additionally, I need to check the battery and charging system regularly, ensuring it is functioning properly.
Finally, it is important to be aware of common issues that may arise during servicing, such as loose connections, faulty wiring, or motor issues. By addressing these issues promptly, I can ensure my electric bike continues to perform at its best.
Frequently Asked Questions
How long does it take to complete the electric bike conversion process?
The electric bike conversion process can typically be completed in a few hours. Basic mechanical and electrical skills are required to ensure a smooth conversion, including knowledge of battery installation, motor attachment, and wiring connections.
Can any bike be converted into an electric bike?
Yes, any bike can be converted into an electric bike through bike modification. This involves adding electric bike components such as a motor, battery, and controller. The process requires technical expertise and precise installation for optimal performance.
What are the benefits of converting a bike into an electric bike?
Converting a bike into an electric one offers numerous advantages. Increased speed, reduced effort, and extended range are just a few benefits. However, it’s crucial to consider the disadvantages such as cost, added weight, and maintenance requirements.
Are there any legal regulations or restrictions for riding an electric bike?
When riding an electric bike, it is important to consider safety regulations such as wearing a helmet and following traffic laws. Additionally, electric bikes have a lower environmental impact compared to traditional bikes as they produce zero emissions.
How much does an electric bike conversion kit cost?
An electric bike conversion kit typically costs between $200 and $1000, depending on the quality and features. You can find electric bike conversion kits online or at specialty bike shops.
Conclusion
After successfully converting my bike into an electric bike, I can confidently say that it is a game-changer! The process was not as daunting as I expected, thanks to the comprehensive guide and the right conversion kit.
With a simple removal of the rear wheel and installation of the electric motor and battery, my bike was transformed into a powerful and efficient mode of transportation. I can now zoom through the streets with ease, feeling like I have superhuman strength.
It’s truly a revolutionary experience that I highly recommend to all biking enthusiasts.