
I’ve always loved the thrill of mountain biking, but sometimes the steep climbs and long distances can be a challenge. That’s why I decided to turn my mountain bike into an electric bike.
With the right conversion kit and a little know-how, I was able to transform my trusty ride into a powerful and efficient electric machine. In this article, I’ll walk you through the process step by step, so you too can enjoy the benefits of an electrified mountain biking experience.
Key Takeaways
- Properly attach H2 and other components following manufacturer’s instructions
- Reattach brakes, gears, and pedals after assembly
- Test ride the electric bike to ensure proper functionality
- Fine-tune gears, brakes, and suspension for optimal performance

Under Armour Squeeze Water Bottles, 32 oz Water Bottles, Sideline Sports Water Bottle with Quick-Shot Lid, Quick & Easy Hydration, Gym Water Bottles, Squeeze Bottle, 1 32oz Bottle
- Easy Hydration: Quick-shot lid and one-way valve
- On-the-Go Use: One-hand operation for active hydration
- Measurement Markings: Ounces and milliliters for tracking
As an affiliate, we earn on qualifying purchases.
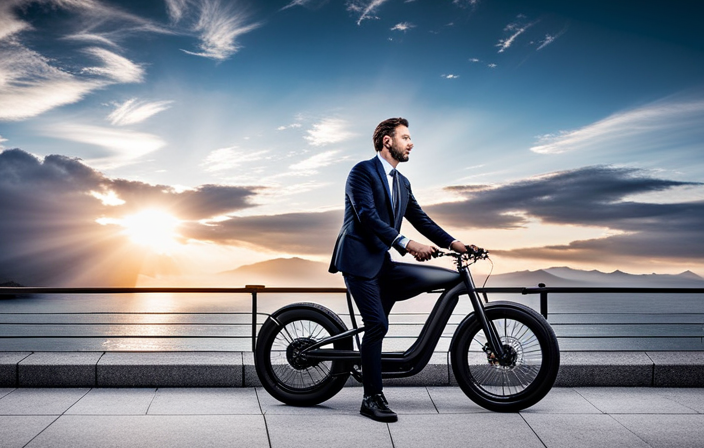
Understand the Benefits of Converting to an Electric Bike
You’ll want to understand the benefits of converting your mountain bike into an electric bike.
There are several advantages to making this conversion. First and foremost, an electric bike allows you to enjoy the thrill of cycling while also being able to cover longer distances with less effort. It provides you with the option to switch between pedaling and using the electric motor, giving you more control over your ride.
Additionally, converting your mountain bike into an electric bike is a cost-effective alternative to purchasing a new electric bike. It allows you to utilize the bike you already own and love, while also enjoying the benefits of electric assistance. By converting your mountain bike, you can experience the advantages of an electric bike without having to invest in a completely new one.
Moving on to the next section, we will discuss how to choose the right conversion kit for your mountain bike.
Choose the Right Conversion Kit for Your Mountain Bike
Finding the appropriate conversion kit for your mountain bike is crucial. When choosing the right conversion kit, it is important to consider your budget and the compatibility of the kit with your bike. There are various conversion kits available in the market, each with its own specifications and features. To help you make an informed decision, I have created a table that compares three popular conversion kits based on their price range, motor power, and battery capacity.
| Conversion Kit | Price Range | Motor Power | Battery Capacity |
|---|---|---|---|
| Kit A | $500-$700 | 750W | 48V, 10Ah |
| Kit B | $800-$1000 | 1000W | 52V, 12Ah |
| Kit C | $1200-$1500 | 1500W | 48V, 14Ah |
Gather the Necessary Tools and Equipment
To start the conversion process, gather all the tools and equipment needed for the transformation. Choosing the right conversion kit is crucial to ensure a successful conversion from a regular mountain bike to an electric bike.
You will need a conversion kit that is compatible with your specific bike model and has the necessary components such as a motor, battery, controller, and wiring harness. Additionally, make sure to have the proper installation and wiring tools, including wrenches, screwdrivers, wire cutters, and electrical tape.
These tools will allow you to remove the existing components from your mountain bike and install the new electric components seamlessly. With the right tools and equipment, you’ll be ready to move onto the next stage of the conversion process.
Remove the Existing Components from Your Mountain Bike
First, remove the existing components from your bike to prepare for the conversion process.
Converting a mountain bike into an electric bike offers numerous benefits, including extended range, increased speed, and reduced effort during uphill climbs.
To start, remove the wheels by loosening the quick-release levers or unscrewing the axle nuts.
Next, disconnect the brakes by releasing the cable tension and removing the brake calipers.
Then, detach the derailleur by loosening the bolt that holds it in place and sliding it off the rear axle.
Finally, remove the chain by breaking the chain link with a chain tool.
Install the Electric Motor and Battery
Once you’ve removed the existing components, it’s time to install the electric motor and battery for your newly converted bike.
Begin by positioning the electric motor onto the bike frame, making sure it aligns with the chain and rear wheel. Secure it firmly using the provided mounting brackets and screws.
Next, attach the battery to a designated spot on the frame using straps or brackets, ensuring it is securely fastened.
Connect the motor to the battery using the provided wiring harness, ensuring proper alignment and connection.
Finally, test the electric motor and battery installation by turning on the power and engaging the throttle.
This will allow you to transition smoothly into the next section, where we will discuss how to connect the wiring and ensure proper functioning.
Connect the Wiring and Ensure Proper Functioning
After securing the electric motor and battery, it’s important to connect the wiring correctly to ensure proper functioning of the conversion.
Begin by identifying the wiring connections on both the motor and battery.
Match the corresponding wires and connect them securely using insulated connectors or soldering them together.
Double-check the connections to make sure they are tight and secure.
It’s crucial to follow the wiring diagram provided by the manufacturer to avoid any confusion.
In case of any troubleshooting, check for loose connections or damaged wires.
Test the system by turning on the power and observing the motor’s response.
If there are any issues, refer to the troubleshooting tips in the instruction manual or seek assistance from a professional.
Once the wiring connections are complete, you can move on to installing the electric bike display and controls, which will give you full control over your electric bike’s performance.
Install the Electric Bike Display and Controls
To install the electric bike display and controls, make sure to carefully follow the instructions provided by the manufacturer. This step is crucial in ensuring the proper functioning of your electric bike.
Here are the key steps to successfully install the electric bike display and controls:
- Begin by locating the designated mounting area on your handlebars for the display.
- Attach the display securely to the handlebars using the provided mounting hardware.
- Connect the wiring from the display to the appropriate connectors on your electric bike’s control unit.
By following these steps, you will have successfully installed the electric bike display and controls, allowing you to monitor and adjust various settings while riding.
Now, it is time to reassemble your mountain bike with the new components, integrating the electric bike conversion kit seamlessly into your existing setup.
Reassemble Your Mountain Bike with the New Components
Now, you can start putting your mountain bike back together using the new components.
Begin by reassembling the H2 and Other H2. Install the H2 onto the handlebars, ensuring it is securely fastened. Connect the cables from the H2 to the Other H2, making sure they are properly aligned and tightened.
Next, attach the Other H2 to the frame of the bike, using the provided screws and brackets. Double-check that all connections are secure and the H2 is functioning properly.
Once the H2 and Other H2 are in place, proceed to reattach the remaining components, such as the brakes, gears, and pedals. Make sure to follow the manufacturer’s instructions for proper installation.
Once everything is reassembled, you can move on to the next step, which is to test ride and fine-tune your electric bike.
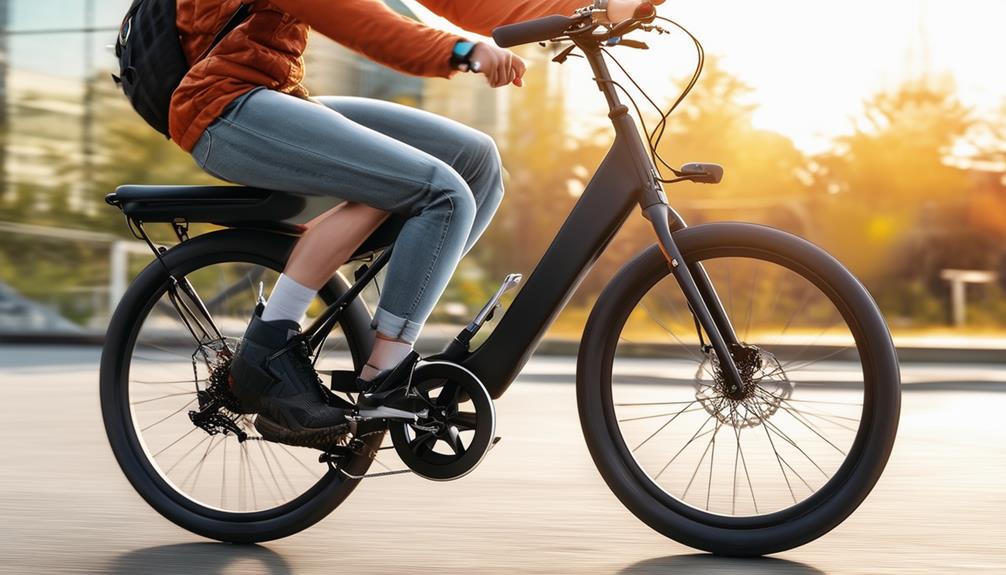
Test Ride and Fine-Tune Your Electric Bike
Once you’ve finished reassembling, take your electric bike for a test ride to ensure everything is working properly. Start by finding a safe and open area where you can ride without any obstacles.
Begin by pedaling and gradually engage the electric motor to test its functionality. Pay attention to any strange noises, vibrations, or irregularities in the bike’s performance. If you notice any issues, stop and inspect the components that might be causing the problem.
Fine-tune the gears, brakes, and suspension to optimize your riding experience. Adjust the seat height and handlebar position for comfort and control. It is crucial to properly test and fine-tune your electric bike to ensure a safe and enjoyable riding experience.
Now that you’ve tested your bike, let’s move on to learning how to properly maintain and care for it.
Learn How to Properly Maintain and Care for Your Electric Bike
After fine-tuning my electric bike and ensuring everything is in working order, it’s important to learn how to properly maintain and care for it. Electric bike maintenance plays a crucial role in ensuring its longevity and optimal performance. To keep my electric bike in top shape, I follow these care tips:
-
Regular cleaning: Wiping down the frame, chain, and other components with a mild detergent helps remove dirt and grime, preventing corrosion.
-
Battery care: Keeping the battery charged between 20-80% and avoiding extreme temperatures prolongs its lifespan.
-
Tire maintenance: Regularly checking tire pressure and inspecting for any wear or damage ensures a smooth and safe ride.
By implementing these maintenance practices, I can enjoy the benefits of my electric bike for years to come.
Now, let’s transition into the subsequent section about familiarizing yourself with the laws and regulations for electric bikes in your area.
Familiarize Yourself with the Laws and Regulations for Electric Bikes in Your Area
To ensure you are in compliance with local regulations, it’s important to familiarize yourself with the laws pertaining to electric bikes in your area. Understanding the legal requirements will help you avoid any potential fines or penalties.
The first step is to research the specific laws and regulations in your city or state. Some areas may have restrictions on the maximum speed or power output of electric bikes, while others may require certain safety features like lights and reflectors.
Once you have a clear understanding of the legal requirements, you can choose a suitable conversion kit for your mountain bike. It’s important to select a kit that meets the legal standards and is compatible with your bike’s frame and components.
By following these guidelines, you can confidently convert your mountain bike into an electric bike while staying within the boundaries of the law.
Now, let’s explore different riding modes and features of your electric bike.
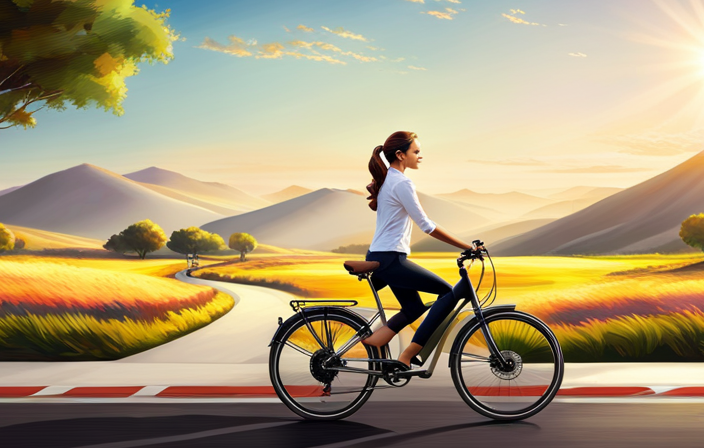
Explore Different Riding Modes and Features of Your Electric Bike
Get ready to experience the various riding modes and features of your new electric bike. With different riding styles and battery life optimization, your electric bike offers a versatile and efficient way to explore the outdoors. Take a look at the table below to understand the different modes and features available on your electric bike:
| Riding Mode | Description |
|---|---|
| Eco Mode | A power-saving mode that extends the battery life for longer rides. |
| Sport Mode | Provides a balanced level of power and efficiency for everyday use. |
| Turbo Mode | Delivers maximum power for intense rides and challenging terrains. |
| Pedal-Assist Mode | Assists your pedaling efforts by providing additional power. |
To optimize battery life, consider switching to Eco Mode when cruising on flat terrains or using Pedal-Assist Mode to conserve battery power. By selecting the right riding mode and utilizing the features of your electric bike, you can enhance your riding experience and make the most of your battery. Now that you are familiar with the riding modes and features, let’s move on to the next section and join online communities and forums to connect with other electric bike enthusiasts.
Join Online Communities and Forums to Connect with Other Electric Bike Enthusiasts
Joining online communities and forums is a great way to connect with fellow electric bike enthusiasts. These platforms provide an opportunity to connect with people who share the same passion for electric bikes and are eager to share their experiences and knowledge.
By joining these communities, you can engage in discussions, ask questions, and learn from others’ experiences. You can also share your own experiences, troubleshooting tips, and recommendations with the community. This exchange of information can be invaluable when it comes to improving your electric bike’s performance and addressing any issues that may arise.
Additionally, connecting with enthusiasts can open doors to new friendships and even potential riding buddies. So, by joining online communities and forums, you can not only expand your knowledge but also become part of a supportive and engaged community of electric bike enthusiasts.
As you connect with other enthusiasts, you may consider upgrading other components of your electric bike for enhanced performance.
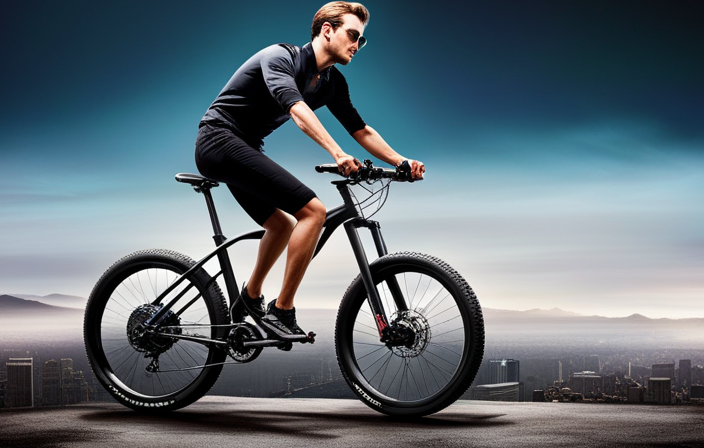
Consider Upgrading Other Components of Your Electric Bike for Enhanced Performance
Considering upgrading other components of your electric bike can greatly enhance its performance. While converting your mountain bike into an electric bike is a great start, there are additional component upgrades that can take your riding experience to the next level. Upgrading the motor, battery, brakes, and suspension can significantly improve the performance and overall enjoyment of your electric mountain bike.
To illustrate the impact of these component upgrades, here is a table highlighting the benefits of each upgrade:
| Component Upgrade | Enhanced Performance |
|---|---|
| Motor | Increased power and torque for better acceleration and climbing abilities |
| Battery | Extended range and longer ride times for more adventurous journeys |
| Brakes | Improved stopping power and control for added safety on downhill descents |
| Suspension | Enhanced comfort and better handling on rough terrains |
Enjoy the Benefits of Your Newly Converted Electric Mountain Bike
Now that you’ve upgraded the components, you can fully enjoy the benefits of your newly converted electric mountain bike. With enhanced battery life and improved performance, your rides will be more thrilling than ever before.
Here are some key benefits and safety precautions to keep in mind:
-
Benefits:
-
Extended Range: The upgraded battery allows for longer rides, so you can explore new trails without worrying about running out of power.
-
Increased Speed: The electric motor provides an extra boost, allowing you to conquer steep hills and tackle challenging terrains with ease.
-
Safety Precautions:
-
Helmet and Protective Gear: Always wear a helmet and appropriate protective gear to ensure your safety in case of any accidents.
-
Regular Maintenance: Keep your electric bike in top condition by performing regular maintenance, such as checking tire pressure and ensuring all components are tightened properly.
Frequently Asked Questions
Can I convert any type of mountain bike into an electric bike?
Yes, any type of mountain bike can be converted into an electric bike. The bike’s compatibility with electric components is crucial. The benefits of an electric bike include increased speed, easier uphill rides, and extended range.
How long does it take to install the electric motor and battery?
The installation time for an electric motor and battery can vary depending on the complexity of the conversion kit and the skill level of the person doing the installation. On average, it can take around 3-6 hours to complete the installation. Battery life will depend on factors such as terrain, speed, and usage, but most electric bike batteries can provide a range of 20-50 miles on a single charge.
Are there any specific safety precautions I should take while connecting the wiring?
When connecting the wiring for your electric bike conversion, it is important to take specific safety precautions. Ensure that the battery is disconnected, use insulated tools, and double-check all connections to prevent any electrical hazards or short circuits.
What are some common maintenance tasks I should perform on my electric bike?
Performing regular maintenance tasks on an electric bike is crucial for its optimal performance and longevity. These tasks include checking and adjusting tire pressure, lubricating the chain, inspecting the brakes, cleaning the bike, and ensuring proper battery maintenance.
Are there any restrictions or regulations for riding an electric bike in public spaces?
There are several benefits to riding an electric bike in public spaces. They provide a convenient and efficient mode of transportation while reducing traffic congestion and carbon emissions in urban areas.
Conclusion
Well, that’s a wrap folks! Converting my mountain bike into an electric bike has been quite the adventure.
From understanding the benefits to choosing the right conversion kit, gathering the necessary tools, and removing the existing components, it has been a labor of love.
Installing the electric motor and battery was a breeze, and exploring the different riding modes and features has added a whole new level of excitement to my rides.
Connecting with other electric bike enthusiasts online has been a game-changer, and considering upgrades to enhance performance is definitely on my to-do list.
Now, it’s time to hit the trails and enjoy the perks of my newly transformed electric mountain bike. Ride on!