
As a passionate electric bike fan, I’ve always been intrigued by the impressive power and efficiency that a well-wired battery can provide for these amazing two-wheeled machines.
Did you know that a well-wired battery can increase the range of your electric bike by up to 30%?
In this article, I will guide you through the precise steps of wiring a battery for your electric bike, ensuring that you have the necessary tools, knowledge, and expertise to optimize your ride.
Get ready to unlock the full potential of your electric bike!
Key Takeaways
- Visually inspect all connections for loose or disconnected wires.
- Ensure secure connection of each wire to its corresponding terminal.
- Use a multimeter to test for continuity between different points in the wiring.
- Measure voltage at various points in the wiring to ensure consistent electrical flow.

Young Electric E-Bike Rack with Ramp, Hitch 2 Bike Rack, 200 lbs Capacity Electric Bike Carrier, Foldable Platform Mount for Cars, Trucks, SUVs, Minivans, Up to 5-Inch Fat Tire for 2'' Receiver
200LBS CAPACITY & V-GROOVE RAMP: The latest electric bike rack features an upgrade V-groove ramp for easy loading...
As an affiliate, we earn on qualifying purchases.
Understand the Basics of Electric Bike Batteries
To properly wire a battery for an electric bike, it’s important to understand the basics of electric bike batteries.
Electric bike battery capacity refers to the amount of energy the battery can store, usually measured in watt-hours (Wh). The higher the capacity, the longer the battery will last before needing to be recharged.
There are different types of electric bike batteries available, including lithium-ion, nickel-metal hydride (NiMH), and lead-acid batteries.
Lithium-ion batteries are the most common and popular choice due to their high energy density, lightweight design, and long lifespan.
NiMH batteries are a more affordable option but have a lower energy density.
Lead-acid batteries are heavy and have limited capacity.
Understanding these different types and their capacities will help you choose the right battery for your electric bike, ensuring optimal performance and range.

Ebike Rack with Ramp for 2 E-Bikes 200 lbs Capacity Fits 5" Fat Tire, Hitch Bike Rack for Cars SUVs Trucks with 2" Receiver, Foldable Tilting Locking No Assembly Needed E-Bike Platform Carrier
COMPACT FOLDABLE DESIGN WITH 4 WHEELS: The Eco Pro Hitch 2 E-Bike rack is ready to use straight...
As an affiliate, we earn on qualifying purchases.
Choose the Right Battery for Your Electric Bike
Make sure you pick the correct battery that suits your electric bike needs.
When choosing a battery for your electric bike, there are two important factors to consider: battery capacity and battery weight.
The battery capacity refers to the amount of energy the battery can store, which directly affects your bike’s range. To choose the right battery capacity, you need to consider your daily commuting distance and any additional power requirements, such as hilly terrain or heavy cargo.
On the other hand, battery weight plays a crucial role in your electric bike’s performance. A heavier battery can affect the bike’s handling and acceleration. Therefore, it’s important to find a balance between battery capacity and weight to optimize your electric bike’s performance.
Moving forward, gathering the necessary tools and equipment will help you properly wire your electric bike battery.
Amazon Product B0CQ7PSNVX
As an affiliate, we earn on qualifying purchases.
Gather the Necessary Tools and Equipment
Gathering the tools and equipment you need is essential for properly installing your electric bike battery.
When it comes to wiring, choosing the right wire gauge is crucial for efficient power transmission. It ensures that the current flowing through the wires is within safe limits and prevents overheating.
Additionally, properly insulating the battery connections is vital for safety and preventing short circuits.
To get started, you will need wire cutters, wire strippers, crimping tools, heat shrink tubing, electrical tape, and a soldering iron. These tools will enable you to make clean and secure connections between the battery and the bike’s electrical system.
With the right tools in hand, you can now prepare the battery and bike for wiring, ensuring a successful installation.
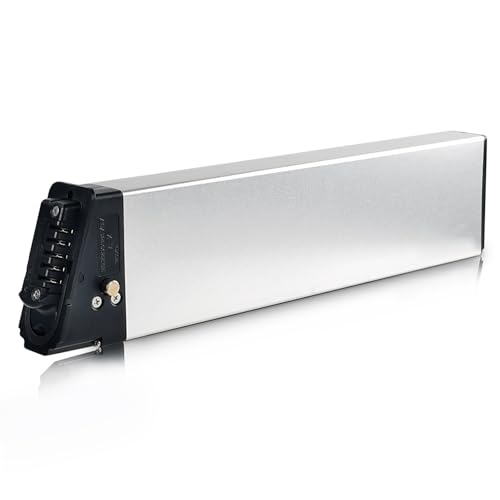
ShunTongDa 48V 10.4Ah 14Ah Folding Ebike Battery 48 Volt DCH-006 Built in Electric Bike Batteries with 30A BMS Totguard for 250W 500W 750W 1000W Motor Foldable E-Bike Battery (48V10.4Ah A Grade Cell)
①Battery Type: 18650 lithium ion batteries, Voltage: 48V, Capacity: 10.4Ah, Real High-Label Capacity. 30A BMS, Wattage at 500Wh,...
As an affiliate, we earn on qualifying purchases.
Prepare the Battery and Bike for Wiring
Before connecting the components, it’s important to first check for any potential damage or wear on both the battery and the bike. Inspect the battery for any signs of physical damage, such as cracks or leakage. Additionally, check the battery voltage to ensure it is within the recommended range for your electric bike.
The battery capacity should also be considered, as it determines how long the bike can run before needing a recharge. If any damage or abnormalities are found, it is crucial to address them before proceeding with the wiring process.
Once the battery and bike are deemed to be in good condition, you can move on to connecting the battery to the controller, which will be discussed in the next section.
Connect the Battery to the Controller
To connect the battery to the controller, you’ll need to ensure that the correct wires are properly attached. This step is crucial in creating a reliable and efficient electric bike system.
Here are some best practices for battery wiring:
-
Use the appropriate battery connector type for your specific controller. There are various connectors available, such as XT60, Anderson Powerpole, and JST connectors. Choose the one that matches your controller’s requirements to ensure a secure and reliable connection.
-
Make sure to properly strip the wires and use high-quality connectors. This will help prevent any loose connections or potential electrical issues.
When connecting the battery to the controller, it’s important to follow these guidelines to ensure a safe and effective wiring setup.
Now, let’s transition into the next section where we will discuss how to connect the controller to the motor.
Connect the Controller to the Motor
Now, you’ll need to ensure that the correct connectors are properly attached to connect the controller to the motor. This step is crucial for troubleshooting motor connections and upgrading motor performance.
Start by identifying the motor and controller connectors. Most motors have three wires that need to be connected to the three corresponding wires on the controller. These wires are typically color-coded, so make sure to match them correctly.
Use high-quality connectors that can handle the power requirements of your motor. Once the connectors are securely attached, double-check all the connections, ensuring there are no loose wires or exposed metal. This will prevent any potential electrical issues or damage to the motor.
With the controller properly connected to the motor, we can now move on to the next step: installing a battery management system (BMS).
Install a Battery Management System (BMS)
Once you’ve securely attached the connectors, you’ll need to double-check all the connections for any loose wires or exposed metal.
Now, it’s time to install a Battery Management System (BMS) for your electric bike battery. The BMS is a crucial component that ensures the safe and efficient operation of your battery. It protects against overcharging, over-discharging, and overheating, which can extend the lifespan of your battery and improve overall performance.
To install the BMS, carefully follow the manufacturer’s instructions, making sure to connect the positive and negative wires correctly. Once the BMS is in place, secure it to the battery pack with zip ties or mounting screws.
With the BMS installed, you can have peace of mind knowing that your battery is being monitored and protected.
Now, let’s move on to the next section – testing the wiring and troubleshooting any issues.
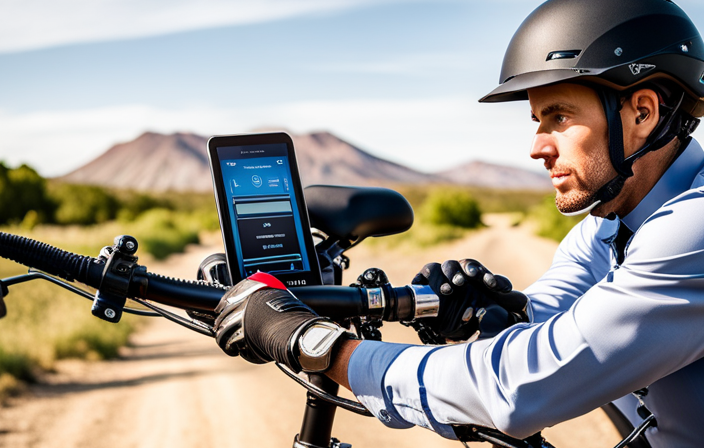
Test the Wiring and Troubleshoot Any Issues
After securely attaching the connectors and installing the BMS, it’s important to test the wiring and address any potential issues. Here are three troubleshooting techniques to help you identify and resolve common wiring issues:
-
Inspect the connections: Start by visually inspecting all the connections for any loose or disconnected wires. Ensure that each wire is securely connected to its corresponding terminal.
-
Check for continuity: Use a multimeter to check for continuity between different points in the wiring. This will help you identify any breaks or open circuits that may be causing issues.
-
Test voltage levels: Measure the voltage at various points in the wiring to ensure that the electrical flow is consistent. Anomalies in voltage levels can indicate faulty connections or components.
Securely Mount and Protect the Battery
To ensure the safety of your electric bicycle, it’s essential to securely mount and protect the battery. There are various mounting options available, depending on your bike’s frame and design.
One popular method is using a battery rack, which attaches to the rear of the bike and provides a stable platform for the battery. Another option is frame mounting, where the battery is securely fastened to the frame using straps or brackets.
Once the battery is mounted, it’s crucial to waterproof it to prevent any damage caused by moisture or rain. Some common waterproofing methods include using silicone sealant around the battery connections and wrapping the battery in a waterproof bag or cover.
Enjoy Your Upgraded Electric Bike!
You can now fully enjoy your upgraded e-bike without any worries.
Upgrading an electric bike for maximum performance requires careful consideration and attention to detail. Once you have installed all the necessary components, it is essential to maintain and care for your electric bike to ensure its longevity and optimal performance.
To start, regularly check the tire pressure and make sure they are properly inflated to provide a smooth and efficient ride. Additionally, keep the chain clean and lubricated to reduce friction and improve the overall efficiency of the bike.
It is also crucial to regularly inspect the brakes, ensuring they are in good working condition to ensure your safety on the road. Lastly, store your e-bike in a dry and secure place, protecting it from the elements and potential theft.
Frequently Asked Questions
How do I choose the right battery capacity for my electric bike?
To choose the right battery capacity for an electric bike, consider factors such as the bike’s power requirements, desired range, weight limitations, and budget. These considerations will help determine the appropriate battery capacity for optimal performance.
What are the safety precautions to consider when wiring a battery for an electric bike?
When wiring a battery for an electric bike, safety measures are crucial. Common mistakes include improper insulation, loose connections, and overloading the circuit. It is important to follow proper guidelines, use appropriate tools, and ensure a secure and reliable wiring setup.
Can I use any type of controller for my electric bike, or are there specific requirements?
I need to ensure controller compatibility while choosing a controller for my electric bike. Using an incompatible controller may lead to potential issues such as improper functioning, limited features, or even damage to the bike’s electrical system.
How do I know if my wiring is correct and functioning properly?
To test the wiring for an electric bike, use a multimeter to check for continuity and proper voltage. Troubleshooting tips include inspecting connections, checking for loose or damaged wires, and ensuring the correct polarity.
Are there any specific guidelines for mounting and protecting the battery on my electric bike?
When it comes to mounting options for an electric bike battery, it is important to consider factors such as weight distribution, accessibility for charging, and protection from impact and weather. Battery protection can be achieved through the use of specialized cases or covers that shield it from potential damage.
Conclusion
After carefully following the steps and gathering the necessary tools and equipment, I successfully wired the battery for my electric bike.
With the battery connected to the controller and a Battery Management System installed, I was able to test the wiring and troubleshoot any issues that arose.
Finally, I securely mounted and protected the battery, ensuring its longevity.
Now, with my upgraded electric bike ready to go, I can’t wait to hit the road and experience the thrilling power and efficiency it provides.
Get ready for an electrifying ride!