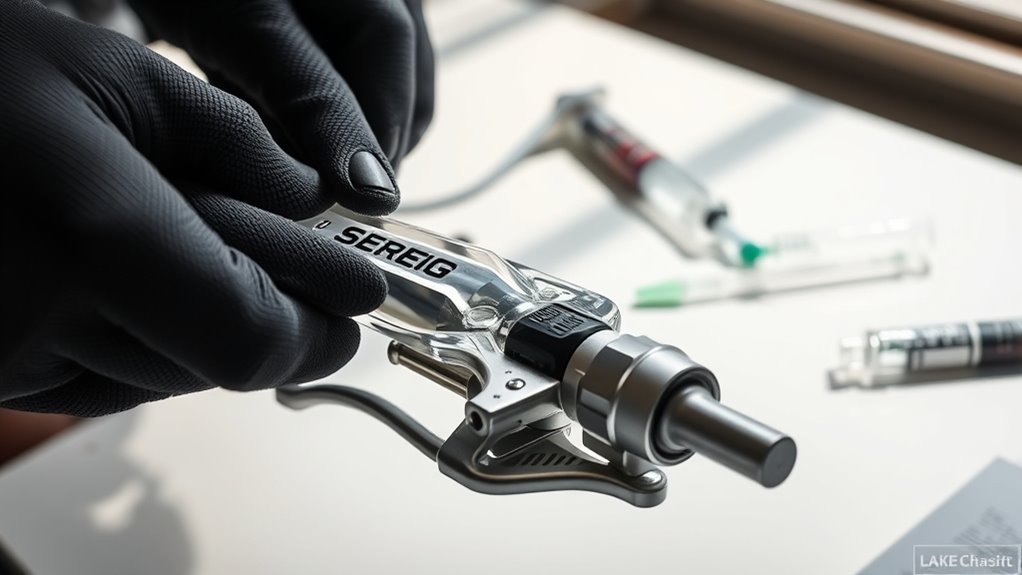
To perform a DIY hydraulic brake bleed, gather the right tools like syringes, tubing, and the correct brake fluid, then prepare your bike securely. Carefully remove the brake lever and caliper, flush out old fluid, and refill with fresh fluid, making sure to avoid air bubbles. Use a bleeding process to release trapped air until the lever feels firm. For detailed steps and tips to get it just right, keep going through each phase carefully.
Key Takeaways
- Gather the correct brake fluid, bleed kit, gloves, and safety gear; ensure compatibility with your bike system.
- Remove the brake lever and caliper, then inspect and clean all components before starting the bleed process.
- Open the bleed screw, pump the brake lever slowly to push out air, and keep the reservoir topped off with fresh fluid.
- Repeat pumping and topping off until no air bubbles escape, ensuring a firm brake lever feel.
- Tighten the bleed screw, reassemble components, and perform a test ride to confirm proper brake function.
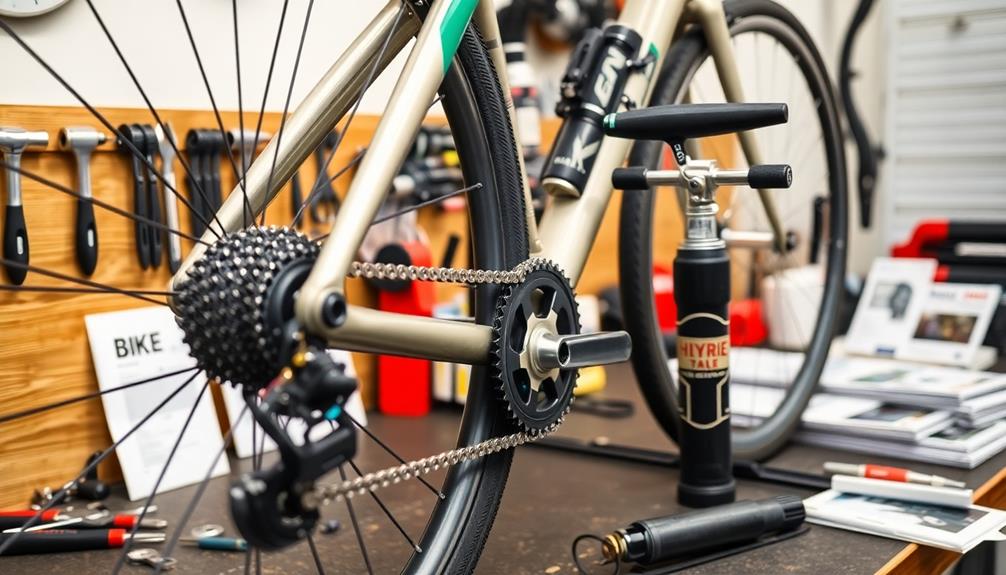
Gathering Your Tools and Supplies
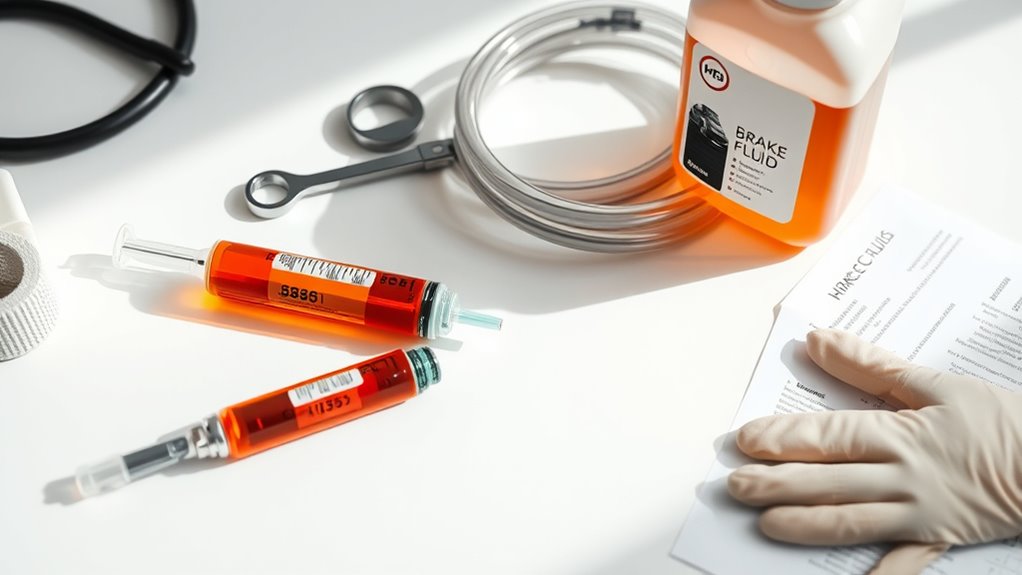
Before you begin bleeding your hydraulic brakes, it’s essential to gather all the necessary tools and supplies. First, identify the correct brake fluid type for your bike—either mineral oil or DOT fluid—since using the wrong fluid can cause damage. You’ll need a set of bleed kits, including syringes, tubing, and a catch container. Don’t forget clean rags and gloves to protect your skin from brake fluid, which can be harmful. Safety precautions are vital: work in a well-ventilated area, avoid spilling brake fluid on painted surfaces, and keep everything clean. Having everything ready beforehand guarantees a smooth process and prevents interruptions. Double-check that you have the right tools for your specific bike model and brake system before starting. Properly understanding brake system maintenance can help ensure effective bleeding and safe riding. Additionally, familiarizing yourself with modern toilet efficiency can help in maintaining overall bathroom hygiene and water conservation during your project. To ensure optimal performance, it’s also helpful to review Kia Tuning options for your vehicle’s brakes and suspension upgrades. Also, inspecting your fluid reservoir beforehand ensures you won’t run out mid-procedure.
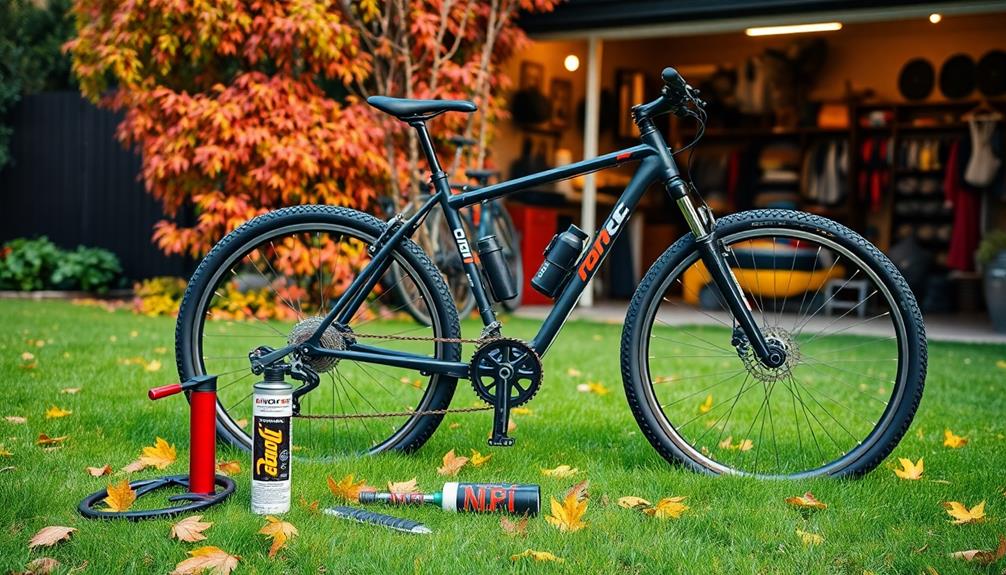
Preparing Your Bike for Bleeding
To guarantee a smooth bleeding process, you need to properly prepare your bike by securing it and removing any components that could obstruct access to the brake calipers and levers. Ensuring brake system safety starts with verifying brake fluid compatibility to prevent damage. Before starting, position your bike on a stand for stability. Additionally, checking the brake system’s compatibility ensures that your modifications or maintenance will not cause issues down the line. Here’s what to do: 1. Remove any accessories or covers blocking access to the brake calipers and levers. 2. Check and confirm the correct brake fluid type for your system. 3. Secure the bike firmly to prevent movement during bleeding. 4. Gather your tools, including gloves and safety glasses, to protect yourself and maintain brake system safety. Proper system calibration makes bleeding safer, easier, and more effective. Also, being aware of brake fluid types can help prevent potential damage during the process.
Removing the Brake Lever and Caliper
To remove the brake lever and caliper, start by detaching the brake lever from the handlebar. Then, carefully remove the caliper components, including the mounting bolts and brake pads. Make sure to keep track of all parts for reassembly later. Additionally, inspecting the environmental impact of your actions helps ensure responsible maintenance practices. When handling these parts, be mindful of costumes and accessories that could be affected or damaged during the process. It is also beneficial to understand the effectiveness of eye patches to better appreciate their role in maintenance or cosmetic routines. Properly disposing of old brake fluid is essential to minimize environmental harm and maintain safety standards.
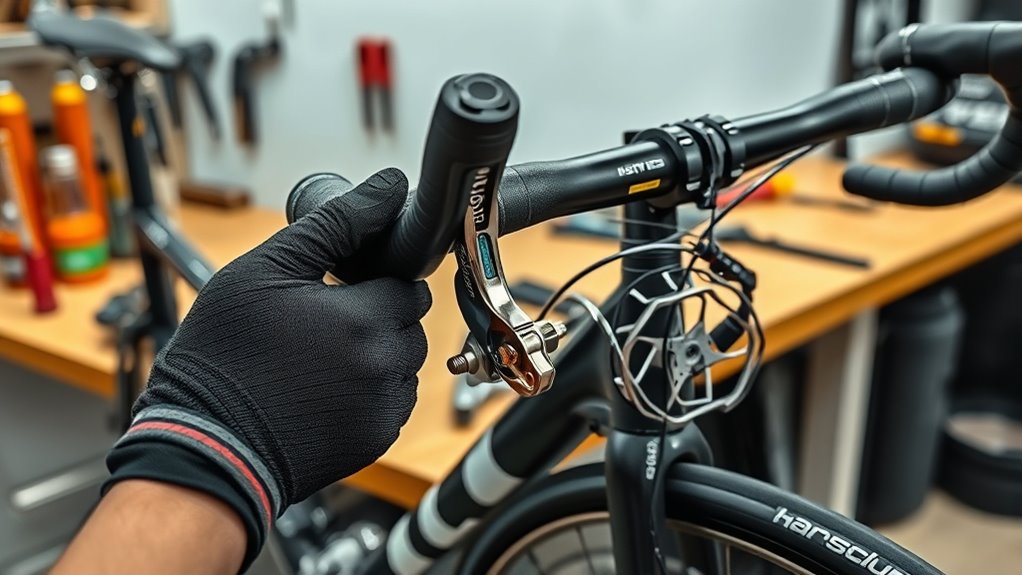
Detach Brake Lever
Have you ever wondered how to safely remove the brake lever and caliper from your bike? Detaching the brake lever is a vital step in brake maintenance and hydraulic system troubleshooting. To do this effectively, follow these steps:
- Loosen the clamp bolt securing the brake lever to the handlebar.
- Carefully slide the lever away from the bar, avoiding damage to the hydraulic hose.
- Disconnect any electrical or sensor connections if applicable.
- Keep track of small parts like bolts and washers for reassembly.
Removing the brake lever correctly ensures smooth brake lever maintenance and prevents issues during bleeding or repairs. Be gentle to avoid damaging the hydraulic hose or other components, making your maintenance safer and more efficient.
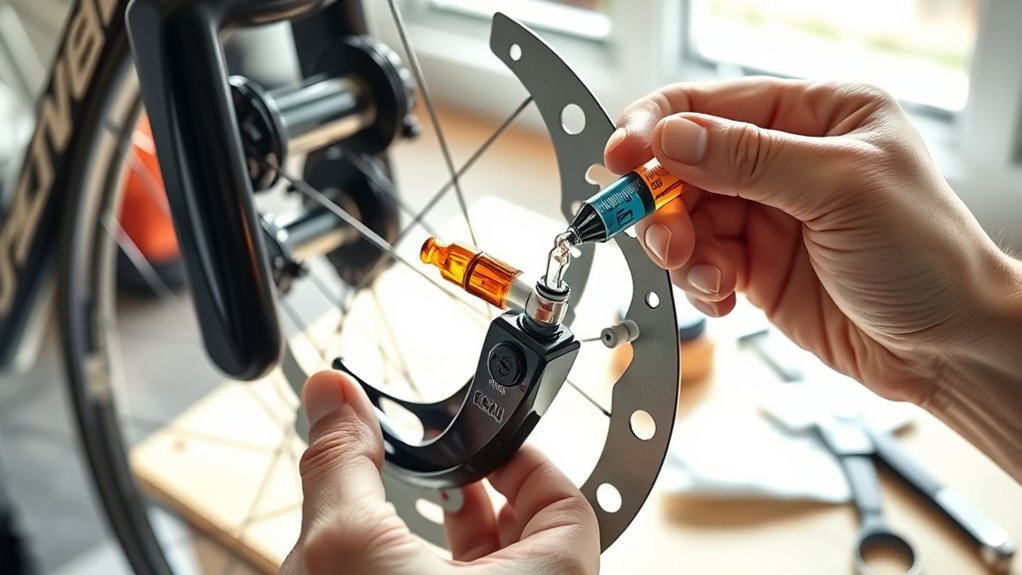
Remove Caliper Components
With the brake lever detached, you can now focus on removing the caliper components. Start by loosening the bolts securing the caliper to the fork or frame, then carefully slide the caliper off the rotor. This step is essential for caliper maintenance and makes brake pad replacement easier. When removing the caliper, inspect the brake pads for wear and replace them if necessary. Keep track of any hardware, such as bolts or clips, for reinstallation. Handle all parts gently to avoid damage. If your caliper has a mounting bracket, remove it along with the caliper body. This process clears the way for thorough inspection, cleaning, and eventual reassembly, ensuring your hydraulic brake system functions smoothly and reliably. Proper handling of caliper components is crucial to maintain optimal brake performance and safety.
Flushing Old Fluid From the System

Start by draining the old fluid completely from the brake system. As you do this, check the brake lines for any signs of damage or wear. Once empty, refill with fresh brake fluid to guarantee ideal performance.
Drain Old Fluid
To effectively flush old brake fluid from the system, begin by removing the reservoir cap and using a clean cloth to wipe away any dirt or debris. This prevents contaminants from entering the brake lines during fluid removal. Next, follow these steps:
- Place a container beneath the brake caliper or wheel cylinder drain screw.
- Open the drain screw to let the old brake fluid flow out completely.
- Ensure you use the correct brake fluid type specified for your vehicle to avoid fluid contamination.
- Keep an eye on the fluid color; dark, dirty fluid indicates the need for a thorough flush.
- Remember that inspirational quotes about fatherhood often emphasize love, guidance, and support, which can serve as a reminder to maintain patience and care during the brake bleeding process. Additionally, using automated systems can help monitor and control fluid flow more precisely during the flushing procedure.
- It is also advisable to check the compatibility with coatings to ensure the new fluid functions properly within your vehicle’s braking system.
Choosing the right brake fluid type is vital, as mixing different types can cause system damage. Drain all old fluid until the system appears clean, preparing it for new fluid.
Inspect Brake Lines
Inspecting your brake lines is a crucial step to guarantee the entire brake system is functioning properly after flushing out old fluid. Carefully examine the brake hose for any signs of cracks, leaks, or damage. Damaged brake hoses can compromise the system’s integrity, leading to brake failure. Check for fluid leaks around fittings and along the length of the hose, as leaks can reduce braking efficiency. Ensure the brake hose is securely attached and free of abrasion or wear. Also, inspect the calipers and wheel cylinders for leaks or corrosion. Remember, old or contaminated brake fluid can cause internal damage, so thorough inspection helps confirm that no hidden issues remain. Proper inspection ensures your brake system is safe and ready for reliable operation. Regularly monitoring your brake components can help prevent system failures and maintain optimal performance. Additionally, inspecting for corrosion or rust can prevent long-term damage to metal components in the brake system. Incorporating preventative maintenance practices can extend the lifespan of your brake components and improve safety. Being aware of regional differences in brake system design can also aid in more effective inspections and repairs.
Replace With Fresh Fluid
Before adding new brake fluid, you need to flush out the old, contaminated fluid from the system. Brake fluid chemistry can cause contamination over time, affecting braking performance and hydraulic system maintenance. Properly replacing it guarantees maximum function and safety. Engaging with the creative process by exploring new techniques can make flushing more effective and satisfying. Here’s what to focus on: 1. Drain the old fluid completely from the master cylinder and brake lines. 2. Use a clear container to monitor the fluid’s cleanliness during flushing. 3. Replace the old fluid with fresh, manufacturer-recommended brake fluid. 4. Bleed the system thoroughly to remove air bubbles and ensure hydraulic integrity. Additionally, paying attention to fluid compatibility helps prevent potential damage to your braking system components. Using high-quality, brake fluid types recommended by the manufacturer can enhance system performance. Regular flushing not only prevents corrosion but also maintains proper brake response and prolongs your brake system’s lifespan. This process helps prevent corrosion, maintains proper brake response, and prolongs your brake system’s lifespan. Regular flushing keeps your hydraulic system in peak condition and guarantees safe, reliable braking.
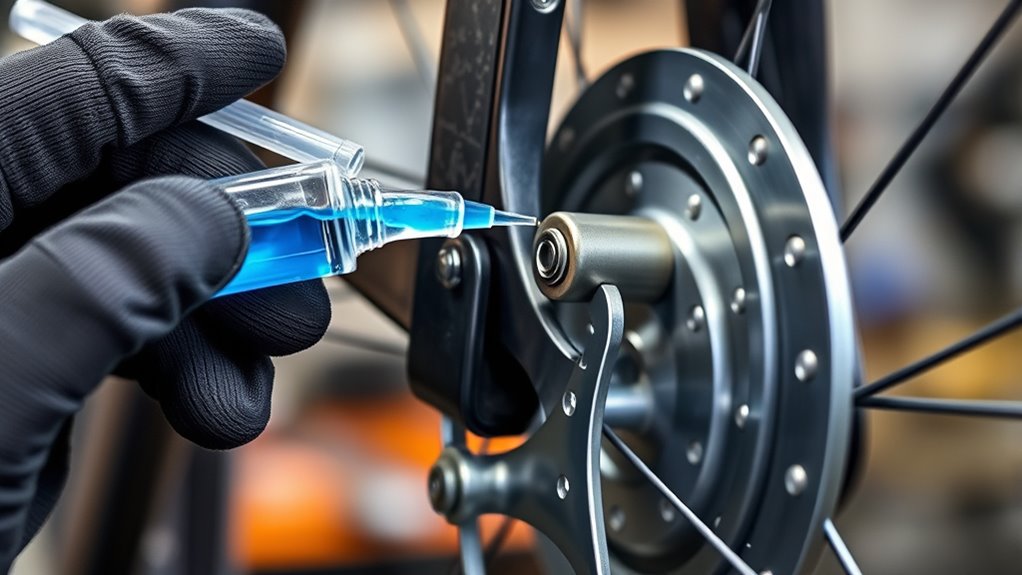
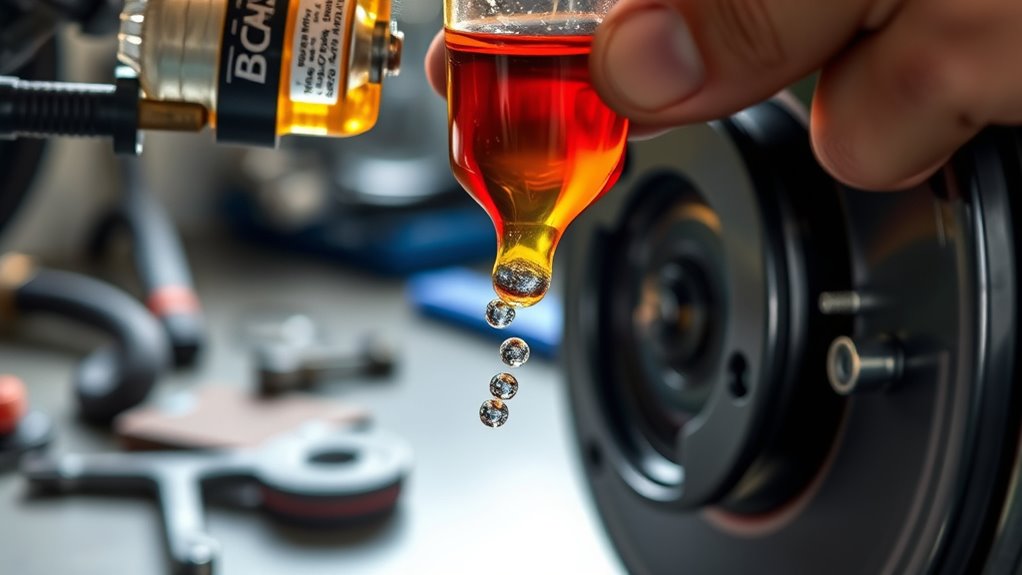
Adding New Hydraulic Brake Fluid
When adding new hydraulic brake fluid, make certain you select the correct type specified for your vehicle, as using the wrong fluid can cause damage or reduce braking performance. Before pouring in the fluid, confirm you’ve completed any necessary brake pad replacement, which may require wheel removal. Removing the wheel gives you clear access to the brake caliper and master cylinder. When adding fluid, do so slowly to avoid spills or overfilling. Keep an eye on the brake fluid reservoir level, filling it just to the recommended mark. Remember, using the proper fluid type is essential for maintaining brake performance and longevity. After adding the fluid, double-check for leaks and ensure the reservoir cap is securely replaced before proceeding to the next step.
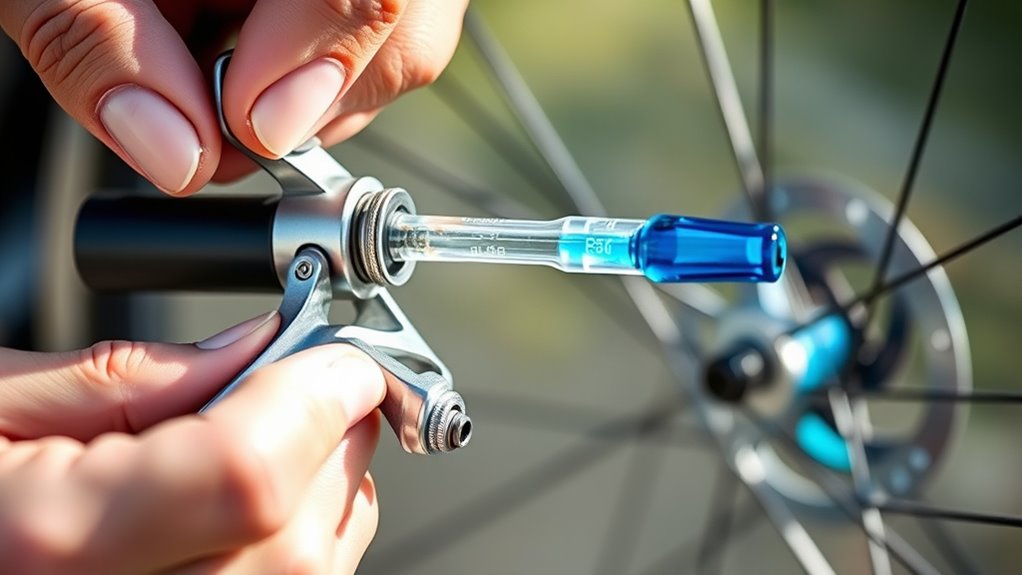
Bleeding the Brakes: Releasing Air Bubbles
To effectively bleed your brakes and remove air bubbles, start by ensuring the vehicle is securely supported and the engine is off. Proper air bubble removal is essential for responsive braking. First, select the correct brake fluid type; using the right brake fluid types prevents damage and maintains peak performance. Position your brake calipers or wheel cylinders for easy access. Then, open the bleed screw slightly and pump the brake lever or pedal slowly. Keep an eye on the brake fluid reservoir, topping it up as needed. Use a clear hose to watch for air bubbles escaping during the process. Here are key points to maximize air bubble removal:
- Maintain steady pressure on the brake lever
- Keep the brake fluid reservoir topped off
- Tighten bleed screw securely once bubbles stop
- Repeat until no air bubbles are visible
Checking and Adjusting Brake Lever Feel
Checking and calibrating your brake lever feel is essential to guarantee responsive and safe braking. Begin by inspecting the brake lever for proper position and firmness. If it feels too soft or too firm, you may need to perform brake lever adjustment. To do this, loosen or tighten the lever reach adjuster until you find a comfortable, firm feel with a slight initial movement. Next, check the fluid level in the reservoir—ensure it’s at the recommended level and top it off with the correct brake fluid if necessary. Proper fluid level check prevents air from entering the system and helps maintain consistent brake performance. Once you’ve made these adjustments, squeeze the lever a few times to confirm it feels responsive and consistent before proceeding to the final test ride.
Final Inspection and Test Ride

Before taking your bike out for a ride, perform a thorough final inspection to guarantee everything is working correctly. Start by checking the brake lever feel; it should be firm with no sponginess. Ensure the brake pad replacement was successful and the pads are properly aligned. Next, verify tire alignment and inflation to avoid handling issues. Look for any leaks in the hydraulic brake system, and make sure the brake calipers are secure. Finally, test the brakes gently at low speed to confirm responsiveness. Here’s what to focus on:
- Confirm brake lever firmness
- Check brake pads and alignment
- Inspect for hydraulic leaks
- Test brake response with a short ride
Conclusion
Now that you’ve gone through each step, your brakes are almost ready. But don’t rush the final check—tiny air pockets can hide, sneaking back in when you least expect it. Will your brake lever feel firm enough? Are your calipers working smoothly? Take that extra moment to double-check everything. When you finally hit the road, you’ll know you did it right. Ready to ride with confidence? The finish line is just a brake away.