To install and adjust your bike-trailer hitch, start by selecting a system compatible with your bike’s axle and dropout type. Remove the existing axle or skewer, then attach the proper adapter if needed. Secure the hitch firmly, ensuring it sits level and tight with minimal wobble. Afterward, attach the trailer and double-check all connections for security and proper fit. For detailed steps and tips, keep exploring as you’ll find everything you need to guarantee a safe, smooth setup.
Key Takeaways
- Select a compatible hitch system based on your bike’s axle type, dropout shape, and weight capacity, ensuring proper fit and safety.
- Remove or prepare the existing axle or skewer, and install necessary adapters or spacers as per manufacturer instructions.
- Attach the hitch securely, ensuring it sits level, flush, and is properly aligned without wobble or play.
- Tighten all bolts, quick-release levers, or nuts to manufacturer-specified torque, and verify secure attachment before use.
- Perform routine safety checks, including inspecting connection points, lubricating moving parts, and adjusting for level trailer positioning.
Selecting the Right Hitch System for Your Bike
Choosing the right hitch system for your bike is essential to guarantee safe and reliable trailer attachment. Your bike trailer needs a trailer hitch that fits your bike’s axle type, whether it’s quick-release, bolt-on, or thru-axle. Check the hitch’s rated capacity—like EcoHitch’s 200 lb tongue weight or Draw-Tite’s limit—to match your trailer and load. Also, verify installation requirements; some hitches may need frame modifications or bumper cutting for secure attachment. If your bike’s dropout or axle isn’t standard, use adapters or special brackets to ensure compatibility. The goal is to select a hitch that minimizes stress on your bike frame and aligns perfectly with your trailer’s attachment point. Doing so guarantees stability, safety, and smooth towing during your rides. Additionally, understanding your bike’s axle type can help you choose the most compatible and secure hitch system. It is also beneficial to consider trailer weight capacity to ensure your setup can handle your typical loads safely.
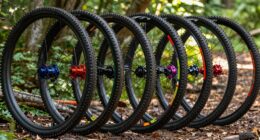
Identifying Your Axle and Dropout Types

To attach a trailer hitch safely, you need to identify your bike’s axle and dropout types. Different axles, like quick release, bolt-on, or thru axles, require specific adapters, while dropout shapes—flat or hooded—affect how the hitch fits. Checking your bike’s specifications or consulting a shop guarantees you select the right components for a secure connection. Understanding axle compatibility can further streamline the installation process. Additionally, reviewing asset division strategies can help if you need to replace or upgrade parts after an accident or during a resale process. Recognizing the electric bike conversion features on some models ensures your trailer hitch setup remains compatible with various motor systems.
Axle Types Explained
Understanding your bike’s axle type is essential for selecting the right trailer hitch and ensuring compatibility. There are three main axle types: quick-release, bolt-on, and thru axles. Quick-release axles have a lever and acorn nut, making them easy to identify and remove without tools. Bolt-on axles feature hex nuts on both ends, requiring a wrench for removal, common on single-speed bikes. Thru axles are thick, hollow, and screw directly into the frame or fork, often used on disc brake bikes for added stiffness. Recognizing your axle type helps you choose compatible hitch adapters. Identifying your axle type is crucial for selecting the correct hitch and ensuring a secure connection. The appropriate hitch must match your axle type to maintain safety and reliability. The table below summarizes these types:
| Axle Type | Securing Mechanism | Common Bikes |
|---|---|---|
| Quick-release | Lever and nut | Road, hybrid bikes |
| Bolt-on | Hex nuts | Fixed-gear, single-speed |
| Thru axle | Screw-in, hollow | Disc brake bikes |
Knowing how to accurately identify your axle type can prevent compatibility issues and ensure a safe ride. Additionally, advancements in AI technology are increasingly influencing bike accessories, including trailer hitches, by enabling smarter, more adaptable designs.
Dropout Shapes and Impact
Your bike’s dropout shape and design directly influence how you can attach a trailer hitch. Dropout shapes vary, with flat or hooded designs. Hooded dropouts have protruding metal that can interfere with the hitch system, making it difficult to sit flush. Standard dropouts feature a flat area around and below the axle, providing a stable surface for hitch attachment. Identifying your axle type—whether it’s a quick-release lever, bolt-on with nuts, or a thru axle—helps determine compatibility. Hooded dropouts often need adapters or special hitch components because their protrusions prevent a proper fit. By understanding your dropout shape and axle type, you guarantee your hitch system attaches securely, enhancing safety and stability during your ride.
Matching Adapters Correctly
Accurately identifying your bike’s axle and dropout types is essential for selecting the right trailer adapter. Your axle fit, whether quick release, bolt-on, or thru axle, determines which adapter you need. Use the Axle Fit Guide to match your axle diameter and threading, such as M10 x 1.0 or specific thru axle sizes. For nutted axles, an Nutted Axle Adapter replaces nuts to provide a secure mounting point. Dropout styles, whether standard or hooded, may also influence your adapter choice, sometimes requiring additional components for a proper fit. Correctly matching your axle and dropout types ensures a safe, reliable connection between your bike and trailer, preventing compatibility issues and ensuring smooth towing. Proper identification is key to choosing an adapter that fits perfectly. Additionally, understanding your bike’s appliance compatibility can help in selecting accessories that seamlessly integrate with your existing setup. It’s also important to verify compatibility with safety standards to ensure your setup adheres to local regulations and safety requirements. Being aware of your bike’s frame and fork design can further assist in selecting the most suitable trailer hitch components, especially when considering dynamic communication exercises for couples to ensure a harmonious riding experience.
Choosing the Correct Adapter for Compatibility
To choose the right adapter for your bike-trailer hitch, start by identifying your bike’s axle type—whether it’s a quick release, bolt-on, or thru axle—as each requires a specific compatibility part. Once you know your axle type, measure the diameter and threading specifications to select the correct adapter size, like M10 x 1.0 or 12mm thru axle. Use the Adapter Guide to match your bike’s dropout type with the appropriate spacer or extension needed for a secure connection. The right hitch adapter functions as a spacer or replacement, ensuring the hitch sits flush against your frame or axle. Properly selected adapters improve stability and safety by providing a secure, compatible fit between your trailer hitch and your bike’s specific axle configuration. Additionally, understanding your suction power and filtration system can help ensure the safety and longevity of your equipment during attachment, especially when dealing with high-pressure systems common in some adapters. Being aware of Kia Tuning options for your vehicle can also inspire safer and more efficient modifications for your bike rack setup, as well as understanding how symptoms of mechanical issues may impact your towing safety. Incorporating digital literacy into your maintenance routine can further assist in troubleshooting and ensuring all components are properly functioning.
Preparing Your Bike and Frame for Installation
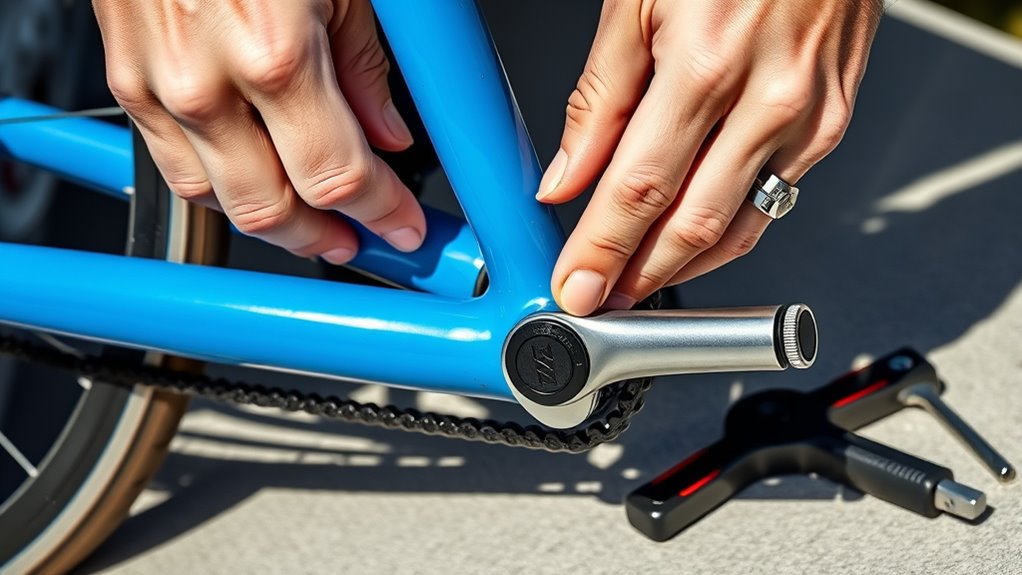
Start by checking your bike’s frame for compatibility with the hitch, making sure it can handle the added load. Gather all necessary tools like Allen wrenches and a torque wrench to guarantee proper installation. Then, inspect the axle type and dropout area, cleaning them thoroughly to prepare for secure attachment. Additionally, ensure your bike is equipped with the appropriate bike accessories to support the trailer hitch effectively.
Check Frame Compatibility
Is your bike ready for a trailer hitch? First, check your bike’s dropout type—quick-release, bolt-on, or thru-axle—to see which hitch options are compatible. Measure the axle diameter and examine the dropout shape to guarantee the hitch will fit securely without interfering with wiring or motor components. Verify if your bike has a standard, hooded, or custom dropout, as this affects whether you need adapters or specific installation methods. Make sure the frame can handle the hitch or any necessary adapters, especially around critical areas like the crumple zone or rear support structure. Consulting your manufacturer’s guidelines or visiting a bike shop can confirm your bike’s frame suitability. Proper frame compatibility is essential before you can attach the hitch and start using your bike rack.
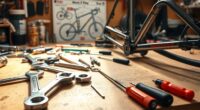
Gather Required Tools
Gathering the right tools is a crucial first step to guarantee a smooth and safe trailer hitch installation. You’ll need essential tools like wrenches, Allen keys, screwdrivers, and possibly a Dremel or file for any necessary modifications. Make sure you have the correct hitch components compatible with your bike’s axle type and frame configuration. Before starting assembly, measure your bike’s axle diameter and dropout type to determine if adapters or adjustments are needed. Create a clean, stable workspace with good lighting to facilitate precise assembly and adjustments. Additionally, gather any manufacturer instructions or diagrams to ensure proper tool use and secure attachment of the hitch. Being well-prepared with the right tools makes the entire process easier, safer, and more effective.
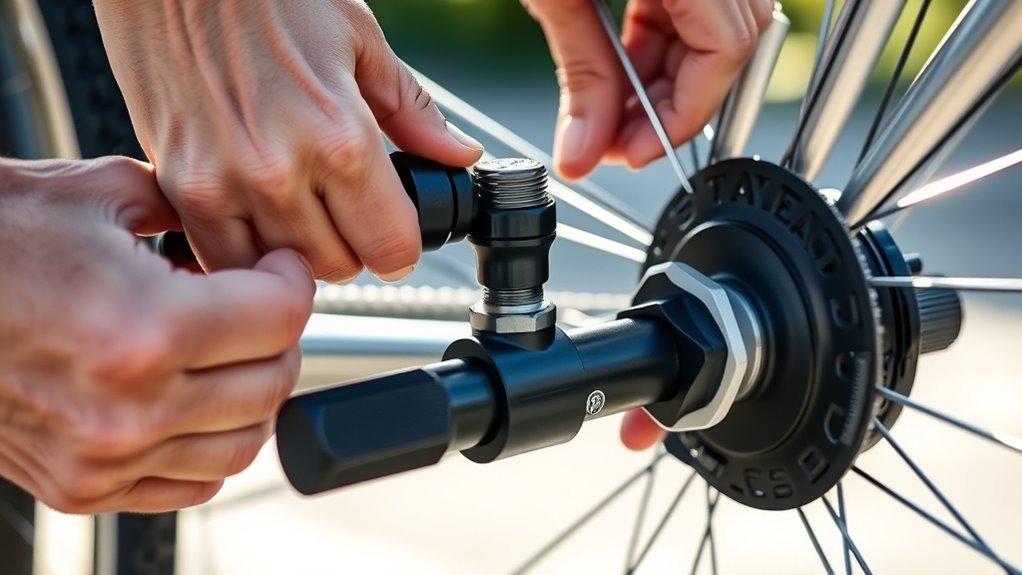
Inspect Axle Type
Before attaching your bike trailer hitch, it’s important to identify your bike’s axle type. Knowing whether you have a quick release, bolt-on, or thru axle guarantees compatibility with the trailer hitch components. Measure the diameter and threading of your axle to select the right adapters or hitch fittings, such as M10 x 1.0 or 12mm thru axle options. Check your bike’s dropout design—standard or hooded—to determine if you need additional adapters or modifications for a proper fit. Remove any existing quick-release skewers or nuts as instructed by the manufacturer to prepare the axle area for hitch installation. Finally, clean the axle thoroughly, removing debris to guarantee a secure, stable connection with your bicycle trailer.
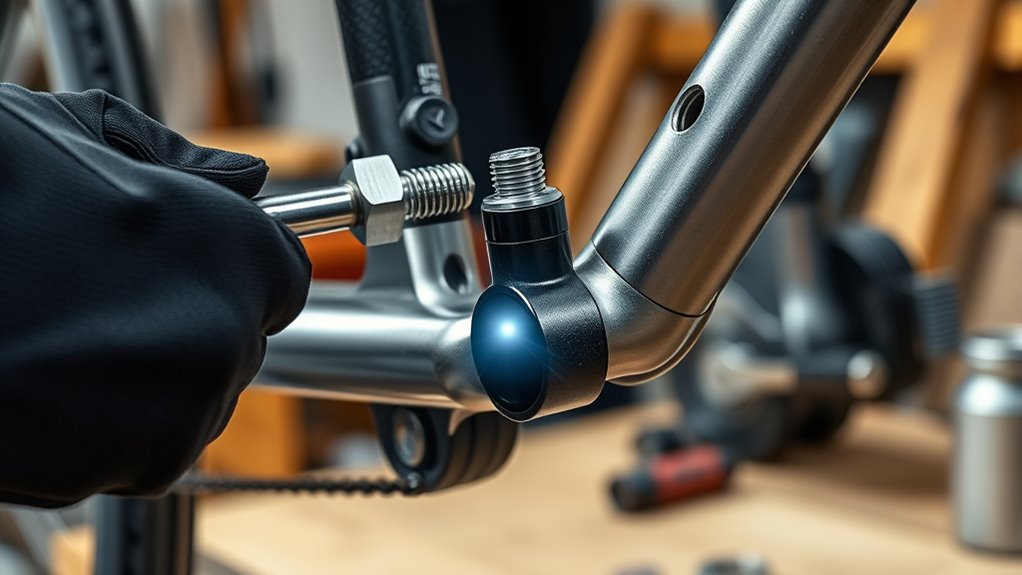
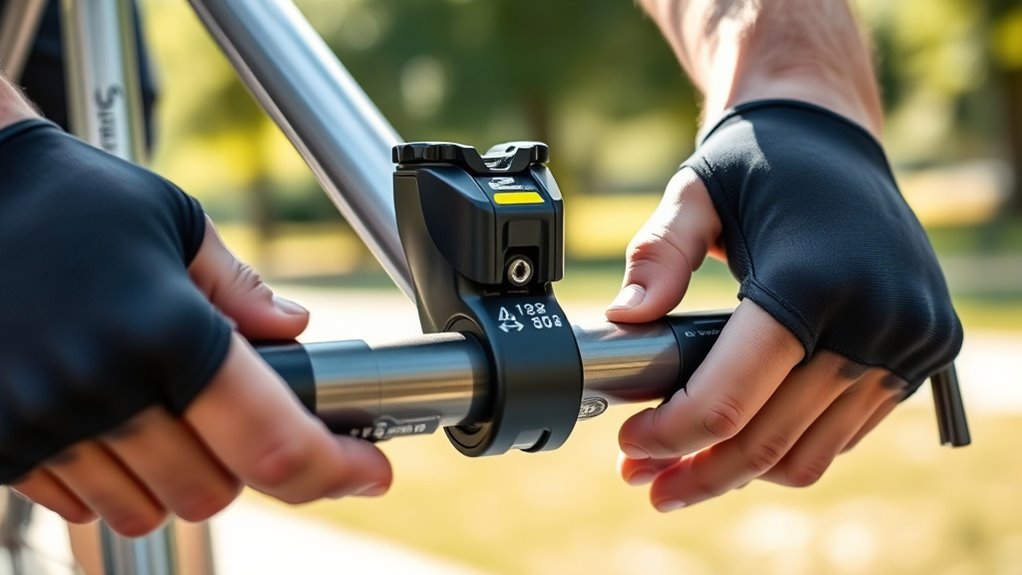
Installing the Hitch Onto Your Bicycle
To install the hitch onto your bicycle, start by identifying your bike’s axle type—whether it’s quick release, bolt-on, or thru axle—as this determines the compatible hitch components. Confirm the hitch matches your axle diameter and dropout style; use adapters if needed for a secure fit. Remove the existing axle or skewer if required, then install any provided adapters or spacers. Attach the hitch to the axle or dropout, making sure it sits flush and aligns properly to avoid wobbling. Tighten all bolts and quick-release mechanisms securely per manufacturer instructions. For example, when installing a Dog Trailer, check that the hitch aligns with your seat post and rear axle. Here’s a quick comparison:
| Axle Type | Compatibility Tips |
|---|---|
| Quick release | Use quick-release compatible hitch |
| Bolt-on | Tighten bolts firmly |
| Thru axle | Ensure proper adapters |
| Adapter needs | Use spacers if necessary |
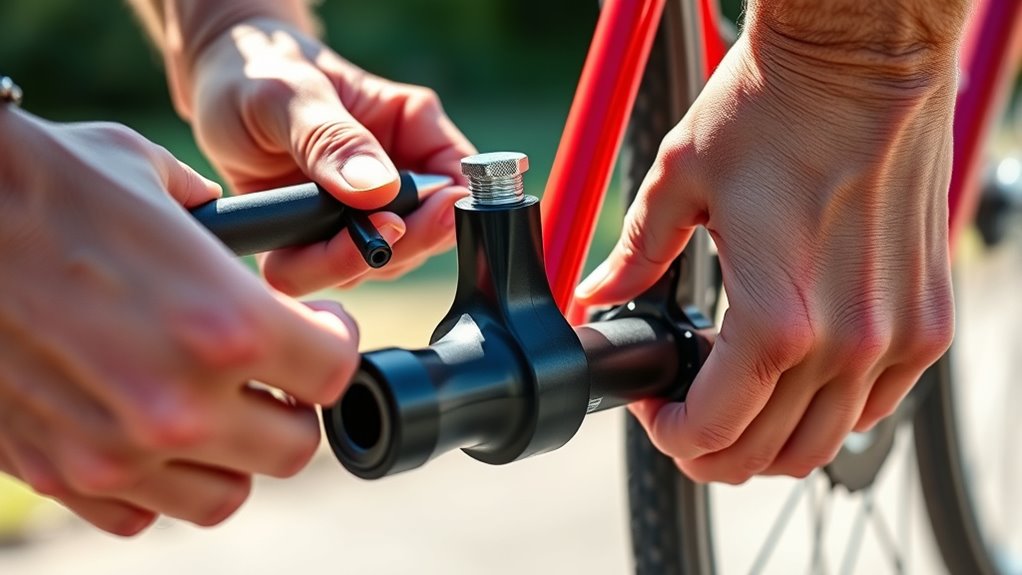
Attaching the Trailer Securely and Adjusting Fit
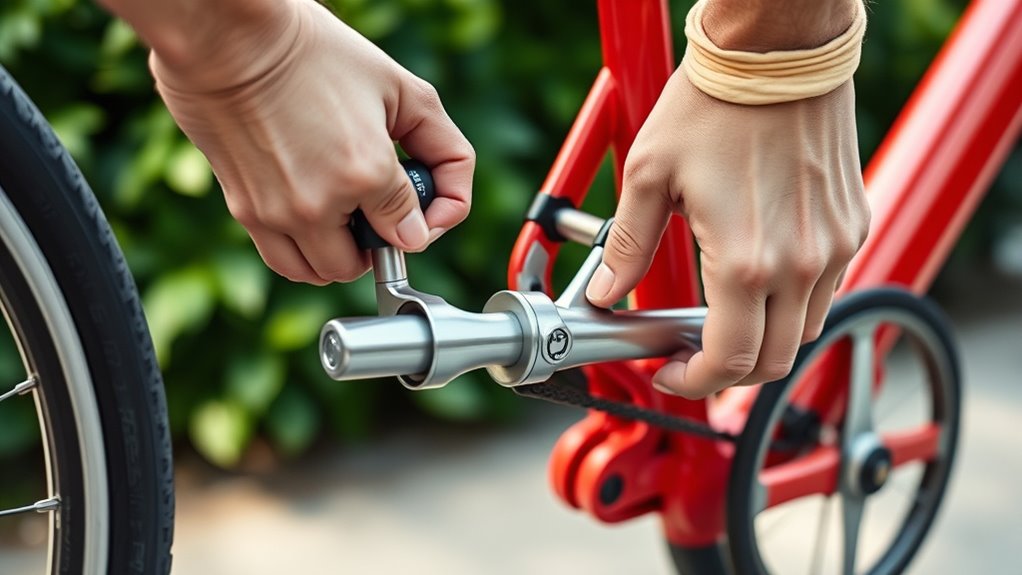
Make sure your trailer hitch is securely seated against the axle or mounting point, with minimal play or wobble. The hitch used should be compatible with your bike and properly installed. To attach the trailer, use the appropriate securing devices such as nuts, bolts, or quick-release levers, ensuring they are tightened correctly to prevent movement. Adjust the hitch angle and tension so the trailer sits level and doesn’t sway during your ride. Check that any adapters or spacers are properly installed and tightened to avoid detachment. Periodically inspect the connection for wear, looseness, or damage, and tighten or replace components as needed. Proper attachment and fit are essential for safe, stable towing and a smooth riding experience.
Performing Safety Checks and Routine Maintenance
Performing regular safety checks and routine maintenance is essential to guarantee your bike-trailer setup remains secure and reliable. Next time you prepare for a ride, inspect the hitch connection for signs of wear, rust, or damage to ensure it looks good. Verify that all bolts, nuts, and quick-release mechanisms are tight and properly engaged, preventing any chance of detachment. Check the trailer’s coupler and safety chains for secure attachment, replacing frayed or damaged parts immediately. Lubricate moving hitch parts as recommended by the manufacturer to keep everything operating smoothly and prevent corrosion. Periodically test the hitch’s stability by gently rocking the trailer to detect looseness or instability. These simple steps help you maintain safety and confidence during every ride.
Frequently Asked Questions
How to Install a Bike Trailer Hitch?
To install a bike trailer hitch, first identify your bike’s axle type and dropout style to pick compatible parts. Remove the existing axle or skewer if needed, then attach any adapters or spacers to guarantee a snug fit. Secure the hitch plate or bracket tightly to the axle or dropouts, making sure everything’s aligned and stable. Double-check all connections and test the hitch’s stability before loading the trailer.
Can I Install a Trailer Hitch Myself?
Yes, you can install a trailer hitch yourself if you have basic tools and follow the manufacturer’s instructions. You’ll need to identify your bike’s axle type and dropout design to choose the right parts. Be prepared to sometimes modify components, and always guarantee everything is securely attached. Carefully follow safety guidelines, double-check your work, and test the hitch before towing to avoid accidents.
How Much Does It Cost to Install a Trailer Hitch?
Imagine building a custom bike—cost varies just like installing a trailer hitch. You might spend around $150 for a basic Draw-Tite, perfect if you’re handy, or up to $350 for a premium EcoHitch. If you do it yourself, you’ll save on labor but may need tools, adding to costs. Professional installation guarantees ease but adds to your budget. Ultimately, your choice depends on your skills and the hitch type.
What Kind of Hitch Do I Need to Install a Bike Rack?
When choosing a hitch for your bike rack, you need a standard 2-inch Class III hitch for strength and compatibility. Make sure it fits your vehicle’s bumper or frame, sometimes requiring modifications. Popular brands like EcoHitch and Draw-Tite work well, with EcoHitch supporting up to 200 lbs. Confirm that the hitch’s shank size matches your bike rack’s receiver, usually 1.25 or 2 inches, for a secure fit.
Conclusion
As you fine-tune your bike-trailer setup, remember that a little patience goes a long way. When everything aligns smoothly, your rides become more enjoyable and worry-free. Keep in mind that even the best preparations are part of a continuous journey toward better safety and comfort. Embrace the process, and you’ll find that each ride offers new opportunities to learn and grow. Ultimately, a thoughtfully adjusted hitch makes every adventure more rewarding.