
When converting your bike to mid-drive, understanding bottom bracket standards is key for compatibility and performance. Different standards like BSA, threaded, press-fit, Shimano Steps, or Bosch have unique measurements and threading patterns. Ensuring your motor, crankset, and frame align with these standards prevents installation issues and damage. Recognizing how each standard fits your frame and bike riding style helps you make smarter choices. Keep going to discover how to identify and match the right bottom bracket for your project.
Key Takeaways
- Understand common bottom bracket standards (BSA, Italian, press-fit) and their threading measurements to ensure compatibility.
- Recognize that Bosch’s bottom bracket system often differs from standard standards, requiring specific adapters.
- Verify shell width and threading size before installing or upgrading to prevent fit issues.
- Use appropriate adapters when switching between standards to maintain proper chainline and motor fit.
- Consulting manufacturer specifications helps ensure secure, efficient, and safe mid-drive conversions.
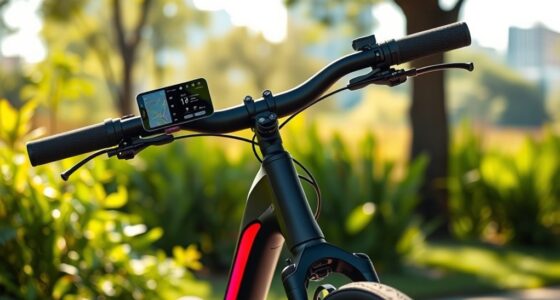
mid-drive e-bike bottom bracket conversion kit
As an affiliate, we earn on qualifying purchases.
As an affiliate, we earn on qualifying purchases.
What Are Mid-Drive Motors and Why Are They Popular?

Have you ever wondered why mid-drive motors are gaining popularity among e-bike riders? One key reason is their strategic battery placement, which keeps the weight centered and improves balance. This positioning enhances motor efficiency by reducing strain on individual components and allowing for better power transfer. Mid-drive motors work directly at the crank, leveraging the bike’s gears for maximum performance across varied terrains. This setup not only boosts efficiency but also makes the bike more responsive and natural to ride. Plus, because the motor is integrated into the bottom bracket area, maintenance tends to be simpler. Furthermore, integrating these European cloud innovation solutions into e-bike technology can enhance data management and connectivity features. Overall, these factors make mid-drive motors a smart choice for riders seeking a balanced, efficient, and reliable e-bike experience.
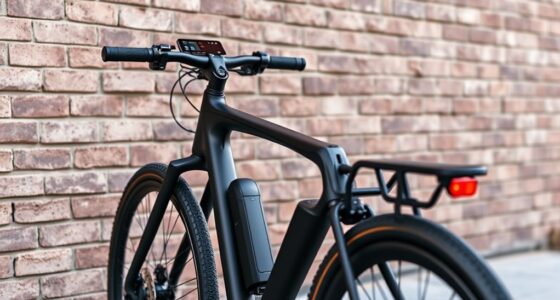
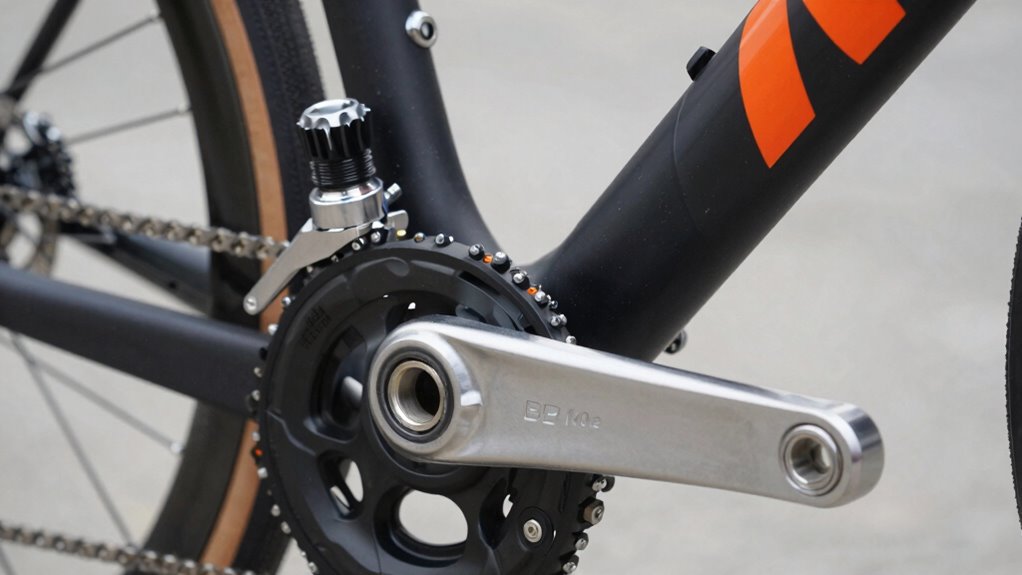
BSA threaded bottom bracket for e-bike
As an affiliate, we earn on qualifying purchases.
As an affiliate, we earn on qualifying purchases.
What Are the Main Types of Bottom Brackets for E-Bike Conversions?
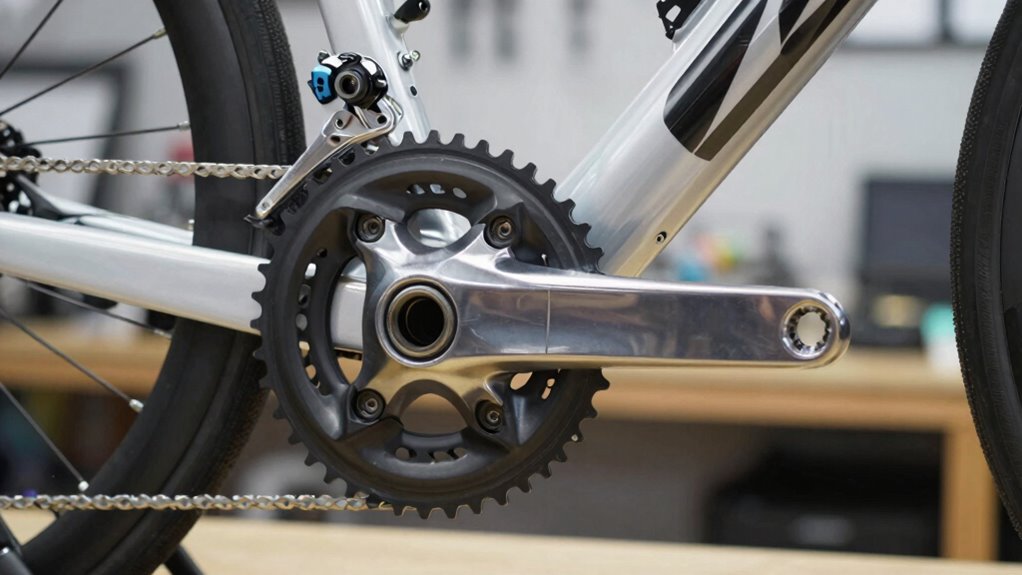
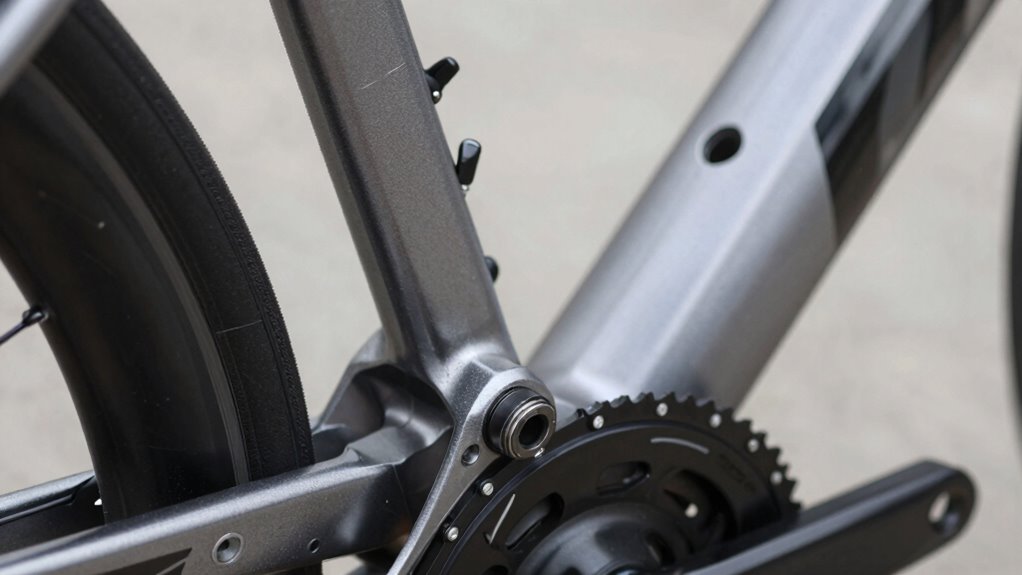
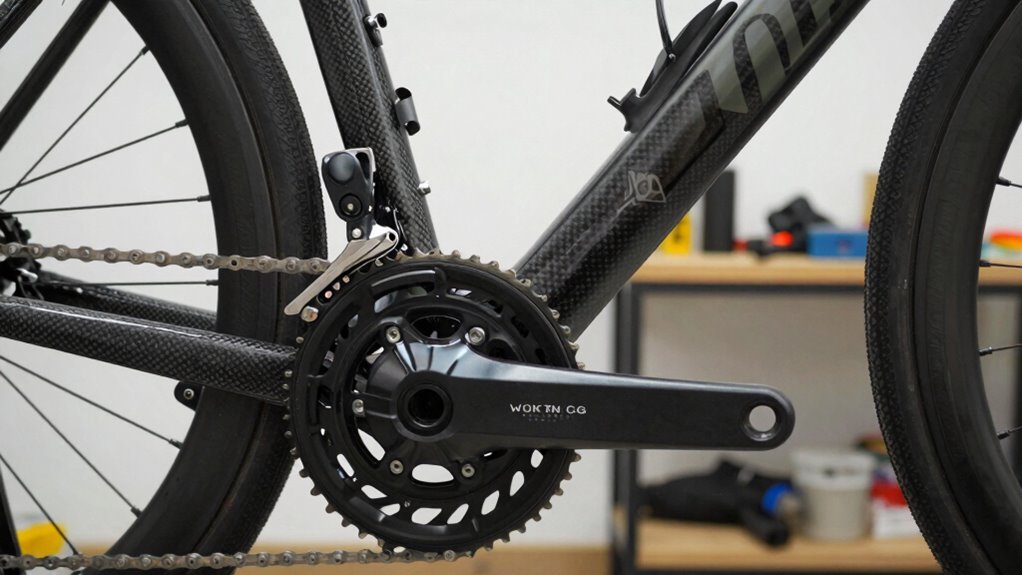
When converting a bike to electric, choosing the right bottom bracket is essential because it directly affects motor compatibility and performance. The main types include threaded, press-fit, and external bearing bottom brackets. Threaded bottom brackets are common and easy to service, with standard sizes like BSA (English) and Italian. Press-fit bottom brackets fit directly into the frame without threads, saving weight but requiring precise spindle length to ensure proper crank arm clearance. External bearing bottom brackets feature larger, separate bearings, offering durability and smoother operation. When selecting a bottom bracket, consider the crank arm type and spindle length, which determine how well the motor fits and functions. Matching these standards guarantees a secure fit and ideal power transfer during your e-bike conversion. Additionally, understanding bottom bracket standards can simplify your selection process and ensure compatibility across different bike frames. Moreover, being aware of frame compatibility helps prevent installation issues and ensures optimal performance.
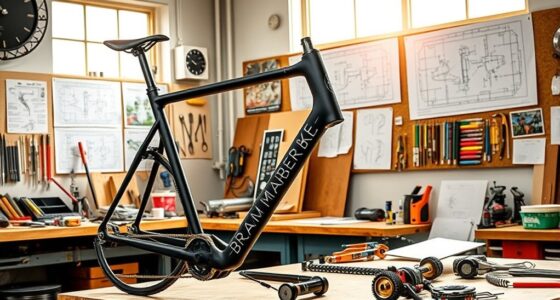
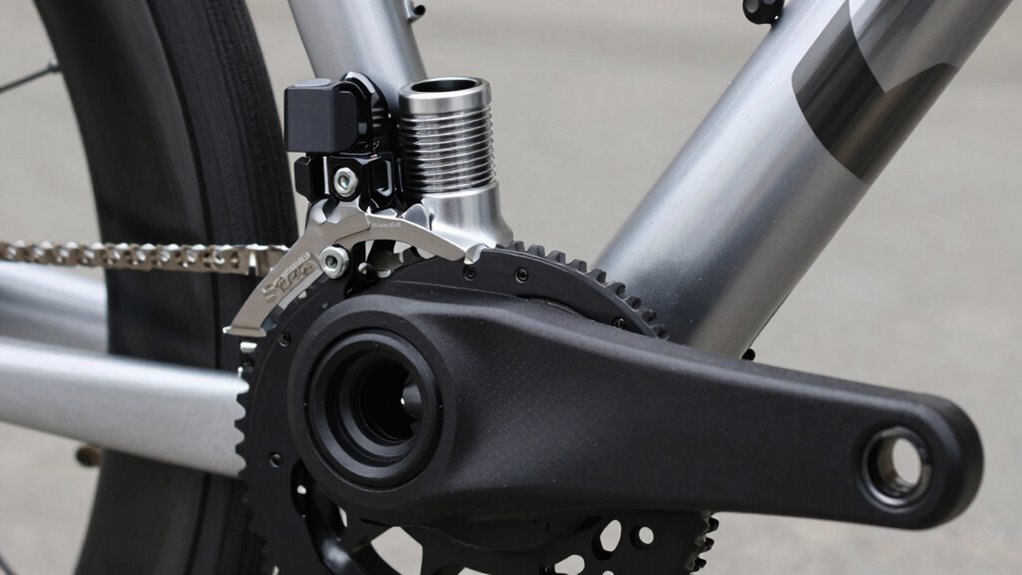
press-fit bottom bracket for electric bike
As an affiliate, we earn on qualifying purchases.
As an affiliate, we earn on qualifying purchases.
How Do Shimano Steps Bottom Brackets Work?
Shimano Steps bottom brackets are designed to integrate seamlessly with their e-bike motor systems, providing smooth power transfer and reliable performance. They connect the crankset directly to the motor, ensuring efficient energy delivery regardless of your bike’s frame materials. These bottom brackets work by housing a motorized interface that synchronizes pedal input with motor assistance, optimizing power output. The design considers battery placement options, allowing for flexible configurations that balance weight distribution. Responsible use and privacy considerations are also important when integrating electronic components into your bike system to ensure safety and security. Key features include:
- Compatibility with Shimano’s e-bike systems
- Precise motor integration for efficient pedaling
- Durable build suited for various bike frame materials
- Adaptability to different battery placement options
- Easy installation and maintenance for mid-drive conversions
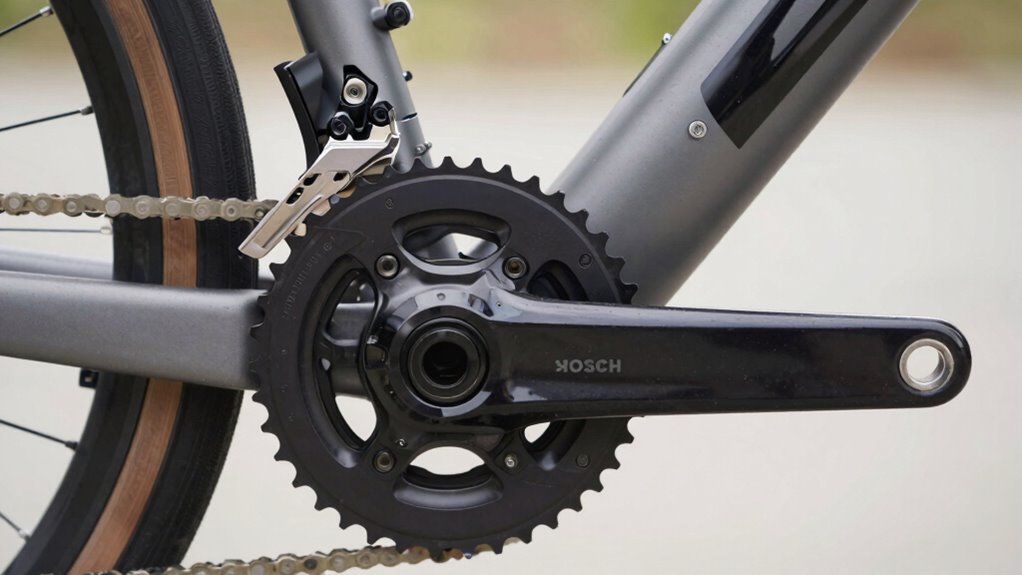
Shimano Steps bottom bracket
As an affiliate, we earn on qualifying purchases.
As an affiliate, we earn on qualifying purchases.
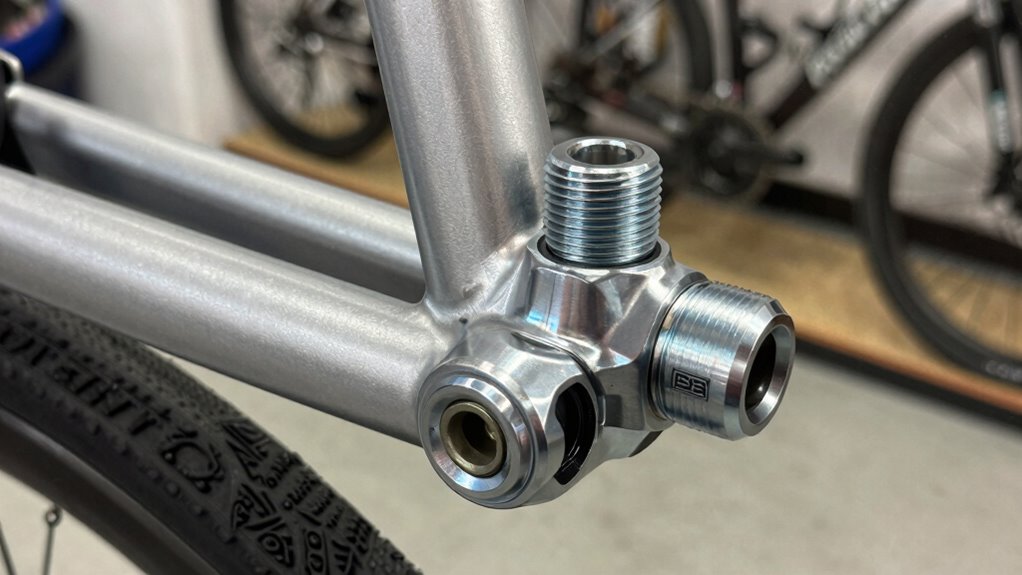
What Makes Bosch Bottom Bracket Standards Different?
Bosch bottom bracket standards stand out because of their unique mounting systems and varied threading standards, which can complicate conversions. You might find that compatibility issues arise due to these differences, making it tricky to swap components seamlessly. Understanding these distinctions helps you navigate potential challenges more effectively, especially when considering high-heat outdoor environments where component durability and proper fit are crucial. Additionally, being aware of bottom bracket standards can aid in selecting the right tools and replacement parts, reducing installation errors and ensuring a secure fit. Recognizing the importance of auditory processing can also enhance your overall maintenance and troubleshooting skills, ensuring long-term performance. Being mindful of component compatibility can help prevent costly mistakes and prolong the lifespan of your e-bike setup. Furthermore, understanding standardized measurements ensures you select compatible parts and avoid unnecessary frustration during upgrades.
Unique Mounting Systems
Unlike other bottom bracket standards, Bosch’s unique mounting system focuses on guaranteeing seamless integration with specific cranksets and frames. This approach helps maintain optimal performance and reliability. Bosch’s unique standards in mounting systems mean you won’t need adapters or modifications to fit their components. Instead, you’ll find a precise fit designed for compatibility with their mid-drive systems. The system’s design emphasizes:
- Standardized interface for easy installation
- Reduced wear and tear through secure attachment
- Compatibility with select frame geometries
- Simplified maintenance and troubleshooting
- Enhanced overall stability during rides
These features set Bosch apart, making their mounting systems highly specialized. You benefit from a consistent, reliable connection that supports the durability and efficiency of your e-bike’s mid-drive system. This focus on unique standards ensures a smoother, more integrated riding experience. Standardized interface helps streamline installation and reduces the risk of compatibility issues.
Varied Threading Standards
The way bottom brackets thread into frames varies considerably across different standards, affecting compatibility and ease of installation. Threading standards determine how the bottom bracket is screwed into the frame, and each brand often uses its own specifications. For example, Bosch bottom brackets feature specific threading patterns that don’t always match other standards, creating compatibility challenges. If you’re switching between brands or upgrading, you might find that your frame’s threading doesn’t align with the new motor system. This variability means you need to pay close attention to threading standards before purchasing or installing mid-drive components. Without matching standards, installation becomes complicated, and you risk damaging your frame or motor. Understanding these differences helps you avoid frustration and ensures a smooth, secure fit. Additionally, knowing the specific threading compatibility requirements can save time and prevent costly mistakes during installation.
Compatibility Challenges
One key reason for compatibility challenges is that Bosch bottom brackets use a unique threading pattern that doesn’t match common standards. This difference affects mount compatibility and pedal threading, making upgrades tricky. You might find that standard bottom brackets won’t fit without adapters, and pedal threading may not align properly. To navigate these hurdles, consider these factors:
- Specific mount compatibility requirements
- Uncommon pedal threading standards
- Limited compatibility with generic bottom brackets
- The need for specialized adapters or inserts
- Variations in bottom bracket shell dimensions
- Recognizing that bottom bracket standards vary significantly across brands and models, which impacts compatibility and upgrade options. Additionally, variations in threading patterns can complicate installation and future upgrades.
Understanding these differences helps prevent frustration and costly mistakes. Recognizing that Bosch’s unique threading and mounting systems don’t conform to industry norms is key to ensuring your mid-drive conversion is successful and safe.
Are BSA and Threaded Bottom Brackets Compatible?
You might wonder if BSA and threaded bottom brackets can work together, but their compatibility depends on several factors. Variations in BSA sizes and thread types can cause fit issues, so you’ll need to verify specific measurements. Sometimes, adapters are necessary to ensure a proper fit and smooth operation. Additionally, understanding bottom bracket standards can help you choose the correct components for your e-bike conversion. Being familiar with bike component compatibility can further simplify the process and prevent potential issues. For example, knowing the differences in threading specifications can save you time and money during installation. To ensure seamless integration, it’s also helpful to be aware of standardized measurements across different bottom bracket types. Paying attention to manufacturing tolerances can make the installation process even smoother.
Thread Compatibility Differences
Understanding whether BSA and threaded bottom brackets are compatible requires examining their design differences. The key factor is thread compatibility, which depends on threading standards. BSA bottom brackets use a 1.37″ x 24 TPI thread, while other threaded standards may vary in diameter or thread pitch. These differences mean they’re generally not interchangeable without adapters or modifications.
- Threading standards dictate the thread pitch and diameter
- BSA threads are standardized at 1.37″ x 24 TPI
- Other threaded standards might have different measurements
- Compatibility depends on matching the correct thread type
- Adapters are sometimes necessary for cross-standard fitting
Always verify the thread compatibility before attempting a conversion to ensure proper fit and function.
BSA Size Variations
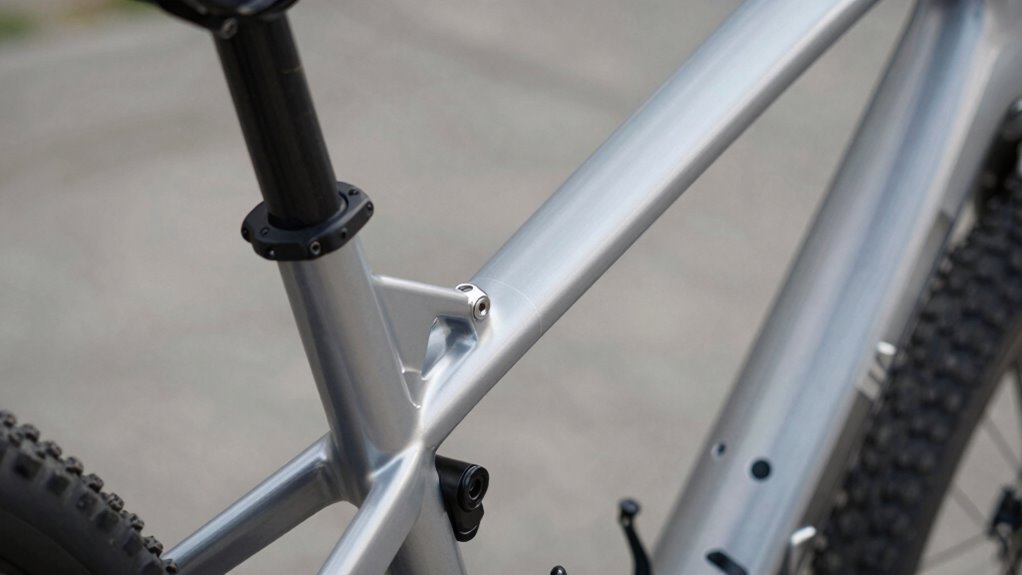
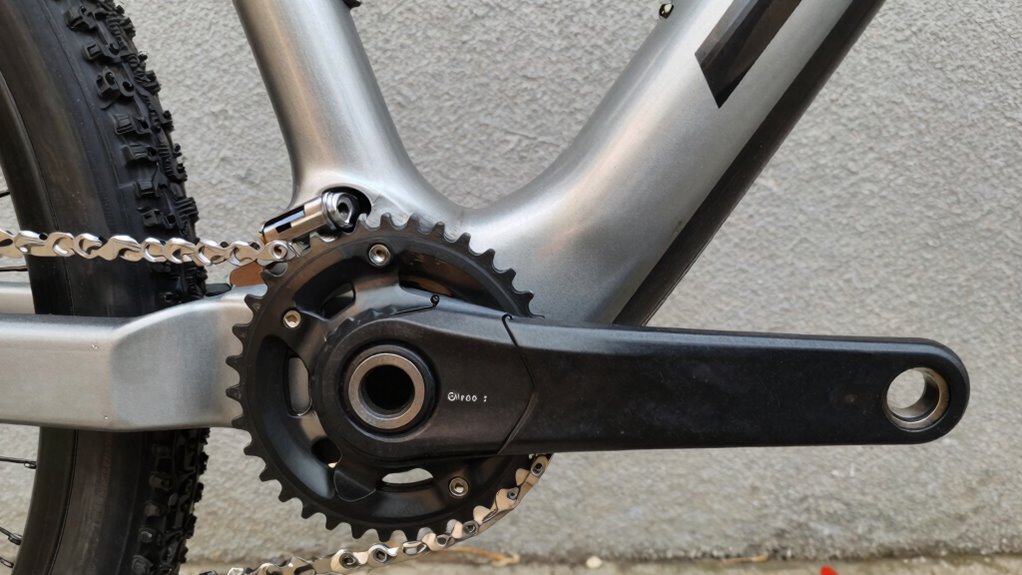
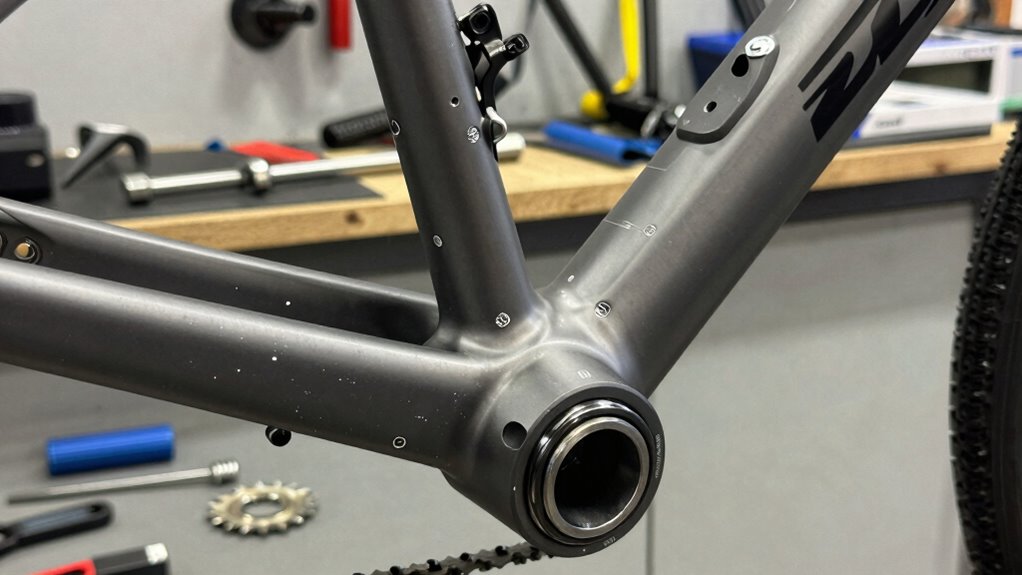
BSA bottom brackets come in several size variations, which can affect compatibility with threaded bottom brackets. The most common sizes are BSA 68mm, 73mm, and 83mm, but some bikes feature wider or narrower shells depending on bike frame materials. When considering mid-drive conversions, it’s vital to verify your frame’s BSA shell width to choose the correct bottom bracket size. Different bike frame materials, like aluminum or carbon, can influence how tightly or loosely components fit, especially in suspension systems where clearance and alignment are critical. Compatibility issues may arise if you select the wrong BSA size, potentially causing creaking, misalignment, or damage. Always measure your frame’s bottom bracket shell accurately to ensure a proper fit and reliable performance in your conversion.
Adapter Requirements
Are BSA and threaded bottom brackets directly compatible when considering mid-drive conversions? Not always. Most bike frames are designed for specific bottom bracket standards, so you may need adapters to fit a different type. When upgrading to a mid-drive motor, ensuring proper compatibility is vital for ideal motor power transfer and frame integrity. Understanding bottom bracket standards is key to making an informed choice. Consider these points: – Verify your bike frame’s bottom bracket shell size and type – Choose adapters that match both the frame and motor requirements – Be aware that some adapters may add slight height or width differences – Compatibility impacts chainline and pedal clearance – Proper adapters prevent damage and optimize motor power delivery. Additionally, bottom bracket compatibility can influence the overall durability and smoothness of your bike’s operation. Using the right adapters simplifies installation and maximizes your mid-drive system’s performance.
What Is the Boosted Standard, and Is It Right for Your Bike?
Have you heard of the Boosted Standard and wondered if it’s the right choice for your bike? This bottom bracket standard is designed for high-performance mid-drive conversions, offering increased battery capacity and optimized motor torque delivery. It allows for a more integrated setup, providing better clearance and rigidity compared to other standards. The Boosted Standard is especially suitable if you want a more powerful e-bike experience with longer rides and improved hill-climbing ability. However, it’s best for bikes with compatible frame geometry and bottom bracket shell measurements. If your bike’s existing setup aligns with Boosted’s specifications, you’ll benefit from enhanced power transfer and efficiency. Consider your riding style, desired range, and compatibility before choosing this standard—it could be just what your bike needs. Understanding conversion compatibility can help ensure you select the right standard for your specific bike.
How to Check If a Bottom Bracket Will Fit Your Bike
To determine if a bottom bracket will fit your bike, start by measuring the existing shell width and diameter. Accurate measurements ensure compatibility with your bike’s frame. You’ll want to check:
- Shell width (in millimeters) using a caliper or ruler
- Shell diameter (English or metric standards)
- Thread type (BSA, BSC, PF, or other)
- Thread pitch (distance between threads)
- Existing bottom bracket type for reference
Knowing these details helps you select the right bottom bracket, simplifying your maintenance tips and avoiding unnecessary bike accessories. Proper fit guarantees smooth operation and prevents damage. Always double-check measurements before purchasing or installing. This step reduces guesswork and saves you time and money, keeps your bike running efficiently, and enhances your overall riding experience. Additionally, understanding bottom bracket standards can help you navigate the wide array of options available. Being familiar with bottom bracket compatibility ensures you choose the correct components for your specific bike model and riding style. Recognizing the importance of correct measurements can prevent costly mistakes and ensure a seamless upgrade process. Moreover, paying attention to installation compatibility can facilitate easier assembly and maintenance.
Tips for Installing Your Mid-Drive Motor Smoothly
Installing a mid-drive motor requires careful preparation to guarantee everything aligns correctly. Start by considering your bike’s frame geometry, ensuring the motor fits without interference. Proper battery placement is vital; position the battery where it’s secure and accessible, balancing weight distribution. Double-check the chainline to prevent rubbing or slipping. Use the table below to guide your installation steps:
| Step | Tip |
|---|---|
| 1 | Verify frame compatibility early |
| 2 | Position the battery for ideal weight balance |
| 3 | Confirm the motor aligns with the bottom bracket |
| 4 | Consider frame geometry for clearance |
| 5 | Test fit before final tightening |
Following these tips helps guarantee a smooth installation, maximizing performance and safety.
Common Fit Issues and How to Troubleshoot Them
When installing a mid-drive motor, you might encounter fit issues that affect performance. To guarantee they are addressed, start by checking if your bike’s components are compatible and inspecting the bottom bracket for wear. You’ll also need to adjust the chainring alignment to ensure everything runs smoothly.
Identifying Compatibility Issues
Compatibility issues are a common obstacle when considering a mid-drive conversion, and identifying them early can save you time and frustration. To do this, check for potential conflicts with your crank arm and pedal compatibility, as well as frame clearances. Inspect the bottom bracket shell for size and threading, ensuring it matches the motor’s requirements. Be aware of the following common issues:
- Crank arm clearance with frame components
- Pedal thread compatibility
- Bottom bracket shell width and threading
- Chainring size and clearance
- Accessory or derailleur interference
Inspecting Bottom Bracket Wear
Inspecting the bottom bracket for wear is a key step to make certain your mid-drive conversion fits properly and functions smoothly. Over time, the bottom bracket’s lifespan decreases due to regular use, and wear indicators can help you identify when it’s time for replacement. Look for signs like roughness, grinding noises, or play when you wiggle the crank arm. Spin the crank and feel for any looseness or roughness, which can indicate worn bearings or other issues. If you notice any irregularities, it’s best to address them early to prevent further damage. Regular inspections ensure your bottom bracket remains in good condition, supporting excellent performance and avoiding fit issues that could affect your conversion’s efficiency.
Adjusting Chainring Alignment
Ensuring your chainring is properly aligned is essential for smooth shifting and efficient power transfer. Misaligned chainrings can cause chain drops, uneven wear, and poor performance. To troubleshoot, start by checking your crank arm positioning; it should be perfectly parallel to the frame when at the top dead center. Adjust the chainring if it’s off-center by loosening the bolts and repositioning it so that it sits squarely. Pay attention to chainring rotation to prevent wobbling. Consider these points:
- Verify crank arm positioning at top dead center
- Tighten chainring bolts securely in correct alignment
- Confirm chainring is flush against the crank arm
- Inspect for bent or damaged chainring teeth
- Ensure derailleur and shifter are properly adjusted
Proper chainring alignment prevents issues and optimizes power transfer.
How to Choose the Best Bottom Bracket for Your Riding Style
Choosing the right bottom bracket starts with understanding your riding style. If you prefer casual rides, a lightweight, standard bottom bracket may suffice. For mountain biking or aggressive riding, consider a more durable, sealed unit that withstands dirt and mud. Your bike frame materials also matter—aluminum frames often support standard bottom brackets, while carbon frames may require specific types. Additionally, think about battery placement options; some mid-drive conversions have batteries mounted near the bottom bracket, so selecting a bottom bracket compatible with these setups guarantees smooth integration. Whether you prioritize efficiency, durability, or compatibility with your bike’s design, matching the bottom bracket to your riding style helps improve performance and longevity of your conversion.
Frequently Asked Questions
Can I Upgrade My Current Bottom Bracket to a Mid-Drive Compatible One?
Yes, you can upgrade your current bottom bracket to a mid-drive compatible one if your bike’s bottom bracket compatibility matches the new standard. Check your bike’s existing bottom bracket type and size before purchasing. Consider upgrade considerations like frame compatibility, crankset requirements, and tool needs. If you’re unsure, consult a bike mechanic to ensure your upgrade goes smoothly and that your new bottom bracket fits perfectly with your mid-drive system.
Are There Any Weight Differences Between Bottom Bracket Standards?
Like choosing between different spices, bottom bracket standards vary slightly in weight. Generally, standard weight differences are minimal—often just a few grams—so they won’t considerably impact your ride. Some lightweight models aim to reduce weight further, but for most riders, the difference in bottom bracket weight is negligible. Focus on compatibility and durability first; the slight weight variations won’t affect your performance much.
How Often Should I Service or Replace My Bottom Bracket?
You should service your bottom bracket every 1,000 to 3,000 miles, depending on riding conditions. Keep an eye out for replacement indicators like creaking noises, rough pedal movement, or play in the crankset. A regular maintenance schedule, including cleaning and re-greasing, helps prolong its lifespan. If you notice persistent issues or excessive wear, it’s best to replace your bottom bracket promptly to maintain peak bike performance.
What Tools Are Necessary for Installing Different Bottom Bracket Types?
You’ll need specific tools for each bottom bracket type, so don’t grab a hammer and hope for the best. Typically, you’ll want a bottom bracket wrench or socket, a compatible crank puller, and possibly an Allen key or torque wrench. Compatibility checks are essential—use the right tools for your specific bottom bracket standard. Skimp here, and you’ll end up on a wild goose chase instead of a smooth install.
Do Different Bottom Bracket Standards Affect Bike Frame Durability?
Different bottom bracket standards can impact your bike’s frame durability, especially if not compatible with your frame’s material. Using the wrong standard may cause stress points or damage, compromising frame integrity over time. Always check your frame’s material and compatibility before choosing a bottom bracket. Proper matching guarantees better support, reduces wear, and helps preserve your bike’s overall strength and longevity during mid-drive conversions or regular riding.
Conclusion
Choosing the right bottom bracket for your mid-drive conversion isn’t just a decision—it’s the gateway to transforming your ride into an unstoppable force of nature. Get it right, and you’ll release unparalleled power, smoothness, and reliability that make every pedal stroke feel like a symphony of engineering mastery. Don’t settle for anything less; your perfect ride awaits, ready to conquer every trail and road with unrivaled confidence and sophistication.