
To plan a custom bike build, start by selecting your preferred frame material—aluminum, carbon fiber, or steel—based on your riding style and budget. Next, choose the right gear shifters that match your drivetrain and feel comfortable in your hands, considering whether trigger, grip, or integrated styles suit you best. Make sure all components are compatible for smooth performance. If you keep exploring, you’ll discover how to fine-tune your setup for an ideal ride experience.
Key Takeaways
- Determine your bike’s primary use (commuting, racing, leisure) to select suitable frame material and components.
- Choose compatible gear shifters that match your drivetrain and riding style for smooth shifting performance.
- Prioritize ergonomic shifter design for comfort and ease of operation during long rides.
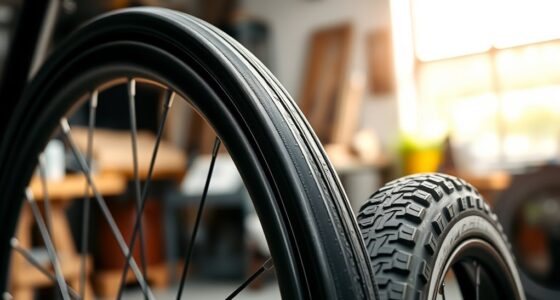
- Select appropriate wheels, brakes, and saddle after finalizing frame material and gear shifters.
- Ensure overall component compatibility to optimize bike performance, durability, and customization options.

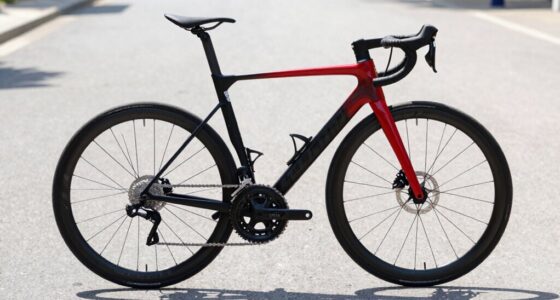
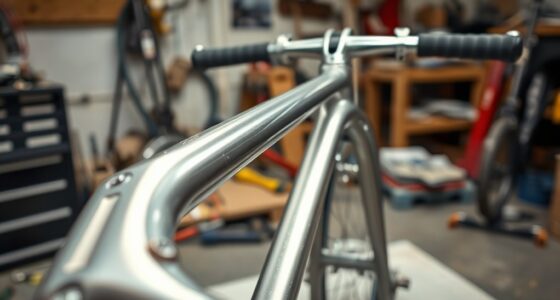
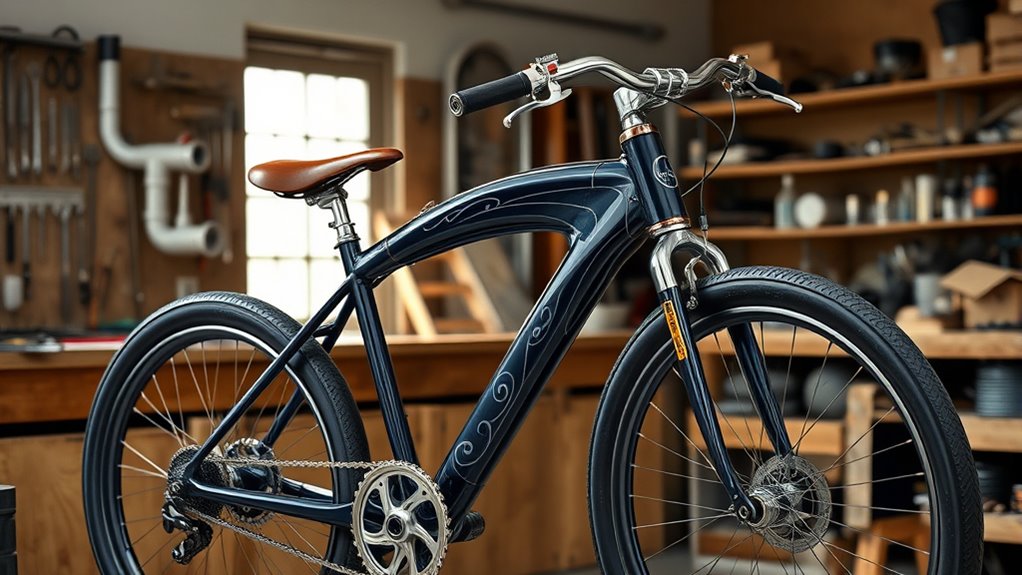
Building a custom bike allows you to create a ride that perfectly matches your style and needs. The first step in this process is choosing the right frame materials, which substantially influence your bike’s weight, durability, and ride quality. Aluminum is a popular choice because it’s lightweight and affordable, offering a good balance of strength and comfort. Carbon fiber, on the other hand, provides exceptional lightness and stiffness, ideal for riders seeking high performance and responsiveness. Steel frames are known for their durability and smooth ride, making them perfect if you prioritize comfort and longevity. When selecting frame materials, consider how you plan to use your bike—whether for commuting, racing, or leisure—as this will guide your choice toward the most suitable option.
Once you’ve decided on the frame materials, it’s time to focus on the gear shifters. These components are vital for controlling your bike’s gearing system and directly impact your riding efficiency and comfort. There are several types to choose from, including trigger shifters, grip shifters, and integrated shifters. Trigger shifters, often mounted on the handlebars, allow quick and precise gear changes, making them a favorite among road and mountain bikers. Grip shifters, which twist around the handlebar grip, provide a more relaxed feel and are common on mountain bikes for their ease of use. Integrated shifters combine the gear controls with brake levers, creating a sleek, single-unit design that’s both lightweight and aerodynamic. When selecting gear shifters, think about your riding style and terrain. For instance, mountain bikers might prefer grip shifters for their durability and ease of operation, while road cyclists may favor trigger shifters for faster, more accurate shifting. Additionally, compatibility between components is essential to ensure smooth shifting performance and avoid future upgrade issues.
As you plan your build, keep in mind that compatibility between components is key. Make sure the gear shifters you choose are compatible with your chosen drivetrain and frame. This means matching the number of gears and ensuring the shifters fit your handlebar style. Additionally, consider your personal comfort and ergonomics; the right shifter should feel natural in your hands and be easy to operate during long rides. Once you’ve nailed down these core decisions, you can move on to selecting other components like wheels, brakes, and saddle. By thoughtfully choosing your frame materials and gear shifters, you’re laying a solid foundation for a custom bike that rides exactly how you want it to—efficient, comfortable, and tailored to your preferences.

Compatible for Carbon Fiber Gravel Bike Frame Set, 43/47/52cm Custom Color Frame with Thru Axle Fork(Black-with Logo,52cm(175-185cm))
Multiple frame sizes (43cm, 47cm, 52cm) accommodate a wide range of rider heights for a proper fit
As an affiliate, we earn on qualifying purchases.
As an affiliate, we earn on qualifying purchases.
Frequently Asked Questions
What Is the Average Cost of a Custom Bike Build?
A custom bike build typically costs between $1,500 and $5,000, depending on your choices. You can select premium bike frame materials like carbon fiber or titanium, which raise the price. Custom paint options also add to the cost, allowing you to personalize your ride. Your budget varies based on the components and finishes you choose, but investing in quality materials and unique paint guarantees a bike that suits your style and performance needs.
How Long Does a Custom Bike Build Typically Take?
A custom bike build usually takes about 20 to 40 hours. During this time, your assembly timeline depends on how quickly you select components and how complex the build is. If you’re precise with your component choices and work steadily, you could complete it in just a few weekends. Rushed assembly can extend the timeline, so plan carefully to enjoy the process and achieve the perfect bike.
Can I Upgrade Components Later After the Build?
Yes, you can upgrade components later after your build. Most bikes are designed with future modifications in mind, so you can easily swap out parts for better component upgrades as your skills and budget grow. Keep in mind compatibility and frame specifications when planning your upgrades, and you’ll enjoy customizing your bike over time, making each ride more tailored to your preferences without needing a complete rebuild.
What Tools Are Necessary for Assembling a Custom Bike?
You’ll need essential tools like Allen wrenches, screwdrivers, a bike pump, and a chain tool for assembling your custom bike. Did you know a properly assembled bike diminishes maintenance needs by 30%? Using the right tools enhances cycling safety and ensures your bike performs reliably. Keep a multi-tool and tire levers handy for quick repairs, so you’re always ready for a smooth ride and safe cycling adventures.
How Do I Choose the Right Frame Size for Me?
You choose the right frame size by focusing on frame fitting and consulting sizing charts. Measure your inseam and height accurately, then compare these measurements to the sizing charts provided by manufacturers. Pay attention to the stand-over height and top tube length for comfort and control. Testing different sizes and seeking advice from bike shops can also guarantee you find a frame that fits perfectly, making your ride enjoyable and efficient.

3×7 Speed Bike Shifter Brake Levers Combo, 21-Speed Integrated Bicycle Gear Shifter Set with Visual Gear Indicator & Stainless Steel Shift Cables, Replacement Parts for Mountain Bike, Road Bike, MTB
🚲 【PERFECT 3×7 SPEED UPGRADE】 Specifically engineered for 21-speed drivetrains, this integrated set features a 3-speed left lever…
As an affiliate, we earn on qualifying purchases.
As an affiliate, we earn on qualifying purchases.
Conclusion
Now that you’ve planned your custom bike build, you’re ready to bring your vision to life. Every choice reflects your personality and riding style—so why settle for anything less? As you assemble your perfect ride, remember that this isn’t just about bikes; it’s about creating something uniquely yours. Are you prepared to embrace the challenge and enjoy the journey of building a bike that truly represents you? The road ahead is yours to conquer.
mountain bike grip shifters
As an affiliate, we earn on qualifying purchases.
As an affiliate, we earn on qualifying purchases.

WEEROCK L-TWOO Road Bike Shift Lever 2 X 7 Speeds Road Bicycle Shifters with Brake Levers Compatible with Shimano
SPEED: 2*7S
As an affiliate, we earn on qualifying purchases.
As an affiliate, we earn on qualifying purchases.