
Before adjusting your saddle height again, step back to evaluate your riding goals, style, and conditions. Accurately measure your body and leg dimensions using proper tools, and review your bike fit history for patterns or persistent discomfort. Make sure your bike’s components are compatible, then fine-tune your saddle position for ideal ergonomic comfort. Warm up and test your current setup thoroughly. Following these steps ensures a precise, effective adjustment—if you want detailed guidance, keep exploring further.
Key Takeaways
- Assess your current riding posture and comfort to identify if saddle height adjustments are needed.
- Measure your inseam and leg length accurately, ensuring proper setup based on your body dimensions.
- Review your previous saddle height changes and their effects to determine if adjustments are necessary.
- Confirm bike compatibility and check for wear or damage before making further adjustments.
- Test ride after any adjustment, noting comfort, pedaling efficiency, and ergonomic feel before finalizing.
Assess Your Current Riding Goals and Conditions

Before adjusting your saddle height, it’s essential to evaluate your current riding goals and conditions. Are you training for long-distance endurance or short sprints? Your riding style influences the ideal saddle position. Consider how your cycling nutrition impacts your energy levels, which can affect your comfort and performance on the bike. Additionally, the saddle material plays a role; a lightweight, padded saddle could be better for comfort during long rides, while a firm saddle suits aggressive, speedy cycling. Understanding your goals helps you determine if you need a more aggressive or relaxed saddle angle. Proper saddle setup can improve efficiency, reduce discomfort, and ensure your setup supports your specific cycling needs.
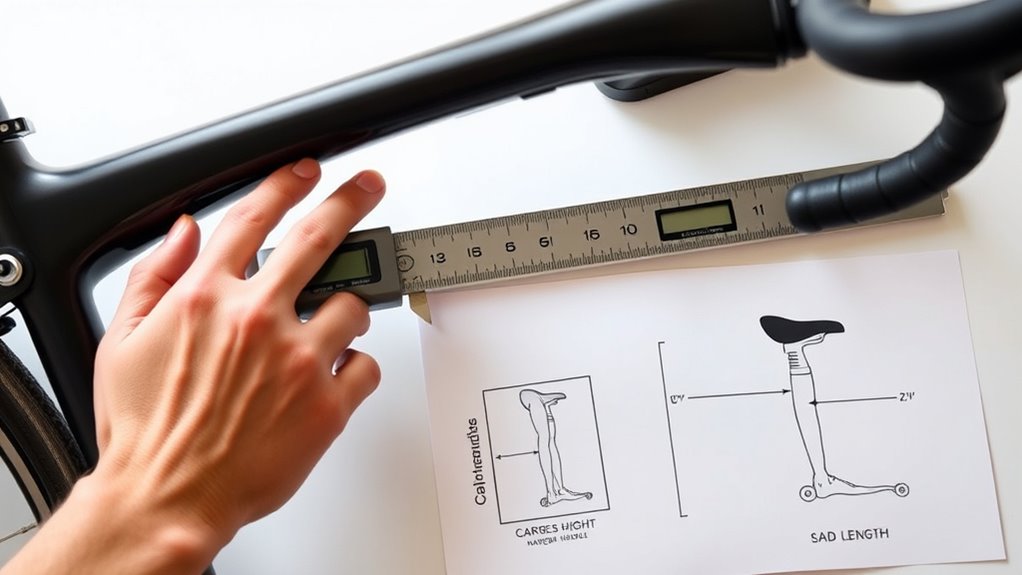
Gather Accurate Measurements of Your Body and Legs
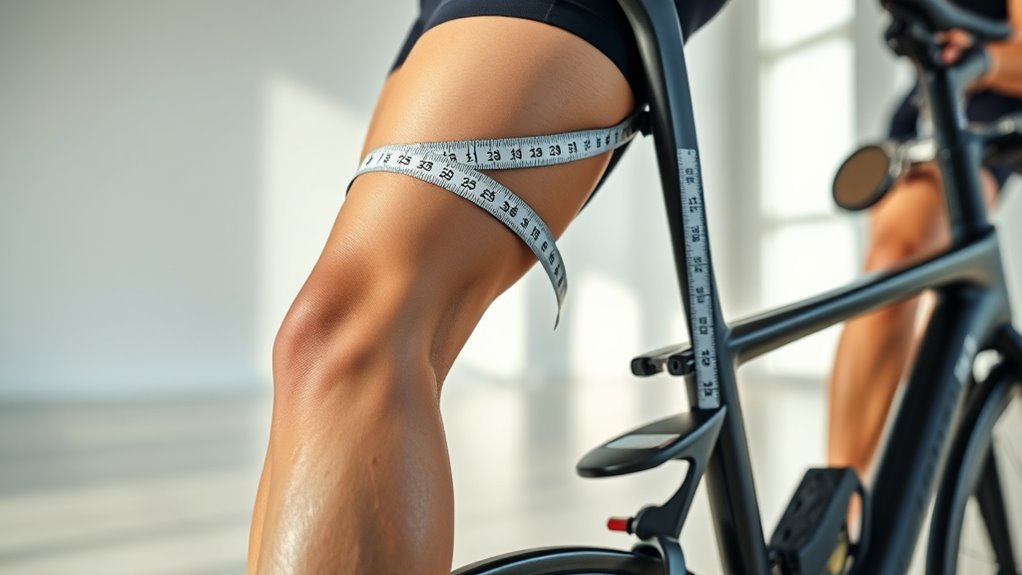
To set your saddle height accurately, you need precise measurements of your body and legs. These measurements account for anatomical differences and ergonomic considerations that influence your comfort and efficiency. To gather these details, measure your inseam, thigh length, and overall height with a flexible tape measure. Also, note your hip width and knee-to-ankle distance for a thorough fit. Using proper measurement techniques ensures the most accurate results. Use the table below to organize your measurements:
| Measurement | Your Value |
|---|---|
| Inseam | |
| Thigh Length | |
| Hip Width | |
| Knee-to-Ankle Distance |
Accurate measurements help tailor your saddle height to your unique body and riding style, ensuring a more comfortable, efficient ride.
Review Your Bike Fit History and Past Adjustments
Reviewing your bike fit history and past adjustments helps you identify patterns and persistent issues that may affect your comfort and performance. Understanding how your bike ergonomics has evolved reveals what works and what doesn’t. Focus on these key points:
Tracking your bike fit history highlights patterns and ongoing issues impacting comfort and performance.
- Track previous saddle height changes and their effects on your riding experience.
- Note recurring discomfort or pain related to saddle anatomy, which might indicate misalignment.
- Compare past adjustments with current symptoms to determine if previous fixes are still effective or need revisiting.
- Keeping data privacy considerations in mind can help you store and analyze your fit history securely.
Check Your Bike’s Frame and Component Compatibility
Before adjusting your saddle height, make sure your bike’s frame and components are compatible. Check that the frame material suits your riding style and that all parts meet standard mounting guidelines. Also, look for any signs of wear or damage to guarantee safety and proper function. Verifying component compatibility can help prevent costly repairs and ensure optimal performance.
Frame Material Compatibility
Ensuring your bike’s frame material matches its components is essential for safe and effective saddle height adjustments. Compatibility affects frame durability and how well your components perform under stress. Different materials have unique properties—some are lightweight but less durable, while others prioritize strength. You need to consider: frame material compatibility to prevent issues with fit and performance. Confirm that your saddle post and other parts are designed for your frame’s material type, preventing damage or misfit. Matching these elements ensures your bike remains safe, responsive, and durable through every ride.
Component Mounting Standards
Checking your bike’s component mounting standards is crucial to guarantee that everything fits together properly and functions safely. Different manufacturers may have unique standards for component compatibility, so verifying these ensures seamless integration. Before installing new parts or adjusting existing ones, consult your bike’s specifications and manufacturer guidelines. This step prevents issues like incompatible bolt sizes or improper fitment that could compromise safety or performance. Use this table as a quick reference:
| Component | Typical Standard | Notes |
|---|---|---|
| Brake Mounts | Post or Flat Mount | Confirm frame compatibility |
| Derailleur Hanger | Standard or Direct Mount | Match to derailleur type |
| Bottom Bracket | BSA, PF30, BB30 | Check shell width and thread standards |
| Headset | Integrated or External | Verify headset bearing standards |
Always cross-check your bike’s frame and component compatibility against manufacturer standards for safe, reliable riding.
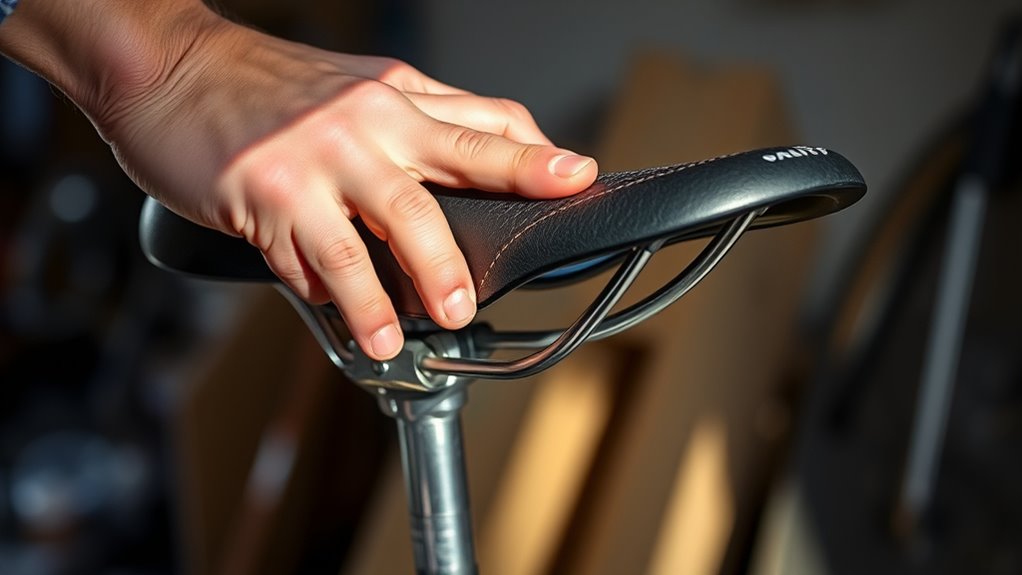
Wear and Damage Signs
Inspecting your bike’s frame and components for signs of wear and damage helps identify potential safety issues early on. Pay close attention to saddle wear, which can affect comfort and stability, and look for damage signs like cracks or dents. Regularly checking component integrity ensures your bike remains safe and reliable during rides. Here are key areas to check:
- Saddle surface for excessive wear, tears, or cracking.
- Frame joints and welds for rust, dents, or fractures.
- Connectors and bolts for corrosion or looseness.
Addressing saddle wear ensures a secure ride, while spotting damage signs early prevents accidents. If you notice any irregularities, don’t delay repairs or replacement. Regular inspections keep your bike safe, reliable, and ready for your next ride.
Understand the Impact of Saddle Position and Fore-Aft Adjustments
The saddle’s fore-aft position directly influences your pedaling efficiency and comfort. Adjusting the fore aft positioning affects how your hips, knees, and ankles align during each pedal stroke. If your saddle is too far forward, you might experience knee strain and reduced power transfer. Too far back, and you could feel unstable or inefficient, risking discomfort in your lower back or hips. Proper fore-aft adjustment guarantees your knee remains slightly over the pedal axle at the bottom of each stroke, optimizing power and reducing injury risk. Remember, saddle height and fore aft positioning work together to create a balanced riding position. Making precise adjustments here can dramatically improve your comfort, efficiency, and overall riding experience. Understanding proper alignment is crucial for preventing injuries and maximizing performance during your rides.
Warm Up and Ride to Feel Current Comfort Levels

Before making any further saddle height adjustments, warming up and riding briefly to gauge how your body feels on the bike is vital. This helps you assess your current comfort levels and ergonomic considerations, ensuring your riding posture supports efficiency and prevents discomfort. During this ride, focus on how your body reacts: 1. Check if your hips feel stable and aligned with the saddle. 2. Notice if your knees track smoothly without excessive strain. 3. Pay attention to any tension in your back, neck, or shoulders. This quick session reveals whether your saddle height supports a natural riding posture. It’s essential to listen to your body and identify points of discomfort before making adjustments, ensuring your setup promotes comfort and peak performance. Additionally, evaluating your ergonomic setup can help optimize your riding position for long-term comfort and efficiency.
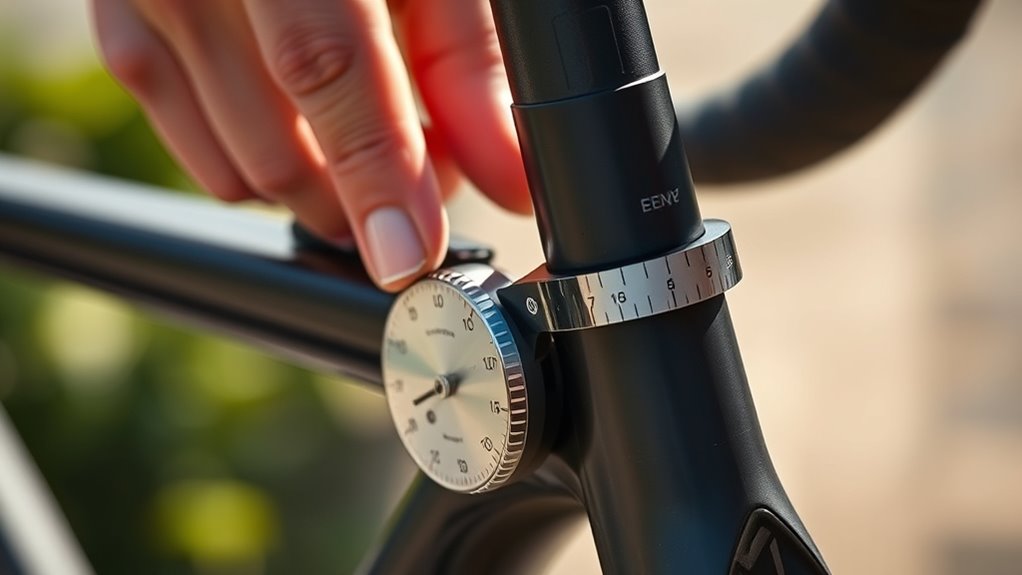
Use Proper Tools and Techniques for Measurement

To get accurate saddle height measurements, you need to choose the right tools and use them correctly. Make sure your tools are precise and consistently positioned each time you measure. Follow proper procedures to guarantee your results are reliable and set up your bike for comfort and performance. Additionally, understanding Kia Tuning options can help you optimize your vehicle’s setup for better handling and efficiency.
Select Accurate Tools
Choosing the right tools is essential to accurately measure your saddle height. Proper tools ensure you get precise readings, which directly affect bike ergonomics and saddle comfort. To optimize your setup, consider these tools:
- Digital calipers – for exact measurements of saddle height and frame dimensions.
- Leveling tools – to ensure your saddle is perfectly level, improving ergonomics.
- Measuring tapes – for quick checks of saddle position relative to crank length or seat tube.
Using accurate tools helps you replicate your ideal riding position, reducing discomfort and preventing injuries. Reliable measurements support better saddle adjustments, making your bike ergonomics more comfortable and efficient. Invest in quality tools, and you’ll set your saddle height with confidence every time. Proper measurement techniques are crucial for achieving consistent and accurate results.
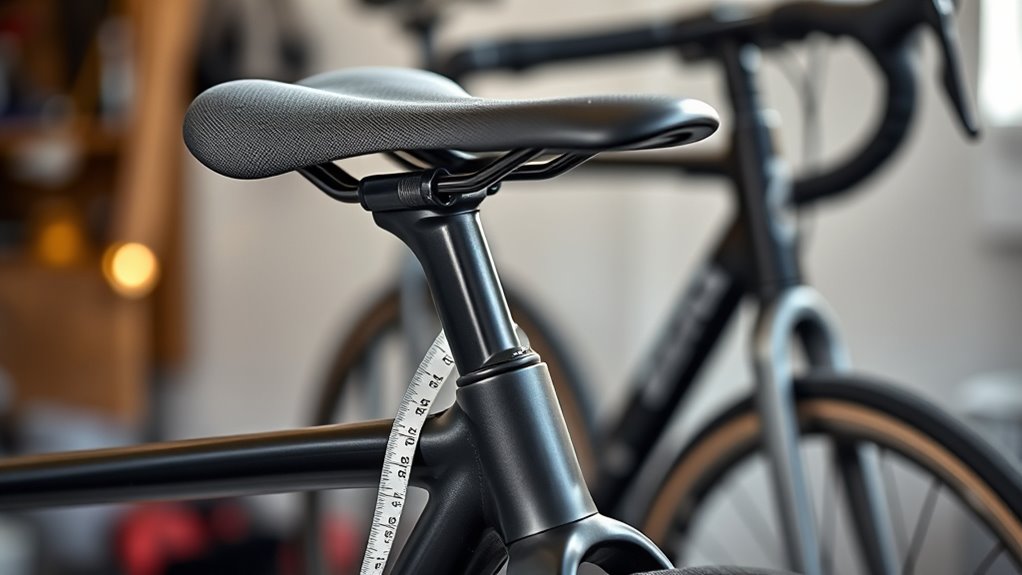
Maintain Consistent Position
Using the right tools and techniques guarantees your saddle height remains consistent over time. Focus on maintaining ergonomic positioning during each measurement, making sure your body aligns naturally. Use a reliable tape measure or a specialized saddle height gauge to track changes precisely. Consistency in saddle materials also matters—they influence comfort and measurement stability. Keep the saddle at the same height relative to your leg for every check. Additionally, paying attention to proper measurement techniques ensures accuracy and helps maintain optimal riding posture.
| Ergonomic Positioning | Saddle Materials |
|---|---|
| Supports natural ride | Affects comfort and stability |
| Reduces strain | Ensures accurate readings |
Sticking to these principles helps you avoid unnecessary adjustments and keeps your riding comfortable and efficient. Proper tools and techniques make consistency achievable, so you can focus on the ride, not the setup.
Follow Measurement Procedures
Proper measurement techniques are essential to guarantee your saddle height stays accurate and consistent. When measuring, use the right tools to ensure precision and account for bike ergonomics. Proper tools include a tape measure or a specialized saddle height gauge, which help you get reliable readings. Additionally, consider saddle materials, as some may compress slightly during measurement, affecting accuracy. To follow effective measurement procedures: 1. Ensure your bike is on a level surface and your rider position is consistent. 2. Use a tape measure or gauge to record saddle height from the center of the bottom bracket to the top of the saddle. 3. Double-check measurements, especially when changing saddle materials or bike setups, to maintain precision. Using accurate tools is crucial for achieving reliable and consistent saddle height measurements.
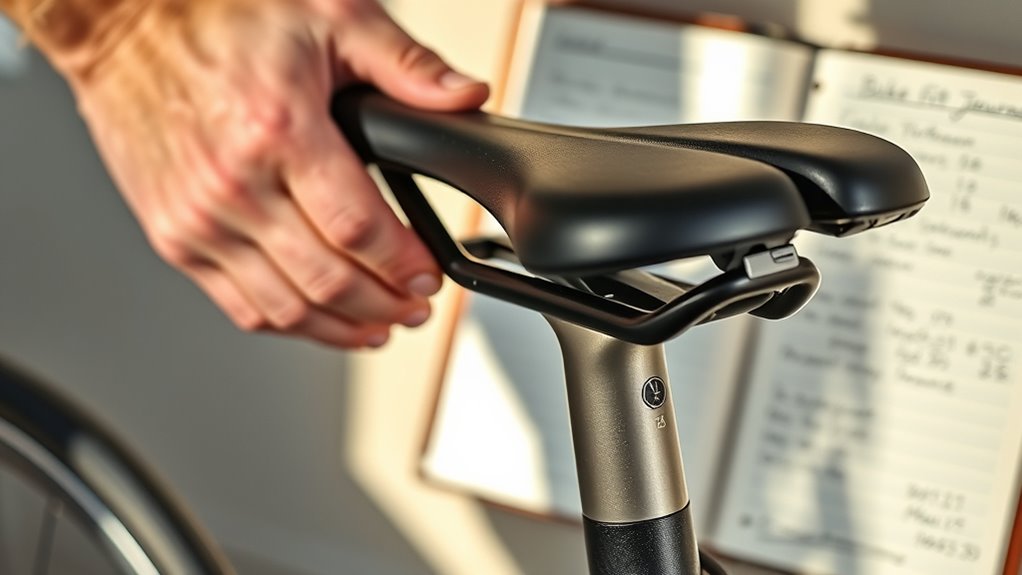
Document Your Findings and Observations

As you make adjustments to your saddle height, it’s crucial to document your findings and observations carefully. Record how each change affects your comfort, pedaling efficiency, and overall ride quality. Pay attention to ergonomic considerations, such as knee bend, hip stability, and back comfort, noting improvements or lingering issues. Also, track your aesthetic preferences—how the saddle looks and feels in relation to your bike’s overall design. Keeping detailed notes helps you identify patterns and determine what settings work best for your body and style. Use a dedicated journal or digital log to track these observations consistently. This documentation ensures you don’t forget what adjustments made a positive difference and guides you in fine-tuning your setup for peak performance. Additionally, understanding saddle height setup can help you optimize your cycling experience.
Plan a Step-by-Step Adjustment Strategy
With your observations documented, it’s time to develop a structured plan for making saddle height adjustments. A clear strategy ensures you make incremental changes without overcorrecting. Start by evaluating your current saddle height relative to your riding goals and equipment. Then, create a step-by-step approach:
- Adjust the saddle height by small increments, considering your bike accessories and riding apparel comfort.
- Test ride after each adjustment to evaluate comfort and efficiency.
- Keep detailed notes on each change to track what works best for your body and riding style.
- Incorporate best practices for saddle adjustment to ensure proper fit and comfort.
This organized method prevents unnecessary adjustments and helps you find the perfect saddle height quickly. Planning your steps keeps you focused, saves time, and ensures your setup is optimized for every ride.
Frequently Asked Questions
How Often Should I Reassess My Saddle Height?
You should reassess your saddle height every few months or whenever you notice discomfort or changes in your ergonomic alignment. Regular checks help maintain saddle comfort and guarantee proper support during rides. If you’ve experienced a crash, injury, or weight change, it’s wise to reevaluate sooner. Staying proactive prevents strain and keeps your cycling posture ideal, enhancing overall comfort and performance.
Can Saddle Height Affect My Overall Riding Posture?
Ever wondered if saddle height influences your riding posture? It definitely does! Proper cycling ergonomics depends on correct saddle alignment, which directly impacts your overall posture. If your saddle is too high or low, you might hunch or strain, causing discomfort and inefficiency. Regularly reassessing your saddle height guarantees ideal alignment, helping you ride comfortably and prevent long-term issues. Keep your saddle adjusted to support your posture and enhance your cycling experience.
Should I Consider Professional Bike Fitting Services?
Yes, you should consider professional bike fitting services to improve your bike ergonomics and saddle comfort. A professional fitter can analyze your riding posture, identify any issues, and make precise adjustments. This guarantees your saddle height and other components are optimized, reducing discomfort and potential injury. Investing in a bike fit helps you ride more efficiently and comfortably, especially if you ride frequently or long distances.
What Signs Indicate My Saddle Height Needs Adjustment?
If you notice saddle discomfort, persistent knee pain, or that your hips rock while riding, it’s a sign your saddle height needs adjustment. You might also feel less efficient or experience cramping during rides. These signs indicate your saddle height isn’t ideal for your body. Adjusting it can improve saddle comfort and riding efficiency, ensuring you stay comfortable and perform better on longer rides.
How Does Terrain Influence Saddle Height Preferences?
Terrain markedly influences your saddle height preferences because uneven ground and inclines alter your cycling biomechanics. On rough or steep terrain, you might prefer a slightly higher saddle to maintain power and control, while smoother surfaces allow for a lower saddle for better comfort. Also, pay attention to saddle tilt, as improper tilt can cause discomfort or affect your balance on different terrains. Adjusting saddle height accordingly helps optimize performance and comfort.
Conclusion
Before you touch your saddle height again, remember that proper setup can improve comfort and performance. Did you know that riders with optimized saddle height can reduce knee strain by up to 20%? Taking the time to assess, measure, and plan your adjustments guarantees you get the best fit for your goals and body. Stay patient and methodical—your ride will feel smoother, faster, and more enjoyable every time you pedal.