Picture yourself cruising down a path of health and fitness, powered by the sleek and efficient Healthrider Bike. Like a river flowing through a canyon, the electric cord is the life force that keeps this magnificent machine energized.
In this article, I will guide you through the intricate journey of the electric cord, unveiling its path and connection points on the Healthrider Bike. With this knowledge, you’ll be able to effortlessly navigate the cord, ensuring a seamless and enjoyable workout experience.
Key Takeaways
- The cord should be securely plugged into the bike and the power outlet, avoiding loose connections.
- Regularly inspect the cord for signs of wear or damage, and promptly address any fraying or exposed cords.
- Avoid placing the cord near moving parts of the bike and ensure it is not tangled or pinched.
- Follow the manufacturer’s instructions for cord care, troubleshoot common cord issues, and avoid using damaged or faulty cords.
Introduction to the Healthrider Bike
So, where does the electric cord go for your Healthrider bike? Let me explain.
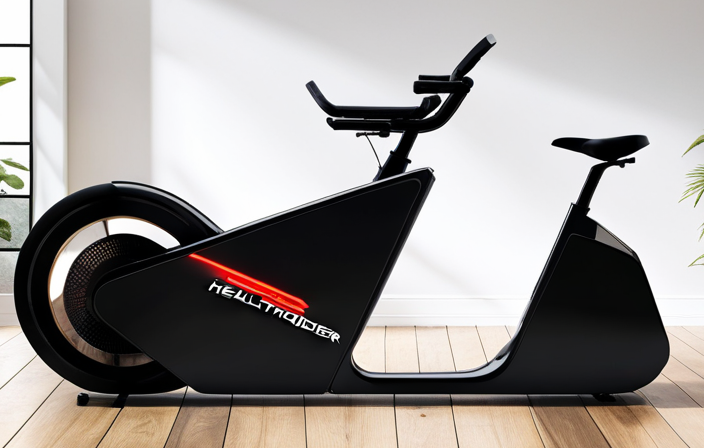
The Healthrider bike is a state-of-the-art fitness equipment designed to provide you with an efficient and effective workout right in the comfort of your own home. It boasts a range of features that make it a favorite among fitness enthusiasts.
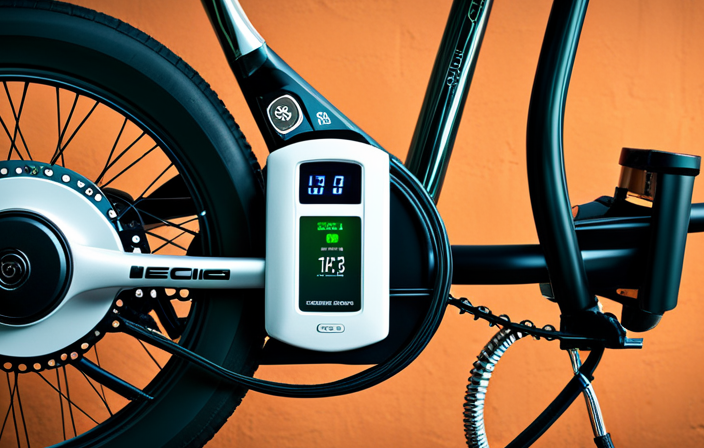
One of its key features is the electric cord, which powers the bike and allows you to adjust the resistance levels and track your progress on the built-in display. By plugging the electric cord into a power outlet, you can ensure a smooth and uninterrupted workout session.
The Healthrider bike offers numerous benefits, including improved cardiovascular health, increased muscle strength, and enhanced endurance.
Now, let’s delve into understanding the components of the Healthrider bike and how they contribute to your overall fitness journey.
Understanding the Components of the Healthrider Bike
The components of the Healthrider bike can be easily understood. To fully grasp the bike’s functionality, it is essential to comprehend its various parts. Here are a few key components that play a crucial role in the bike’s performance:
-
The console: This is where you can track your workout progress, adjust resistance levels, and choose different workout programs. It provides all the necessary information to optimize your exercise routine.
-
The pedals: These are designed to ensure a smooth and comfortable pedaling experience. They are equipped with adjustable straps to secure your feet and prevent slippage during intense workouts.
-
The resistance system: This mechanism allows you to control the intensity of your workout. By adjusting the resistance levels, you can challenge yourself and target different muscle groups.
Understanding these components will not only enhance your workout experience but also enable you to troubleshoot common bike issues. Now, let’s move on to locating the power source for the Healthrider bike.
Locating the Power Source
To power the Healthrider bike, you’ll need to find where the power source is located. The power source for the bike is typically found at the back of the machine, near the base. Look for a small opening or compartment where the power cord can be plugged in.
Once you locate the power source, you can then determine the best routing options for the cord. It’s important to consider the length of the power cord when choosing the routing path. Make sure the cord is long enough to reach the nearest power outlet without causing any tripping hazards.
Now that you know where the power source is and have considered the routing options and power cord length, you can proceed to tracing the electric cord from the power source to ensure it is properly connected and secure.
Tracing the Electric Cord from the Power Source
First, locate the power source and trace the electrical cord to ensure it’s properly connected. Tracing the power source is crucial to ensure that the electric cord is correctly connected and functioning. Here’s a step-by-step guide to help you trace the electric cord:
- Start by identifying the power source, which is usually located near the base of the Healthrider bike.
- Follow the electric cord from the power source, checking for any loose connections or damage along the way.
- Look for any connectors or plugs that may have come undone or need to be securely fastened.
- If you encounter any tangles or knots, carefully untangle the cord to avoid any potential hazards.
By carefully tracing the electric cord from the power source, you can ensure that it is properly connected and ready for use. Now, let’s move on to identifying the connection point on the bike.
Identifying the Connection Point on the Bike
Next, locate where the bike connects to the power source. The connection point on the Healthrider bike is typically located near the rear of the bike frame. It is important to identify this connection point in order to properly secure the electric cord. To assist you in locating this connection point, refer to the table below:
| Bike Model | Connection Point Location |
|---|---|
| Model A | Rear of bike frame |
| Model B | Underneath seat |
| Model C | Handlebar area |
| Model D | Front of bike frame |
| Model E | Near pedals |
Once you have identified the connection point, ensure that the electric cord is securely attached to it. This will prevent any accidental disconnection during use. Now, let’s move on to the next section where we will discuss securing the electric cord for safety.
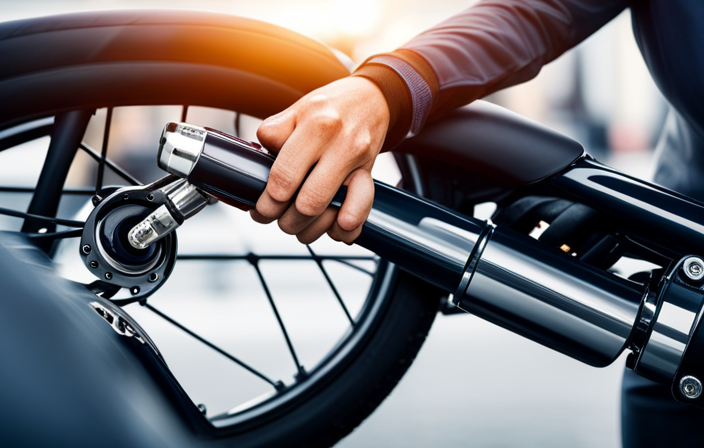
Securing the Electric Cord for Safety
After identifying the connection point on the bike, the next crucial step is securing the electric cord for safety. This is vital to prevent any accidents or damage to the cord during your workout. To ensure the cord remains in place, it is essential to organize it properly.
Here are three effective ways to achieve this:
-
Velcro Straps: Wrap the electric cord around the bike’s frame and use Velcro straps to secure it tightly in place.
-
Cable Clips: Attach cable clips to the bike’s frame and insert the cord into them. This keeps the cord elevated and away from any moving parts.
-
Cord Clips: Utilize cord clips to fasten the electric cord along the bike’s frame or handlebars, keeping it neatly tucked away and out of the way.
Securing the electric cord not only ensures safety but also provides a clean and organized appearance.
Now, let’s move on to the subsequent section and discuss the proper routing of the electric cord for convenience.
Properly Routing the Electric Cord for Convenience
To ensure convenience, you’ll want to carefully route the cord along the frame or handlebars of your Healthrider bike. Proper cord management is essential for a seamless and hassle-free workout experience.
Start by identifying the best path for the cord that allows for easy access and avoids any potential hazards. Secure the cord using clips or straps to keep it in place and prevent it from tangling or getting caught. Make sure to keep the cord away from moving parts and ensure it doesn’t interfere with your movements while exercising.
By taking the time to properly route the electric cord, you can enjoy a more convenient and enjoyable workout on your Healthrider bike.
Now, let’s move on to maintaining and cleaning the electric cord for optimal performance.
Maintaining and Cleaning the Electric Cord
Now that we know how to properly route the electric cord for convenience, let’s move on to maintaining and cleaning the cord.
It is important to take care of the cord to ensure its longevity and optimal performance. To maintain the electric cord, follow these steps:
- Regularly inspect the cord for any signs of wear or damage.
- Keep the cord away from sharp edges or objects that could cause it to fray.
- Avoid bending or twisting the cord excessively, as this can weaken the internal wires.
When it comes to cleaning the cord, follow these guidelines:
- Use a soft cloth or sponge dampened with mild soap and water to gently wipe down the cord.
- Avoid using harsh chemicals or abrasive cleaners that could damage the cord’s outer coating.
- Allow the cord to dry completely before plugging it back in.
By maintaining and cleaning the electric cord, you can ensure its longevity and prevent any potential issues.
Now, let’s move on to troubleshooting common electric cord issues to further enhance our knowledge.
Troubleshooting Common Electric Cord Issues
If you’re experiencing common issues with your electric cord, troubleshooting can help you identify and fix the problem.
When it comes to troubleshooting common electric cord issues, one important aspect is preventing electric cord damage.
First, ensure that the cord is not tangled or pinched, as this can cause a loss of power or even a complete malfunction.
Check for any visible signs of wear or fraying on the cord itself, as this can lead to electrical shorts or shocks.
Additionally, make sure that the cord is securely plugged into both the bike and the power outlet.
If you find any issues, such as loose connections or damaged cord, it is crucial to address them promptly to avoid further damage or safety hazards.
By troubleshooting these common electric cord issues, you can enjoy your Healthrider bike with confidence, knowing that it is in optimal working condition.
Conclusion: Enjoying Your Healthrider Bike with Confidence
You can confidently enjoy your Healthrider bike by troubleshooting common issues and ensuring it is in optimal working condition. To make the most of your experience, here are some key steps to keep in mind:
-
First, always check the electric cord for any signs of damage or wear. If you notice any frayed wires or exposed insulation, it is crucial to replace the cord immediately to avoid any safety hazards.
-
Second, ensure that the cord is securely plugged into a grounded outlet. Loose connections can lead to intermittent power supply or even electric shocks.
-
Lastly, make sure to position the cord in a way that it doesn’t get tangled or caught in any moving parts of the bike. This will prevent any accidental disconnection while you’re using the bike.
By following these troubleshooting tips and taking good care of your electric cord, you can enjoy your Healthrider bike with confidence, knowing that it is in proper working order.
Frequently Asked Questions
How long is the electric cord for the Healthrider Bike?
The electric cord for the Healthrider bike is a specific length designed for optimal functionality. Its placement is strategically located for easy access and safe usage while exercising.
Can the electric cord be extended if it doesn’t reach the power source?
Yes, the electric cord for the HealthRider bike can be extended if it doesn’t reach the power source. You can use an extension cord to connect it to an alternative power source.
Is there a specific type of power outlet required for the Healthrider Bike?
A specific power outlet is not required for the Healthrider bike. However, if the power source is far, a power source extension can be used to reach it.
Can the electric cord be hidden or concealed for a cleaner look?
Yes, the electric cord for the Healthrider bike can be hidden or concealed for a cleaner look. The bike is designed with cord management options that allow you to neatly tuck away the cord, ensuring a streamlined and organized appearance.
What safety measures should be taken when securing the electric cord?
To ensure utmost safety when securing the electric cord, it is imperative to take exaggerated precautions. By properly anchoring and concealing the cord, we eliminate any tripping hazards and ensure a clean and organized space.
Conclusion
Having a Healthrider Bike is a fantastic way to improve your fitness and stay active.
Now that you know where the electric cord goes, you can enjoy your workouts with confidence. Remember to properly route the cord for convenience and maintain its cleanliness.
If you encounter any issues, troubleshoot them using the tips provided.
So, saddle up, spin those wheels, and revel in the remarkable results of your Healthrider Bike journey. Let the electrifying experience elevate your exercise routine!