
To wire your conversion kit safely, start by planning a clear layout with detailed diagrams showing component placement and wiring routes. Use appropriate wire gauges and secure connections with high-quality, insulated terminals, making sure all wires are properly labeled. Ground the system correctly and verify polarity with a multimeter before powering up. Test your setup thoroughly under load to catch any issues early. If you follow these steps, you’ll ensure a reliable, safe installation—learn more about each step to perfect your system.
Key Takeaways
- Create detailed wiring diagrams and plan routes to minimize length and prevent crossing high-current cables with sensitive electronics.
- Use appropriately rated wires, connectors, fuses, and circuit breakers, ensuring all components meet industry standards and are weatherproof if needed.
- Verify polarity with a multimeter before powering, and conduct continuity tests for secure grounding and proper system connections.
- Organize and label wires clearly, insulate exposed terminals, and torque connections to prevent shorts and ensure vibration resistance.
- Perform comprehensive system testing under load, check all connections, and confirm safety measures before finalizing and powering up your system.
Planning Your Wiring Layout
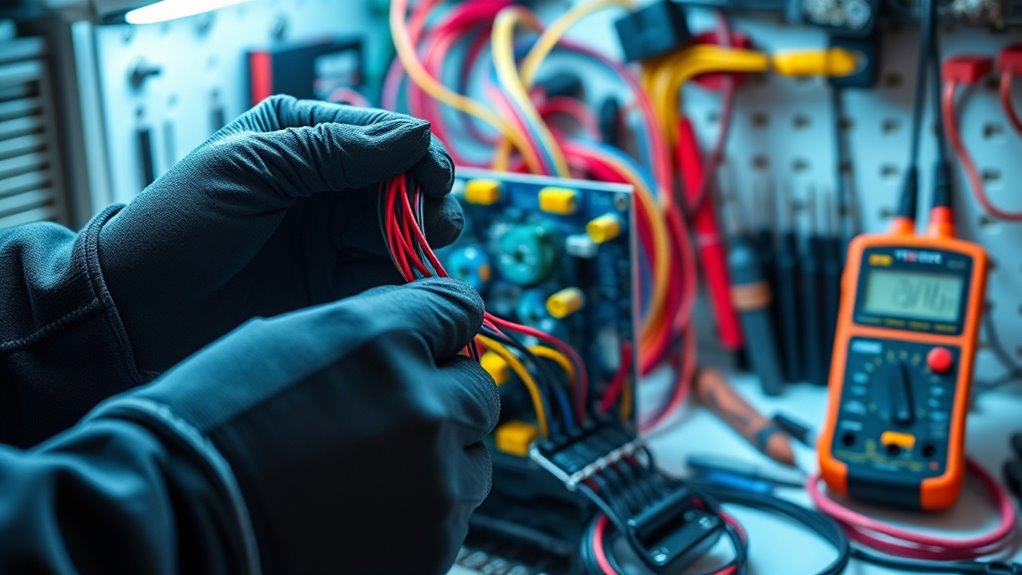
Before you begin wiring your conversion kit, it is vital to plan your wiring layout carefully. Start by creating a detailed wiring diagram that shows component placement, including batteries, inverters, switches, and appliances. Map out wiring routes that minimize length and prevent crossing high-current cables with sensitive electronics, guaranteeing organized wiring. Use separate runs for DC, AC, and solar systems, and label each wire clearly with tape or heat-shrink tubing for easy identification. Select the appropriate wire gauge based on current demands—12 AWG for high-power devices and 18 AWG for lighting. Place fuse and breaker panels centrally for easy access, and protect wiring routes with conduit or tubing to enhance electrical safety and circuit protection. Proper planning ensures a clean, safe, and efficient wiring setup. Proper planning helps prevent costly mistakes and ensures compliance with electrical safety standards. Additionally, understanding sound vibrations can be crucial when testing and troubleshooting your wiring system to detect anomalies or interference. Incorporating correct wire routing techniques can further improve overall system safety and performance. Being aware of wire gauge requirements ensures that your system can handle the electrical load safely and efficiently. Moreover, considering component placement during planning can help optimize system performance and maintenance access.
Choosing the Right Wires and Components

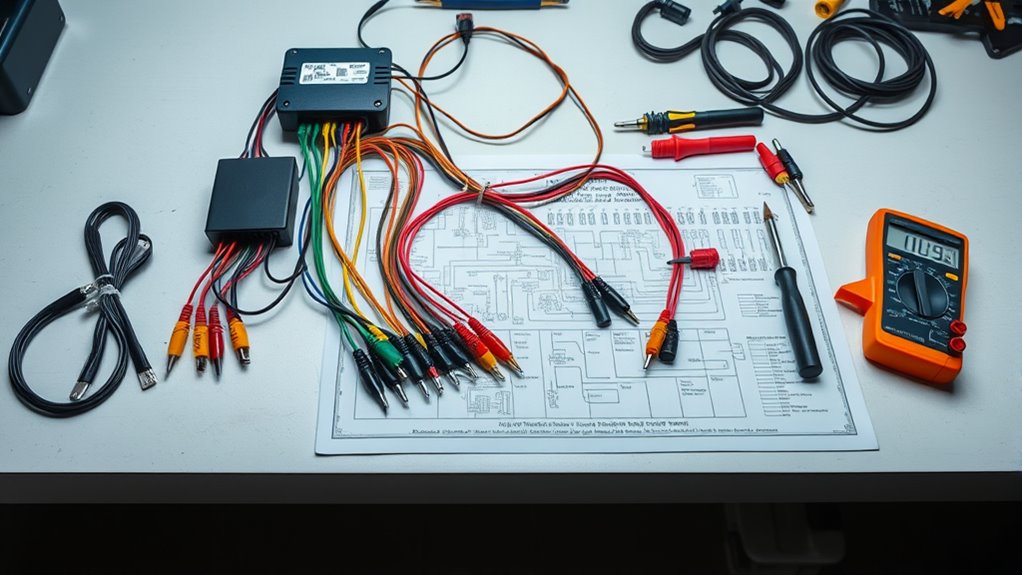
Selecting the right wires and components is key to a safe and reliable conversion. Use appropriately rated wiring, like 12/2 AWG for high-current circuits and 18/2 AWG for low-current devices such as LED lights, to prevent overheating. Incorporate fuses or circuit breakers near the power source, matching the wire gauge and expected current to safeguard against faults. Choose high-quality components, like marine-grade wiring and weatherproof connectors, to withstand harsh conditions and reduce corrosion. Use color-coded wires—red for positive, black for negative—and clearly label all connections to simplify troubleshooting. Ensure connectors and terminal blocks are rated for your system’s voltage and current, providing reliable connections and minimizing the risk of shorts. Proper wire selection enhances safety and system performance. Understanding heat pump efficiency ratings can help select components that optimize energy savings and system longevity. Additionally, verifying industry standards ensures that your wiring setup complies with safety regulations and performs reliably over time. Paying attention to proper grounding techniques is essential for preventing electrical faults and ensuring overall system safety. Selecting components that meet safety standards further reduces the risk of electrical failures and enhances overall system safety.
Making Secure and Insulated Connections
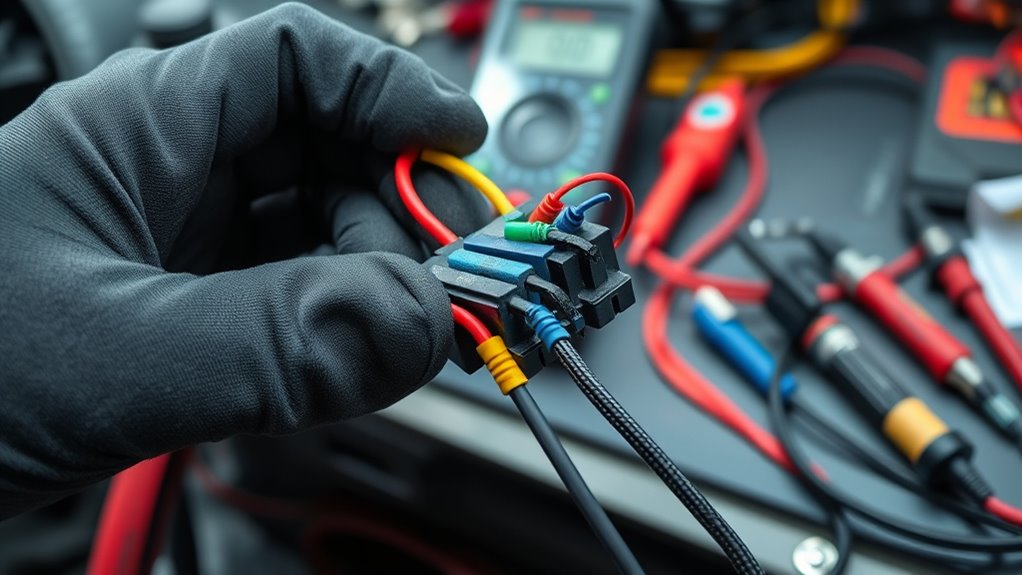
To guarantee your wiring remains secure and insulated, start by using appropriately rated connectors like crimp terminals or soldered joints with heat shrink tubing, which provide low-resistance, reliable connections. Always insulate exposed wiring and terminals with high-quality electrical tape or heat shrink sleeves to prevent shorts and corrosion. Properly torque all terminal nuts and fasteners to manufacturer specifications to ensure a vibration-resistant, dependable connection. Use dielectric grease on connections to improve insulation and resist moisture ingress, especially in outdoor or humid environments. Make sure your wiring is neat and organized, and label each connection clearly with waterproof markers or heat-shrink labels. Additionally, employing proper grounding techniques helps reduce electrical noise and enhances safety, ensuring a safe, corrosion-free setup that’s easy to troubleshoot and modify later. Incorporating proper insulation methods also helps prevent accidental shorts and extends the longevity of your wiring system. Paying attention to electrical codes and standards is essential to ensure your setup complies with safety regulations and local requirements. Moreover, referencing color coding standards can assist in maintaining clarity and safety during installation and future maintenance. To further improve reliability, consider using protective conduits to shield wiring from physical damage and environmental factors.
Grounding and Polarity Checks
Ensuring proper grounding and correct polarity is essential for a safe and reliable wiring setup. Use a multimeter to verify each circuit’s polarity, confirming positive and negative connections before powering up. Conduct a continuity test between ground wires, the chassis, and the grounding bus to ensure a solid, low-resistance ground connection. Regularly inspect ground wires for corrosion or looseness, tightening or replacing as needed for electrical safety. Proper grounding prevents electrical faults, while correct polarity protects components from damage. Here’s a quick reference:
| Check | Tool | Purpose |
|---|---|---|
| Ground connection | Multimeter | Verify low-resistance grounding |
| Polarity | Multimeter | Confirm correct voltage (+/-) |
| Continuity | Multimeter | Ensure solid ground wiring |
| Ground wires | Visual inspection | Detect corrosion/damage |
| Voltage | Multimeter | Confirm proper connection |
Additionally, consulting grounding best practices can help maintain safety standards across your wiring projects. Properly implementing grounding techniques is crucial to prevent potential electrical hazards and ensure system reliability. Regular testing of your electrical system’s grounding connections can help detect issues early and maintain safety. A thorough understanding of polarity checks can further enhance the safety and accuracy of your wiring setup. Incorporating IRAs into your retirement strategy can also provide additional financial security for the future.
Testing and Finalizing Your System

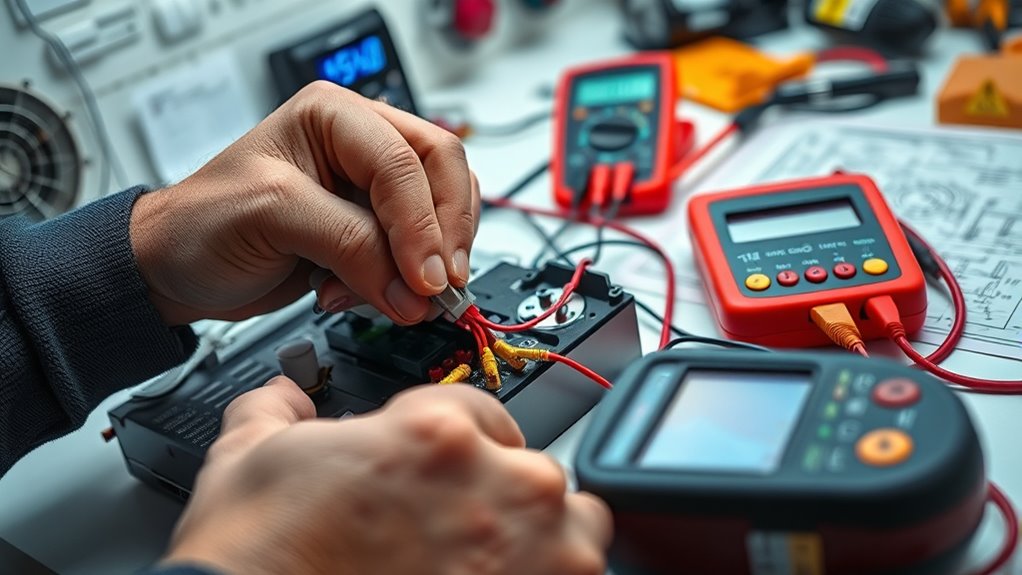
After verifying grounding and polarity, it’s time to thoroughly test your system to confirm everything functions correctly. Use a multimeter to check voltage levels, continuity, and proper grounding at each connection point. Perform a load test by powering all accessories simultaneously to ensure the system handles peak demand without voltage drops or overloads. Carefully inspect all wiring for secure connections, proper routing, and insulation to prevent shorts during vehicle movement. Confirm that each component operates correctly and troubleshoot any issues immediately. Document your test results and system configuration for future maintenance and troubleshooting. Incorporating AI technology can help monitor your system performance and detect issues proactively. Additionally, employing power management techniques ensures your system remains efficient under varying load conditions. Remember, a secure, well-tested system guarantees safety and reliability, preventing potential failures down the road. Proper testing is essential to finalize your wiring project successfully.
Frequently Asked Questions
How to Install a Bike Conversion Kit?
To install a bike conversion kit, start by removing your rear wheel and detaching the existing freewheel. Install the new hub motor wheel, making sure to add washers to prevent binding. Secure everything with axle nuts and a torque arm. Route the wiring along the frame, connect it to the controller, and guarantee all connections are tight. Mount the display, test the system, and enjoy your upgraded e-bike safely.
How Fast Will a 1000W Ebike Kit Go?
You’re probably wondering how fast your 1000W ebike kit will go. On flat terrain with an average rider, it can reach about 28 to 30 mph. Factors like rider weight, terrain, tire size, and battery voltage can boost or slow that down. Downhill slopes and ideal gearing might push speeds close to 35 mph, but always check your local laws since many regions limit ebike speeds to 20 or 28 mph.
How Much Does It Cost to Wire a Campervan?
Wiring your campervan costs between $1,500 and $5,000, depending on your setup. If you keep it simple with basic lighting, outlets, and a small battery, expect to spend around $1,000. For advanced systems with solar, lithium batteries, and inverters, costs can surpass $4,000. Remember, hiring a professional may add $500 to $2,000 but guarantees safety and proper installation.
Do You Need a Battery for an Ebike Conversion Kit?
Did you know that over 50% of e-bike riders say range is their top concern? You do need a battery for your e-bike conversion kit because it supplies the electrical power needed for the motor to work. Without a battery, your bike won’t move. Make sure to choose one compatible with your motor’s voltage and capacity so you get the best speed, torque, and range from your conversion.
Conclusion
Remember, wiring your conversion kit is like crafting a symphony—you’re the conductor. With careful planning, right components, secure connections, and thorough tests, you guarantee everything runs smoothly and safely. Don’t forget to double-check grounding and polarity, much like tuning an instrument before the performance. When you approach your wiring project with patience and precision, you’ll create a setup that’s reliable and ready for the road ahead—your own masterpiece in motion.