
To set up Zwift in 20 minutes without tech stress, start by checking your device and bike are compatible, updating firmware if needed. Connect your trainer via Bluetooth or ANT+ and verify sensors are functioning properly. Calibrate your bike according to the manufacturer’s instructions. Confirm all connections—power, cadence, speed—are working and that the app sees your equipment correctly. Keep your workspace organized, wear comfortable gear, and warm up briefly. Following these steps will streamline your start—stick around to learn even more tips.
Key Takeaways
- Confirm device compatibility, update firmware, and organize workspace before starting to save time.
- Properly calibrate your bike and sensors according to manufacturer instructions for accurate data.
- Connect and pair trainer via Bluetooth or ANT+, ensuring stable recognition and data transmission.
- Perform final system checks and update firmware to prevent technical issues during your ride.
- Get comfortable, do a quick warm-up, and verify connection stability to complete setup within 20 minutes.

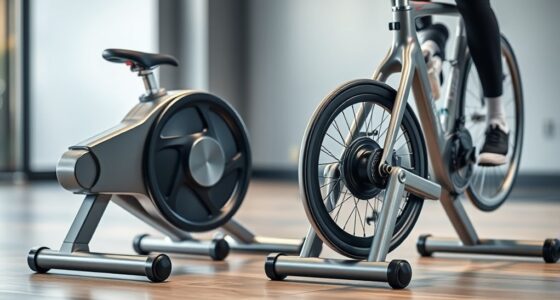
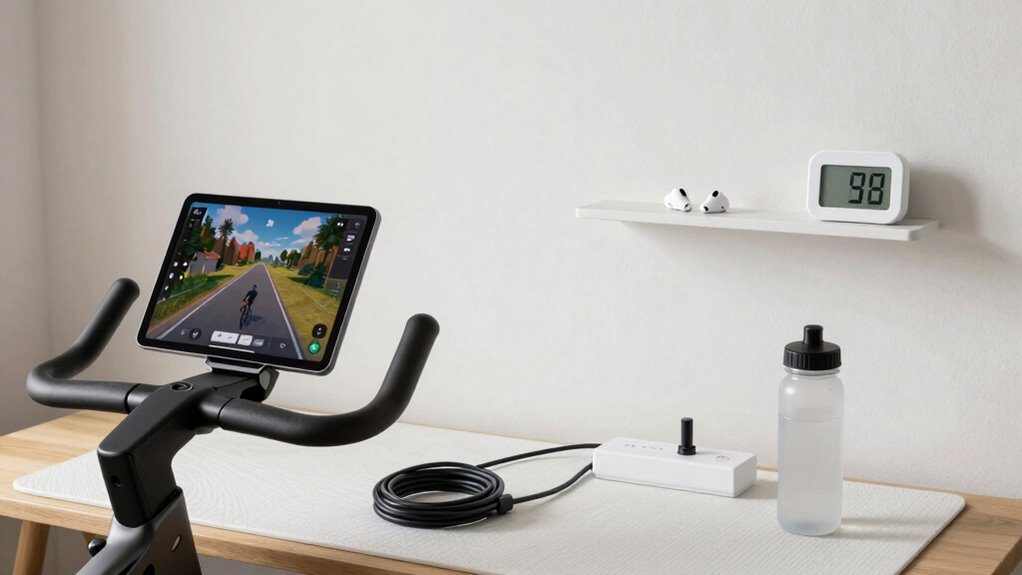
Saris M2 Smart Indoor Bike Trainer, Compatible with Zwift App, Black, Made in the USA
- Wheel-On Design: Connects to rear wheel without removal
- Quiet Operation: Noise level of 69 decibels at 20 mph
- Accurate Training: +/- 5% resistance accuracy
As an affiliate, we earn on qualifying purchases.
As an affiliate, we earn on qualifying purchases.
Quick and Easy Zwift Setup in 20 Minutes

Getting your Zwift setup ready in just 20 minutes is entirely doable with a clear plan and the right tools. The key is to stay organized and focus on each step efficiently. First, confirm your virtual trainer is compatible with Zwift and that you have all necessary cables and accessories within reach. Connecting your virtual trainer correctly is vital because it syncs your ride data with Zwift, making your experience seamless. Before starting, turn on your device—whether it’s a PC, tablet, or smartphone—and open the Zwift app. This quick launch helps in identifying any connection issues early on.
Next, you want to prepare your bike. Proper bike calibration is essential for an accurate and enjoyable ride. Most virtual trainers come with calibration procedures you can perform easily. Follow the manufacturer’s instructions to ensure your bike’s sensors are calibrated correctly, which helps Zwift accurately reflect your power output and cadence. A well-calibrated bike ensures your workouts are effective and prevents frustration caused by inaccurate data. Once calibrated, place your bike on the trainer, tighten everything securely, and double-check that your sensors or power meter are functioning properly. You don’t want to waste time troubleshooting during your session. Additionally, checking your device compatibility can help avoid connection issues and streamline setup. Conducting a quick system check can also help identify any potential hardware or software conflicts before you begin.
Ensuring your firmware is up to date can also prevent unexpected disconnections and improve overall performance, saving you setup time. Now, connect your virtual trainer to Zwift via Bluetooth or ANT+ depending on your setup. Make sure your device recognizes the trainer and that it’s paired correctly. Sometimes, a quick restart of the app or device helps resolve connection hiccups. Once connected, verify that Zwift is reading your power, cadence, and speed data accurately. This step saves you from surprises mid-ride and guarantees your training data is reliable. Afterward, adjust your trainer resistance if needed, and set your preferred workout or route. This minimizes interruption once you start pedaling.
Additionally, consider updating your device firmware to ensure optimal compatibility and performance with Zwift, which can prevent connectivity issues and enhance your experience. Finally, get comfortable on your bike, wear your gear, and do a quick warm-up. Confirm that your screen is visible and that your device stays connected during your ride. With everything set up efficiently, you’ll be ready to jump into Zwift faster than you imagined. Remember, keeping your workspace tidy and your equipment organized speeds up the process. A few minutes spent on calibration and connection checks now save time and hassle during your workout. Following this straightforward plan means you can focus on riding rather than troubleshooting, making your Zwift experience smooth, quick, and enjoyable—all within just 20 minutes.
Frequently Asked Questions
Can I Use Any Bike Trainer With Zwift?
You can’t use any bike trainer with Zwift; compatibility depends on trainer types and bike compatibility. Smart trainers, which connect via Bluetooth or ANT+, offer the best experience, syncing power data accurately. Classic trainers and rollers might require additional sensors or adapters. Before you start, check your trainer’s compatibility with Zwift, ensuring it supports data transfer, so you get smooth, accurate training sessions without tech stress.
Is a Subscription Required to Start Zwift?
You can’t beat the saying, “You get what you pay for,” and with Zwift, a subscription is required to access its full features. Don’t worry, you can start with subscription options that include a free trial, so you can test it out before committing. This way, you’ll know if Zwift fits your riding goals without any initial stress. Just sign up, and you’re ready to ride!
How Do I Connect Multiple Devices to Zwift?
You can connect multiple devices to Zwift by ensuring proper device pairing through Bluetooth connectivity. Start by turning on Bluetooth on each device, then open Zwift and navigate to the pairing screen. Select the devices you want to connect, such as your heart rate monitor, cadence sensor, and smart trainer. Make sure each device is within range and paired correctly to avoid connection issues, so your workout runs smoothly.
What Internet Speed Is Recommended for Zwift?
For a smooth Zwift experience, you should aim for an internet speed of at least 10 Mbps download and 3 Mbps upload. Ensuring Wi-Fi stability is essential; a strong, dedicated connection reduces lag and disconnects. If possible, use a wired Ethernet connection for the best stability. This setup helps prevent interruptions, so you can focus on your ride without tech stress and enjoy Zwift seamlessly.
Can I Customize My Avatar in Zwift?
Yes, you can customize your avatar in Zwift. You’ll enjoy avatar customization by choosing different clothing, accessories, and even bike setups through the Zwift wardrobe. As you progress, gain access to new gear and styles to personalize your look. Simply access the avatar customization menu, select your preferred items, and update your avatar’s appearance. This feature keeps your virtual ride fresh and fun, making your Zwift experience uniquely yours.
Conclusion
Now you’re ready to ride, relax, and reap the rewards of Zwift without the stress. With this simple, swift setup, you’ll stay savvy and satisfied, saving time and shrugging off tech troubles. Just follow the fuss-free checklist, and you’ll be cycling in cyberspace in no time. So, streamline your setup, stay swift, and savor every spin—your seamless session awaits, stress-free and super fun!