I’ve always been fascinated by the world of electric dirt bikes, and I recently embarked on a mission to build my very own.
With a passion for DIY projects and a desire for an exhilarating ride, I set out to create the ultimate electric dirt bike toy.
In this article, I will guide you through the step-by-step process of constructing your own electric dirt bike, from gathering the necessary materials and tools to fine-tuning the final product.
Get ready to unleash your inner engineer and experience the thrill of riding your homemade electric dirt bike toy!
Key Takeaways
- Cable routing and secure mounting are essential for preventing tangling or damage to the electric dirt bike toy.
- Test, fine-tune, and troubleshoot the components to ensure smooth and accurate operation of the electric dirt bike toy.
- Customize and paint the electric dirt bike toy to personalize its style and appearance.
- Apply powder coating to the frame of the electric dirt bike toy for a durable and protective finish.

Under Armour Squeeze Water Bottles, 32 oz Water Bottles, Sideline Sports Water Bottle with Quick-Shot Lid, Quick & Easy Hydration, Gym Water Bottles, Squeeze Bottle, 1 32oz Bottle
- Easy Hydration: Quick-shot lid and one-way valve
- On-the-Go Use: One-hand operation for active hydration
- Measurement Markings: Ounces and milliliters for tracking
As an affiliate, we earn on qualifying purchases.
Gather the Necessary Materials and Tools
You’ll need a list of materials and tools to gather for building an electric dirt bike toy. Choosing the right battery and motor for your electric dirt bike toy is crucial. The battery should have enough power to provide a decent run time and the motor should be capable of delivering sufficient torque.
It’s important to do some research and find reliable suppliers for these components. Look for reputable companies that offer high-quality batteries and motors specifically designed for electric toys.
Additionally, you’ll need various tools such as wrenches, screwdrivers, pliers, and wire cutters to assemble the bike. Finding the best suppliers for the materials and tools needed for building an electric dirt bike toy can ensure that you have reliable and durable components, making your toy safe and enjoyable.
Once you have all the necessary materials and tools, you can move on to the next section and plan and design your electric dirt bike toy.
Plan and Design Your Electric Dirt Bike Toy
To start, think about what type of design suits your preferences and envision the features you want in the final product. When planning and designing your electric dirt bike toy, there are several important design considerations to keep in mind.
First and foremost, safety should be your top priority. Ensure that the bike is stable and well-balanced, with sturdy construction to withstand rough terrains. Consider incorporating safety features such as a reliable braking system and protective guards for the rider.
Additionally, think about the overall aesthetics and functionality of the bike. Will it have a sleek and modern design or a more rugged and off-road look? These design choices will shape the final product and contribute to the overall enjoyment of the toy.
Now, let’s move on to building the frame and body of the bike.
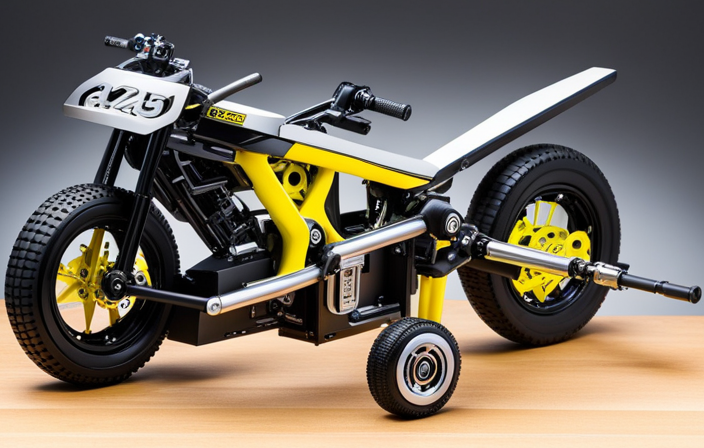
Build the Frame and Body of the Bike
Once you’ve decided on the design, start constructing the sturdy frame and body for your custom creation.
Choosing the right materials for your dirt bike frame is crucial for its durability and performance. Opt for lightweight yet strong materials such as aluminum or carbon fiber. These materials offer excellent strength-to-weight ratios, ensuring your bike can withstand the rigors of off-road riding.
Next, focus on shaping and molding the body of your electric dirt bike toy. Consider aerodynamics and ergonomics to enhance its performance and comfort. Use foam, fiberglass, or plastic to create the desired shape, ensuring it is sleek and streamlined. Sand and smooth any rough edges for a professional finish.
Once your frame and body are complete, it’s time to move on to the next step of installing the electric motor and battery, which will power your electric dirt bike toy.
Install the Electric Motor and Battery
Now that you have the frame and body ready, it’s time to install the powerful electric motor and battery for optimal performance.
When it comes to electric motor installation, there are a few tips to keep in mind. First, ensure that the motor is securely mounted to the frame using sturdy brackets or clamps. This will prevent any unnecessary vibrations or movement during operation. Additionally, make sure to connect the motor to the appropriate controller using the provided wiring harness.
As for the battery, choosing the right one is crucial. Consider factors such as voltage, capacity, and weight to ensure compatibility with your motor and desired performance. A lithium-ion battery is often a popular choice due to its high energy density and lightweight design.
With the motor and battery in place, it’s time to move on to the next step of connecting the wiring and control system to bring your electric dirt bike to life.
Connect the Wiring and Control System
Make sure you connect the wiring and control system according to the provided instructions, ensuring a seamless integration of all the components. Troubleshooting common wiring issues is crucial for a successful build.
Here are some tips for selecting the right control system:
- Consider the power requirements of your electric dirt bike toy and choose a control system that can handle the necessary voltage and current.
- Look for a control system that offers a wide range of programmable features, such as speed control, acceleration settings, and safety features.
- Ensure that the control system is compatible with the wiring harness and connectors used in your electric dirt bike toy.
- Consider the ease of installation and user-friendliness of the control system.
- Research customer reviews and ratings to ensure that the control system you choose is reliable and durable.
By following these tips, you can avoid common wiring issues and select the right control system for your electric dirt bike toy.
Now, let’s move on to assembling the wheels and suspension.
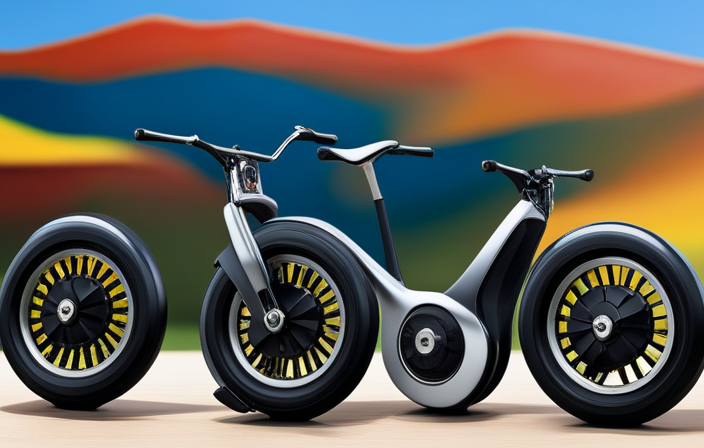
Assemble the Wheels and Suspension
To assemble the wheels and suspension, you’ll need to follow the provided instructions and ensure a secure and stable connection between all the components. Adjusting the suspension is crucial for optimizing the performance and comfort of your electric dirt bike toy. Start by selecting the right wheels for your desired terrain. Consider factors such as size, tread pattern, and durability. A 3 column and 3 row table comparing different wheel options can help you make an informed decision.
| Wheel Type | Size (inches) | Tread Pattern |
|---|---|---|
| Knobby | 12 | Aggressive |
| Slick | 14 | Smooth |
| All-Terrain | 16 | Versatile |
Once you’ve chosen the right wheels, attach them securely to the axle using the provided hardware. Ensure that the wheels spin freely and are aligned properly. Next, connect the suspension components according to the instructions. This will provide stability and absorb shocks while riding. With the wheels and suspension properly assembled, you can now move on to the next section and add the handlebars and controls seamlessly.
Add the Handlebars and Controls
Attach the handlebars securely to the frame, ensuring a comfortable and ergonomic position for controlling your electric vehicle. It is crucial to troubleshoot common issues with electric dirt bike controls to guarantee a smooth and hassle-free riding experience. Here are three key points to consider:
-
Proper handlebar alignment: Align the handlebars parallel to the front wheel, allowing for optimal control and maneuverability.
-
Correct cable routing: Ensure that the cables are neatly routed and free from any obstructions, preventing them from getting tangled or damaged during operation.
-
Secure mounting: Double-check that the handlebars are tightly fastened to the frame to prevent any unwanted movement that may affect control.
By addressing these factors, you can maximize the performance and safety of your electric dirt bike.
Now, let’s move on to test and fine-tune your electric dirt bike toy, ensuring it’s ready for thrilling rides.
Test and Fine-Tune Your Electric Dirt Bike Toy
Now it’s time to test and fine-tune your electric dirt bike, ensuring optimal performance for your thrilling rides.
To begin, carefully inspect the bike’s components, checking for any loose connections or damaged parts.
Next, turn on the power and test the motor, making sure it runs smoothly and quietly.
Adjust the throttle and brakes, ensuring they respond accurately and without delay.
Fine-tuning techniques include adjusting the suspension to achieve the desired level of stiffness or softness, and optimizing the tire pressure for better traction.
If any issues arise, troubleshooting tips like checking the battery connections or adjusting the chain tension may be necessary.
Customize and Paint Your Bike
When customizing and painting your bike, choose vibrant colors that reflect your personal style. Custom painting techniques can truly transform your electric dirt bike toy into a unique and eye-catching masterpiece.
Here are some different customization options to consider:
- Airbrushing: This technique allows for intricate designs and detailed patterns.
- Vinyl wraps: These adhesive sheets come in a variety of colors and patterns, providing a quick and easy way to change the look of your bike.
- Hydro dipping: By submerging your bike parts in a water-based film, you can achieve a marbled or camouflage effect.
- Stickers and decals: These are a cost-effective way to add logos, graphics, or personalized messages to your bike.
- Powder coating: This durable and long-lasting technique creates a smooth and even finish on your bike’s frame and parts.
With these customization options, you can truly make your bike stand out.
Now, it’s time to enjoy riding your homemade electric dirt bike toy!
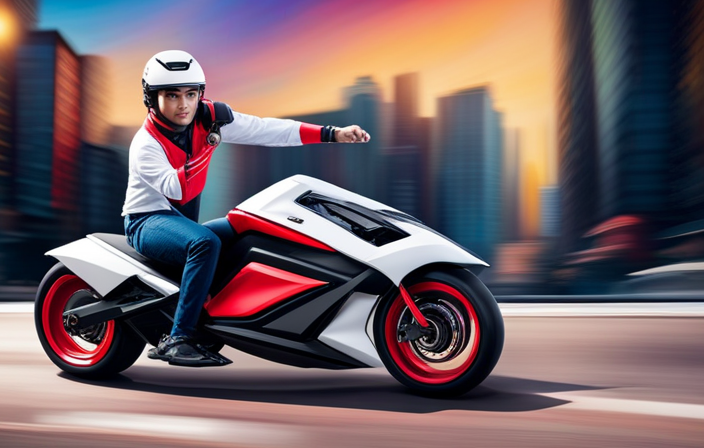
Enjoy Riding Your Homemade Electric Dirt Bike Toy!
Once you’ve customized and painted your homemade electric dirt bike toy, it’s time to hit the road and enjoy the ride!
Before you start riding, it’s important to familiarize yourself with some essential riding techniques and safety precautions.
First and foremost, always wear a helmet to protect your head in case of any accidents. Additionally, make sure to wear protective gear such as knee pads and elbow pads to safeguard your limbs.
When riding your electric dirt bike toy, maintain a balanced and upright position to ensure stability. Use the handlebars to steer and control the bike’s direction.
Remember to start slowly and gradually increase your speed as you gain confidence. Lastly, always be aware of your surroundings and follow traffic rules to ensure a safe and enjoyable ride.
Frequently Asked Questions
How long does it take to build an electric dirt bike toy?
It typically takes several hours to build an electric dirt bike toy. The time may vary depending on your experience level and familiarity with the necessary tools. The cost of materials can range from $100 to $500, depending on the quality and features desired.
How much does it cost to build an electric dirt bike toy?
Creating an electric dirt bike toy requires careful consideration of cost estimates. The required materials, including a motor, battery, frame, and tires, can range from $200 to $500, depending on the quality and specifications chosen.
Can I use any type of battery for the electric motor?
Yes, different battery types can be used for the electric motor. Each type has its own advantages and disadvantages such as energy density, weight, cost, and charging time. Battery capacity and range are important factors to consider when choosing a battery.
Is it difficult to connect the wiring and control system?
Connecting the wiring and control system is as easy as eating a piece of cake! It requires basic tools like pliers, wire strippers, and a soldering iron. Though it may seem daunting, with a little patience and attention to detail, it can be accomplished smoothly.
What safety precautions should I take when riding the homemade electric dirt bike toy?
When riding the homemade electric dirt bike toy, it is important to prioritize safety. Wear appropriate safety gear such as a helmet, knee and elbow pads, and sturdy shoes. Practice proper riding techniques to maintain control and avoid accidents.
Conclusion
Well, there you have it folks! Building your very own electric dirt bike toy may seem like a daunting task, but with the right materials, tools, and a little bit of patience, you can become the envy of the neighborhood.
From gathering the necessary materials to fine-tuning every little detail, this guide has walked you through the entire process.
So go ahead, customize and paint your masterpiece, and get ready to enjoy the exhilarating experience of riding your homemade electric dirt bike toy.
Happy trails!