
Upgrading your stock e-bike motor boosts performance by increasing torque, speed, and handling on tough terrains. You can choose higher wattage motors, like a 750W or dual motor setup, to improve acceleration and top speed. Upgrading your battery and controller also enhances range and responsiveness. Proper installation, wiring, and tuning are key to safety and efficiency. Keep exploring to learn detailed steps and tips for customizing your e-bike for maximum fun and performance.
Key Takeaways
- Match motor wattage and voltage with your battery to ensure compatibility and optimal performance.
- Upgrade wiring with weatherproof connectors and proper routing for safety and reliability.
- Consider installing higher torque or wattage motors, like a 750W or dual motor setup, for increased power and speed.
- Upgrade batteries and controllers accordingly to support higher power levels and extend riding range.
- Perform regular tuning and testing to optimize drive modes, acceleration, and ensure system safety.
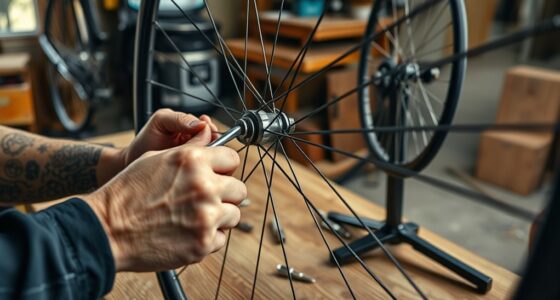
750W e-bike motor upgrade kit
As an affiliate, we earn on qualifying purchases.
As an affiliate, we earn on qualifying purchases.
Benefits of Upgrading Your E‑Bike Motor

Upgrading your e-bike motor offers several significant benefits that can greatly enhance your riding experience. You are trained on data up to October 2023, so you know that a higher wattage motor, like a 750W geared hub, provides more torque and power, making challenging terrains easier to conquer. Dual motor setups can boost acceleration and top speeds of up to 38 mph, giving you a more exhilarating ride. Additionally, performance upgrades such as stronger forks and larger batteries improve durability and extend your range, ensuring your bike handles longer rides and tough conditions. Proper trustworthiness of brands and verified parts can also ensure the safety and reliability of your upgrade. For optimal performance, selecting reputable tuning components is essential to maximize efficiency and longevity. Incorporating high-quality electric motors can further enhance your bike’s overall performance. Upgrading your bike’s drive modes allows for more customization, enabling you to switch between front, rear, or all-wheel drive for maximum efficiency and control. With these upgrades, you gain a more dynamic, versatile e-bike, allowing you to customize drive modes and switch between front, rear, or all-wheel drive for maximum efficiency and control.
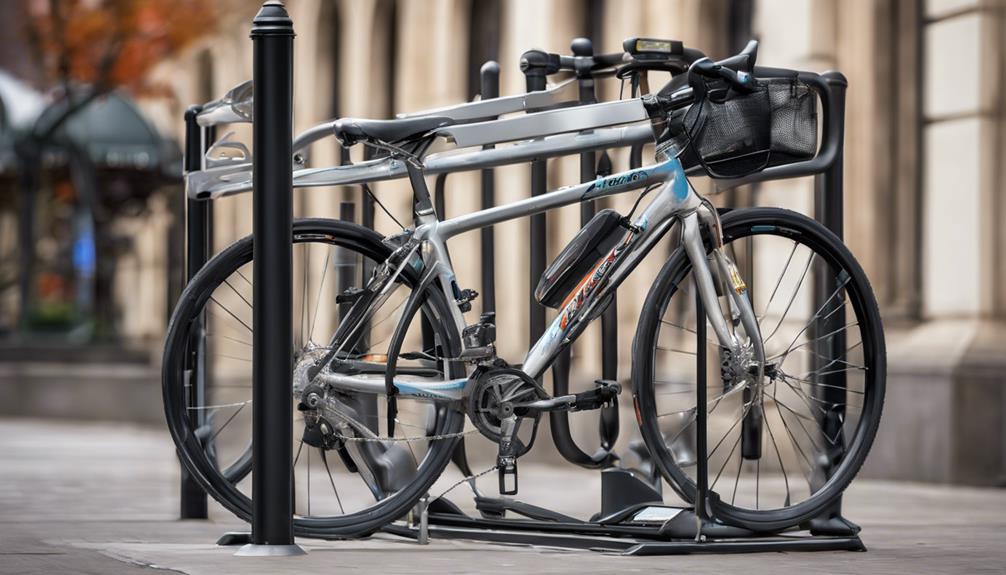
dual motor e-bike conversion kit
As an affiliate, we earn on qualifying purchases.
As an affiliate, we earn on qualifying purchases.
Choosing the Right Aftermarket Motor Kit
When choosing an aftermarket motor kit, make sure its power and voltage match your battery to avoid compatibility issues. Look for kits with plug-and-play wiring connectors to make installation straightforward and hassle-free. Additionally, consider the motor’s torque and control options to guarantee it meets your riding needs. Ensuring appliance safety during installation can prevent potential issues and enhance overall performance. Incorporating color accuracy considerations can improve the visual feedback during operation and diagnostics, making troubleshooting easier. If the motor includes safety features, it can provide additional protection during operation and reduce the risk of malfunctions. Paying attention to essential oil benefits can also help in maintaining optimal motor performance and longevity. Being aware of water-resistant designs can further safeguard your motor against environmental elements and extend its lifespan.
Motor Power Compatibility
How do you guarantee your aftermarket motor kit will perform properly on your e-bike? The key is matching the motor power to your bike’s specifications. Confirm the wattage and voltage of the new motor align with your stock e-bike to prevent electrical issues and maintain smooth performance. Check the motor’s torque rating—if you ride hilly terrain, a motor with higher torque, like 80 Nm, can give you better power. Upgrading to a higher-powered motor, such as moving from 750W to 1000W, may also require a compatible controller and a stronger battery. Additionally, verify that the motor’s connectors and wiring are compatible with your existing system. Matching these factors ensures your new motor delivers reliable performance without compromising safety or efficiency.
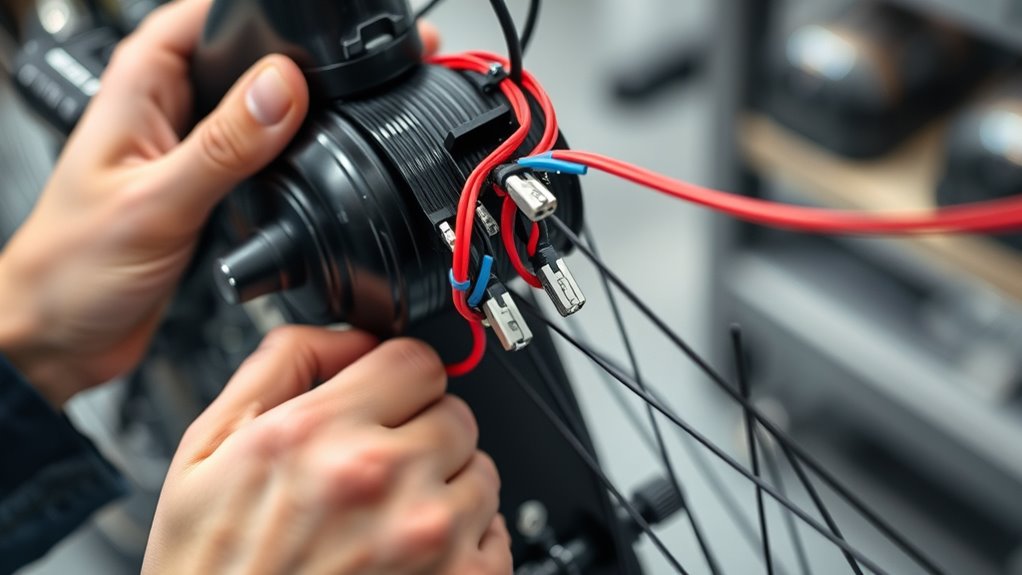
Installation and Wiring Ease
Selecting a motor kit with plug-and-play connectors that match your bike’s wiring makes installation much simpler and reduces the need for custom wiring. This compatibility speeds up the process and minimizes mistakes during wiring connections. Opt for kits with integrated controllers and displays to cut down on external wiring, making setup cleaner and easier. Before purchasing, verify that the motor’s voltage and power specifications, like 52V and 750W, align with your existing battery and drivetrain. Look for kits that include detailed installation instructions and wiring diagrams to guide you through the upgrade smoothly. Pre-wired or hidden wiring options are also beneficial, as they keep your bike looking tidy and make troubleshooting wiring issues much less overwhelming. Additionally, choosing an effective air purifier can help maintain a cleaner environment while working on your bike, preventing dust and allergens from settling on your components. Incorporating market trends such as the increasing acceptance of digital tools can also improve your upgrade experience. Ensuring compatibility with your existing components and understanding wiring best practices can further streamline the installation process, saving you time and effort. Paying attention to component quality and proper grounding techniques ensures durability and reliable performance of your e-bike motor setup. Focus on these features to ensure a hassle-free wiring process.
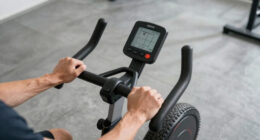
weatherproof e-bike wiring connectors
As an affiliate, we earn on qualifying purchases.
As an affiliate, we earn on qualifying purchases.
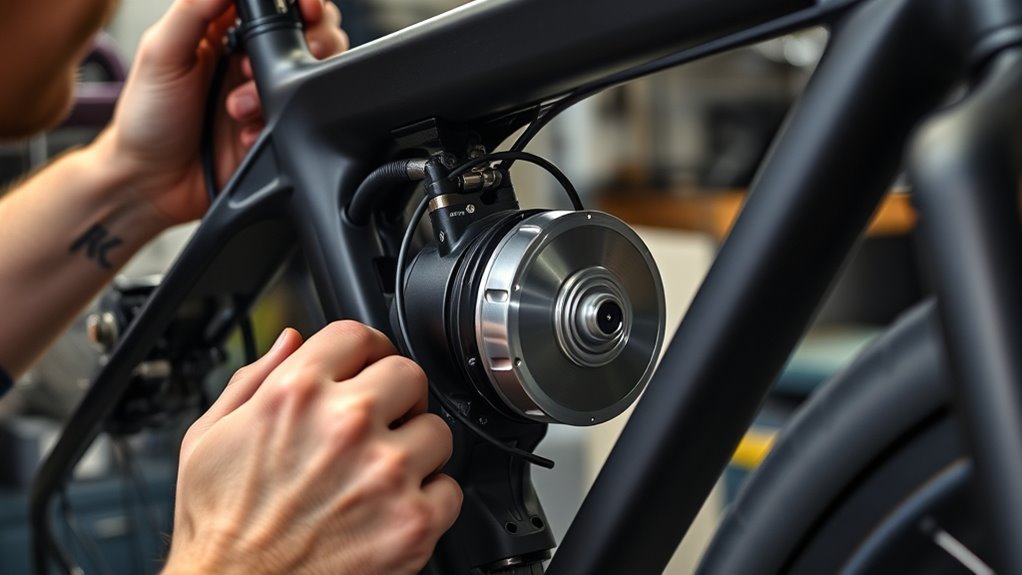
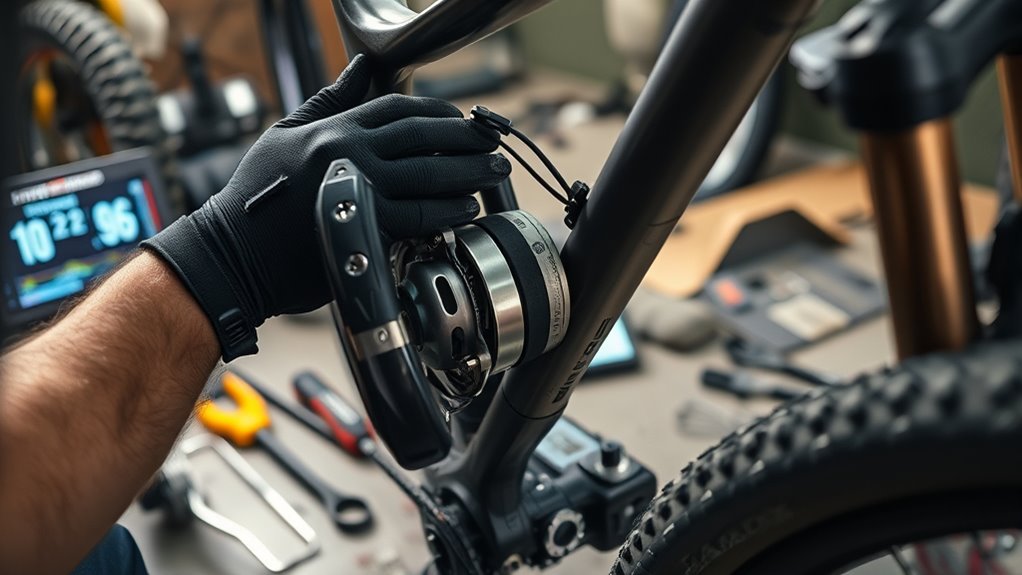
Installing a Front Wheel Motor Upgrade
Upgrading your front wheel motor begins with removing the existing wheel and preparing your bike for the new, more powerful setup. Start by detaching the front fork and brake components, then transfer your hydraulic brakes and disc to the new wheel. Installing the 52V, 750W geared hub motor involves fitting it onto the upgraded RST Guide Fork, which offers better dropout strength and torque handling. The wiring is designed for a plug-and-play connection, making installation straightforward. Use the following table as a quick reference:
| Step | Action | Notes |
|---|---|---|
| 1 | Remove old wheel | Preserve brake disc and tire |
| 2 | Attach new motor wheel | Ensure proper fit and torque |
| 3 | Connect wiring | Confirm secure, correct connections |
This upgrade boosts power and preserves braking performance, especially with hydraulic brakes. For optimal results, ensure your motor controller is compatible with the new motor specifications. Additionally, verifying that your bike’s battery capacity can support the increased power output will help ensure a safe and efficient upgrade. Proper wall organization can also help keep your workspace tidy during the upgrade process. Properly tuning your system can significantly improve overall performance and riding experience.
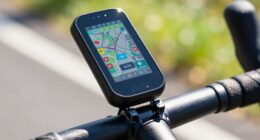
high capacity e-bike battery
As an affiliate, we earn on qualifying purchases.
As an affiliate, we earn on qualifying purchases.
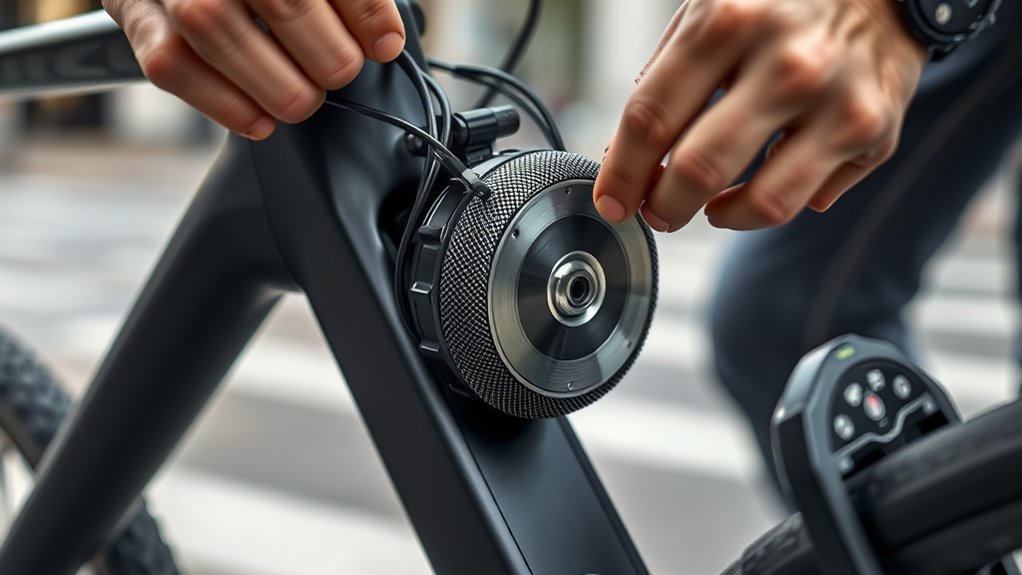
Setting Up a Dual Motor System

Setting up a dual motor system involves integrating a front 52V, 750W geared hub motor with your existing rear motor to create a more powerful and versatile e-bike. To do this successfully, you need a compatible 52V, 20 Ah battery pack and a 45A controller capable of powering both motors simultaneously. When wiring the system, ensure secure routing, proper connectors, and clean installation to avoid issues. Keep these key points in mind: 1. Use a controller designed for dual motors to manage power distribution effectively. 2. Connect the battery to supply consistent power to both motors without overload. 3. Install separate throttle controls and an NFC card interface for easy switching between front, rear, or all-wheel drive modes. Additionally, consult Snacks – Mad Tasting for quick and easy recipes to keep your energy levels up during long rides. Incorporating performance tuning principles can help optimize your system’s efficiency and prevent potential damage, ensuring a safer and more reliable ride. Properly configuring smart features can enhance your riding experience and provide better control over your dual motor setup. This setup boosts acceleration, hill-climbing, and top speed, making your ride more dynamic.
Enhancing Performance With Battery and Controller Upgrades
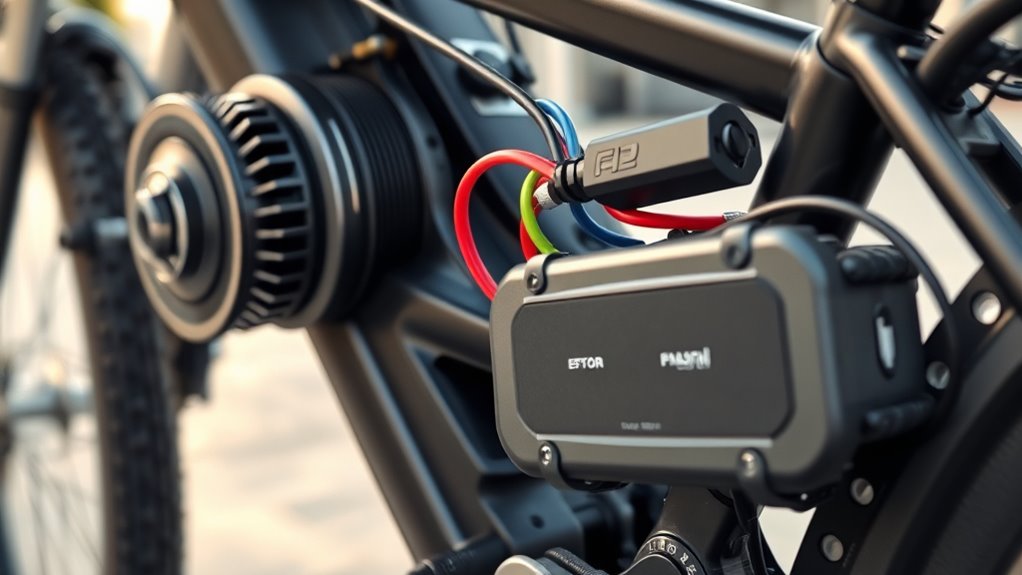
Enhancing your e-bike’s performance often starts with upgrading the battery and controller, as these components directly influence power delivery and responsiveness. A higher-voltage battery, like moving from 48V to 52V, increases top speed, range, and overall power, helping you reach speeds up to 38 mph. Upgrading to a higher-amperage controller, such as 45A, boosts acceleration, hill-climbing, and motor responsiveness. Make sure the new battery and controller are compatible to avoid overheating or voltage sag, especially during demanding rides. A fully charged battery ensures maximum performance, and plug-and-play options make installation straightforward. These upgrades work together to improve pedal assist efficiency and provide consistent, high-performance rides, especially when paired with larger capacity packs for longer distances.
Wiring and Connectivity Tips for Seamless Integration
To achieve a clean and reliable electrical setup, focus on proper wiring and connectivity techniques that facilitate seamless integration of your e-bike components. Use plug-and-play connectors to simplify wiring and reduce errors during installation. Route wiring along existing frame channels, hiding it behind protective sleeves or existing wiring for a neat appearance. Double-check polarity and connector orientation to prevent damage and ensure proper communication between components. Additionally, seal all connections with weatherproof connectors, electrical tape, or heat shrink tubing to guard against moisture and environmental elements. Finally, clearly label all wires and connectors during setup, making troubleshooting and future upgrades easier. Remember these key points:
Ensure neat, weatherproof wiring with proper routing, clear labels, and secure connections for a reliable e-bike setup.
- Use high-quality, weatherproof wiring and connectors.
- Route wiring strategically along frame channels.
- Double-check polarity and label everything clearly.
Customizing Drive Modes for Optimal Riding
Customizing your e-bike’s drive modes lets you tailor performance to match different terrains and riding styles, giving you greater control over power delivery. You can switch between front, rear, or all-wheel drive, optimizing traction and efficiency. Independent throttle controls for each motor let you seamlessly shift between assistance and acceleration, enhancing handling on steep inclines or loose surfaces. Adjusting drive modes also helps conserve energy by balancing power output, extending battery life. For example, using a mode that increases torque up to 80 Nm improves hill climbing, while top speeds around 36 mph are achievable with combined drive. Remember, your brake disc’s responsiveness benefits from proper drive mode selection, ensuring safer stops during aggressive riding.
| Drive Mode | Best Use Case |
|---|---|
| Front-only | Light terrain, efficiency |
| Rear-only | Acceleration, control |
| All-wheel | Tough climbs, rough terrain |
| Custom | Terrain-specific adjustments |
Testing and Tuning Your Upgraded E‑Bike
To guarantee your upgrade performs at its best, start by monitoring key performance metrics like top speed, acceleration, and hill climb ability during test rides. Adjust your drive settings, such as throttle response and current limits, to fine-tune the balance between power and safety. Keep track of your data to identify areas for improvement and optimize your e-bike’s overall efficiency.
Monitoring Performance Metrics
Ever wonder how to guarantee your upgraded e-bike performs at its best? Monitoring performance metrics is key. Regularly measure acceleration times, like 0-20 mph, and top speeds to see how upgrades impact your ride. Use a wattmeter or power meter to monitor real-time power consumption, ensuring your motor stays within ideal efficiency ranges. Conduct hill climb tests to compare torque and speed before and after tuning. Keep track of battery voltage and current during rides to assess how system upgrades affect range and power delivery. To make the most of your data:
- Record acceleration times and top speeds.
- Monitor power consumption with a wattmeter.
- Track battery metrics during rides.
These steps help you fine-tune your system and maximize performance metrics.
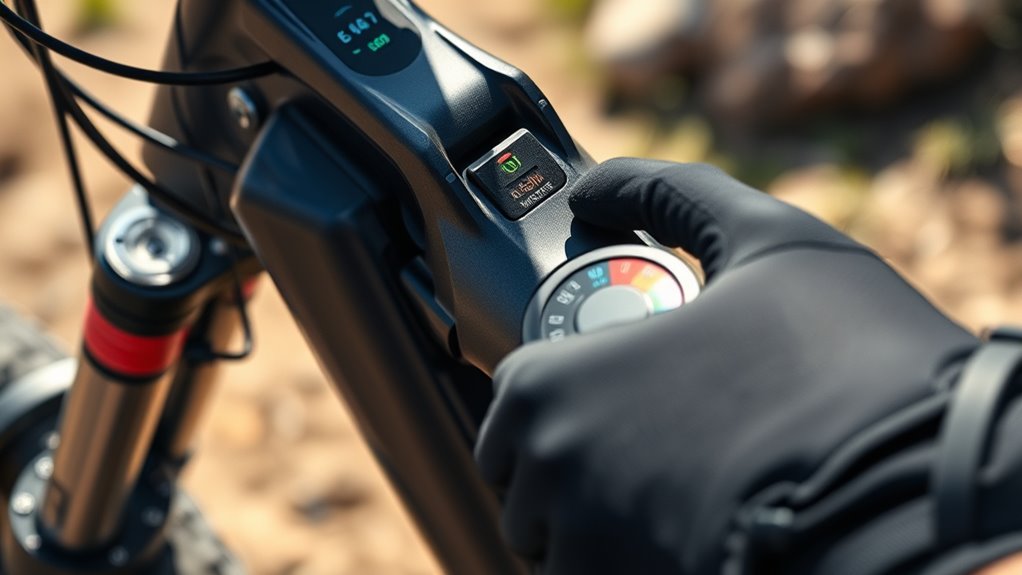
Adjusting Drive Settings
After monitoring performance metrics, the next step is to optimize your e-bike’s drive settings through testing and tuning. Use the display settings to calibrate your motor response, adjusting for smooth acceleration and throttle sensitivity. Test different pedal assist levels and throttle configurations to find the right balance between power and battery life. Keep an eye on real-time data like speed, current draw, and motor temperature to prevent overheating. Change drive modes to suit different terrains—higher assist for hills, lower for flat surfaces. Additionally, you can fine-tune power delivery and response by updating firmware or adjusting controller settings. These tweaks help you personalize your ride, ensuring your upgraded motor performs efficiently and reliably.
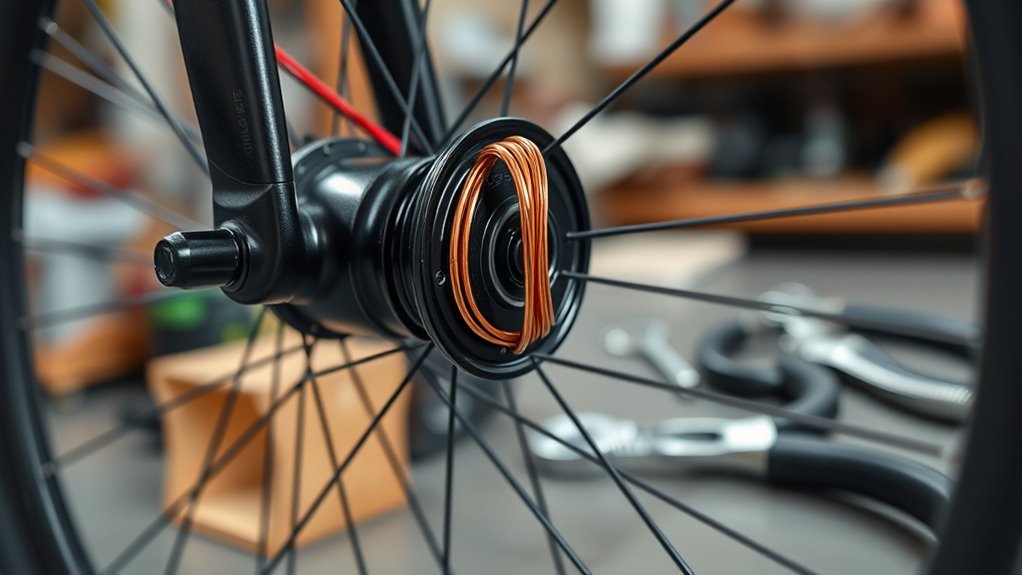
Optimizing Hill Climb
When tackling hill climbs with your upgraded e-bike, testing your setup on actual inclines reveals how well your adjustments perform under load. Focus on your rear hub motor’s performance by conducting test rides to measure speed and identify bottlenecks. To optimize hill climbing:
- Adjust gear ratios and fine-tune your motor settings via the controller to boost torque.
- Ensure your battery is fully charged or upgrade to higher capacity packs for consistent power.
- Refine throttle responses and motor assist levels to prevent wheel spin and improve traction.
Monitoring real-time data like motor current, temperature, and speed during these tests helps you spot issues and fine-tune your setup. Properly optimizing your rear hub motor ensures better performance on steep inclines and longer rides.
Maintaining and Troubleshooting Your High-Performance System

To keep your high-performance e-bike system running smoothly, you need to regularly inspect and maintain its key components. Focus on wiring connections, especially around plug-and-play connectors, to ensure they stay secure and free of corrosion. Loose or corroded wiring can cause intermittent power issues or system faults. Check the battery’s health and charge cycles; a degraded 48V 20Ah pack can reduce torque and overall performance. Keep the motor and gear components clean and free of debris to prevent overheating and maintain smooth operation. Use NFC card diagnostics and display alerts to troubleshoot faults, paying attention to wiring, controller, or throttle issues. Regular maintenance helps you catch problems early and keeps your upgraded motor delivering optimal performance on every ride.
Frequently Asked Questions
Can I Upgrade the Motor on My Ebike?
You can upgrade your e-bike motor if your bike’s design allows for it. Check compatibility with your wheel size, controller, and wiring before starting. Upgrading to a higher-wattage or dual-motor setup can boost power, speed, and hill-climbing ability. For the best results and safety, consider professional installation or ensure you have solid DIY skills. Just make sure the new components fit and work well with your existing system.
Is 750W Better Than 500W?
Is 750W better than 500W? Think of it as upgrading from a trusty scooter to a powerful motorcycle. With 750W, you get faster acceleration, better hill-climbing, and higher top speeds—perfect for tough terrains. But remember, more power means more energy use, so your range might drop unless you upgrade your battery. If you crave performance and don’t mind the extra energy, 750W is the way to go.
How Can I Make My Ebike Motor Faster?
To make your e-bike motor faster, start by upgrading to a higher wattage motor, like moving from 750W to 1000W or more. You can also boost speed by installing a larger or more efficient controller and upgrading to a higher voltage battery, such as 52V or 60V. Make sure your gears and wheel size are optimized, and fine-tune your throttle and pedal assist settings for smoother, quicker acceleration.
How Fast Can a 5000W Ebike Motor Go?
You might think a 5000W e-bike motor could hit incredible speeds, but reality varies. Typically, it reaches around 50-60 mph, depending on your bike’s setup, weight, and legal limits. While the motor’s power enables quick acceleration and great hill climbing, factors like tires and aerodynamics also play roles. So, don’t just chase max speed—embrace the balance between power, safety, and regulations for the best ride.
Conclusion
Upgrading your e-bike motor can boost performance by up to 30%, transforming your riding experience. With the right parts and proper setup, you’ll enjoy smoother acceleration, increased power, and longer rides. Remember to regularly maintain and troubleshoot your system to keep it running at peak performance. By investing in upgrades, you’re not only improving your e-bike’s capabilities but also extending its lifespan—making every ride more enjoyable and efficient.