
Are you aware that having properly working brakes is crucial for safe and comfortable rides on your electric bike? According to a study by the National Highway Traffic Safety Administration, problems with brakes were a major factor in cycling accidents.
To ensure your own safety, it’s important to know how to tighten brakes on your electric bike. In this article, we will guide you through a step-by-step process to adjust and fine-tune your brakes, enabling you to enjoy a worry-free riding experience.
Key Takeaways
- Regularly inspect and maintain brake pads to ensure proper tightening of brakes on an electric bike.
- Check brake rotors for any warping or damage that may affect the tightness of the brakes.
- Keep the brake calipers clean and free from debris to optimize the tightening of the brakes.
- Test the brakes consistently to ensure a prompt response and proper tightening on the electric bike.
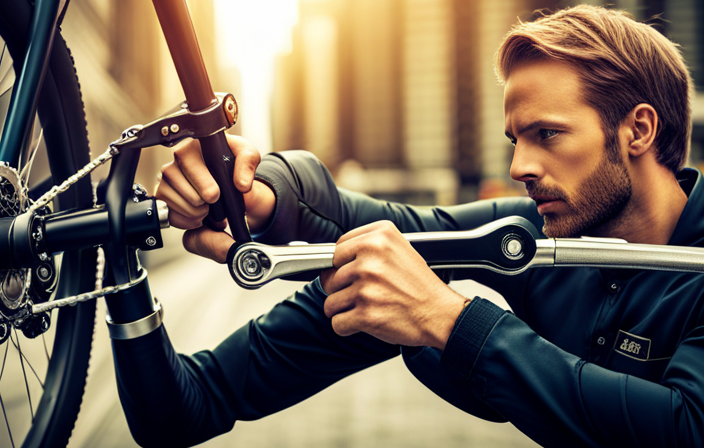
Gather the Necessary Tools
You’ll need a few tools to tighten the brakes on your electric bike. Brake maintenance is crucial for ensuring a safe and smooth ride. In addition to adjusting the brakes, it’s also important to regularly check and tighten chain on electric bike to maintain optimal performance. A loose chain can affect your bike’s efficiency and safety, so keeping it properly tensioned will help prevent unexpected issues while riding.
To begin, gather the necessary tools: an adjustable wrench, a set of Allen wrenches, and a cable puller. The adjustable wrench will be used to loosen and tighten the brake cable, while the Allen wrenches will help adjust the brake pads. The cable puller is essential for adjusting the tension of the brake cable. With these tools in hand, you’ll be well-equipped to tackle the task at hand.
Now that you have your tools ready, it’s time to move on to the next step: identifying the brake type on your electric bike.
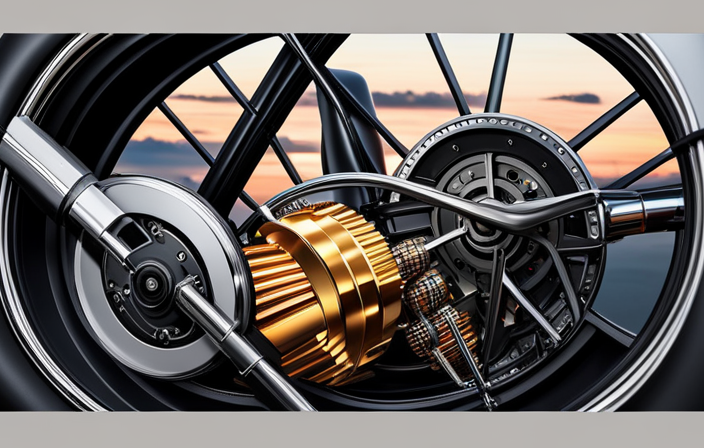
Identify the Brake Type on Your Electric Bike
To identify the type of brakes on your e-bike, check for any visible brake calipers or disc rotors. These components are essential for brake maintenance and troubleshooting.
Brake calipers are the most common type of brakes found on electric bikes. They consist of two jaws that grip the rim of the wheel to slow down or stop the bike.
Disc brakes, on the other hand, use a disc rotor mounted on the wheel hub. When the brake lever is squeezed, brake pads are pressed against the disc rotor to create friction and slow down the bike.
Understanding the type of brakes on your e-bike is crucial for effective brake tightening. Now that you have identified the brake type, you can proceed to the next step of adjusting the brake pads.
Adjust the Brake Pads
Once you’ve identified the type of brake on your e-bike, it’s important to adjust the brake pads for optimal performance.
To adjust the brake pads, start by locating the brake lever on your handlebars. Squeeze the lever and observe the distance between the brake pad and the rim. If the gap is too large or too small, you’ll need to make adjustments.
To increase the gap, turn the barrel adjuster counterclockwise. Conversely, to decrease the gap, turn it clockwise. Keep adjusting the barrel until the gap is just right.
If you encounter any issues while adjusting the brake pads, such as squeaking or rubbing, troubleshoot by checking the alignment of the pads and the wheel.
Once you’ve finished adjusting the brake pads, it’s time to move on to the next step: checking the brake cable tension.
Check the Brake Cable Tension
After adjusting the brake pads, it’s important to check the tension of the brake cable.
Start by squeezing the brake lever and observe how far it moves before the brake engages. If the lever moves too far, it indicates that the cable tension needs adjustment.
Locate the barrel adjuster on the brake lever and turn it clockwise to increase tension or counterclockwise to decrease tension. Make small adjustments and test the brake lever after each turn until you achieve the desired tension.
Once the brake lever feels responsive and engages the brake pads quickly, you can move on to the next step of aligning the brake caliper. This will ensure optimal braking performance and safety while riding your electric bike.
Align the Brake Caliper
To align the brake caliper, you should ensure that it is centered with the brake rotor. This step is crucial for optimal brake performance on your electric bike. Start by loosening the mounting bolts that hold the brake caliper in place. Gently squeeze the brake lever to engage the brake pads with the rotor, then tighten the mounting bolts while maintaining pressure on the lever. This will ensure that the caliper is aligned properly. To further enhance brake performance, you can also adjust the brake lever position. Make sure the lever is within comfortable reach and can be easily engaged. Once the brake caliper is aligned and the lever is adjusted, you are ready to test the brake performance.
Transitioning into the next section about testing the brake performance, it is important to ensure that your brakes are functioning at their best.
Test the Brake Performance
Testing the brake performance is essential for ensuring your safety while riding. To properly evaluate the brake maintenance and determine if any further adjustments are required, follow these steps:
- Begin by applying a moderate amount of pressure to the brake lever, ensuring it engages smoothly without any excessive play.
- Observe the distance it takes for the bike to come to a complete stop. If it feels too long or there is a delay, it may indicate the need for brake pad replacement.
- Pay attention to any squealing or grinding noises, which could be a sign of worn-out brake pads.
By conducting this brake performance test, you can identify potential issues and take necessary measures to rectify them, such as fine-tuning the brake adjustment.
This ensures optimal brake performance and enhances your overall riding experience.
Fine-Tune the Brake Adjustment
Make sure you adjust the brakes properly to enhance your riding experience. To fine-tune the brake adjustment, follow these steps to optimize brake responsiveness and ensure the brake lever position is correct:
| Brake Adjustment | Description |
|---|---|
| Fine-tune brake responsiveness | Adjust the brake cable tension by turning the barrel adjuster. Tighten it to increase responsiveness and loosen it to decrease. Test the brakes after each adjustment to achieve the desired feel. |
| Optimize brake lever position | Position the brake levers so they are comfortable to reach and squeeze. They should allow your fingers to wrap around them without straining. Adjust the reach by loosening the lever clamp bolt and sliding the lever to the desired position. Make sure the lever is secure before testing. |
By fine-tuning the brake adjustment and optimizing the brake lever position, you will have better control over your electric bike’s braking system. This will help ensure your safety while riding. Moving forward, it is important to maintain regular brake inspections to keep your brakes in top condition.
Maintain Regular Brake Inspections
To maintain the efficiency and reliability of your electric bike’s brakes, it is crucial to regularly inspect them. Check for any signs of wear and tear, such as fraying cables or worn brake pads.
If you notice any significant damage or if the brake pads are worn down to the indicator line, it is necessary to replace them immediately to ensure optimal braking performance.
Check for Wear and Tear
Inspect the brake pads for any signs of wear and tear on your electric bike. Look for wear indicators, which are small grooves on the surface of the brake pads. These indicators serve as a visual cue to let you know when it’s time to replace the pads.
Additionally, check the brake pad thickness. The minimum thickness should be specified by the manufacturer, but a general rule of thumb is that if the pad is less than 3 millimeters thick, it needs to be replaced. Examine the pads carefully, looking for any cracks, uneven wear, or missing pieces. If you notice any of these issues, it’s crucial to replace the brake pads promptly to ensure optimal braking performance and safety.
Transitioning into the next section about replacing brake pads if necessary, you will need to follow a few simple steps to complete the process.
Replace Brake Pads if Necessary
If the brake pads on your electric bike show signs of wear and tear, it is important to replace them promptly for optimal braking performance and safety. Here are four steps to guide you through the process:
-
Start by removing the old brake pads from the brake caliper. This can usually be done by loosening the retaining bolt and sliding the pads out.
-
Inspect the brake caliper for any signs of damage or excessive wear. If necessary, replace the entire caliper to ensure proper functioning.
-
Next, replace the brake fluid in the hydraulic braking system. This will help maintain the braking efficiency and prevent any potential brake fade.
-
Finally, adjust the brake lever position to ensure that it engages the brake pads properly. This can be done by adjusting the reach or lever position using the provided adjustment screws.
By following these steps, you can ensure that your brake pads are in optimal condition and your electric bike is safe to ride.
Now let’s move on to practicing safe riding techniques.
Practice Safe Riding Techniques
When practicing safe riding techniques on your electric bike, it is crucial to maintain a safe distance from other vehicles on the road. This allows you enough time to react to any sudden changes in traffic and ensures your safety.
Additionally, using proper hand signals when turning or changing lanes helps to communicate your intentions to other road users, reducing the risk of accidents.
Remember, these simple yet effective practices can make all the difference in ensuring a safe and enjoyable riding experience.
Maintain a Safe Distance
To ensure safety, always maintain a safe distance when riding an electric bike. This is crucial in order to have enough time to react to any sudden changes in traffic or road conditions.
To maintain a safe distance, follow these guidelines:
-
Maintain proper tire pressure: Check your tires regularly and ensure they’re inflated to the recommended pressure. This will help optimize your bike’s braking performance and ensure maximum traction.
-
Avoid sudden braking: Brake gradually and smoothly to avoid skidding or losing control of your bike. Sudden braking can cause your tires to lock up, leading to accidents.
Remember, maintaining a safe distance and following these guidelines will help minimize the risk of accidents and ensure a smooth and enjoyable ride.
In the next section, we will discuss the importance of using proper hand signals.
Use Proper Hand Signals
Using proper hand signals is essential for communicating your intentions to other road users. Hand signal etiquette is crucial as it ensures a safe and smooth interaction between you and other vehicles on the road. By using clear and precise hand signals, you can effectively convey your intended actions, reducing the risk of accidents and misunderstandings.
To help you understand the importance of clear communication, consider the following table:
| Hand Signal | Action | Meaning |
|---|---|---|
| Left arm extended straight out | Pointing left | Indicating a left turn |
| Left arm extended upward at a 90-degree angle | Pointing upward | Indicating a right turn |
| Left arm extended downward at a 90-degree angle | Pointing downward | Signaling a stop or decrease in speed |
By consistently using these hand signals, you establish a clear line of communication with other road users, promoting a safer environment for everyone. Remember, proper hand signals ensure your intentions are understood, allowing for a seamless transition into the subsequent section about enjoying your safe and smooth ride.
Conclusion: Enjoy Your Safe and Smooth Ride
You can now enjoy your safe and smooth ride with properly tightened brakes on your electric bike. Remember, safe braking techniques are crucial for your overall riding experience. Regular maintenance plays a significant role in ensuring the efficiency and effectiveness of your brakes.
Here are five essential things to keep in mind:
- Maintain the correct brake cable tension to ensure optimal brake performance.
- Regularly inspect brake pads for wear and tear and replace them when necessary.
- Check brake rotors for any signs of warping or damage, as this can affect braking efficiency.
- Keep the brake calipers clean and free from debris to prevent any interference with the braking system.
- Test your brakes consistently to ensure they respond promptly and smoothly.
By following these guidelines and keeping your brakes properly tightened, you can confidently enjoy a safe and comfortable ride on your electric bike.
Frequently Asked Questions
How often should I inspect my electric bike brakes?
Inspect your electric bike brakes every 100-200 miles or monthly, whichever comes first. Look for signs of worn out brake pads, such as reduced braking power, squeaking or grinding noises, and visible wear indicators. Replace brake pads when the thickness is less than 1.5mm.
Can I use regular brake pads on my electric bike?
Regular brake pads may not be compatible with electric bikes. It is crucial to use specific brake pads designed for electric bikes. These pads offer advantages such as optimized stopping power, heat dissipation, and durability to handle the unique demands of electric bike braking systems.
What should I do if my brake cable is too loose?
To ensure proper brake cable tension, it is crucial to regularly maintain your brakes. If your brake cable is too loose, you should adjust it by following the manufacturer’s instructions for your specific electric bike model.
Are there any specific safety precautions I should take when adjusting my electric bike brakes?
Before adjusting your electric bike brakes, ensure safety by wearing protective gear like gloves and goggles. Use the proper technique, avoiding common mistakes such as overtightening or misaligning the brake pads, to ensure optimal braking performance.
How do I know if my brake caliper is properly aligned?
To determine if your brake caliper is properly aligned, look for proper alignment indicators such as even spacing between the brake pads and the rotor. Common alignment issues include rubbing or squeaking sounds and uneven brake pad wear.
Conclusion
Congratulations! You’ve successfully tightened the brakes on your electric bike, ensuring a safe and smooth ride. Remember the wise adage, "An ounce of prevention is worth a pound of cure."
Regular brake inspections and maintenance are crucial to prevent any accidents or mishaps. By following the steps outlined in this article and practicing safe riding techniques, you can enjoy your electric bike to the fullest while keeping yourself and others safe.
Happy riding!
Related Posts:


Olivia’s writing is not only informative but also inspiring. She has a knack for telling stories that capture the essence of cycling and the joy it brings to people’s lives. Her writing has been praised by readers and industry experts alike for its clarity, depth, and authenticity.
In addition to her writing, Olivia is also an avid cyclist. She enjoys exploring new trails and routes and has participated in several cycling events and races. Her first-hand experience with cycling gives her a unique perspective on the sport, reflected in her writing.
Overall, Olivia is a talented writer passionate about cycling and dedicated to producing high-quality content for FlatironBike. Her contributions to the magazine have helped make it a go-to source for cycling enthusiasts worldwide.