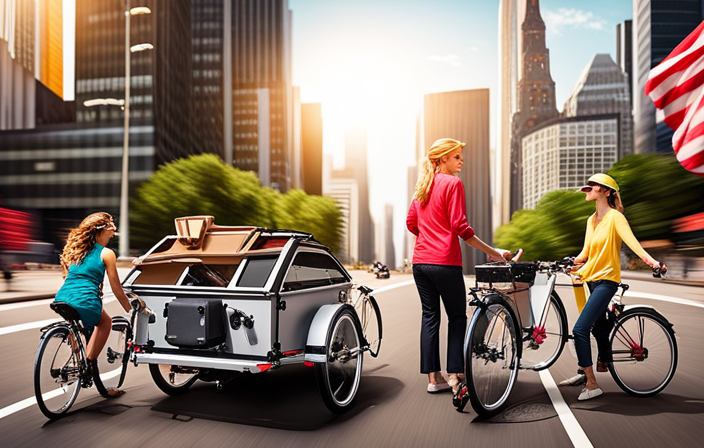

To convert a bike trailer into a pet carrier, start by removing the fabric and disassembling the frame for easier modifications. Reinforce the structure by cutting and welding to adjust height, narrow the width, and add sturdy reinforcements. Install ventilation, weatherproofing, and safety features like secure tie-downs. Customize the interior for your pet’s comfort, then test the setup thoroughly. Continuing with these steps helps you build a safe, comfortable carrier customized for your pet’s needs.
Key Takeaways
- Modify the trailer frame by removing or reinforcing fabric and panels for a sturdy pet enclosure.
- Design and attach a secure, custom base plate to support the pet carrier structure.
- Ensure proper ventilation, weatherproofing, and climate control features like vents and skylights.
- Reposition or replace connection components for stable attachment and maintain foldability if needed.
- Conduct safety checks, secure the pet inside, and test ride for stability and proper weight distribution.
Preparing the Existing Trailer for Modification
Before you start modifying your bike-trailer pet carrier, you need to prepare the existing trailer. Begin by carefully removing the trailer fabric, which may involve cutting stitches or detaching fasteners to expose the frame. Once the fabric is removed, inspect the frame thoroughly for any signs of wear, rust, or damage. Clean and reinforce the frame if needed to ensure stability during modifications. Take precise measurements of the trailer’s height, width, and length to guide your planning. During modification planning, identify the mounting points for the original fabric and hinges. This helps you determine where to attach new structural elements or reinforcement components. Proper preparation guarantees a solid foundation for transforming your trailer into a comfortable, pet-friendly carrier. Additionally, consider incorporating durable materials that can withstand outdoor conditions and provide long-lasting support for your pet’s safety and comfort. Ensuring your modifications are secure and resilient aligns with the importance of digital literacy programs that encourage playful communication, which can help you stay informed about safe and effective DIY techniques. Incorporating suitable filtration systems can also improve ventilation and keep your pet comfortable during travel. Exploring professional design services can further assist in creating a customized and safe pet carrier tailored to your needs. Furthermore, conducting a thorough inspection of all components ensures the safety and durability of your modifications over time.
Removing the Fabric and Disassembling the Frame
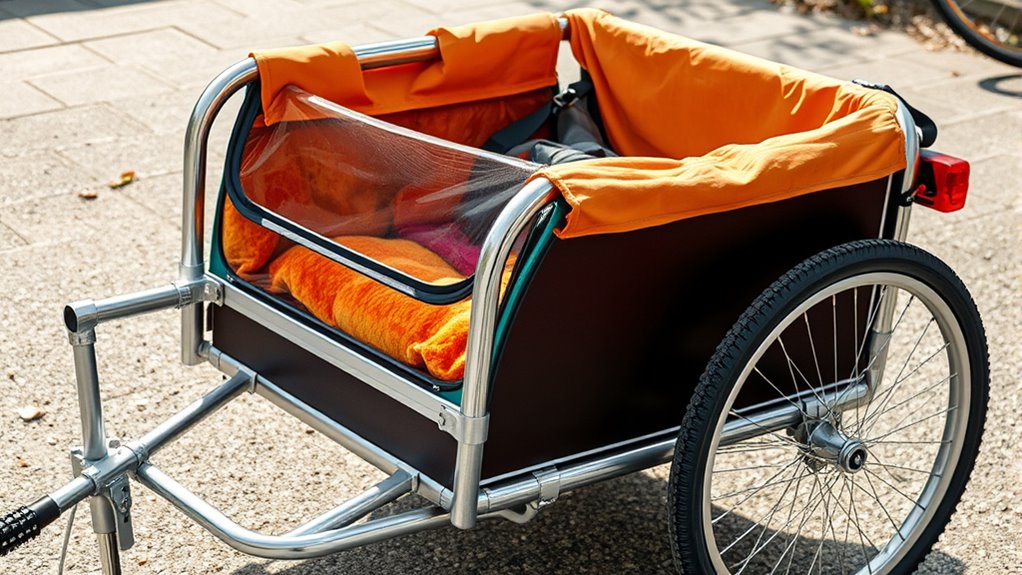
To begin removing the fabric and disassembling the frame, carefully cut along the stitches or seams to detach the fabric from the trailer structure. Fabric removal involves peeling away or cutting through remaining panels to fully expose the frame components. Once the fabric is removed, focus on frame disassembly by cutting or unbolting welded or bolted joints, ensuring you don’t damage the metal tubing or structural parts. Keep track of all fasteners and parts you remove, as this will make reassembly or future modifications easier. After disassembly, perform a structural inspection of the frame to check for any wear or damage. This step guarantees your trailer remains sturdy and safe for the pet carrier conversion or future use. Additionally, inspecting the metal tubing for signs of corrosion or wear helps maintain the frame’s integrity over time. Incorporating regular maintenance into your routine can further prolong the lifespan of the frame and ensure safety. Remember that visual inspection can help identify potential issues early, preventing costly repairs down the line. Applying proper preservation techniques can also protect against environmental damage and extend the durability of the frame.
Adjusting the Trailer Height and Reinforcing the Structure
Adjusting the trailer height involves cutting just above the horizontal bar above the tire, which reduces the overall height and makes it more suitable for pet transport. This frame modification ensures your pet has a comfortable space without excessive height. To maintain safety and durability, install rubber plugs in the cut sections to protect against sharp edges and create a sealed surface. Reinforcing the frame with additional tie ribs and secure mounting points boosts structural reinforcement, especially for rough terrain. Consider these key steps:
Cut above the tire’s horizontal bar, add rubber plugs and tie ribs for a safer, pet-friendly trailer frame.
- Precise cutting to achieve the desired height
- Rubber plugs to prevent frame damage
- Adding tie ribs for extra strength
- Rechecking the frame’s stability after reinforcement
This approach guarantees a safer, more durable trailer that’s perfectly tailored for pet carrying needs.
Narrowing the Width and Reconnecting the Frame Sections
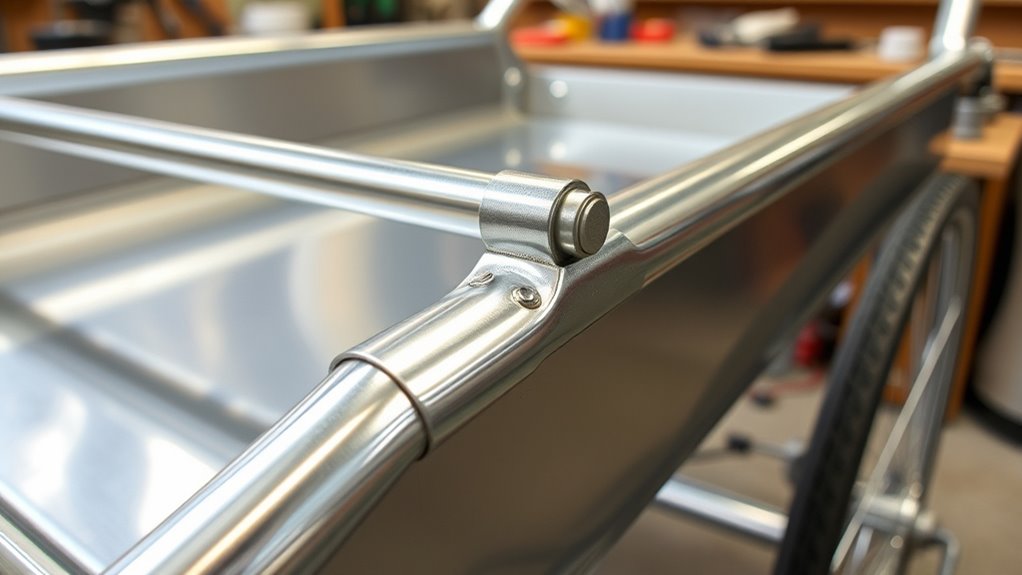
Narrowing the trailer width requires cutting the side tubing at both the front and rear sections to remove the excess frame material. Carefully measure and mark where you’ll make the cuts to guarantee a uniform width reduction. After cutting, use rubber plugs or caps to seal the open ends of the tubing, preventing dirt and damage. To reconnect the frame sections, insert a wooden peg or metal bolt into the aligned cut ends for added stability. Make sure the frame modification maintains the trailer’s foldability, adjusting hinge points if needed. Once the frame is narrowed, reattach the connection points to your bike, verifying that the trailer frame remains properly aligned and securely connected. This process ensures your pet carrier is both narrower and structurally sound. Additionally, inspecting the frame for structural integrity after modifications helps ensure safety and durability. Properly reinforced joints and connections are crucial to prevent future deformation or failure during use. To further enhance safety, consider adding extra support brackets at critical points to distribute stresses more evenly and prevent potential damage over time. Incorporating robust reinforcement techniques can help maintain the frame’s strength during regular use. Being aware of material properties ensures that chosen reinforcement methods do not compromise the frame’s flexibility or weight.
Modifying the Connection Point to the Bicycle
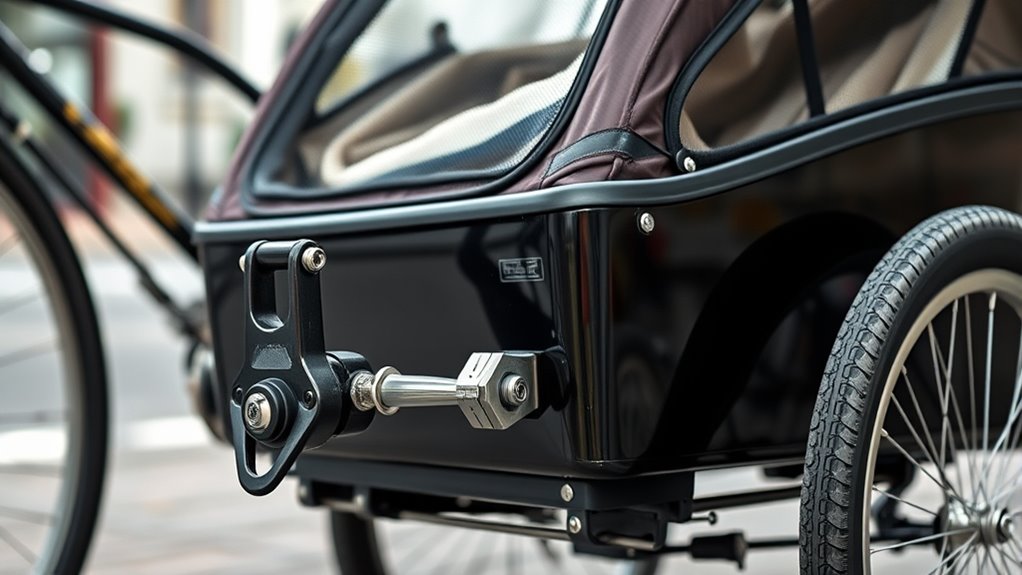
When modifying the connection point to your bicycle after frame adjustments, it’s essential to make certain of proper alignment for a secure fit. Check if the hitch and tube connector are properly aligned after any frame cuts or modifications. If the original connection causes misalignment or awkward angles, consider repositioning the tube connector outside the trailer frame. Reversing and unbolting the connection rig allows for precise relocation, ensuring a stable attachment. As you modify the connection point, verify it remains centered and aligned with your bike’s hitch mount, especially if the trailer width has been shortened. Reinforcing or repositioning the connection may require drilling new holes or adding fasteners to maintain stability during rides. Proper modification guarantees safety and a smooth towing experience.
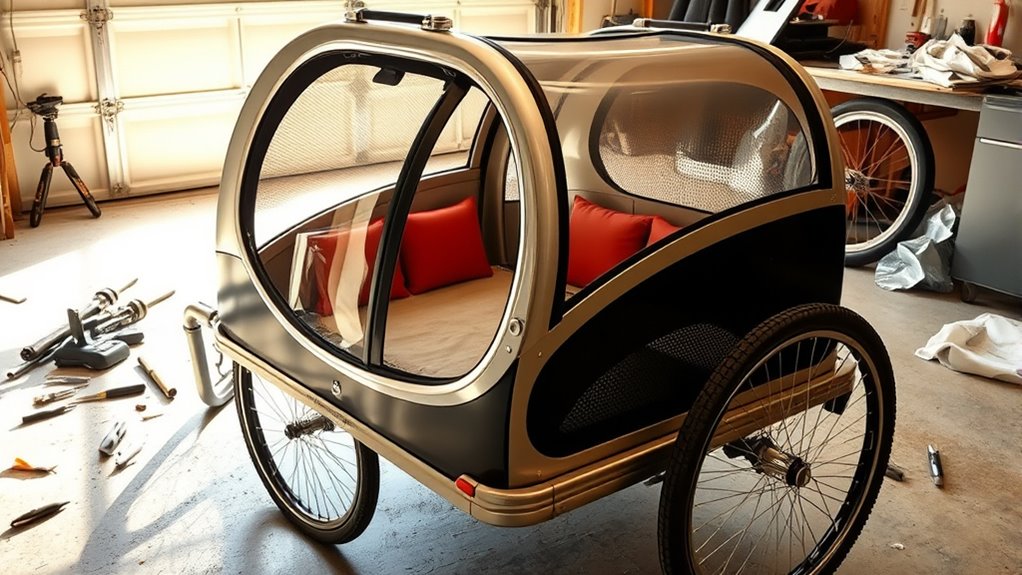
Designing and Installing a Custom Base Plate
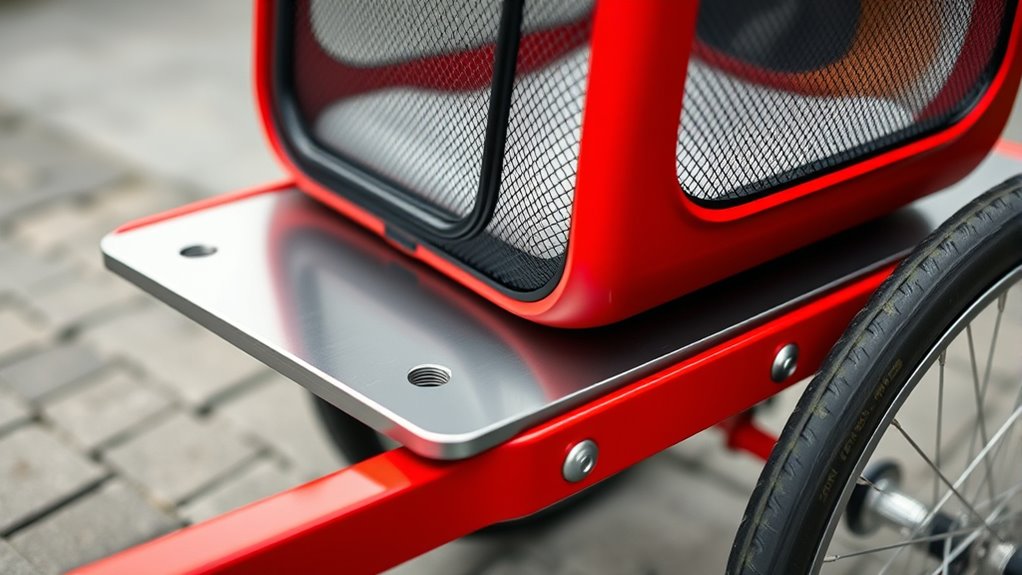
Accurately measuring the trailer frame dimensions is the first step in designing a custom base plate that fits perfectly. Use those measurements to select a durable material like aluminum or plywood, and cut it to match the frame’s size, leaving clearance for suspension and hinges. Drill precise holes in the base plate that align with existing mounting points or tie-in points on the trailer frame. Incorporate cutouts or slots to accommodate structural elements like cross braces or hinges, ensuring the base plate maintains structural integrity. To achieve a secure attachment, fasten the base plate to the trailer frame using bolts, clamps, or zip ties. Proper fastening techniques are essential for ensuring safety and stability during travel. Make sure the base plate is level and sturdy enough to handle rough terrain during travel, providing a stable foundation for your pet carrier. Additionally, considering structural support can help distribute weight more evenly and enhance overall stability. Incorporating safety considerations such as reinforced edges and secure tie-downs will further improve the durability and safety of the carrier setup. Incorporating vibration dampening methods can also help protect your pet and equipment during rough rides.
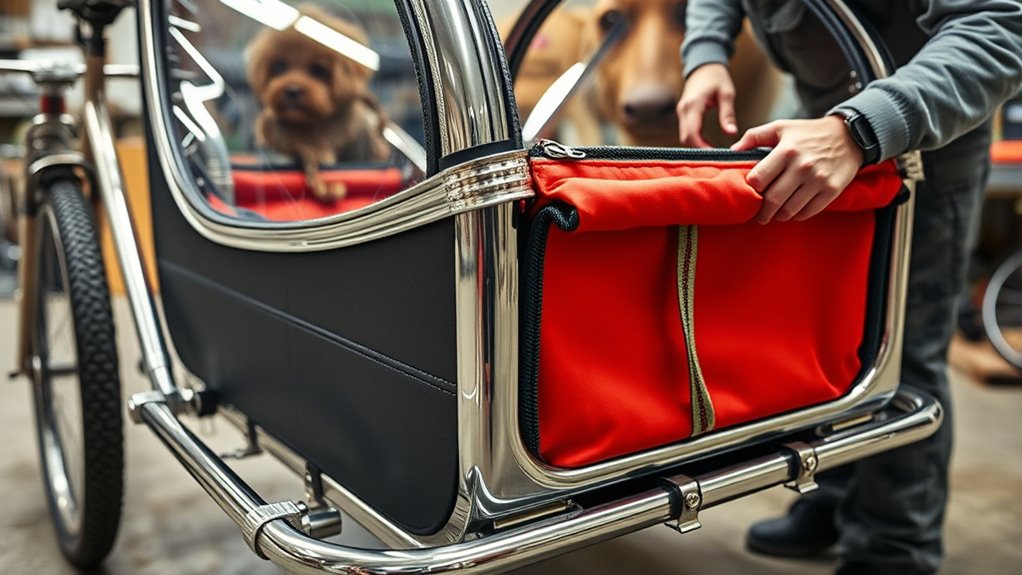
Adding Ventilation and Weather Protection Features
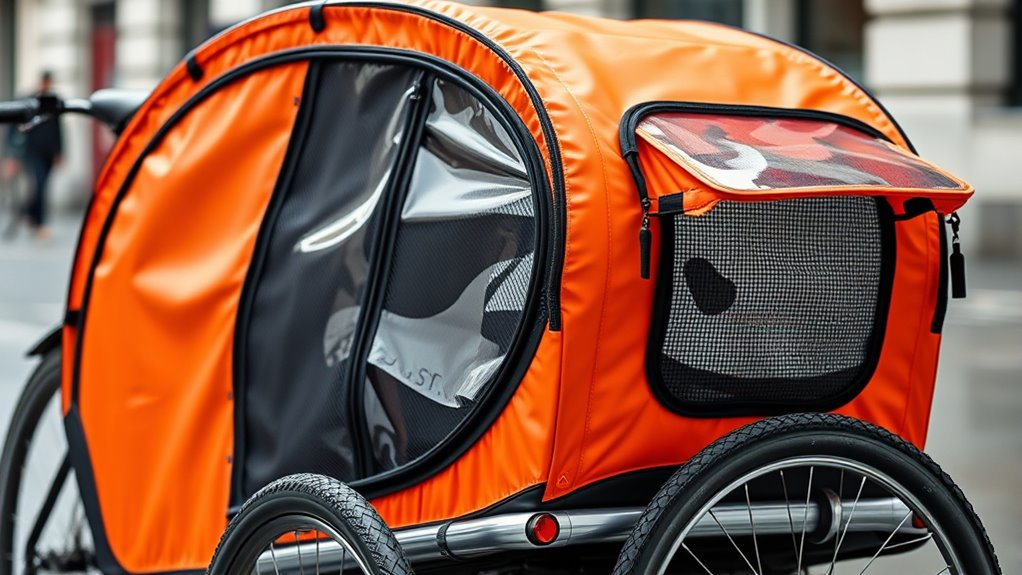
To keep your pet comfortable during rides, adding effective ventilation and weatherproofing features is essential. Installing adjustable vents, insect screens, and skylights ensures continuous airflow while safeguarding against the elements. These enhancements help maintain a safe, cool environment inside your trailer regardless of weather conditions. Incorporating modern fixtures can further improve water resistance and durability.
Enhancing Airflow Systems
Enhancing airflow systems in your bike-trailer pet carrier guarantees a comfortable environment for your pets, especially during warm days. Proper ventilation ensures fresh airflow and helps regulate temperature. You can install an RF rooftop vent with adjustable open positions and lockable settings to control airflow and heat. Adding a powered exhaust fan wired to your trailer’s running lights actively removes hot air, boosting ventilation. Cutting ventilation holes into the walls, paired with insect screens, allows passive airflow while protecting pets from insects and weather. Applying window tint film reduces solar heat gain, keeping the interior cooler. Incorporating industry-standard ventilation management strategies can further optimize airflow and ensure your pets’ comfort during rides. Consider these options: ventilation management — leveraging effective ventilation strategies can significantly improve air quality and comfort in your pet carrier.
Weatherproofing Solutions
Adding weatherproofing features to your bike-trailer pet carrier guarantees your pets stay comfortable regardless of weather conditions. To achieve this, install adjustable rooftop vents like RF vents for customizable ventilation, allowing airflow control during rain or sunshine. A powered exhaust fan wired to your trailer’s running lights boosts airflow, helping to regulate temperature and humidity. Incorporate small weather-resistant windows or cut ventilation holes with mesh covers to improve airflow while blocking rain and debris. Skylights with blackout shades and insect screens let in natural light and ventilation, keeping the interior fresh and protected. Applying tint film to windows or skylights also helps control internal temperature and glare, ensuring your pet remains comfortable in all weather scenarios.
Enhancing Safety and Stability During Transit
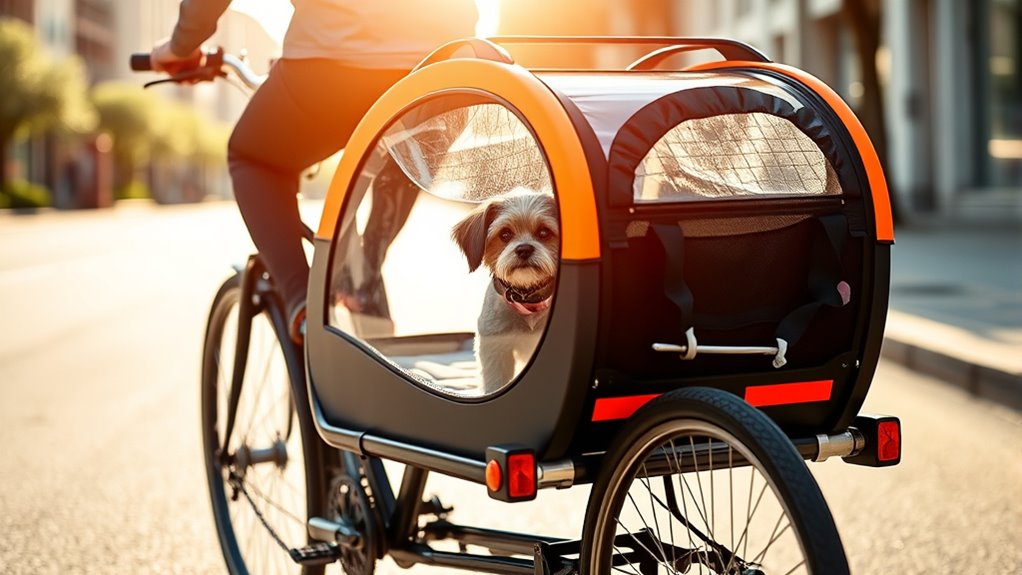
Ensuring safety and stability during transit hinges on proper weight distribution and secure setup. To achieve trailer stability, focus on positioning your pet to maximize tongue weight and prevent sway. Distribute the load so most weight rests on the trailer’s axle, reducing stress on your bike and improving handling. Place your pet ahead of the axle to increase tongue weight, which enhances control, or behind the axle to risk instability. Keep the trailer’s main weight on the wheels and axle for safety. Structural supports like cross braces and suspensions help maintain a level platform and minimize unwanted movement. Remember, maintaining correct tongue weight—about 10-15% of the total trailer weight—is crucial for safe, controlled towing and maneuverability.
- Proper weight distribution for stability
- Positioning pet for ideal tongue weight
- Using structural supports to reduce sway
- Maintaining correct tongue weight for safety
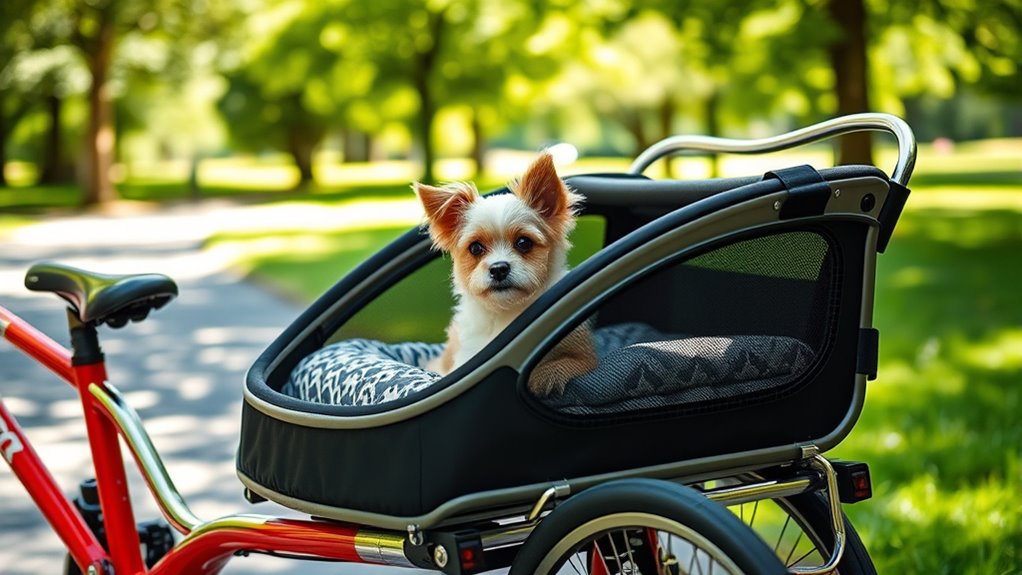
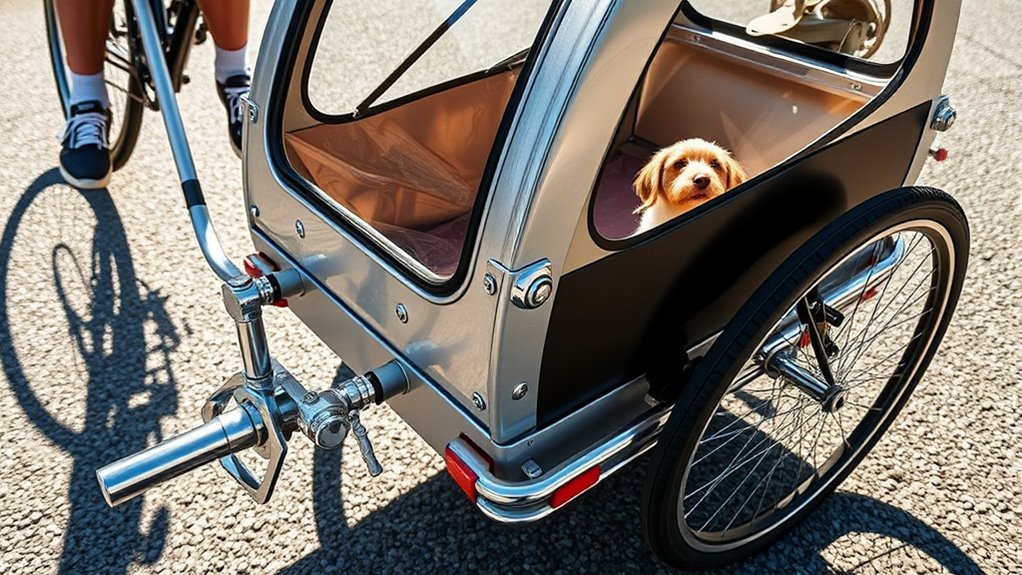
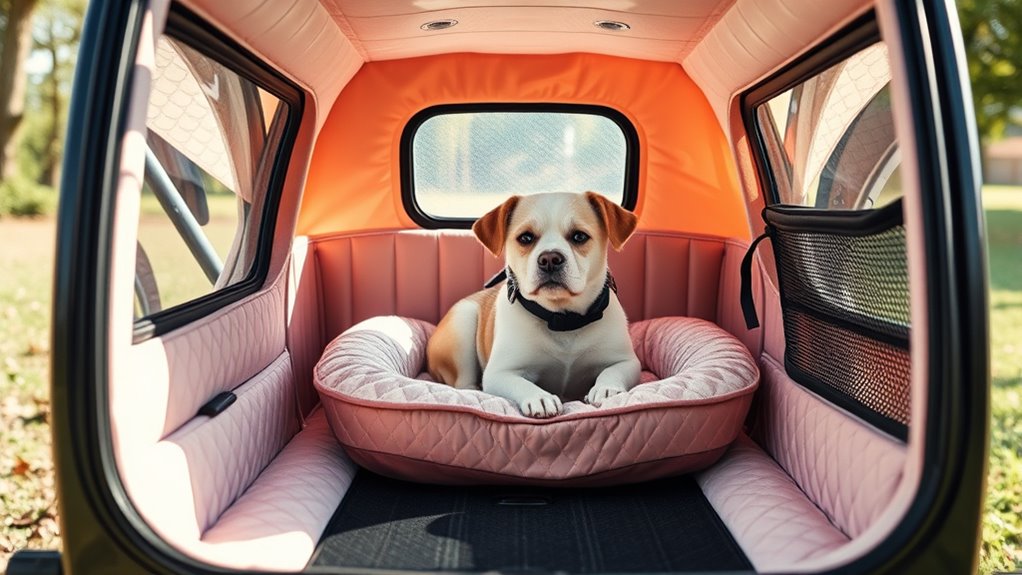
Customizing the Interior for Pet Comfort and Safety
To keep your pet comfortable and safe, focus on choosing soft, durable padding that reduces noise and cushions them during rides. You’ll also want to secure safety barriers, like removable crates or harness attachments, to prevent movement. Don’t forget to optimize airflow with side vents or windows, ensuring your pet stays cool and well-ventilated throughout the trip.
Choosing Comfortable Padding
Choosing the right padding for your bike-trailer pet carrier is essential to keep your pet comfortable and safe during travel. Using 4-inch thick foam padding provides plush cushioning, allowing your pet to sit or lie down comfortably. Cover the foam with durable, washable materials like water-resistant fabric or leatherette to ensure easy cleaning and added comfort. Consider adding removable, soft-lined mats that can be replaced or washed after each trip. To prevent injuries, incorporate additional padding around edges and corners, cushioning sudden bumps. Make sure the padding is securely attached, so it doesn’t shift during motion, maintaining consistent support and safety. Proper padding enhances your pet’s comfort and peace of mind during every ride.
Securing Safety Barriers
Have you considered how to keep your pet safe and secure inside the trailer? Installing safety barriers is essential for proper securement and pet protection. Use sturdy materials like steel mesh or reinforced fabric to create removable walls that prevent your pet from jumping or falling out during transit. Secure these barriers with quick-release fasteners or hooks, making them easy to remove for cleaning or adjustments. Position the barriers just above your pet’s back to provide maximum safety without blocking visibility or airflow. Incorporate harness attachment points within the barriers to keep your pet securely tethered, reducing movement risks. Properly installed safety barriers offer peace of mind, ensuring your pet remains protected and secure throughout your rides.
Optimizing Ventilation Flow
Ever wonder how to keep your pet comfortable and safe during transit? Optimizing ventilation flow is key. Start by installing mesh windows and screens, which provide continuous fresh air circulation while keeping insects out. Consider adding adjustable roof vents, like RF rooftop vents, to control airflow and prevent overheating. Exhaust fans wired to your trailer’s running lights actively expel warm air, especially on hot days. You can also cut strategic holes into the walls or roof to promote passive airflow, enhanced with fans or shades. Monitoring internal temperature with wireless thermometers or CO alarms helps guarantee a safe environment.
- Mesh windows for fresh air
- Adjustable roof vents
- Exhaust fans for active airflow
- Passive vents or holes for natural circulation
Final Assembly, Testing, and Fine-Tuning
As you begin the final assembly and testing phase, it’s essential to guarantee all structural modifications, like base plates and tie ribs, to make certain the trailer stays stable and can handle rough terrain. During the final assembly, secure all components tightly and double-check welds and fasteners. Conduct a thorough testing by taking a test ride with your dog inside, paying attention to weight distribution, trailer sway, and handling. Adjust the hitch connection, reposition the axle, or modify weight distribution if needed to improve stability. Test ventilation and temperature regulation features, ensuring the fan and skylight shading work effectively. Fine-tuning the interior setup by verifying the security of the crate, harnesses, and water supply guarantees safety and ease of access, completing your final assembly, testing, and fine-tuning process.
Frequently Asked Questions
Can I Put My Dog in a Bike Trailer?
Yes, you can put your dog in a bike trailer if it’s designed for pet transport. Make sure the trailer has proper ventilation, a secure harness attachment, and a stable, non-slip platform. Place your dog just in front of the axle for better balance. Always monitor your dog during the ride for signs of distress, and check the trailer’s safety features before each use to guarantee a safe, comfortable trip.
Can You Use a Bike Trailer as a Stroller?
Did you know that over 60% of bike trailers are designed to be easily converted into strollers? When you ask if you can use a bike trailer as a stroller, the answer is often yes. Many trailers come with compatible wheels and handles, making the switch simple. Just guarantee your model has adjustable or removable stroller wheels and that the frame and suspension support walking stability for safe, smooth rides.
How to Get a Dog Used to a Bike Trailer?
To get your dog used to a bike trailer, start by introducing it gradually. Let your dog explore the trailer with the door open, using treats and praise to create positive feelings. Place familiar items inside, then take short, slow trips around your yard or neighborhood. Keep your dog secure with a harness or leash, monitor their comfort, and reward them often to build confidence and make the experience enjoyable.
How Do You Attach a Pet Carrier to a Bike?
You attach a pet carrier to your bike by selecting a compatible hitch or trailer coupler designed for bike trailers. You guarantee a secure connection, verify the hitch’s weight rating, and use quick-release or locking systems for easy attachment and safety. You align the hitch properly with the bike’s axle or mounting point, then regularly inspect all parts for wear or damage to keep your pet safe and secure during rides.
Conclusion
By transforming your bike trailer into a custom pet carrier, you create a safe, comfortable space for your furry friend on every ride. Visualize your pet happily settled inside, protected from the elements yet well-ventilated, as you confidently pedal along. This DIY project proves that with a bit of effort and creativity, you can turn simple gear into a personalized, functional solution that keeps your pet safe and happy while making cycling adventures even more enjoyable.