
To do DIY bike fit checks, start by adjusting your saddle height so your heel touches the pedal at the bottom with your leg fully extended—there should be a slight bend in your knee when the ball of your foot is on the pedal. Then, check your saddle position for comfort and efficiency, and make certain your handlebar reach allows your elbows to bend comfortably while keeping your shoulders relaxed. Make small tweaks and test ride each time; if you keep fine-tuning, you’ll improve your comfort and performance.
Key Takeaways
- Check saddle height by sitting on the bike, heel on pedal, and ensuring the leg is fully extended without hip sway.
- Verify saddle position for proper power transfer and knee comfort, adjusting after initial setup.
- Ensure handlebar reach allows elbows to stay comfortably bent and shoulders relaxed.
- Test riding after each adjustment helps fine-tune fit for comfort and efficiency.
- Regularly review and modify your bike setup as your body or riding style changes over time.
Ever wondered if your bike fits just right? Getting your bike properly fitted can make all the difference in comfort, efficiency, and even preventing injuries. You don’t always need a professional bike fitter to get a solid sense of whether your setup works for you. With a few simple checks and adjustments, you can tune your bike to match your body and riding style.
Start with the saddle height. Sit on your bike and place your heel on the pedal, then pedal backward. Your leg should be fully extended at the bottom of the pedal stroke without your hips rocking or feeling strained. If your hips sway side to side, your saddle is too high. If your knee is excessively bent at the bottom, it’s too low. Adjust the saddle height so that when you place the ball of your foot on the pedal, your knee is slightly bent at the bottom of the stroke—around 25 to 35 degrees. This position ensures efficient power transfer and reduces strain on your knees. Remember, saddle height isn’t static; you might need to fine-tune it after a few rides. Proper saddle height is essential for optimal performance and comfort.
Adjust your saddle so your knee is slightly bent at the bottom of each pedal stroke for optimal comfort and efficiency.
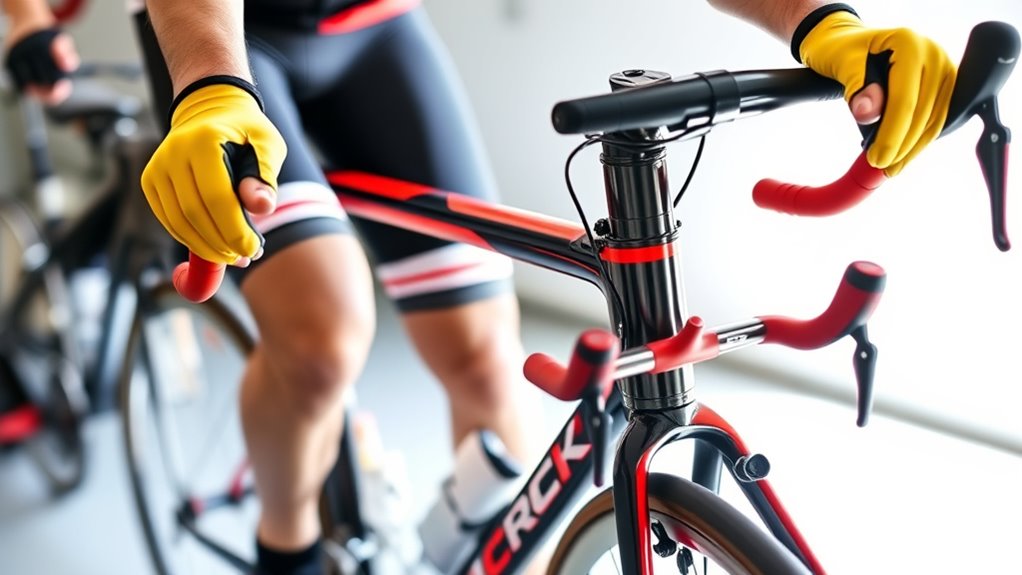
Next, take a look at the handlebar reach. When you’re on the bike, your arms should be comfortably bent at the elbows, with your shoulders relaxed. If you’re reaching too far forward, causing your back to arch or your shoulders to tense, the handlebar reach is too long. Conversely, if you feel cramped or your elbows are excessively bent, the reach is too short. Adjusting handlebar position can involve moving the stem or swapping out spacers to better align with your torso length. Proper handlebar reach helps you maintain a natural riding posture, reducing fatigue and discomfort over long distances.
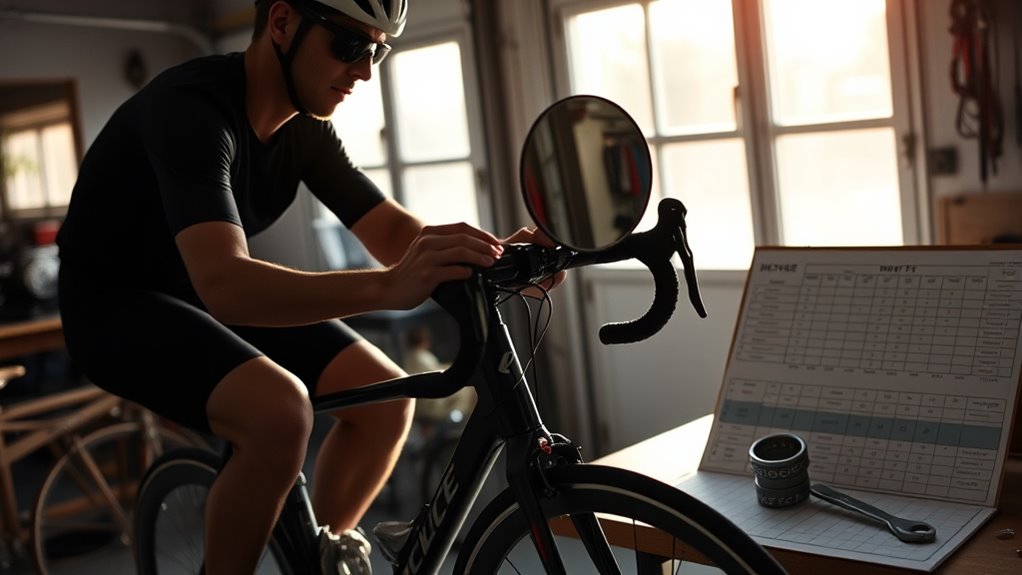
Both saddle height and handlebar reach are interconnected; small adjustments in one can impact your comfort and riding efficiency. It’s best to make incremental changes and test ride after each tweak. Keep in mind that your body changes over time, so periodic checks are a good idea. Also, consider your riding style—if you’re racing, a more aggressive, forward-leaning position might be appropriate, while a casual rider might prefer a more upright setup.
Frequently Asked Questions
How Often Should I Perform a Bike Fit Check?
You should perform a bike fit check every few months or whenever you notice changes in bike comfort or saddle height. Regular checks help guarantee your saddle height remains ideal, preventing discomfort and injury. If you experience pain, numbness, or decreased performance, it’s time for a quick reassessment. Staying proactive with your bike fit maintains comfort and efficiency, making every ride more enjoyable.
Can DIY Bike Fits Improve My Cycling Performance?
Yes, DIY bike fits can improve your cycling performance by enhancing bike comfort and reducing injury risk. When you fine-tune your bike setup, you’ll feel more efficient and less fatigued. Adjusting saddle height, handlebar position, and cleat alignment helps you stay comfortable on long rides, preventing injuries. Just be mindful to listen to your body and make gradual changes, so you get the most benefits without overdoing it.
What Tools Are Essential for a DIY Bike Fit?
Did you know that nearly 60% of cyclists experience discomfort because of improper bike fit? To perform a DIY bike fit, you’ll need essential tools like a tape measure, level, and adjustable wrenches. These bike fitting tools help you make precise adjustments using DIY adjustment techniques, ensuring your bike fits your body perfectly. With the right gear, you can enhance comfort and performance without professional help.
How Do I Know if My Bike Fit Is Correct?
You’ll know your bike fit is correct when your saddle height feels comfortable, allowing a slight bend in your knee at the bottom of the pedal stroke. Your handlebar position should keep your back at a comfortable angle, without straining your neck or shoulders. If you’re not reaching or stretching too much, and your hips stay stable, then your fit is likely right. Adjust as needed for comfort and efficiency.
When Should I Seek Professional Bike Fitting Assistance?
You should seek professional bike fitting assistance if you experience persistent pain, discomfort, or numbness during rides, as bike fit safety is vital. If your DIY efforts don’t resolve these issues or if you’re unsure about your setup, professional guidance can optimize comfort and performance. Don’t ignore warning signs—consulting a specialist ensures your bike fit is correct, reducing injury risk and enhancing your riding experience.
Conclusion
Now that you’ve done these DIY bike fit checks, you’ll likely notice improved comfort and performance on your rides. Did you know that proper bike fitting can boost power output by up to 15%? Just a few simple adjustments can make a huge difference in your cycling experience. Keep experimenting and fine-tuning your fit, and you’ll enjoy longer, more comfortable rides. Remember, a better fit means more fun and fewer aches—so stay proactive!