
To DIY fit your bike, start by measuring your inseam and adjust your saddle height to achieve 25-35° knee bend, then fine-tune the fore-aft position to align with your knee-over-pedal-spindle rule for comfort. Next, adjust handlebar height so your back remains straight with elbows bent, and tweak reach and width for better control. Effective adjustments involve body feedback and small tweaks—you’ll discover more tips to optimize your setup as you continue.
Key Takeaways
- Measure your inseam accurately and use formulas like LeMond or Hamley to set initial saddle height.
- Fine-tune saddle fore-aft position to align with knee-over-pedal-spindle (KOPS) for optimal efficiency.
- Adjust handlebar height to maintain a comfortable back and arm position, avoiding too low or high setups.
- Modify handlebar reach and width to improve posture and control, matching shoulder width and riding style.
- Use body feedback and video analysis to iteratively refine saddle and handlebar positions for comfort and efficiency.
Assessing and Setting Your Saddle Height

Setting your saddle height accurately is essential for a comfortable and efficient ride. First, measure your inseam in millimeters using the wall-book method: press a book into your crotch while standing barefoot with feet shoulder-width apart, mark the wall, then measure to the floor. Use this measurement in common formulas like the LeMond method—multiply inseam by 0.883—or the Hamley method—multiply by 1.09—to find your saddle height. Remember, static formulas are helpful but can be off; validating with dynamic knee angle checks (aim for 25-35° flexion at the bottom of the pedal stroke) is better. Proper saddle height not only improves comfort but also influences your overall cycling efficiency. Adjust the saddle in 2-3mm increments, then test ride to ensure your hips don’t rock and your knees are comfortable. Proper height prevents discomfort and improves pedaling efficiency. Incorporating sound science into your adjustments can also help optimize your riding position and reduce strain, especially considering factors like ergonomic alignment. Additionally, using tools like real-time feedback can help fine-tune your setup for maximum comfort and performance.
A thorough understanding of biomechanics can further aid in customizing your bike fit for better comfort and injury prevention.
Positioning Your Saddle Fore and Aft for Comfort and Efficiency
After determining your saddle height, fine-tuning its fore-aft position can substantially boost comfort and pedaling efficiency. Moving the saddle back or forward redistributes your weight across the saddle and handlebars, improving balance and power. Incorporating grocery savings strategies into your routine can help you afford higher-quality cycling gear and accessories. The KOPS rule offers a practical starting point by aligning your knee over the pedal spindle—though it’s not perfect, it helps establish a baseline. Adjusting the saddle aft can enhance core engagement and reduce pressure on your hands, especially on long rides. Remember the 3:1 ratio: for every 3mm you move the saddle up, it shifts about 1mm aft. Experiment with small changes, and consider tools like the heel method or video analysis to refine your positioning. Proper fore-aft adjustment aligns your body for maximum efficiency and comfort. Additionally, considering the Water Parks in your area can provide a refreshing break after long rides, making your cycling routine more enjoyable.
Adjusting Handlebar Height for Proper Posture
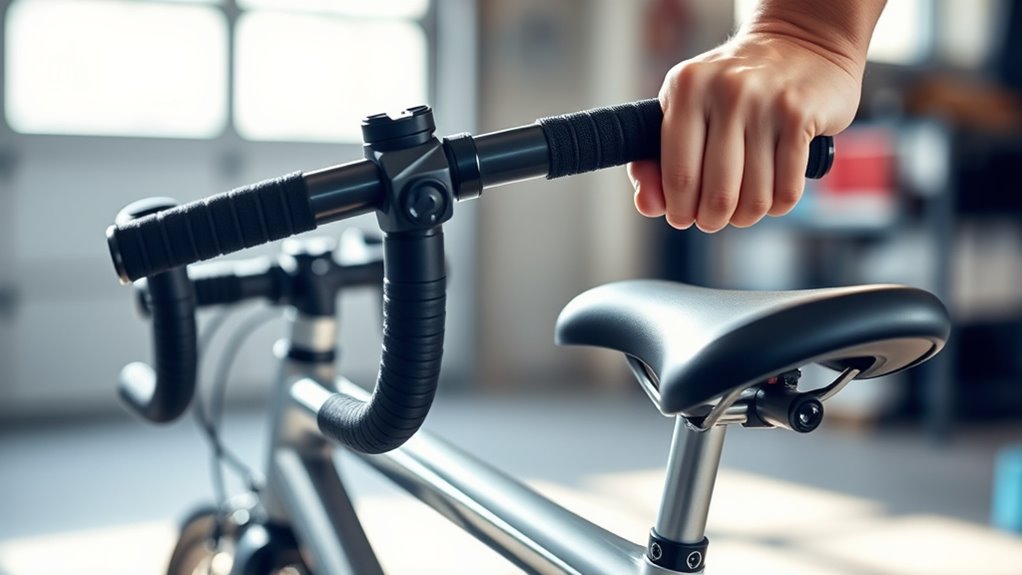
Adjusting your handlebar height is essential for maintaining proper posture and riding comfort. The right height allows you to keep your back straight with a slight bend in your elbows, reducing strain on your shoulders and neck. A well-adjusted handlebar position can also improve your vehicle’s handling and control, making your rides safer and more enjoyable. Use spacers and stem adjustments to find the ideal position—testing different heights during rides helps guarantee long-term comfort. Avoid handlebars that are too low, which can lock elbows and cause discomfort, or too high, which may make you prop yourself up and retract your scapulas. Proper handlebar height improves control, stability, and reduces the risk of injuries like back pain or wrist numbness. Remember, the perfect height varies based on your body type, bike style, and personal preference, so fine-tuning is key. Additionally, understanding health implications related to bike fitting can help prevent fatigue and musculoskeletal issues. Ensuring your handlebar setup aligns with ergonomic principles can also help mitigate AI-driven safety concerns by reducing strain and promoting proper posture during long rides.
Fine-tuning Handlebar Reach and Width for Control and Comfort
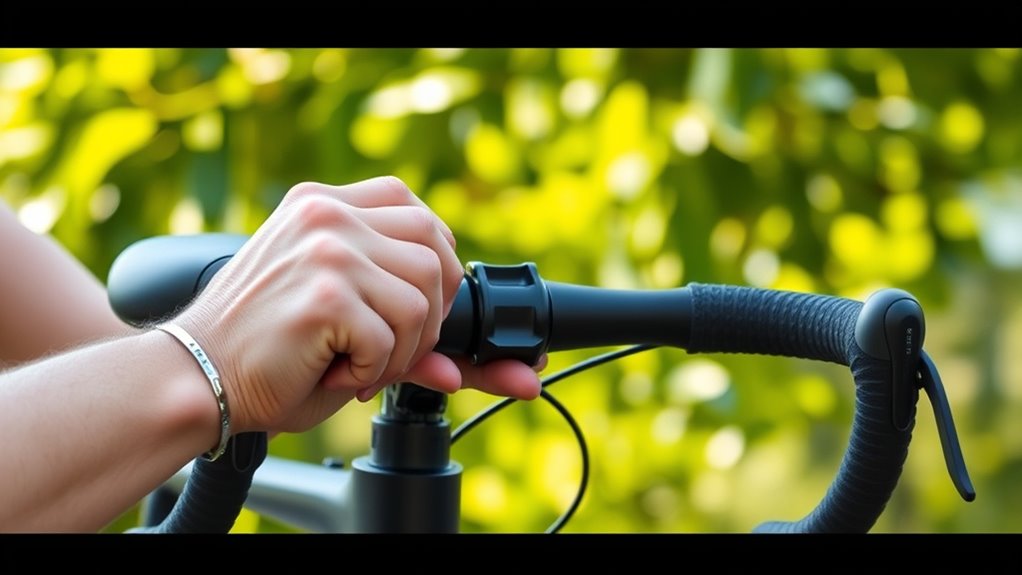
Fine-tuning your handlebar reach and width is essential for enhancing control and ensuring comfort during your ride. Reach is the distance between the stem and the controls, affecting your posture and pedaling efficiency. You can adjust reach by changing the stem length, handlebar type, or brake lever position. Proper reach prevents discomfort and fatigue.
Handlebar width also plays a role; narrower bars reduce reach, while wider bars increase it. Match handlebar width to your shoulder width for comfort, but consider your cycling style. Adjusting both reach and width may require stem swaps or handlebar changes.
Balancing these adjustments helps you find a natural, comfortable riding position that improves control and reduces strain. Remember, small tweaks can make a significant difference in your riding experience.
Correcting Cleat Placement for Optimal Pedal Power

Proper cleat placement directly impacts your pedaling efficiency and comfort, making it an essential step in customizing your bike fit. You want to align the center of the pedal axis with the ball of your foot to maximize power transfer.
Adjust fore-aft position carefully—placing the cleat too far forward can cause instability, while too far back reduces efficiency.
Lateral adjustment ensures your stance is correct, preventing knee or ankle strain.
Check your cleat rotation and float to allow natural foot movement and reduce joint stress.
Remember, different cleat systems (3-bolt or 2-bolt) have specific adjustment methods.
Using tools like a straightedge helps position the cleat accurately.
Proper placement minimizes discomfort, improves pedal stability, and boosts power, making your ride smoother and more efficient.
Verifying Fit Through Pedal Stroke and Body Feedback

Verifying your bike fit through pedal stroke and body feedback is essential for guaranteeing efficiency and comfort on the road. Use video recordings to visually assess hip, knee, and ankle alignment during rotation.
Check for knee angles between 25-35° at the bottom of the pedal stroke, and watch for dead spots at 12 and 6 o’clock to identify upper-body instability or excessive lean.
Observe hamstring engagement during the pedal’s bottom phase to ensure balanced weight transfer.
Overlap your foot with the crank arm to detect knee-over-pedal spindle misalignment.
Pay attention to weight distribution—excessive hand pressure or locked elbows indicate saddle or handlebar issues.
Pelvic rocking, core tension, and pedal smoothness also reveal whether your position promotes efficient, pain-free cycling.
Making Iterative Adjustments for a Personalized Riding Setup
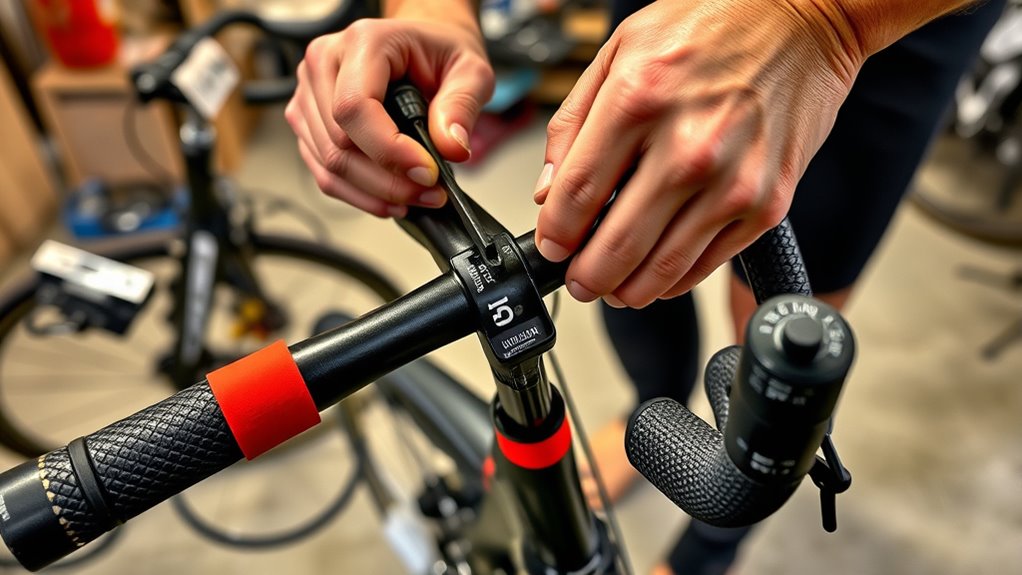
Adjusting your bike setup is an iterative process that guarantees a personalized fit, starting with saddle modifications before moving on to handlebar adjustments.
Begin by setting your saddle height—place your heel on the pedal at its lowest point to ensure a slight knee bend. Make small vertical (2-3mm) and fore/aft adjustments, monitoring body angles via video or tools. Fine-tune the saddle tilt to prevent sliding or pressure issues, then reassess.
Move on to handlebar adjustments—alter stem length by 10-20mm or change handlebar height based on flexibility and riding style. Since these adjustments affect each other, expect to repeat the cycle, making micro-changes until reach and comfort are ideal.
Wait at least three weeks after final tweaks to evaluate your new setup thoroughly.
Frequently Asked Questions
How Do I Know if My Saddle Height Is Too High or Low?
To tell if your saddle height is too high or low, pay attention to your comfort and form. If your knees feel strain or you experience lower back pain, adjust the saddle.
When your heels touch the pedals with your leg fully extended, it’s likely correct. Also, check if your kneecap is aligned over the pedal spindle.
Slight heel clearance and a comfortable leg extension indicate proper saddle height.
What Signs Indicate My Handlebar Position Causes Discomfort?
If your handlebar position causes discomfort, you’ll notice strain in your shoulders, neck, or upper back. This often results from reaching too far or hunching forward.
You might experience numbness or tingling in your hands, or feel wrist pain from hyperextension.
Additionally, you could feel fatigue or shakiness during rides, or notice poor steering control.
These signs suggest your handlebar setup isn’t right and needs adjusting to improve comfort and riding efficiency.
How Can I Tell if Cleat Placement Is Correct?
So, you’re wondering if your cleat placement is spot-on? Well, if your knees aren’t screaming for mercy, your ankles aren’t doing the hokey pokey, and your toes aren’t trying to escape the shoe, you’re probably on the right track.
Check if your cleats align with your foot’s natural position, especially the metatarsal joint. If it feels comfortable and pedals feel smooth, congratulations — you’ve nailed it!
What Adjustments Should I Make for Different Riding Styles?
When adjusting for different riding styles, you should tailor your bike setup to match your needs.
For road riding, focus on precise saddle fore/aft and handlebar reach for efficiency.
Mountain biking requires lowered saddles and wider handlebars for control.
Touring bikes benefit from raised handlebars and rearward saddle positions for comfort.
Casual riding needs lower saddle heights and more upright handlebars.
Bikepacking involves adjustments for long-distance comfort and gear access.
How Often Should I Revisit My Bike Fit for Optimal Comfort?
Your bike fit is the secret weapon to riding comfortably, so don’t overlook it! You should revisit your bike fit at least once a year or whenever you notice discomfort, pain, or changes in your riding routine.
Significant life events like injuries, weight changes, or new terrain also call for reassessment. Regular checks ensure your ride stays smooth, efficient, and pain-free, no matter how often or far you ride.
Conclusion
Once you’ve fine-tuned your saddle and handlebars, your bike should feel like an extension of your body. Remember, a perfect fit isn’t just about comfort — it’s about efficiency and injury prevention. Are you willing to settle for discomfort or subpar performance? Keep adjusting and listening to your body’s signals, and you’ll enjoy a smoother, more enjoyable ride every time. Your ideal setup is within reach — don’t stop until it feels just right.