To get the best performance from your dropper post, start by selecting a compatible model suited to your riding style and frame. Properly measure your inseam and saddle height for a comfortable fit, then set travel based on terrain—longer for descents, shorter for climbs. Adjust sag for comfort and tweak rebound for responsiveness. Make sure lines are routed cleanly to prevent issues, and regularly maintain your post to keep it smooth. If you keep these tips in mind, you’ll unveil smoother drops and climbs.
Key Takeaways
- Measure inseam accurately and set saddle height with a slight bend in the knee for optimal comfort and power transfer.
- Ensure dropper post compatibility with your frame’s diameter, routing options, and travel length before installation.
- Adjust sag to about 20-30% of total travel for a balanced ride, and fine-tune suspension rebound for smooth operation.
- Route hydraulic or cable lines cleanly, avoiding sharp bends or pinches, to prevent operational issues.
- Regularly test, clean, and fine-tune your dropper post’s responsiveness and pressure for consistent, reliable performance.

Schwinn Sporterra RX Gravel Bike, 700c Mens and Womens Bike, 14-Speed Drop Bar Gravel Bicycle, Mechanical Disc Brakes, Rigid Fork, Aerodynamic Riding Position, Quick Release Seat Post, Adult Bicycle
GRAVEL BICYCLE: Enjoy next level riding with the Sporterra RX by Schwinn. With 700c wheels, this mens and...
As an affiliate, we earn on qualifying purchases.
Selecting the Right Dropper Post for Your Bike
Choosing the right dropper post starts with understanding your bike’s intended riding style and frame compatibility. When selecting, consider the dropper post materials—aluminum offers durability and affordability, while carbon fiber provides lightweight performance but at a higher cost. Brand comparisons help you weigh factors like reliability, warranty, and ease of installation. Some brands prioritize smooth actuation, others focus on lightweight designs or budget-friendly options. Make sure your chosen post fits your frame’s diameter and travel needs. Compatibility is essential to avoid issues with mounting and operation. Additionally, understanding frame compatibility and how it affects dropper post performance can help you make an informed decision. By evaluating dropper post materials and comparing brands, you guarantee your upgrade enhances your ride’s comfort and performance, whether you’re hitting technical trails or commuting. Proper selection sets the foundation for a seamless, enjoyable riding experience.

SAVADECK T800 Carbon Gravel Bike, with Shimano GRX610 12-Speed, Hydraulic Disc Brakes, 700x40c Tires for Road & Off-Road Adventure, Men's/Women's Bicycle(Elegant White, 51cm)
【With SHIMANO GRX Drivetrain Setup】Equipped with SHIMANO GRX610 shifters and RX822 rear derailleur, matched with a 12-speed M6100...
As an affiliate, we earn on qualifying purchases.
Correctly Measuring Your Inseam and Saddle Height
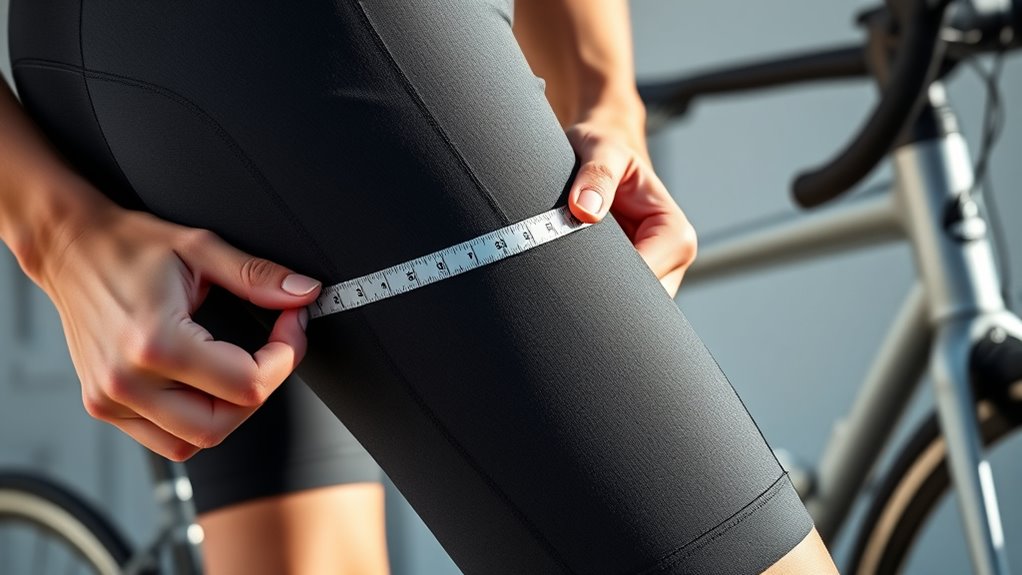
To make certain your dropper post is set up correctly, you need to accurately measure your inseam and saddle height. Start with your inseam measurement by standing barefoot against a wall, placing a book between your legs, and noting the distance from the floor to the top of the book. This gives you your inseam length. Next, determine your saddle height by subtracting about 10-12 cm from your inseam measurement, or use a professional fitting for precision. Adjust your saddle so that when you’re seated, your leg remains slightly bent at the bottom of the pedal stroke. Proper saddle height and inseam measurement guarantee your dropper post is set for ideal comfort, control, and power transfer during rides. Additionally, understanding your retirement planning options can help ensure long-term financial stability beyond cycling.
WTB Riddler Gravel Bike Tire (700 x 37) Tubeless Folding - Light & Fast Rolling - Bikepacking (Black)
SUBSTANTIAL CORNERING KNOBS meet a low-profile center tread, making the Riddler an excellent choice for gravel grinding or...
As an affiliate, we earn on qualifying purchases.
Setting the Optimal Dropper Post Travel Range

To set the right dropper post travel range, you need to contemplate your riding style and how much movement you require. Make sure your bike’s frame can handle the travel you choose to avoid issues. Find a balance between comfort and control so you can confidently handle varying terrain. Considering different Kia Tuning options can inspire ideas for customizing your bike’s performance and aesthetics to better suit your riding preferences.
Measure Your Riding Style
Understanding your riding style is essential for setting the most suitable dropper post travel range. Your riding terrain and cycling goals directly influence how much drop you need. If you focus on technical descents or downhill trails, you’ll want a longer travel to maximize stability and control. Conversely, if your rides involve more climbing or flat terrain, a shorter dropper may suffice, keeping weight and complexity lower. Consider how often and how aggressively you need to lower your saddle during rides. Observe your typical riding patterns, and think about your comfort and confidence levels when descending or *steering* technical sections. By analyzing your riding terrain and goals, you can accurately determine the *best* travel range that enhances your performance without overcomplicating your setup.
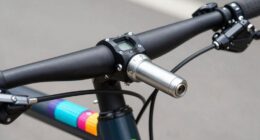
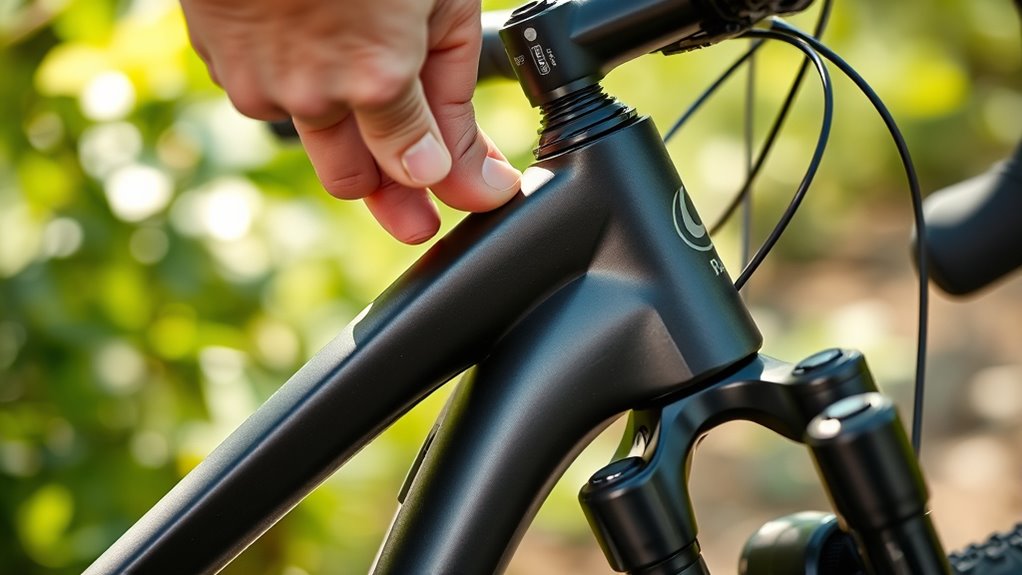
Consider Frame Compatibility
Ensuring your dropper post is compatible with your bike frame is essential for achieving the right travel range. Frame compatibility depends on your bike’s geometry, head tube diameter, and internal routing options. Check your frame’s specifications to confirm it can accommodate the dropper post’s diameter and travel length. Material considerations also matter; lightweight carbon frames may require specific post types, while aluminum frames often offer more flexibility. Some frames have internal cable routing, which influences the compatibility of mechanical or electronic dropper posts. Always verify your frame’s standards before purchasing to avoid fit issues or installation problems. Proper compatibility ensures smooth operation and prevents damage, helping you get the most out of your dropper post’s travel and overall riding experience. Additionally, understanding the Eye Patch benefits can be useful for riders who want to maintain their eye health during long rides or travel, ensuring comfort and focus on your cycling adventures.
Balance Comfort and Control
Choosing the right dropper post travel range directly impacts how comfortably and confidently you can ride. If the travel is too short, you won’t achieve ideal aerodynamic positioning on descents, reducing control. Conversely, excessive travel can make it harder to find a balanced position that suits your frame geometry. To strike the right balance, consider your riding style and typical terrain. A well-adjusted dropper lets you lower your saddle for technical sections while maintaining enough height for pedaling efficiency. This ensures you stay in control without sacrificing comfort. Remember, the suitable travel varies based on your bike’s frame geometry and your personal preferences, helping you seamlessly switch between aggressive and relaxed riding positions. Additionally, understanding the contrast ratio of your components can enhance your overall riding experience by improving visual clarity and safety.

MaxxHaul Platform Bike Rack for 2 Bikes - Hitch Mounted Tray Carrier for SUV, Van, & Truck - Adjustable Tire Cradles & Foam Padded Hooks - Fits 2" Class III & IV Hitches (50027)
[Enhanced Durability]: Built to last, this hitch adapter fits standard 2" hitch receivers. It features robust construction and...
As an affiliate, we earn on qualifying purchases.
Adjusting the Post’s Sag for Comfort and Control
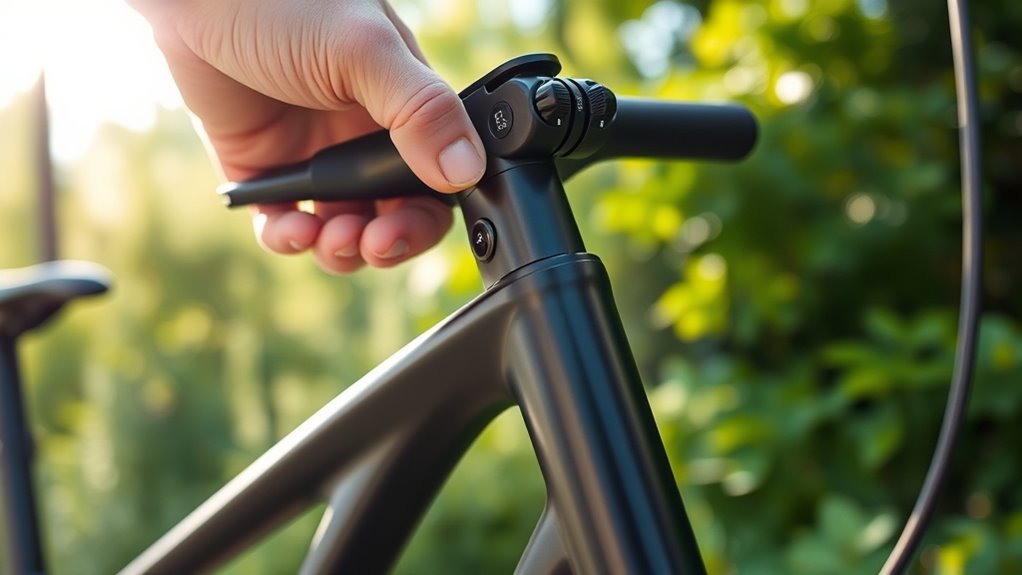
Have you ever struggled to find the right amount of suspension travel on your dropper post? Adjusting the post’s sag is key to comfort and control. Start by setting your seat height to a comfortable level, then sit on your bike with your hands on the handlebars. Drop the post completely, then slowly sit down, allowing the suspension to compress naturally. The ideal sag is around 20-30% of your total travel—meaning the post should compress slightly under your weight. If you notice your handlebar position changing or feeling unstable, tweak the sag until your seat feels supported but not rigid. Proper sag guarantees smoother rides and better handling, especially on technical trails or steep descents. Additionally, understanding suspension setup can help you tailor your bike’s performance for different terrains and riding styles.
Fine-Tuning the Rebound and Return Speed
To get the most control from your dropper post, you need to fine-tune the rebound damping and return speed. Adjusting these settings helps your seat move smoothly and quickly back into position after you activate it. Small tweaks can make a big difference in how confidently you ride. For optimal performance, ensure your bicycle’s suspension components are regularly inspected and maintained.
Adjusting Rebound Damping
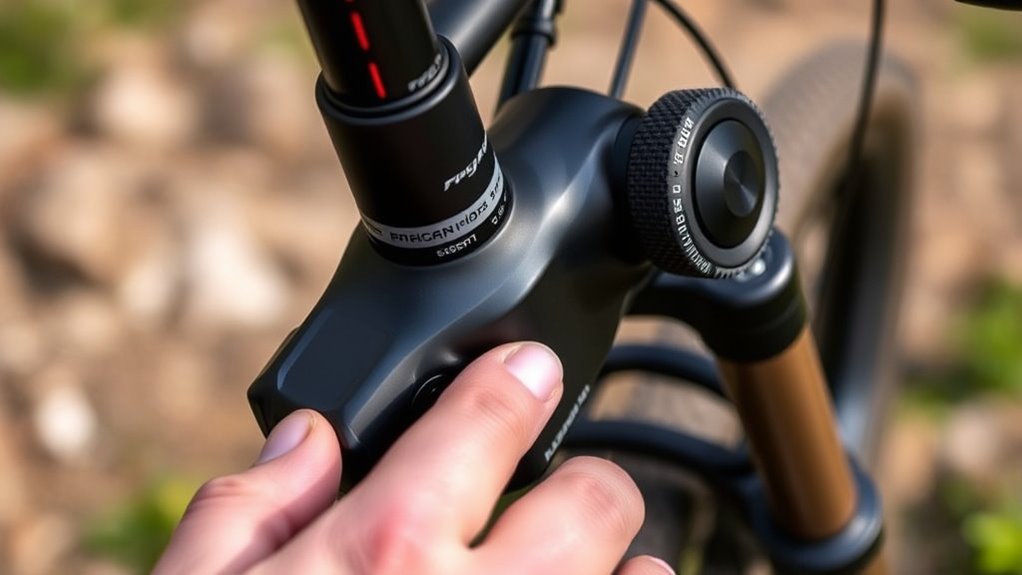
Adjusting the rebound damping guarantees your dropper post returns smoothly and quickly without bouncing or feeling sluggish. Start by fine-tuning this setting through suspension tuning to match your riding style and terrain. If your post returns too fast, it can feel jarring; too slow, and it delays your ride. To get it right, turn the rebound knob gradually while cycling on varied terrain. Keep in mind that shock pressure also impacts rebound performance—if your suspension is over-pressurized, rebound may feel sluggish regardless of damping adjustments. Experiment with small changes until the post returns promptly but smoothly, avoiding any bouncing or hesitation. Proper rebound damping ensures consistent, controlled dropper post operation, improving your ride’s comfort and responsiveness.
Optimizing Return Speed
Fine-tuning the return speed of your dropper post guarantees it moves smoothly and efficiently without feeling abrupt or sluggish. Start by adjusting the rebound so the post returns at a controlled pace, matching your riding style and terrain. If it’s too quick, it can feel jarring; too slow, and you might struggle to quickly get back into riding position. Your seat height influences how comfortably you can shift your weight, so ensure the post’s return complements your setup. Also, consider your handlebar reach—if it’s too extended or short, it affects your control and comfort when dropping or raising the post. Properly optimizing return speed ensures quick, controlled adjustments, enhancing your overall riding experience and maintaining proper ergonomics. Support hours from service providers can impact how quickly you get assistance if you encounter issues with your equipment.
Ensuring Proper Cable or Hydraulic Line Routing

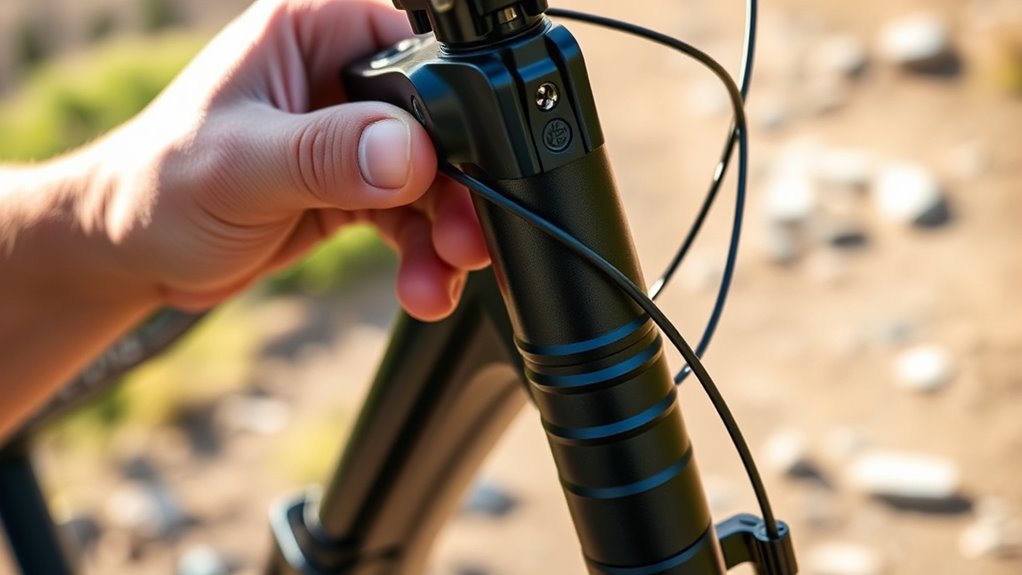
Proper cable or hydraulic line routing is essential for smooth, reliable dropper post operation. Good cable management prevents kinks, pinches, and unnecessary friction that can cause sticking or sluggish movement. When installing, ensure the cables or hydraulic lines follow a clean, direct path, avoiding sharp bends or tight curves. Use appropriate guides or clamps to keep lines secured along the frame, preventing movement that could lead to wear or damage. For hydraulic lines, double-check that the routing doesn’t compress or bend excessively, which could impair fluid flow. Proper hydraulic line routing also helps maintain consistent pressure and response. Take your time during setup to route everything neatly, avoiding unnecessary bends, kinks, or contact points. Clear, well-managed cables and hydraulic lines contribute considerably to your dropper post’s long-term performance and reliability. Additionally, understanding the importance of proper routing can help prevent common issues like leaks or inconsistent actuation.
Testing and Troubleshooting Common Issues

Before riding, it’s important to test your dropper post to make certain it operates smoothly and responds correctly. Check that the post fully extends and retracts without delay or sticking. If it feels sluggish, adjusting the air pressure might improve responsiveness. Low air pressure can cause the post to bottom out or feel soft, reducing pedal efficiency. If the post doesn’t hold its position, inspect for leaks or air loss. Regularly maintaining your dropper post can prevent common issues and extend its lifespan.
- Verify air pressure matches manufacturer recommendations
- Ensure remote lever activates the post reliably
- Check for leaks or damage in the hydraulic line or air chamber
- Test the post’s response at different heights and riding positions
Troubleshooting these issues helps optimize pedal efficiency and ensures reliable performance on every ride.
Regular Maintenance and Keeping Your Dropper Post Smooth
Regular maintenance is essential to keep your dropper post operating smoothly and reliably. Start by performing regular lube maintenance to prevent sticking and ensure smooth movement. Clean the stanchion and post thoroughly, removing dirt and debris that can cause friction. Apply a suitable lubricant to the post’s inner components, avoiding over-lubrication that can attract dirt. Adjustment techniques are also crucial; periodically check and fine-tune the dropper’s height and responsiveness to guarantee it functions at its best. If you notice any sluggishness or irregular movement, revisit your lube routine and make small adjustments to the cable tension or air pressure. Consistent upkeep will extend the life of your dropper post and keep your rides comfortable and confident, no matter the terrain.
Frequently Asked Questions
How Often Should I Service My Dropper Post for Optimal Performance?
You should service your dropper post every 3 to 6 months, depending on usage and riding conditions. Follow a regular maintenance schedule that includes cleaning, inspecting for leaks, and lubricating the stanchion. Troubleshooting tips include checking for smooth operation and addressing any sticking or squeaking promptly. Keeping up with maintenance keeps your dropper post functioning effectively, extending its lifespan, and ensuring reliable performance whenever you need it.
Can I Install a Dropper Post on Any Bike Frame?
You can’t install a dropper post on any bike frame without checking bike compatibility. Most modern mountain bikes are compatible, but older frames or certain designs may require frame modifications like internal routing or additional mounts. Before attempting installation, verify your bike’s frame diameter, seat tube, and compatibility with the dropper post’s specifications. If unsure, consult your bike manufacturer or a professional bike shop to avoid damaging your bike.
What Signs Indicate My Dropper Post Needs Replacement?
You’ll know your dropper post needs replacement if you notice post leakage or uneven extension. Leakage indicates seals are failing, causing fluid loss and poor performance. If the post extends unevenly or gets stuck, it’s a sign internal components are worn out. Don’t overlook these signs; replacing your post ensures smooth operation and safety. Regular inspections help catch issues early, preventing ride disruptions and costly repairs down the line.
How Does Weather Affect the Performance of Hydraulic Dropper Posts?
Weather worsens hydraulic dropper post performance through water ingress and temperature effects. When rain or humidity hit, water can seep into the hydraulic system, causing sluggish or stuck posts. Cold temperatures make the oil thick, delaying retraction and extension. You’ll notice less reliable rises and drops, so always keep an eye on weather conditions. Regular maintenance and sealing can help keep your post performing perfectly, rain or shine.
Is It Necessary to Lubricate the Post’s Moving Parts Regularly?
Yes, you should regularly lubricate the post’s moving parts to guarantee smooth operation. Proper lubrication maintenance prevents rust, reduces wear, and keeps your dropper post functioning reliably. Applying the right lubricant helps maintain post longevity, saving you from costly repairs or replacements. Make sure to clean the post thoroughly before lubricating, and avoid over-applying, so dirt and debris don’t accumulate. Regular upkeep keeps your dropper post performing at its best.
Conclusion
Now that you know the essential tips, you’ll ride more confidently with your dropper post performing at its best. Did you know that properly set-up dropper posts can improve rider stability and reduce fatigue by up to 20%? Regular maintenance and tweaks guarantee smooth operation and longer lifespan. Keep these tips in mind, and you’ll enjoy safer, more comfortable rides every time. Happy riding!