
To build your own bike, you need essential hand tools like Allen wrenches, screwdrivers, and pliers, along with specialized tools such as a torque wrench for precise tightening. Make certain you have a stable workspace, good lighting, and organized storage. Properly torque bolts, especially on carbon parts, and guarantee wheel truing and brake adjustments are accurate. Keep safety and quality checks in mind—if you keep exploring, you’ll be well on your way to a successful build.
Key Takeaways
- Use a comprehensive set of hand tools like Allen wrenches, open-end wrenches, and screwdrivers for precise assembly.
- Apply a torque wrench for accurate tightening, especially on carbon components, to prevent damage.
- Inspect and true wheels regularly, checking spoke tension and ensuring quick-release levers are secure.
- Follow manufacturer torque specifications and lubricate threads to ensure safe, proper assembly.
- Conduct thorough brake, frame, and accessory inspections before riding for safety and optimal performance.

Schwinn Sporterra RX Gravel Bike, 700c Mens and Womens Bike, 14-Speed Drop Bar Gravel Bicycle, Mechanical Disc Brakes, Rigid Fork, Aerodynamic Riding Position, Quick Release Seat Post, Adult Bicycle
GRAVEL BICYCLE: Enjoy next level riding with the Sporterra RX by Schwinn. With 700c wheels, this mens and...
As an affiliate, we earn on qualifying purchases.
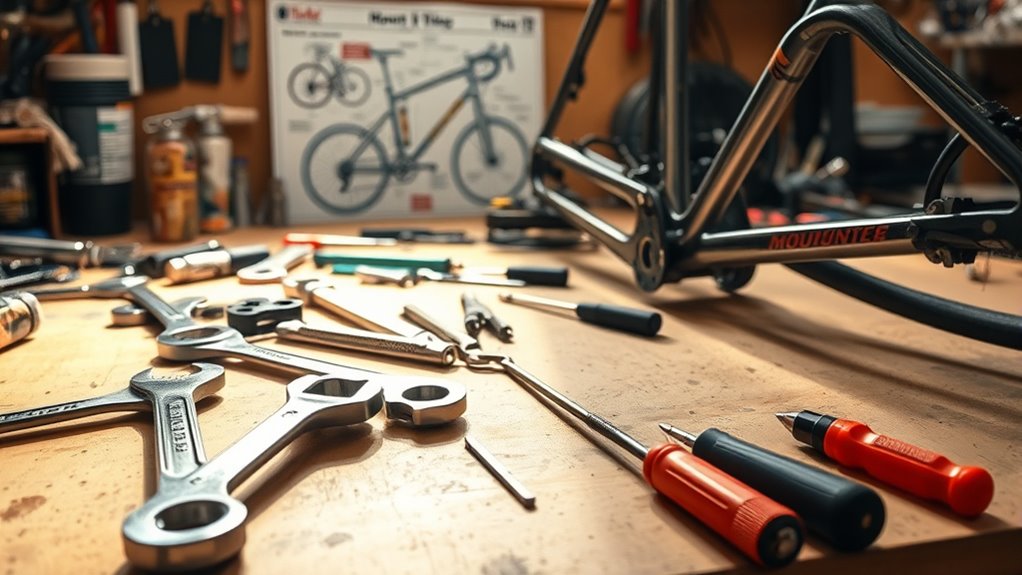
Basic Hand Tools Every Bike Builder Needs
When building or maintaining a bike, having the right basic hand tools makes the job much easier and more efficient. Start with an Allen wrench set, ranging from 2-12mm, to handle various bolt and screw adjustments. Open-end wrenches between 6-17mm are essential for gripping and turning bolts.
Pliers and wire cutters help you grip small parts and cut cables cleanly. A chain tool and lubricant keep your chain running smoothly. Keep clean rags on hand for wiping down parts during maintenance.
You’ll also need a pedal wrench for installing or removing pedals, cone wrenches for hub adjustments, and Philips screwdrivers for different screws. Investing in durable tools guarantees they’ll last longer and perform better.
Organize your tools to save time and make future repairs quicker. Understanding industry trends can help you select the most versatile tools for your bike maintenance needs. Additionally, incorporating sound science principles into your toolkit, such as using vibration-dampening grips, can improve comfort and efficiency while working. Recognizing visionary insights from experienced bike builders can also inspire innovative techniques and solutions in your projects. A well-rounded toolkit with proper tools and knowledge is key to successful bike maintenance. Moreover, staying informed about growing trends in bike technology can help you adapt your tools and techniques to new innovations.

SAVADECK T800 Carbon Gravel Bike, with Shimano GRX610 12-Speed, Hydraulic Disc Brakes, 700x40c Tires for Road & Off-Road Adventure, Men's/Women's Bicycle(Elegant White, 51cm)
【With SHIMANO GRX Drivetrain Setup】Equipped with SHIMANO GRX610 shifters and RX822 rear derailleur, matched with a 12-speed M6100...
As an affiliate, we earn on qualifying purchases.
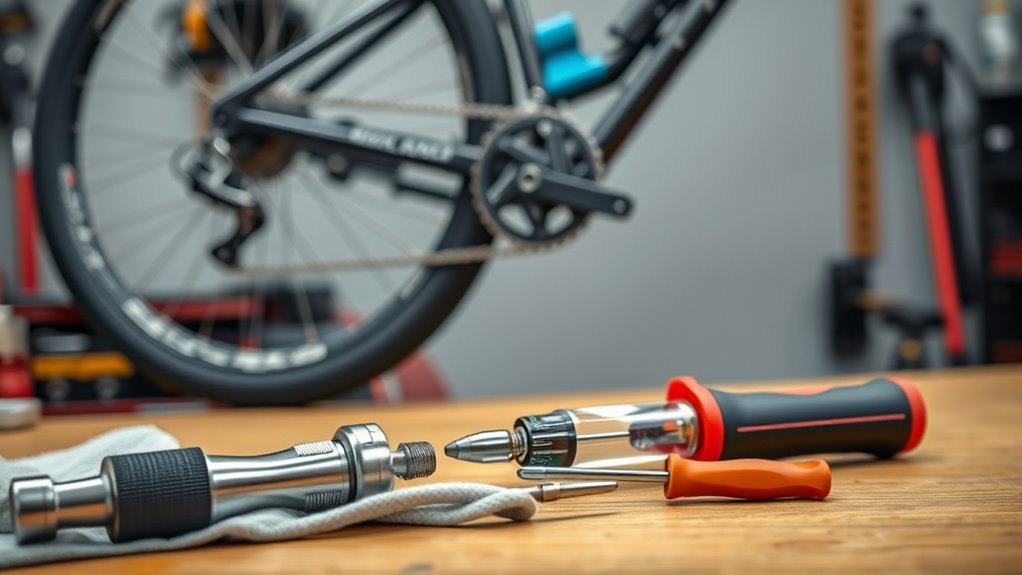
Specialized Tools for Frame and Component Assembly
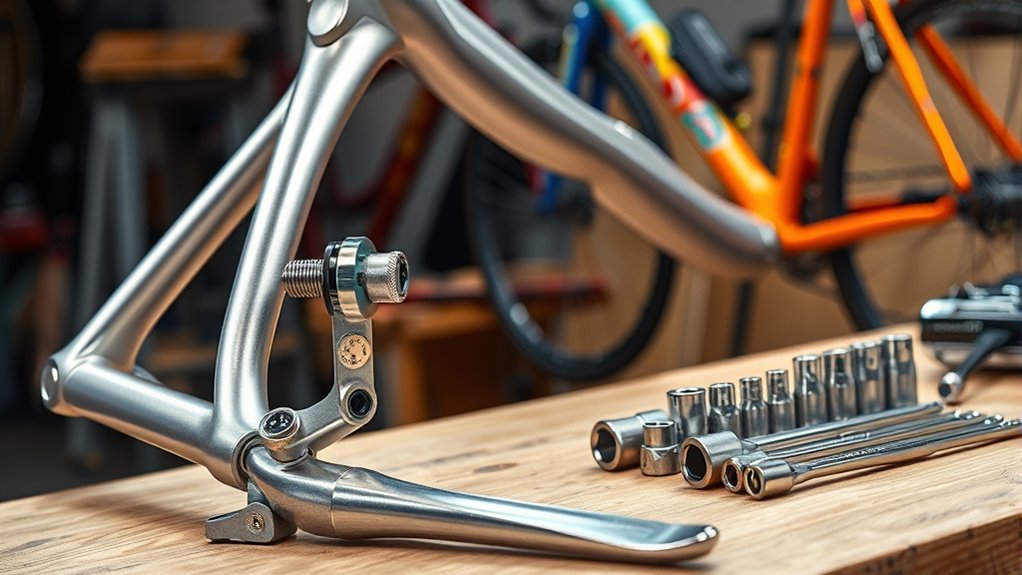
Building a bike requires more than just basic hand tools; it also calls for specialized tools tailored to frame and component assembly. A torque wrench is essential for tightening bolts to the correct specs, preventing damage and ensuring safety. Using a high-quality torque wrench ensures precise torque application, which is crucial for maintaining the integrity of your bike’s components. Proper torque application is especially important when working with carbon frames, as over-tightening can cause damage. Apply carbon paste to the seatpost to reduce slipping in carbon frames. Use spacers and adapters to fit components like calipers and wheels properly. These specialized tools help you assemble your bike accurately, avoid damage, and achieve a professional finish. Investing in them makes the process smoother and guarantees your bike’s components are correctly installed for optimal performance and safety.

Swagman Standard Fork Mount Rooftop Bike Carrier
EASY TO ASSEMBLE: The STANDARD is easy to assemble with no tools required, sets up in just minutes...
As an affiliate, we earn on qualifying purchases.
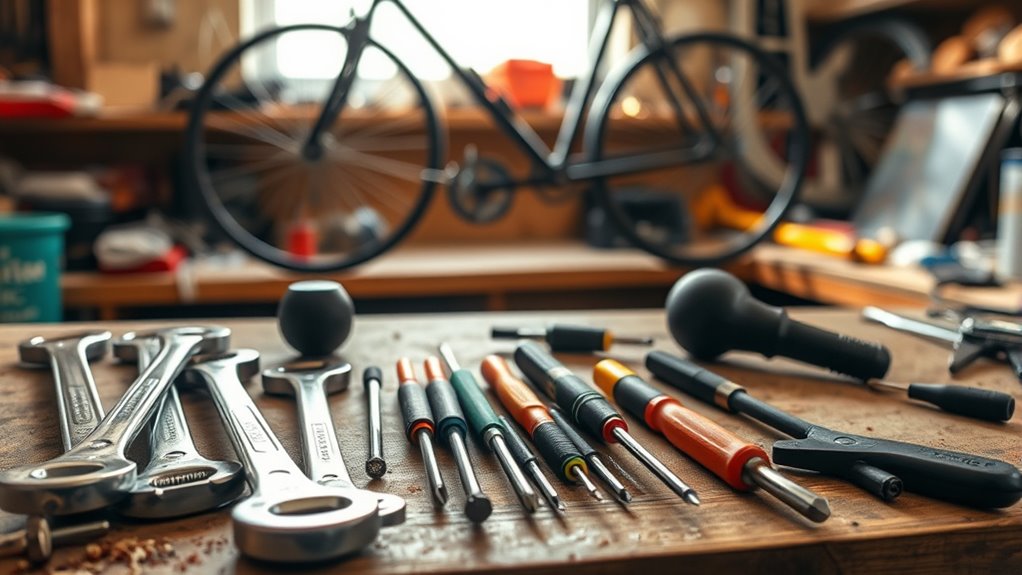
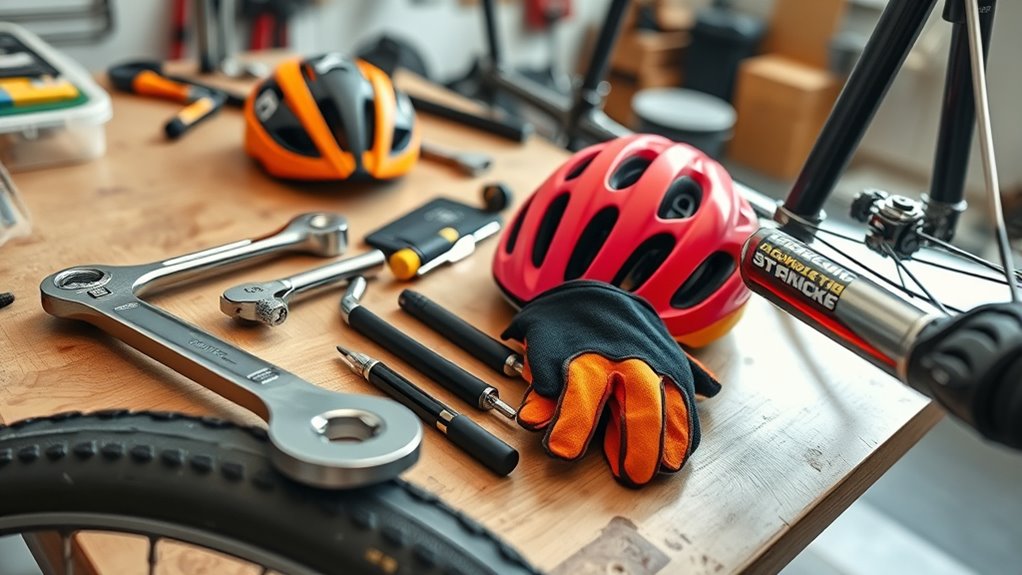
Essential Workshop Equipment for Efficient Building
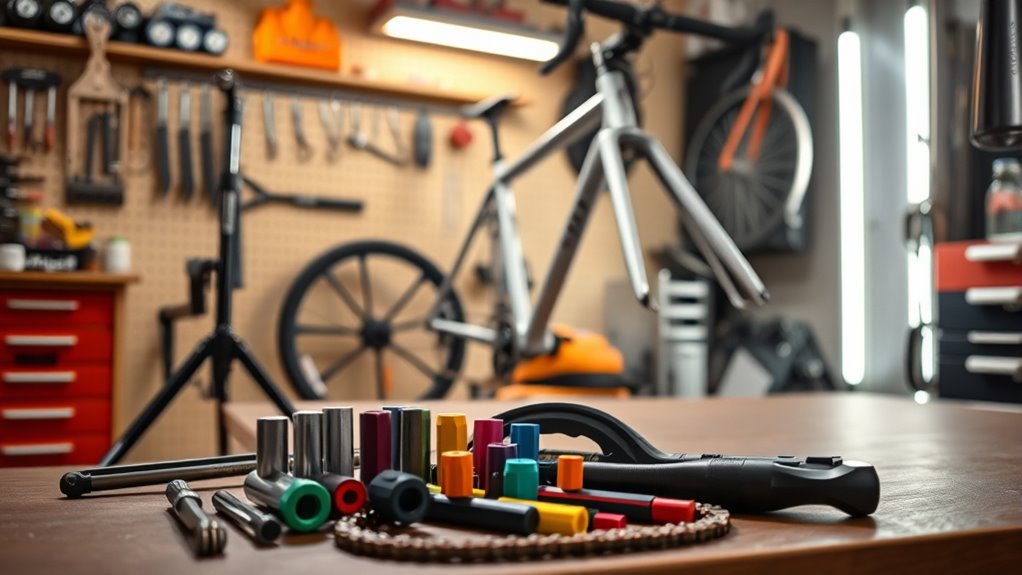
A well-organized workshop with the right equipment makes assembling your bike much easier and more efficient. Start with a solid workbench that provides stability for all your tasks. Good lighting is essential for detailed work, helping you see small parts clearly.
Organized storage for tools allows quick access and keeps your workspace tidy. Cable management keeps hoses and wires neat, preventing accidents. Ventilation ensures a safe environment by removing dust and fumes. Using self-watering plant pots can be a practical example of innovative tools that improve efficiency and reduce maintenance, similar to how quality workshop equipment streamlines bike assembly. Additionally, investing in precious metals investment knowledge can help you diversify your tools and resources for long-term success.
Essential tools include a versatile hex wrench set, tire levers, a floor pump with a pressure gauge, and chain lubrication tools. For advanced work, a bike repair stand, chain tool, cassette tool, and torque wrench are invaluable.
Safety gear like goggles, a first aid kit, and non-slip shoes protect you during the build. Proper organization boosts efficiency and safety.
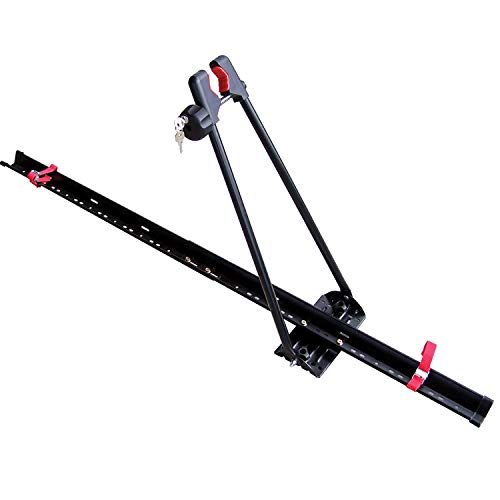
Swagman UPRIGHT Roof Mount Bike Rack
EASY TO ASSEMBLE: The UPRIGHT roof rack installs in minutes following the instructions and carries one bike with...
As an affiliate, we earn on qualifying purchases.
Understanding Torque and Its Importance in Bike Assembly
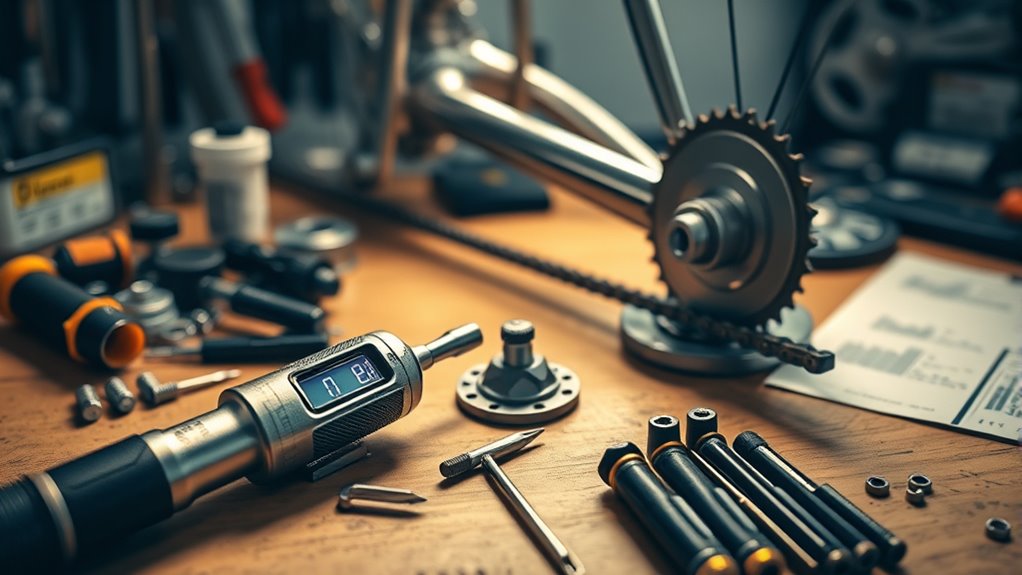
Have you ever wondered why tightening bike components to the correct level of force is so important? Torque measures the rotational force applied when fastening parts, ensuring they’re secure without risking damage. Proper torque is essential for safety and peak performance, preventing issues like stripped threads or cracked components.
Different parts require specific torque settings based on material and function, so following manufacturer guidelines is vital. Using a torque wrench helps you achieve precise measurements, especially with lightweight or high-performance parts.
Applying too much or too little torque can cause failures or safety hazards. Remember to clean and lubricate threads to improve accuracy.
Tips for Proper Cable and Housing Installation
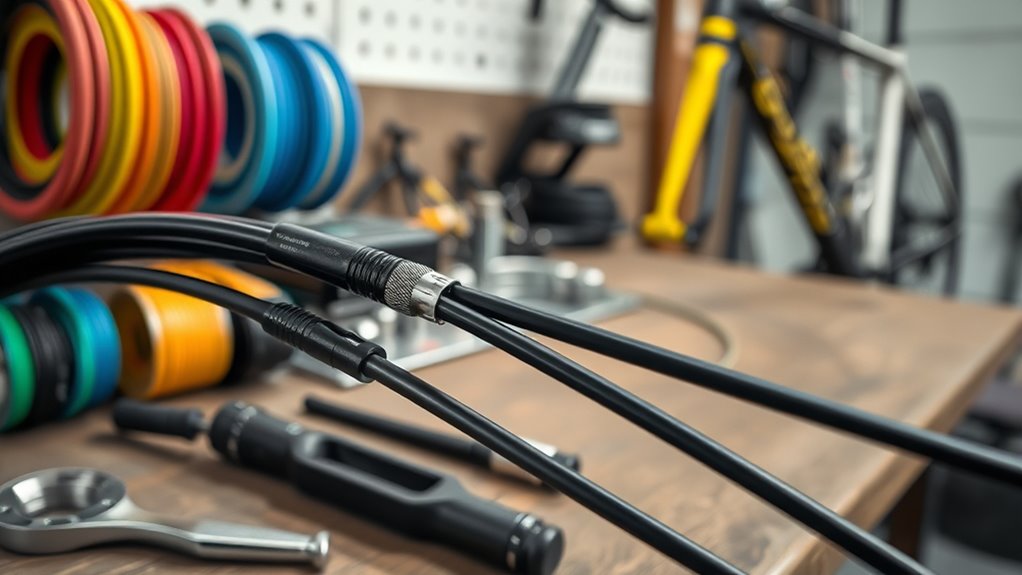
Proper cable and housing installation is key to guaranteeing smooth shifting and braking performance. Use a dedicated cable cutter, like the CN-10, for clean, uncrushed cuts. Before cutting, straighten the housing on a flat edge to prevent kinks, and ream the ends with a pick or awl to maintain liner integrity.
Always install ferrules on housing ends for smooth entry into stops, applying brand-specific grease inside to reduce friction and corrosion. Route housing with sweeping curves, avoiding sharp bends that cause kinks or cable binding. Secure housing temporarily with electrical tape before finalizing routing.
Guarantee housing follows frame contours without excess loops or tension. After installation, check for smooth cable movement, confirm ferrule alignment, and test shifting under load for top performance.
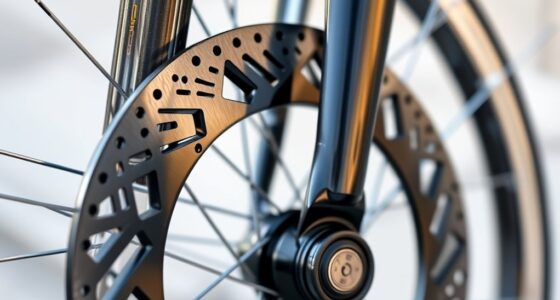
Maintaining Precise Wheel Truing and Hub Adjustments
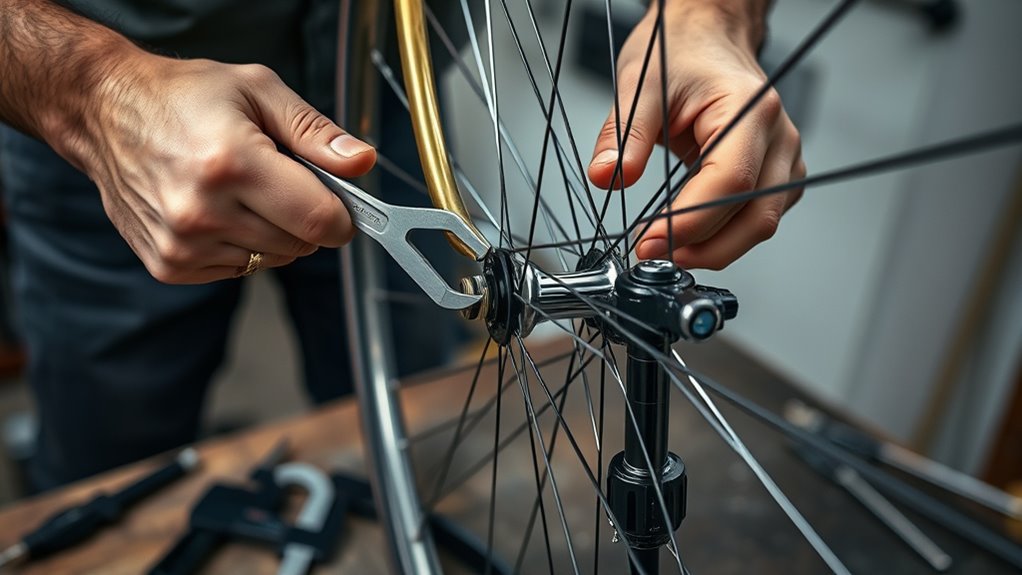
Maintaining precise wheel truing and hub adjustments is essential for a smooth, safe ride. Start by securing your wheel in a truing stand, which keeps it stable for accurate work.
Use a spoke wrench to tighten or loosen spokes, correcting lateral and radial wobble. Measure spoke tension with a tensiometer to ensure even distribution, preventing weak spots.
Check the wheel’s dish with a dishing tool to maintain proper alignment, especially for brake performance.
Spin the wheel and observe contact points with a caliper to identify areas needing adjustment.
Make small, incremental changes, then recheck until the wheel spins true and smoothly.
Regular inspections and adjustments prolong wheel life, improve handling, and keep your ride safe and efficient.
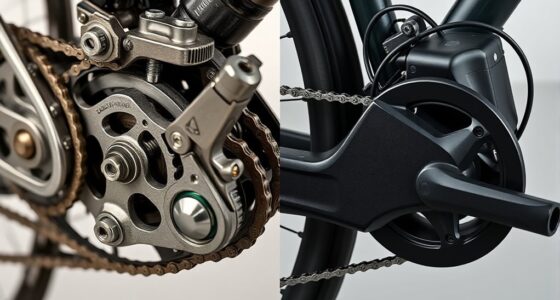
Best Practices for Hydraulic Brake and Drivetrain Maintenance
To keep your hydraulic brakes and drivetrain performing reliably, regular maintenance is essential. Bleed your brakes once or twice a year to remove air and restore firm lever feel. Always use manufacturer-recommended fluid, whether DOT or mineral oil, to avoid seal damage.
Check lever firmness before rides; sponginess signals air ingress or fluid degradation. Inspect hoses monthly for cracks or leaks, especially near fittings. For brake pads, replace them when they’re less than 3mm thick, and clean rotors with 99% isopropyl alcohol after muddy rides.
Regularly check brake lever firmness and inspect hoses for cracks or leaks to ensure optimal hydraulic performance.
Avoid lubricants near braking surfaces, as they cause friction loss. Lightly sand glazed pads to restore bite. During pad changes, align calipers precisely to prevent uneven wear.
Proper, consistent maintenance keeps your hydraulic system responsive and safe.
Safety and Quality Checks Before Riding Your Custom Bike
Before heading out on your ride, it’s essential to perform a thorough safety and quality check to guarantee your bike is ready for the terrain ahead.
Start by inspecting your tires: check the pressure against the manufacturer’s recommendation, and look for cracks, bulges, or debris that could cause flats.
Spin your wheels to verify they’re true—wobbles mean realignment is needed—and tap spokes to ensure proper tension.
Confirm quick-release levers or thru-axles are tight.
Next, test your brake system: ensure levers engage properly, check pad wear, and spin wheels to confirm no contact when brakes are open.
Finally, inspect the frame for cracks, tighten headset and handlebar bolts, and verify accessory mounts.
These checks keep you safe and prevent surprises during your ride.
Frequently Asked Questions
How Do I Choose the Right Tools for My Specific Bike Model?
To choose the right tools for your specific bike model, first identify its type—road, mountain, gravel, or e-bike—as each needs different components and standards.
Check the brake, drivetrain, and axle compatibility, then select tools tailored to those standards, like specific bottom bracket or thru-axle wrenches.
Consider your bike’s material and brand requirements, ensuring you have torque wrenches and specialized bits.
Finally, balance portability for rides and a all-inclusive toolkit for repairs.
What Are Common Mistakes to Avoid During Bike Assembly?
When you’re assembling your bike, watch out for common pitfalls that can throw your ride off course. Avoid installing the fork backward, which can wobble your confidence.
Keep the saddle level for comfort, and make sure handlebars are straight like a compass. Don’t forget to tighten bolts properly and apply grease where needed.
Check everything twice—think of it as fine-tuning a symphony—to guarantee your bike rides smoothly and safely.
How Often Should I Calibrate or Replace My Bike Tools?
You ask how often to calibrate or replace your bike tools. For precision, calibrate torque wrenches based on usage and environment, and do it regularly if you use them frequently.
Power meters should be calibrated before each ride.
Inspect tools regularly for wear, and replace those showing significant damage or outdated technology.
Keeping records helps track performance, ensuring your tools stay accurate and reliable for safe, effective bike building.
Can I Build a Bike Without Advanced Specialized Tools?
Oh, sure, building a bike sans advanced tools is like performing open-heart surgery with a butter knife. You can cobble something together with basic hand tools and DIY hacks, but expect some compromises—maybe a slightly crooked wheel or a stubborn headset.
While you can manage most tasks yourself, remember, certain precision jobs like wheel truing or bearing pressing really do call for a pro’s touch or specialized gear.
What Safety Precautions Should I Follow During Bike Building?
When building your bike, you should prioritize safety to prevent injuries and guarantee a reliable ride. Wear protective gear like gloves, safety glasses, and a helmet. Keep your workspace clear and well-lit, and make certain all bolts and components are properly tightened.
Perform safety checks on brakes, tires, and gears before riding. Test the bike in a safe area, and double-check reflectors and lights for visibility. Stay alert and cautious throughout the process.
Conclusion
Building your own bike is like crafting a fine piece of art—you’ll take pride in every detail. With the right tools, techniques, and attention to safety, you turn a set of parts into your perfect ride. Remember, patience is key, and don’t rush the process. When it’s all done, you’ll enjoy the satisfaction of knowing you built something as unique as your own fingerprint—your very own masterpiece on two wheels.