
So you want to make your very own electric bike, huh? Well, buckle up because I’m about to take you on a thrilling ride through the process.
In this article, I’ll guide you through each step, from assessing your needs and budget to choosing the right components and installing them on your trusty bicycle frame.
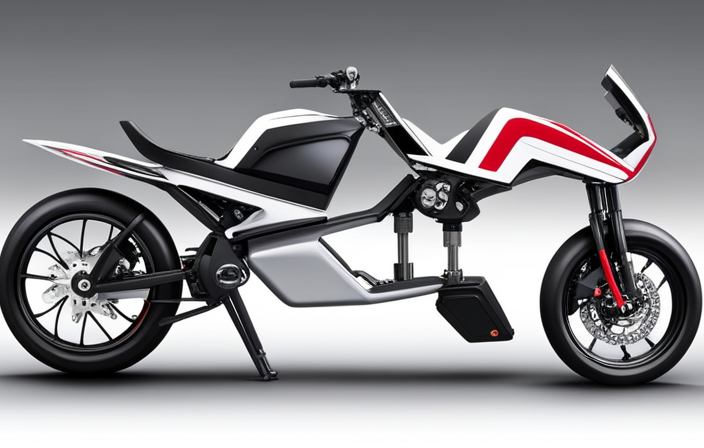
Get ready to unleash your inner engineer and create a custom-made electric bike that will leave everyone in awe.
Let’s dive in!
Key Takeaways
- Choose between mechanical or hydraulic brakes
- Select quality calipers for strong stopping power
- Opt for adjustable brake levers for precise control
- Regularly check and inflate tires
Assess Your Needs and Budget
You’ll need to assess your needs and budget before diving into making an electric bike.
There are several factors to consider when embarking on this project. Firstly, determine the purpose of your electric bike. Are you looking for a bike for commuting, off-road adventures, or leisurely rides? Setting realistic goals will help you choose the right components and design for your bike.
Next, consider your budget. Electric bike conversions can range in cost depending on the quality and features you desire. Take into account the price of the motor, battery, controller, and other necessary components. It’s essential to strike a balance between affordability and performance.
With these factors in mind, you can now transition into the subsequent section about choosing the right bicycle frame.
Choose the Right Bicycle Frame
To choose the right bicycle frame, start by considering your height and riding style. The frame is the foundation of your electric bike, and selecting the appropriate one can greatly impact your bike’s performance and comfort. Here are three key factors to consider when choosing a bicycle frame:
-
Size: Ensure that the frame size corresponds to your height. A properly sized frame will provide optimal control and balance, enhancing your riding experience.
-
Material: Different frame materials offer varying levels of strength, weight, and comfort. Common options include aluminum, steel, carbon fiber, and titanium. Each material has its own unique characteristics, so choose one that suits your preferences and riding style.
-
Frame Geometry: The geometry of the frame determines the bike’s handling and riding position. Consider factors such as head tube angle, seat tube angle, and chainstay length. Different geometries are suitable for different purposes, such as commuting, mountain biking, or road cycling.
Choosing the right bicycle frame is crucial for a comfortable and efficient electric bike. Once you have selected the frame, you can move on to selecting the motor and battery, which will further enhance your bike’s performance and capabilities.
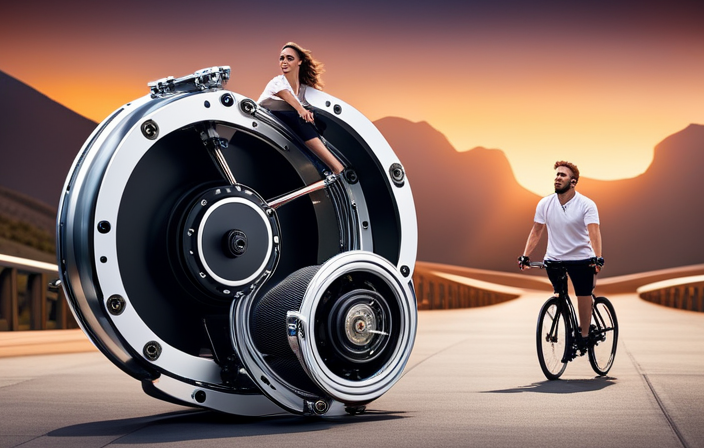
Select the Motor and Battery
Once you’ve chosen the right bicycle frame, it’s important to consider the motor and battery options to enhance the performance of your electric bike. The motor is responsible for providing the necessary power to propel the bike forward, while the battery is essential for storing and supplying the required energy. To optimize electric bike performance and battery life, it’s crucial to select the appropriate motor and battery combination.
In order to make an informed decision, it’s helpful to compare various motor and battery options. The table below provides a comparison of different motors and batteries based on their power output, weight, and range:
| Motor Type | Power Output (Watts) | Weight (lbs) | Range (miles) |
|---|---|---|---|
| Hub Motor | 500 | 7 | 20 |
| Mid Drive | 750 | 9 | 30 |
| Crank Drive | 1000 | 10 | 40 |
Determine the Power and Range
When determining the power and range, it’s important to take into account the motor type, power output, weight, and range of different options. Estimating costs and calculating power requirements are crucial steps in this process.
To estimate costs, research different motor options and compare prices. Consider factors such as motor efficiency and reliability when making your decision.
Calculating power requirements involves considering the weight of the bike and rider, as well as the desired range. Higher power outputs are generally required for heavier bikes or riders, or for those wanting to achieve longer ranges. It’s also important to factor in the battery’s capacity and voltage when calculating power requirements.
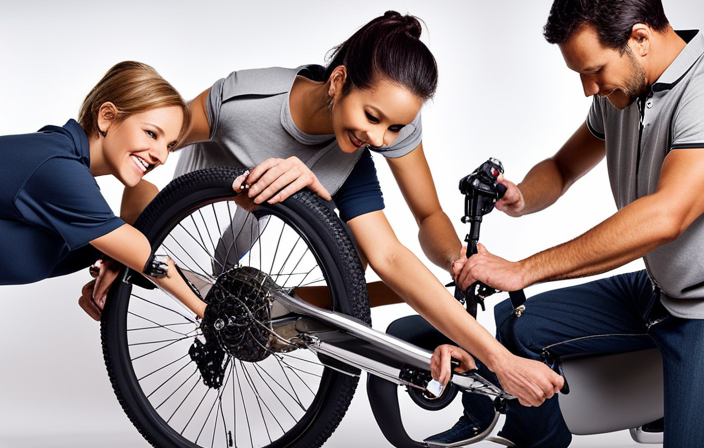
Install the Motor and Battery
Installing the motor and battery is a straightforward process. It involves connecting the necessary wires and securing the components in place.
To mount the motor, first locate a suitable spot on the bike frame. Make sure there is enough space for the motor to fit without interfering with other components. Once the mounting location is determined, use the provided brackets and screws to securely attach the motor.
Next, connect the battery. Locate the appropriate wiring harness and plug it into the corresponding port on the motor. Double-check the connections to ensure they are secure and tight.
With the motor and battery in place, you are now ready to move on to the next step, which is connecting the electrical components.
Connect the Electrical Components
After securely attaching the motor and connecting the battery, it’s time to connect the electrical components.
To ensure a smooth and efficient operation of your electric bike, it is crucial to properly connect the various electrical components.
One of the first things to consider is the connectivity options available for your specific bike model. Some bikes may have built-in connectors, while others may require you to solder the connections. It’s important to carefully follow the manufacturer’s instructions and use the appropriate connectors or soldering techniques.
Additionally, troubleshooting tips can come in handy if you encounter any issues during the process. A helpful resource is a multimeter, which can be used to test the continuity of the connections and identify any potential faults.
Lastly, remember to choose the right controller and throttle for your bike, as these components will play a vital role in controlling the speed and power output.
Choose the Right Controller and Throttle
Now that the electrical components are connected, it’s time to choose the right controller and throttle for your electric bike.
The controller is a crucial component that regulates the power flow from the battery to the motor. It determines the speed and acceleration of the bike, making it an essential part of the conversion process. There are various types of controllers available, such as brushed and brushless controllers, each with its own advantages.
Brushed controllers are more affordable and simpler, while brushless controllers offer higher efficiency and longer lifespan. Additionally, you’ll need to select a suitable throttle that allows you to control the speed of the bike. There are twist throttles, thumb throttles, and even pedal-assist systems available. Consider your preferences and the desired riding experience when making your choice.
Once you have the controller and throttle, it’s time to install the brakes and lights, ensuring your electric bike is safe to ride.
Install the Brakes and Lights
Once you’ve chosen the right controller and throttle, it’s important to install the brakes and lights to ensure the safety of your ride. The brakes and lights are crucial safety features that allow you to control your electric bike and make it visible to others on the road.
To choose the right components for your brakes and lights, consider the following:
- Brake type: Decide between mechanical or hydraulic brakes based on your riding needs and preferences.
- Brake calipers: Choose quality calipers that provide strong and reliable stopping power.
- Brake levers: Opt for adjustable levers that fit comfortably in your hands and offer precise control.
- Lights: Install both front and rear lights that are bright, durable, and have different modes for varying conditions.
- Reflectors: Attach reflectors on your bike to enhance visibility, especially when riding at night.
With the brakes and lights properly installed, you can now move on to testing and fine-tuning your electric bike, ensuring its optimal performance and safety.
Test and Fine-Tune Your Electric Bike
To ensure optimal performance and safety, it’s important to thoroughly test and fine-tune your ride.
Once you have installed the brakes and lights on your electric bike, it’s time to troubleshoot any common issues that may arise. Start by checking the battery connections to ensure they are secure and properly connected.
Test the throttle and pedal assist functions to make sure they are working smoothly. If you encounter any issues, refer to the manufacturer’s manual or seek assistance from a professional.
Additionally, regular maintenance is key to keeping your electric bike in top shape. Keep the chain properly lubricated, check tire pressure regularly, and inspect the brakes for wear and tear.
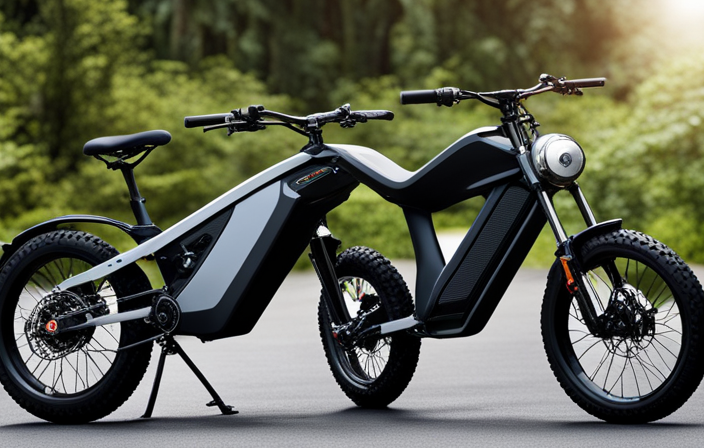
Enjoy Your Custom-Made Electric Bike
You’ll have a blast riding your custom electric bike. With a wide range of customization options available, you can create a bike that perfectly suits your style and needs. From choosing the frame design and color to selecting the motor power and battery capacity, the possibilities are endless.
To help you make the most of your custom-made electric bike, here are some maintenance tips to keep it running smoothly:
- Regularly check the tire pressure and ensure they are properly inflated.
- Clean the bike regularly, especially after riding in wet or muddy conditions.
- Keep the battery charged and avoid overcharging it.
By following these maintenance tips, you can prolong the lifespan of your electric bike and ensure it continues to provide you with a thrilling and efficient ride. So go ahead, customize your bike and enjoy the freedom and excitement it brings.
| Customization Options | Maintenance Tips |
|---|---|
| Frame design | Regularly check tire pressure |
| Color selection | Clean the bike regularly |
| Motor power | Keep the battery charged |
Frequently Asked Questions
What is the average cost of building an electric bike from scratch?
The average cost of building an electric bike from scratch depends on the components required. Typically, it can range from $500 to $2000. Components needed include a motor, battery, controller, throttle, and various other electrical and mechanical components.
How do I choose the right motor and battery for my electric bike?
When choosing the right motor and battery for your electric bike, consider efficiency and power output. Efficiency can greatly impact range, with brushless motors being more efficient. Power output requirements depend on factors like weight and desired speed.
Can I install an electric motor on any type of bicycle frame?
Yes, an electric motor can be installed on any type of bicycle frame through an electric bike conversion. Electric bike conversions provide numerous benefits, including increased speed and range, easier uphill climbs, and reduced physical effort required while riding.
What safety precautions should I consider when installing the motor and battery?
When installing the motor and battery for an electric bike, it is crucial to prioritize battery safety. Ensure proper insulation, secure mounting, and use of a reliable battery management system to prevent accidents and maintain optimal performance during motor installation.
Are there any legal requirements or regulations I need to be aware of when using an electric bike on public roads?
When using an electric bike on public roads, it is important to adhere to legal requirements and safety regulations. These may include restrictions on speed, age limits, helmet usage, and compliance with traffic laws.
Conclusion
In conclusion, I’ve successfully created my own electric bike.
I assessed my needs and budget, chose the appropriate bicycle frame, and selected the motor and battery.
I also determined the power and range, installed the motor and battery, and chose the suitable controller and throttle.
Additionally, I installed the brakes and lights.
Through careful testing and fine-tuning, I’ve created a personalized electric bike that meets my specific requirements.
Now, I can confidently enjoy the fruits of my labor and experience the convenience and thrill of riding my custom-made electric bike.
Related Posts:


Olivia’s writing is not only informative but also inspiring. She has a knack for telling stories that capture the essence of cycling and the joy it brings to people’s lives. Her writing has been praised by readers and industry experts alike for its clarity, depth, and authenticity.
In addition to her writing, Olivia is also an avid cyclist. She enjoys exploring new trails and routes and has participated in several cycling events and races. Her first-hand experience with cycling gives her a unique perspective on the sport, reflected in her writing.
Overall, Olivia is a talented writer passionate about cycling and dedicated to producing high-quality content for FlatironBike. Her contributions to the magazine have helped make it a go-to source for cycling enthusiasts worldwide.