So, you’ve got a bike and you’re thinking, why not give it a little boost? Well, my friend, you’ve come to the right place. In this article, I’m going to show you how to apply an electric motor to your bike.
We’ll cover everything from assessing your bike’s compatibility to choosing the right motor, and even how to wire and test the system.
Get ready to take your biking experience to a whole new level. Let’s dive in!
Key Takeaways
- Master riding techniques for electric bikes.
- Regularly check maintenance requirements for the electric motor.
- Identify strange noises coming from the motor.
- Familiarize yourself with the laws and regulations regarding electric bicycles.
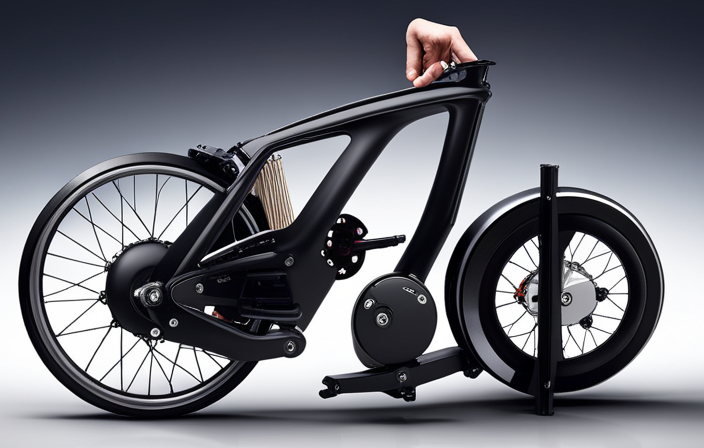
Assess Your Bike’s Compatibility
You’ll need to assess if your bike’s frame is compatible with an electric motor. Assessing compatibility factors is crucial to ensure a successful integration.
First, evaluate the frame’s construction and materials. Aluminum and steel frames are generally more suitable for electric motor installations due to their strength and stability.
Next, consider the frame’s geometry. A frame with a sufficient amount of space in the downtube and rear triangle is necessary to accommodate the motor and battery.
Additionally, assess the bike’s weight capacity to determine if it can handle the added weight of the motor and battery.
Lastly, evaluate the power requirements of the motor. Consider factors such as voltage, wattage, and torque to ensure the motor is compatible with your desired riding experience.
With a compatible frame and power requirements, you can now move on to choosing the right electric motor for your bike.
Choose the Right Electric Motor
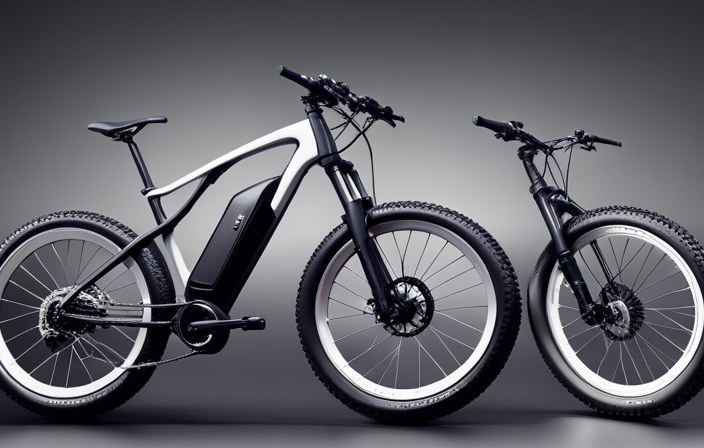
To find the appropriate motor for your bicycle, it’s important to consider factors like power output, weight, and compatibility. When it comes to electric motor types, there are several options available, each with its own advantages and disadvantages. Some common types include hub motors, mid-drive motors, and friction drive motors.
Hub motors are the most common type and are integrated into the wheel hub, providing a direct drive system.
Mid-drive motors are mounted near the pedals, allowing for better weight distribution and improved handling.
Friction drive motors, on the other hand, utilize a roller that contacts the tire to provide propulsion.
When choosing a motor, it’s crucial to determine the power requirements of your bike. Factors such as terrain, desired speed, and rider weight will all impact the necessary motor power. By carefully considering these factors and choosing the right electric motor, you can enhance your biking experience.
Now, let’s move on to gather the necessary tools and equipment.
Gather the Necessary Tools and Equipment
Once you’ve determined the power requirements of your bicycle, it’s time to gather the tools and equipment needed for the installation. Selecting appropriate tools is crucial to ensure a smooth and efficient process.
You will need a set of wrenches, both metric and standard, to loosen and tighten bolts. A torque wrench is essential for achieving the correct tightness without damaging components.
Additionally, having a multimeter will allow you to troubleshoot common issues such as faulty connections or wiring problems. A wire cutter/stripper will help you prepare the wires for connection.
Lastly, don’t forget to have zip ties and electrical tape on hand for securing and insulating the connections. With these tools in place, you can move on to preparing your bike for installation by ensuring it is clean and free of any obstacles.
Prepare Your Bike for Installation
First, make sure your bicycle is clean and free of any debris or obstacles. Proper bike maintenance is essential to ensure a safe and successful installation of an electric motor.
Start by inspecting the frame for any cracks or damage and tighten any loose bolts or screws. Check the tires for wear and tear and inflate them to the recommended pressure. Test the brakes to ensure they are in good working condition and adjust them if necessary. Additionally, lubricate the chain and ensure it is properly tensioned.
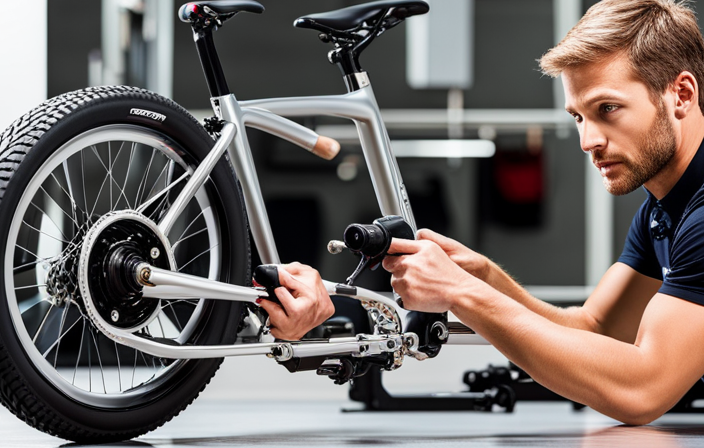
Install the Electric Motor
Now that your bicycle is properly prepared, you can start installing the electric motor. The electric motor is the heart of your electric bike, providing the power necessary for your rides.
To begin, carefully position the motor on the bike frame, ensuring that it aligns properly with the rear wheel. Use the appropriate tools to secure the motor in place, making sure it is tightly fastened.
Next, connect the motor to the bike’s drivetrain, ensuring a smooth and efficient transfer of power. It’s important to follow the motor installation techniques recommended by the manufacturer to ensure optimal performance and longevity.
With the electric motor securely installed, you are ready to move on to the next step of the process: installing the battery and controller, which will provide the necessary power and control for your electric bike.
Install the Battery and Controller
To begin the installation process, carefully position the battery and controller on the bike frame, ensuring proper alignment and a secure fit.
First, locate a suitable spot on the frame where the battery can be securely mounted. Take into consideration the weight distribution and make sure it does not interfere with your pedaling.
Once you have found the ideal spot, use the mounting brackets or straps provided to secure the battery in place.
Next, connect the battery to the controller using the designated cables, ensuring a tight connection. It is important to follow the manufacturer’s instructions for proper battery placement and controller settings to ensure optimal performance.
Once the battery and controller are securely in place, you can proceed to wire and test the system, ensuring a smooth and efficient ride.
Wire and Test the System
Once you’ve securely mounted the battery and controller, it’s time to wire and test the system to ensure everything is working properly. This testing process is crucial to ensure a safe and efficient electric motor application on your bike. To help you with the process, I have provided a table below outlining the steps and troubleshooting techniques for testing the system:
| Step | Testing Process | Troubleshooting Techniques |
|---|---|---|
| 1 | Connect wires | Check for loose connections |
| 2 | Turn on the system | Verify if the motor starts |
| 3 | Test throttle | Ensure smooth acceleration |
| 4 | Check brakes | Verify if they still work |
| 5 | Monitor battery | Observe voltage levels |
Adjust Your Riding Style
Take some time to adjust your riding style to get the most out of your electric bike experience.
When it comes to riding techniques, there are a few key factors to consider. First, be mindful of your speed and acceleration. Electric bikes have instant torque, so it’s important to gradually increase your speed to prevent sudden jerks or loss of control.
Additionally, maintain a relaxed grip on the handlebars and distribute your weight evenly to ensure stability. Safety measures should also be prioritized. Always wear a helmet and other protective gear, and follow traffic rules to avoid accidents.
Lastly, familiarize yourself with the different power modes and adjust them according to your needs and terrain. By mastering these riding techniques and adhering to safety measures, you can fully enjoy your electric bike experience.
Now, let’s move on to how to maintain and troubleshoot the electric motor without compromising its performance.
Maintain and Troubleshoot the Electric Motor
Make sure you regularly check the maintenance requirements and troubleshoot any issues with your electric motor to keep your bike running smoothly. Proper maintenance and troubleshooting techniques are essential to ensure the longevity and efficiency of your electric motor. Here are some troubleshooting tips and maintenance techniques that can help you keep your electric motor in optimal condition:
| Troubleshooting Tips | Maintenance Techniques |
|---|---|
| Strange noises coming from the motor | Regularly clean and lubricate the motor |
| Motor not starting or turning on | Check the battery connections and charge level |
| Decreased power or range | Inspect the wiring and connections for any damage |
Follow Local Laws and Regulations
To ensure your safety and comply with local regulations, it’s important to familiarize yourself with and follow the laws pertaining to the use of electric bicycles on public roads. Here are some key points to consider:
-
Understand legal requirements:
-
Research the specific laws and regulations in your area regarding electric bicycles.
-
Determine the maximum speed and power limits allowed for electric bicycles.
-
Check if you need any licenses or permits to ride an electric bicycle on public roads.
-
Safety precautions:
-
Always wear a helmet and other protective gear while riding.
-
Follow traffic rules and signals, just like you would while riding a regular bicycle.
-
Ensure your electric bicycle is equipped with proper lights and reflectors for visibility.
-
Stay informed:
-
Keep updated with any changes or updates to the local laws regarding electric bicycles.
-
Join local electric bicycle communities or forums to stay connected and share knowledge.
Frequently Asked Questions
Can I install an electric motor on any type of bike?
Yes, an electric motor can be installed on any type of bike. Installing an electric motor offers several benefits, such as increased speed and range, reduced effort while pedaling, and the option to switch between electric and manual modes.
How much does it cost to install an electric motor on a bike?
Installing an electric motor on a bike can cost anywhere from $500 to $2000, depending on the motor and battery quality. However, the benefits, such as increased speed, range, and reduced effort, make it a worthwhile investment for any cyclist.
Can I still use my bike as a regular bicycle after installing an electric motor?
Yes, you can still use your bike as a regular bicycle after installing an electric motor. The benefits of using an electric motor on a bike include increased speed and less effort required. To maintain the motor, regularly check and clean the components, lubricate moving parts, and ensure proper battery charging.
What is the average range of an electric motor on a bike?
The average range of an electric motor on a bike depends on various factors, including electric motor power and battery life. It is important to consider these factors when determining how far you can travel on your electric bike.
Are there any safety concerns when using an electric motor on a bike?
When using an electric motor on a bike, it is important to take safety precautions and be aware of potential risks. Some safety concerns include proper installation, ensuring the motor is securely attached, and wearing appropriate protective gear.
Conclusion
In conclusion, applying an electric motor to a bike requires careful planning and execution. Assessing your bike’s compatibility, choosing the right motor, and gathering the necessary tools are essential steps.
Installing the motor, wiring and testing the system, and adjusting your riding style are crucial for a successful conversion. Maintaining and troubleshooting the motor is also important to ensure its longevity.
Lastly, it is imperative to follow local laws and regulations. Just like a skilled conductor leading an orchestra, with the right knowledge and technique, you can transform your bike into a powerful and efficient machine that will take you on exhilarating journeys.