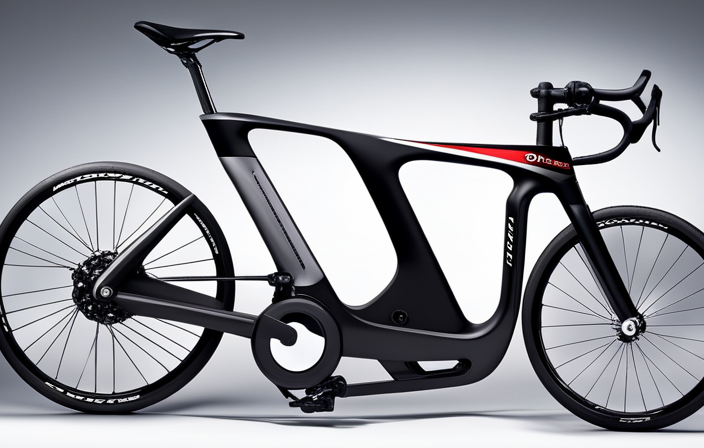
As I unfolded the box, a surge of thrill engulfed me. The moment had arrived to awaken my electric bike.
With a clear vision of cruising down the streets, wind in my hair and a smile on my face, I eagerly unpacked the parts, ready to embark on the journey of assembling my very own electric bike.
In this article, I will guide you step-by-step through the process, ensuring that your ride is safe, efficient, and exhilarating.
Let’s get started!
Key Takeaways
- Carefully unpack and organize all the components of the electric bike.
- Ensure proper alignment and tightening of bolts for the front wheel and handlebars.
- Securely mount the seat and seatpost at the desired height and angle.
- Connect the brakes, gear system, and battery following the manufacturer’s instructions.
![LISEN Bike Phone Holder, [Super Easy Install] Motorcycle Phone Mount Ebike Accessories Bicycle Handlebar Holder Mount Gifts for Adults Kids Men Mountain Mini Bike Scooter Gear Accessories for iPhone](https://m.media-amazon.com/images/I/41f8iCmkMsL._SL500_.jpg)
LISEN Bike Phone Holder, [Super Easy Install] Motorcycle Phone Mount Ebike Accessories Bicycle Handlebar Holder Mount Gifts for Adults Kids Men Mountain Mini Bike Scooter Gear Accessories for iPhone
[Ultra-Secure Hold] – LISEN bike phone holder mount keeps your phone firmly in place even on bumpy or...
As an affiliate, we earn on qualifying purchases.
Unpack and Organize the Parts
You’ll need to unpack and organize the parts of the electric bike. Start by carefully unpacking the box and laying out all the components. Take a moment to check if everything is included and in good condition.
Once you have everything laid out, it’s a good idea to organize the parts in a logical order. For example, group together the screws, bolts, and washers in one container, and separate the larger components like the frame and handlebars. This way, it will be easier to locate the necessary parts when you need them.
Now that you have everything organized, we can move on to the next step: attaching the front wheel.

SY Bicycle Speedometer and Odometer Wireless Waterproof Cycle Bike Computer with LCD Display & Multi-Functions by YS
【Auto Wake-up Function】Automatically wakes from sleep mode upon sensing vibration in the bicycle. Bright LCD display to easily...
As an affiliate, we earn on qualifying purchases.
Attach the Front Wheel
First, make sure to securely attach the front wheel to the frame. Begin by inserting the axle into the fork dropouts, ensuring that it is properly aligned. Then, tighten the nuts or quick release lever to hold the wheel in place. Be sure to tighten them evenly to ensure the wheel is centered.
Once the front wheel is securely attached, you can move on to installing the handlebars and stem. This step is important for steering and control, so take your time to properly align and tighten the bolts.
By following these steps, you will have the front wheel securely attached and be ready to move on to the next section about installing the handlebars and stem, which is vital for safe riding.

Lamicall Bike Phone Holder, Motorcycle Mount - Motorcycle Phone Holder, Handlebar Cell Phone Clamp, E-Bike Scooter Phone Clip for iPhone 17 Air Pro Max, 16 15 Plus, S20, 4.7 to 6.8" Smartphones
Sturdy and Safe: A special shape of this motorcycle & bike phone holder grips each corner of your...
As an affiliate, we earn on qualifying purchases.
Install the Handlebars and Stem
To properly steer and control your bike, align and tighten the bolts when installing the handlebars and stem. This step is crucial for ensuring stability and safety while riding. First, position the handlebars in the desired angle and height, aligning them with the front wheel. Next, insert the stem into the steerer tube and tighten the bolts using a wrench. Make sure the stem is securely fastened to the frame. Now, let’s take a look at the table below for a clearer understanding of the parts involved in this process:
| Part | Description | Tools Required |
|---|---|---|
| Handlebars | Controls bike’s direction | Allen wrench |
| Stem | Connects handlebars to the fork | Allen wrench |
| Bolts | Securely fasten the stem and handlebars | Wrench |
Now that the handlebars and stem are properly installed, we can move on to the next step of mounting the seat and seatpost.

amzluv Bike Phone Holder Mount, Secure Handlebar Phone Mount Holder for Bike and Motorcycle, Suitable for iPhone and 4.5-6.8" Smartphones, Black
Universal Fit for 4.5-6.8 Inch Phones (Fits up to 3.19" Wide, 0.47" Thick): This motorcycle phone mount and...
As an affiliate, we earn on qualifying purchases.
Mount the Seat and Seatpost
Now, let’s go ahead and mount the seat and seatpost.
Start by inserting the seatpost into the seat tube on the frame. Make sure it is securely inserted and tightened using the appropriate tools.
Next, position the seat on top of the seatpost and align it to your desired height and angle. Use the seat clamp to secure the seat in place. Ensure that it is tight enough to prevent any movement during your ride.
Once the seat and seatpost are properly mounted, we can move on to the next step, which is connecting the brakes and gear system. This will allow you to control your electric bike effectively and enjoy a smooth and safe ride.
Connect the Brakes and Gear System
Once you have securely mounted the seat and seatpost, you can now connect the brakes and gear system for effective control and a smooth ride. To ensure proper functionality, follow the steps below:
| Step | Brakes | Gear System |
|---|---|---|
| 1 | Attach the brake levers to the handlebars securely. | Connect the gear shifters to the handlebars, ensuring they are tight. |
| 2 | Attach the brake cables to the brake levers, making sure they are properly tensioned. | Connect the gear cables to the gear shifters, ensuring they are properly tensioned as well. |
| 3 | Adjust the brakes and gears, making sure they are aligned and responsive. | Test the brakes and gear system by shifting through the gears and applying the brakes. |
Once the brakes and gear system are connected and working smoothly, you can move on to the next section about installing the battery, which powers the electric motor.
Install the Battery
Now that the brakes and gear system are connected, it’s time to move on to the next step: installing the battery.
This is a crucial part of assembling an electric bike as it powers the entire system. First, locate the battery mount on the frame of the bike. Align the battery with the mount and gently slide it in until it clicks into place. Make sure it is securely attached to avoid any accidents while riding.
Once the battery is installed, you can move on to connecting the wiring. This step involves carefully attaching the wires from the battery to the corresponding ports on the bike. It’s important to follow the manufacturer’s instructions to ensure proper connections.
So, let’s get started with connecting the wiring and bringing our electric bike to life!
Connect the Wiring
To connect the wiring, I carefully attached the wires from the battery to the corresponding ports on the frame. This step is crucial as it ensures that the electric components of the bike are properly connected and functioning.
I made sure to match the colors of the wires and securely fastened them using the provided connectors. It’s important to double-check the connections to avoid any loose or crossed wires, which could lead to malfunctions or even damage to the bike.
Once all the connections were made, I moved on to the next step of checking and adjusting the bike’s settings. This ensures that the bike is ready to ride and that all the components are working together seamlessly.
Check and Adjust the Bike’s Settings
Make sure you carefully check and adjust the settings of your newly built bicycle to ensure it’s ready for a smooth ride. Here are a few things to keep in mind:
- Adjust the seat height to a comfortable position.
- Check the handlebar alignment and make sure it’s straight.
- Verify that the brakes are working properly and adjust them if needed.
- Double-check the tire pressure and ensure they’re properly inflated.
Once you have checked and adjusted these settings, you’re almost ready to take your electric bike for a spin. But before that, let’s move on to the next step of the process: the test ride and fine-tuning.
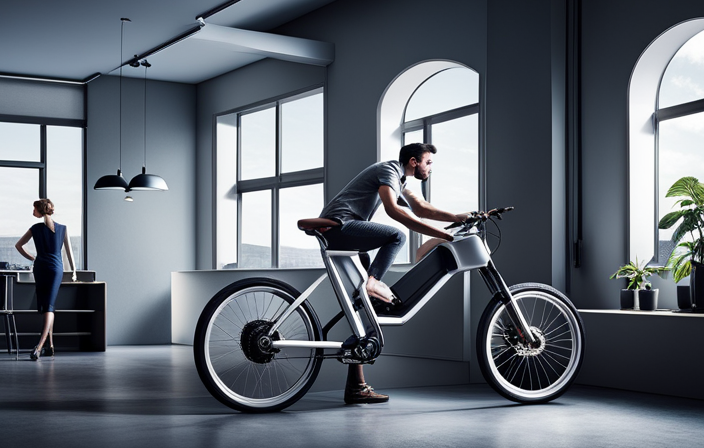
Test Ride and Fine-Tune
Take your newly built bike for a test ride to make sure everything is working correctly. Start by riding on a flat surface to check the brakes, gears, and overall stability. Pay attention to any strange noises or vibrations.
If everything seems fine, try riding up and down hills to test the motor’s power and performance. Adjust the pedal-assist settings to find the right level of assistance for your needs.
During the test ride, take note of any issues or adjustments that need to be made. Once you are satisfied with the bike’s performance, you can move on to the next section where you will find important safety tips and maintenance advice to keep your electric bike running smoothly.
Safety Tips and Maintenance Advice
For optimum performance and longevity, it’s important to follow safety guidelines and perform regular maintenance on your e-bike.
Safety should always be your top priority when riding an electric bike. Make sure to wear a helmet and other protective gear, and obey traffic rules just like you would on a regular bicycle.
It’s also crucial to regularly inspect your e-bike for any signs of wear and tear. Check the brakes, tires, and lights before every ride.
Additionally, keep your e-bike clean and dry, as moisture can damage the electrical components. Regularly lubricate the chain and gears to ensure smooth operation.
Lastly, it’s recommended to have your e-bike serviced by a professional technician at least once a year to address any potential issues and keep it running smoothly.
Frequently Asked Questions
What tools are needed to assemble an electric bike?
To assemble an electric bike, you will need a variety of tools such as wrenches, screwdrivers, pliers, and Allen keys. These tools are necessary to properly install the various components and ensure the bike is functioning correctly.
How long does it typically take to assemble an electric bike?
Assembling an electric bike usually takes a couple of hours. With all the necessary tools at hand, it’s a rewarding process that allows you to create your own personal transportation in no time. Now, let’s dive into how to assemble an electric bike!
Can the battery be charged while it’s on the bike or does it need to be removed?
The battery on an electric bike can be charged while it’s on the bike or it can be removed. It depends on the specific model and manufacturer’s instructions.
How do I adjust the brakes and gears on an electric bike?
To adjust the brakes on an electric bike, I gently tweak the brake pads and check for proper alignment. For the gears, I simply turn the barrel adjuster until the shifting is smooth. It’s a breeze!
Are there any specific maintenance tasks that need to be done regularly for an electric bike?
Yes, there are a few regular maintenance tasks to keep your electric bike running smoothly. These include checking tire pressure, lubricating the chain, inspecting the brakes, and cleaning the bike regularly.
Conclusion
In conclusion, assembling an electric bike is a rewarding and fulfilling experience. It may seem daunting at first, but with the right tools and instructions, anyone can do it.
Remember to take your time and double-check each step to ensure everything is properly connected. Once assembled, don’t forget to ride responsibly and maintain your bike regularly.
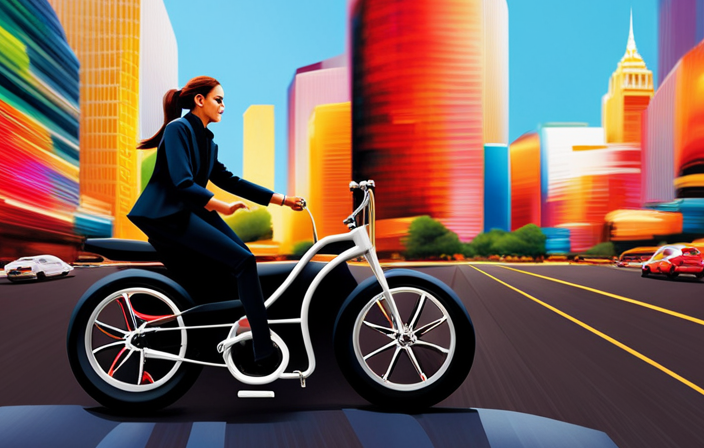
With a little patience and effort, you’ll be cruising down the road on your new electric bike in no time, feeling like a true pioneer in the world of sustainable transportation.