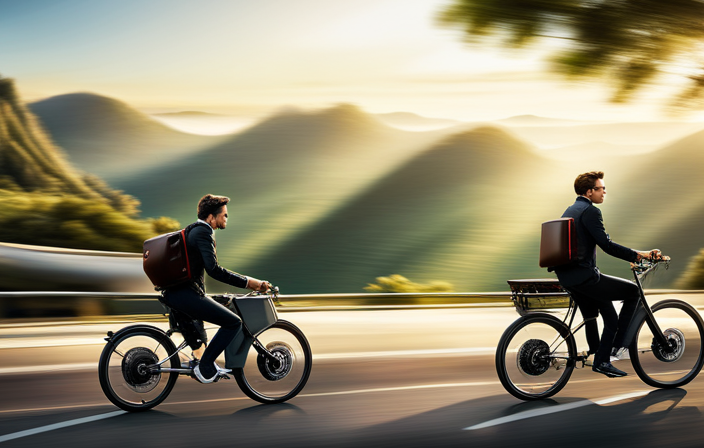
I’ve always been fascinated by the idea of building things from scratch, and when it comes to electric bikes, the possibilities are endless.
In this article, I’ll take you through the step-by-step process of creating your very own electric bike.
From understanding the basics and selecting the right components, to installing the motor and wiring the electrical system, we’ll leave no stone unturned.
So, get ready to dive into the world of DIY electric bikes and unleash your inner engineer.
Key Takeaways
- Enhance safety and visibility by installing reliable lights and a loud horn or bell.
- Test ride the bike to observe how it handles different terrains and troubleshoot any potential issues.
- Practice proper maintenance by regularly inspecting tires, cleaning the chain, and checking the battery.
- Enjoy the ride and customize accessories for a personalized riding experience, while following maintenance routines for the bike’s longevity and reliability.

Under Armour Squeeze Water Bottles, 32 oz Water Bottles, Sideline Sports Water Bottle with Quick-Shot Lid, Quick & Easy Hydration, Gym Water Bottles, Squeeze Bottle, 1 32oz Bottle
- Easy Hydration: Quick-shot lid and one-way valve
- On-the-Go Use: One-hand operation for active hydration
- Measurement Markings: Ounces and milliliters for tracking
As an affiliate, we earn on qualifying purchases.
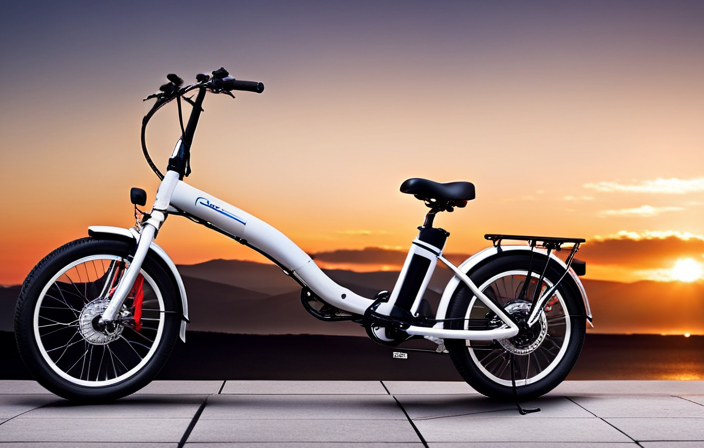
Understanding the Basics of Electric Bikes
To understand the basics of electric bikes, you’ll need to familiarize yourself with their key components and how they work together. Understanding the different types of electric bike motors is essential.
There are three main types: hub motors, mid-drive motors, and friction drive motors. Hub motors are the most common and are located in the wheel hub. Mid-drive motors are located near the bottom bracket and provide better balance and performance. Friction drive motors are attached to the rear wheel and are less common.
Another important aspect to consider is understanding the role of battery capacity in electric bike performance. The battery is what powers the motor, so a higher capacity battery will provide longer range and more power.
Now that we understand the basics, let’s move on to choosing the right frame and components for our electric bike build.
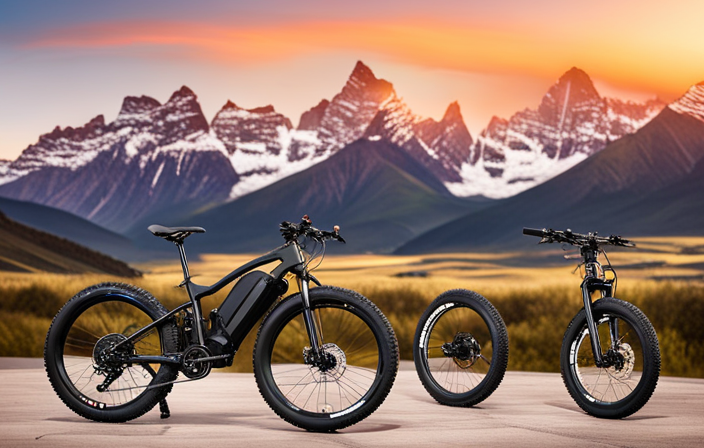
Choosing the Right Frame and Components
When choosing the right frame and components for your electric bike, it’s important to consider factors such as weight, durability, and compatibility.
The frame is the foundation of your bike, so it needs to be strong and lightweight to support the motor and battery. Look for materials like aluminum or carbon fiber that offer a good balance of strength and weight. Additionally, consider the type of riding you’ll be doing and choose a frame style that suits your needs, whether it’s a mountain bike, road bike, or hybrid.
Along with the frame, there are other essential components to consider, such as the brakes, gears, and suspension. These components should be of high quality and compatible with your chosen frame.
Now, let’s move on to selecting the right motor and battery for your electric bike…
Selecting the Right Motor and Battery
If you’re looking to maximize power and range, you’ll want to choose a motor and battery combination that suits your riding needs. The motor power determines how fast and how efficiently your electric bike will run. The battery range determines how far you can go on a single charge. To help you make an informed decision, I have created a table comparing different motor power and battery range options:
| Motor Power | Battery Range |
|---|---|
| 250W | 20-30 miles |
| 500W | 30-40 miles |
| 750W | 40-50 miles |
As you can see, the higher the motor power, the faster your bike will go. However, keep in mind that higher power motors consume more battery, which can decrease your overall range. It’s important to find the right balance between power and range based on your riding preferences. Now that you have selected your motor and battery, let’s move on to installing them onto your bike without delay.
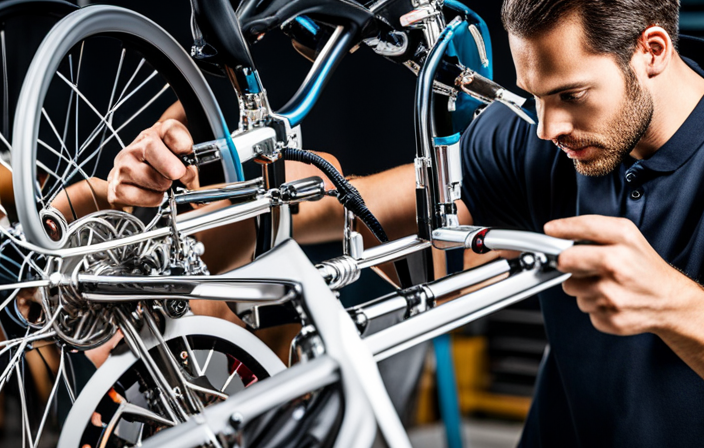
Installing the Motor and Battery
Now that you’ve chosen your ideal motor and battery combination, it’s time to install them onto your bike.
Begin by locating a suitable space on your bike’s frame where the motor can be securely attached. Ensure that the motor aligns properly with the chain and sprocket system. Use the appropriate tools to fasten the motor securely in place.
Next, mount the battery and controller near the motor, making sure they are easily accessible. Connect the power cables from the battery to the controller, and then connect the controller to the motor. Double-check all connections for proper polarity and secure them tightly.
If you encounter any issues during installation, such as misalignment or loose connections, refer to the manufacturer’s instructions or seek professional assistance.
With the motor and battery successfully installed, we can now move on to wiring and connecting the electrical system.
Wiring and Connecting the Electrical System
To properly wire and connect the electrical system, make sure all cables are securely attached and double-check for any loose connections.
Connecting wires in an electric bike is a critical step that requires precision and attention to detail. One effective technique for ensuring a strong and reliable connection is soldering.
By using soldering techniques, you can create a permanent joint between the wires, minimizing the risk of loose connections and electrical failures. It is essential to strip the insulation from the wires before soldering and ensure that the exposed conductors are clean and free from any debris.
A well-executed solder joint will provide a strong electrical connection that can withstand the vibrations and stresses encountered during the bike’s operation.
Now, let’s move on to assembling the bike’s drive train, where we will focus on installing the gears and chain.
Assembling the Bike’s Drive Train
Once the gears and chain are installed, it’s important to properly adjust and align them for smooth and efficient operation.
Start by installing the pedals onto the crank arms, ensuring they are tightened securely.
Next, check the chain tension by pushing down on the middle of the chain. It should have a slight amount of play, approximately 1/2 inch. If the tension is too loose, use the rear derailleur to adjust it.
Turn the barrel adjuster on the derailleur clockwise to tighten the chain or counterclockwise to loosen it.
Once the chain tension is properly adjusted, shift through the gears to ensure smooth shifting.
With the pedals installed and the chain tension adjusted, the bike’s drive train is now ready for fine-tuning and adjusting its overall performance.
Fine-Tuning and Adjusting the Bike’s Performance
With the chain tension properly adjusted, it’s time to fine-tune and optimize the bike’s overall performance.
To ensure a smooth and comfortable ride, it is crucial to adjust the suspension according to your weight and riding style. Start by setting the sag, which is the amount the suspension compresses under your weight when sitting on the bike.
Next, adjust the rebound damping to control how quickly the suspension returns to its original position after compressing. Lastly, fine-tune the compression damping to optimize power output and improve traction.
This will allow you to maximize the bike’s performance and ride more efficiently. By adjusting the suspension, you can achieve better control and comfort on various terrains.
Now, let’s move on to the next section, where we will discuss adding safety features and accessories to your electric bike.
Adding Safety Features and Accessories
After fine-tuning and adjusting the performance of my electric bike, it’s time to focus on adding essential safety measures and accessories. Safety is paramount when riding any vehicle, and an electric bike is no exception.
To ensure a secure and worry-free ride, I begin by installing a reliable set of front and rear lights, enhancing visibility in low-light conditions. Additionally, I attach a loud horn or bell to alert pedestrians and other cyclists of my presence.
To protect myself in case of a fall or collision, I equip the bike with a sturdy helmet and knee and elbow pads. Finally, I mount a rearview mirror on the handlebars to improve my awareness of surrounding traffic.
Test Riding and Troubleshooting
To ensure a smooth test ride and troubleshoot any potential issues, you’ll want to carefully observe how the bike handles different terrains and adjust accordingly.
Start by testing the bike on flat, even surfaces to get a feel for its handling and responsiveness. Pay attention to any unusual noises or vibrations, as they may indicate a problem.
Next, take the bike on rougher terrains such as gravel or grass to see how it handles bumps and uneven surfaces. This will help you identify any issues with the suspension or tires.
Additionally, test the bike on hills to check the power and performance of the motor. If you encounter any problems, consult the troubleshooting techniques provided in the manual or seek professional assistance.
By thoroughly testing and troubleshooting your DIY electric bike, you can ensure a safe and enjoyable riding experience.
Transitioning into the subsequent section about ‘enjoying your DIY electric bike,’ it’s important to remember that proper maintenance and regular inspections are essential to keeping your bike in top condition.
Enjoying Your DIY Electric Bike
After thoroughly testing and troubleshooting my DIY electric bike, I am excited to finally enjoy the fruits of my labor. Now that the bike is running smoothly, I can focus on customizing accessories to enhance my riding experience.
One of the first accessories I plan to add is a comfortable seat with extra padding for long rides. Additionally, I will install a sturdy rack to carry my belongings when I go on trips.
To ensure the longevity of my electric bike, I will diligently follow some maintenance tips. Regularly inspecting the tires for wear and tear, cleaning the chain, and lubricating the moving parts will help keep the bike in optimal condition. Moreover, I will periodically check the battery and its connections to ensure proper functioning.
With these customizations and maintenance routines, I can confidently enjoy my DIY electric bike for years to come.
Frequently Asked Questions
What are the legal requirements for riding an electric bike on public roads?
To ride an electric bike on public roads, you must adhere to electric bike regulations and safety precautions. These include following speed limits, wearing a helmet, and ensuring your bike meets the required specifications for power and speed.
How much does it cost to build an electric bike from scratch?
Building an electric bike from scratch can be quite costly. A cost estimation and breakdown reveal expenses for components like the motor, battery, frame, and accessories. The total cost can vary depending on the quality and specifications desired.
Can I use any type of bicycle frame to build an electric bike?
Yes, you can convert a mountain bike into an electric bike. Different types of batteries can be used, such as lithium-ion or lead-acid. The choice depends on factors like weight, cost, and range requirements.
Are there any specific tools or equipment required for building an electric bike?
To build an electric bike, specific tools and equipment are required. These tools are essential for the construction process and include wrenches, screwdrivers, pliers, wire cutters, a soldering iron, a multimeter, and a torque wrench.
How long does it typically take to build an electric bike from scratch?
Building an electric bike from scratch typically takes several weeks to several months, depending on the complexity of the design, the availability of parts, and the builder’s experience. It requires a variety of technical skills and the cost of materials can vary depending on the desired specifications.
Conclusion
After countless hours of research, planning, and hard work, I have finally created my very own electric bike from scratch.
It’s a thrilling feeling to see my creation come to life, with its sleek frame, powerful motor, and reliable battery.
With each pedal, I can feel the surge of electric power propelling me forward, effortlessly gliding through the streets.
The intricate wiring and precise adjustments ensure a smooth and exhilarating ride.
And with added safety features and accessories, I can confidently explore the world on my DIY electric bike.
It’s a true masterpiece of innovation and craftsmanship, and I couldn’t be more proud.