You may think building an electric bike is a daunting task, but with the right instructions and a little determination, you can create your very own eco-friendly mode of transportation.
In this article, we will guide you through the step-by-step process of building an electric bike.
From gathering the necessary tools and materials, to selecting the right bike frame and installing the motor and battery, we will provide you with detailed instructions to ensure a successful build.
So, put your doubts aside and get ready to embark on this exciting journey of creating your very own electric bike.
Key Takeaways
- Necessary adjustments and upgrades for improved efficiency and performance
- Benefits of electric bikes, including convenience and eco-friendliness
- Different electric bike conversion kits available to meet specific needs
- Importance of functionality and safety testing for a safe and reliable riding experience
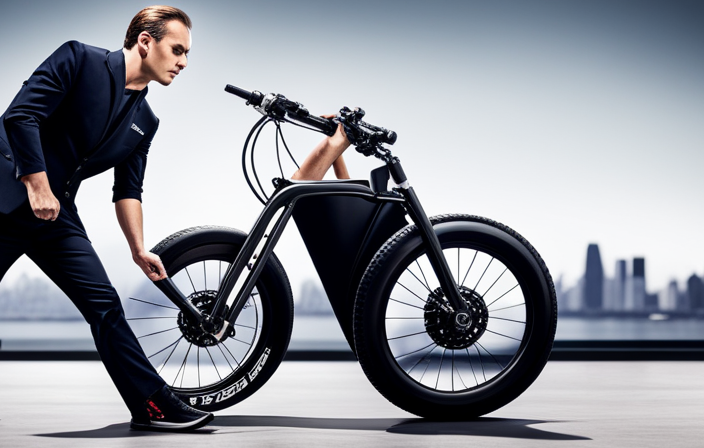
Gather the Necessary Tools and Materials
You’ll need to gather the necessary tools and materials for building your electric bike.
First, let’s talk about the tools and equipment you’ll need. Make sure you have a set of wrenches, screwdrivers, pliers, and a socket set. These will come in handy when assembling the bike. Additionally, you’ll need an electric drill, wire cutters, and a soldering iron for the electrical components.
Safety should always be a priority, so don’t forget to wear protective gear, such as safety goggles and gloves, when working with power tools or soldering. It’s also important to have a fire extinguisher nearby, just in case.
Now that you have all the necessary tools and equipment, let’s move on to choosing the right bike frame for your electric bike build.
Choose the Right Bike Frame
When choosing the right frame for your electric bike, it’s important to consider factors like size, weight, and material.
To ensure proper weight distribution, opt for a frame that balances the weight of the motor and battery. This will improve stability and handling while riding. Additionally, the frame should be compatible with the motor and battery you plan to install. Check the manufacturer’s specifications for recommended frame types and sizes.
Durability is another crucial aspect to consider. Look for frames made from strong materials like aluminum or steel, as they can withstand the demands of an electric bike. Aesthetics should also be taken into account, so choose a frame that suits your personal style and preferences.
Lastly, don’t forget about comfort. Select a frame that offers a comfortable riding position and accommodates any necessary adjustments.
Now that you’ve chosen the right bike frame, let’s move on to the next step: selecting the motor and battery.
Select the Motor and Battery
To select the motor and battery, you’ll need to consider factors such as motor power, battery capacity, and compatibility with your chosen frame.
Motor power is measured in watts and determines how much assistance the motor can provide. A higher power output will allow for faster acceleration and better climbing ability.
Battery capacity, measured in ampere-hours (Ah), determines how far you can ride on a single charge. Consider your desired range and choose a battery that can meet your needs.
Additionally, ensure that the motor and battery are compatible with the frame of your bike, taking into account mounting options and space constraints.
Once you have selected the right motor and battery, you can proceed to install them onto your bike frame, which we will discuss in the next section.
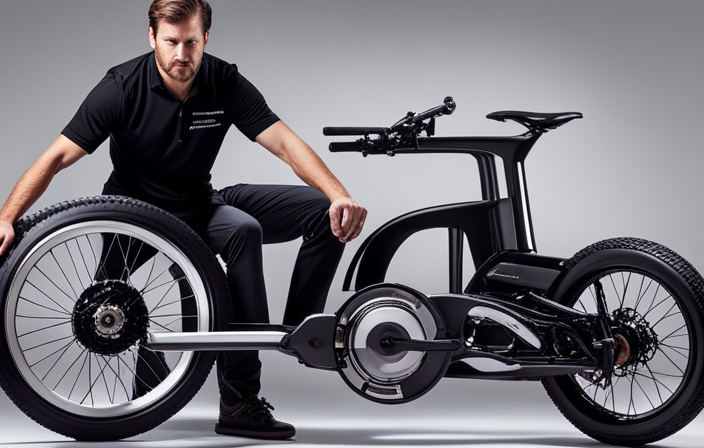
Install the Motor and Battery onto the Bike Frame
First, it’s important to install the motor and battery onto the bike frame. When it comes to mounting options, there are a few different ways to accomplish this.
One popular method is to use a motor bracket that attaches to the bottom bracket of the bike frame. This provides a stable and secure base for the motor.
Another option is to use a rear rack that has built-in motor mounts. This allows for easy installation and removal of the motor.
Once the motor is securely mounted, it’s time to consider battery placement. Many electric bikes have the battery mounted on the downtube of the frame, as this provides a good balance and weight distribution. However, there are also options to mount the battery on the rear rack or even inside a bike bag.
With the motor and battery properly installed, you can now move on to connecting the wiring for the electric system seamlessly.
Connect the Wiring for the Electric System
Once you have securely mounted the motor and battery onto the bike frame, it’s time to connect the wiring for the electric system. Follow these steps to ensure a successful connection:
-
Wiring troubleshooting: Before connecting the battery, inspect the wiring for any signs of damage or loose connections. Make sure all the wires are properly insulated and secure. Any frayed or exposed wires should be replaced or repaired before proceeding.
-
Connecting the battery: Locate the positive and negative terminals on the battery and the corresponding connectors on the motor. Attach the positive wire to the positive terminal and the negative wire to the negative terminal. Ensure a tight and secure connection by using the appropriate connectors or terminals.
-
Double-check the connections: Once the wiring is connected, carefully inspect all the connections to ensure they are properly secured. Avoid any loose or dangling wires that could interfere with the bike’s performance.
Now that the wiring is successfully connected, you can move on to the next step of installing the controller and throttle.
Install the Controller and Throttle
Now that you’ve securely connected the wiring, it’s time to install the controller and throttle.
Start by locating a suitable spot on your electric bike to mount the controller and throttle. Ensure they are easily accessible and won’t interfere with your riding experience.
Use zip ties or mounting brackets to secure both components in place. Connect the throttle to the controller by matching the corresponding wires and connectors. Double-check the connections to ensure they are secure and properly aligned.
Once everything is installed, it’s important to test the controller and throttle to make sure they are functioning correctly. Troubleshoot common controller issues such as unresponsiveness or error codes.
Once you’re confident that everything is working smoothly, you can move on to the next step of mounting the display and controls.
Mount the Display and Controls
To mount the display and controls, you’ll need to find a suitable location on your e-bike and ensure they are easily accessible during your rides. There are various mounting options available, depending on your bike’s design and your personal preference. You can choose to mount the display and controls on the handlebars, stem, or even the top tube. Consider factors such as visibility, reach, and comfort when selecting the best position. Once you have decided on the location, securely attach the display and controls using the provided hardware. Ensure that all connections are properly plugged in and tightened. If you encounter any issues, refer to the troubleshooting tips in the instruction manual or seek assistance from the manufacturer. With the display and controls mounted, you are now ready to test the electric bike for functionality and safety, verifying that all components are working as intended.
Test the Electric Bike for Functionality and Safety
Make sure you test your e-bike for functionality and safety to ensure all components are working properly.
Before taking your electric bike for a ride, it is crucial to conduct functionality testing. Start by checking the display and controls to ensure they are responsive and accurate. Test the throttle, brakes, and pedal assist system to ensure they are functioning smoothly. Additionally, check the battery and motor to ensure they are providing sufficient power.
Once you have tested the functionality, it is important to take safety precautions. Check the brakes for proper stopping power and adjust if necessary. Inspect the tires for proper inflation and any signs of wear. Make sure the lights and reflectors are working correctly.
Finally, test the e-bike in a safe and controlled environment to ensure it performs as expected. If any issues arise during testing, make any necessary adjustments or upgrades to ensure the e-bike is safe and functional for riding.
Make any Necessary Adjustments or Upgrades
Once you have completed the functionality and safety testing, you may need to make any necessary adjustments or upgrades to ensure optimal performance. Here are some adjustment techniques and upgrading options to consider:
-
Fine-tune the brakes: Adjust the brake pads to ensure they are properly aligned with the wheel rims. This will improve braking efficiency and responsiveness.
-
Gear adjustment: Fine-tune the gear shifting mechanism to ensure smooth and precise gear changes. This will enhance your riding experience, especially when tackling different terrains.
-
Battery upgrade: Consider upgrading to a higher capacity battery pack to increase the range of your electric bike. This will allow you to enjoy longer rides without worrying about running out of power.
-
Motor upgrade: If you desire more power, you can upgrade to a higher wattage motor. This will provide better acceleration and climbing capabilities.
With these adjustment techniques and upgrading options, you can customize your electric bike to meet your specific needs and preferences.
Now, enjoy your newly-built electric bike and experience the thrill of eco-friendly transportation!
Enjoy Your Newly-Built Electric Bike!
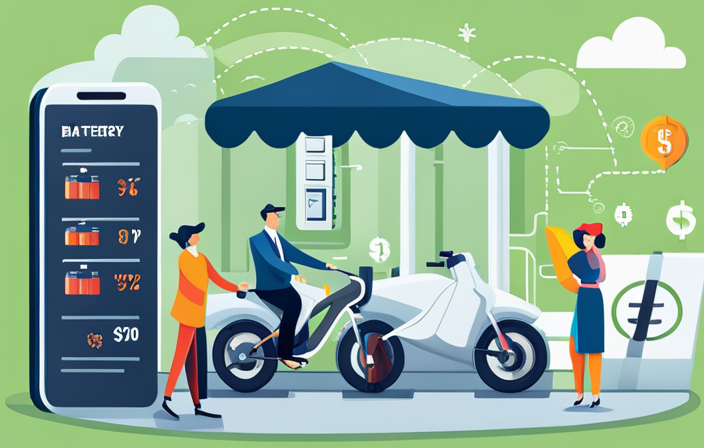
Now that you’ve completed your electric bike, it’s time to enjoy the exhilarating experience of riding it! Electric bikes provide numerous benefits, making them a popular choice among cyclists. They offer a convenient and eco-friendly mode of transportation, allowing you to effortlessly navigate through traffic or explore the outdoors.
One exciting aspect of owning an electric bike is the ability to customize it using different electric bike conversion kits. These kits come in various options, catering to different preferences and needs. Whether you prefer a more powerful motor, longer battery life, or enhanced control, there’s a conversion kit for you.
Take the time to research and compare different kits, considering factors such as compatibility, ease of installation, and customer reviews. By exploring these options, you can further enhance your electric bike and ensure an enjoyable riding experience.
Frequently Asked Questions
How much does it cost to build an electric bike?
The cost breakdown of building an electric bike varies depending on whether you choose DIY or buying a pre-made bike. DIY can cost around $500-$2000, while pre-made bikes can range from $1000-$5000.
Can I use any type of bike frame to build an electric bike?
Yes, you can use various types of bike frames to build an electric bike. Compatibility is crucial, so ensure the frame can accommodate the battery, motor, and wiring. Building your own electric bike offers benefits like customization, cost savings, and a sense of accomplishment.
How long does it take to install the motor and battery onto the bike frame?
Installing the motor and battery onto the bike frame depends on your skill level and familiarity with the process. It can take anywhere from a few hours to a full day, taking into account the necessary adjustments and ensuring proper alignment and wiring. Choosing the right bike frame is crucial for a successful installation.
What type of wiring is required for the electric system?
To ensure the smooth functioning of your electric bike, various types of wiring are required. These include battery connectors, motor cables, and throttle wires. Safety precautions such as proper insulation and grounding must be followed, and troubleshooting skills are essential for identifying and fixing any wiring issues.
Are there any legal requirements or restrictions for riding an electric bike?
To legally ride an electric bike, you must comply with licensing and safety regulations. Depending on your location, you may need a specific license or permit. It is important to familiarize yourself with local laws to ensure a safe and legal riding experience.
Conclusion
Congratulations! You’ve successfully completed the process of building your electric bike. By following the step-by-step instructions and using the right tools and materials, you have created a remarkable mode of transportation.
Don’t forget to regularly test and maintain your electric bike to ensure its functionality and safety.
Now, embark on exciting adventures and effortlessly explore the world on your newly-built, eco-friendly, and electrifying electric bike.
Enjoy the ride and remember to always ride responsibly!