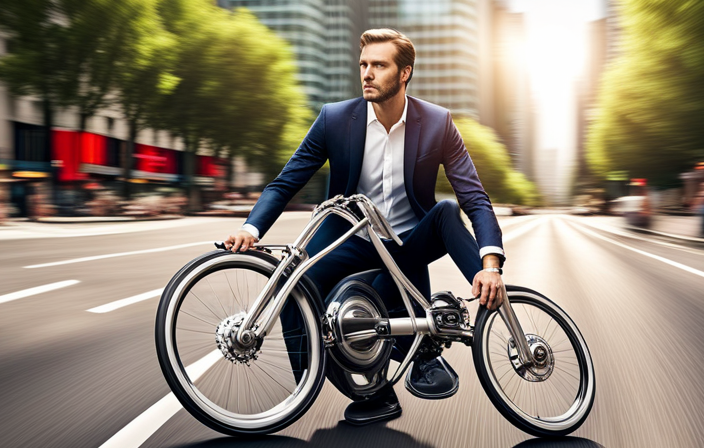
Did you know that building your own electric bike at home can save you up to 70% compared to buying a pre-made one?
In this detailed guide, we will walk you through the step-by-step process of building your own electric bike from scratch.
From gathering the necessary tools and materials to selecting the right bike frame and installing the motor and battery system, we will cover everything you need to know to create your very own DIY electric bike.
Get ready to embark on an exciting journey of innovation and sustainability!
Key Takeaways
- Ensure thorough troubleshooting and regular maintenance to identify and fix issues
- Secure and adjust components properly for safety and optimal performance
- Follow safety precautions and legal regulations when adding optional features and accessories
- Wear safety gear, familiarize yourself with controls, and regularly check bike components for a smooth and enjoyable ride
Gathering the Necessary Tools and Materials
You’ll need to gather the necessary tools and materials for building your electric bike at home. First, choosing the right battery size is crucial to ensure optimal performance. Consider the voltage and capacity of the battery, as it will directly impact the range and power of your bike. Look for batteries that are specifically designed for electric bikes, as they are more reliable and durable.
Additionally, finding affordable motor options is important. Look for motors that are compatible with your chosen battery size and can provide the desired power output. Consider factors such as motor weight and efficiency.
Once you have gathered the necessary tools and materials, you can move on to the next section about choosing the right bike frame, which will be discussed in detail.
Choosing the Right Bike Frame
When selecting the appropriate frame for your DIY electric bicycle, consider factors such as size, weight, and material.
Choosing the right frame material is crucial to ensure the safety and durability of your electric bike. Steel frames are sturdy and affordable, making them a popular choice for DIY builders.
Aluminum frames, on the other hand, are lightweight and corrosion-resistant, perfect for those who prioritize speed and agility. Carbon fiber frames offer the ultimate combination of strength and lightness, but they can be expensive.
Once you’ve chosen the right frame material, it’s time to customize it for electric components. This involves modifying the frame to accommodate the motor, battery, and wiring. Reinforcing the frame with additional brackets or mounts may be necessary.
With the frame selected and customized, you can now move on to selecting the motor and battery system for your electric bike.
Selecting the Motor and Battery System
To choose the motor and battery system for your DIY electric bicycle, consider factors such as power output, range, and compatibility with your frame.
When it comes to motor selection, determine the power output you desire based on your intended use. A higher power output will provide more speed and better performance, but may drain the battery faster.
Next, evaluate the battery capacity you need. Consider the range you want to achieve and the weight of the battery. A larger capacity will allow for longer rides, but it will also add more weight to your bike.
Finally, ensure that the motor and battery system you choose is compatible with your bike frame. This will ensure a seamless installation process.
In the next section, we will discuss how to install the motor and battery onto your bike frame.
Installing the Motor and Battery
Now that you’ve selected the motor and battery system, it’s time to install them onto your bike frame. To ensure optimal power efficiency, it is crucial to properly install the motor and battery. Follow these steps to successfully complete the installation process:
| Step | Description |
|---|---|
| 1 | Begin by positioning the motor on the designated spot on the bike frame. Refer to the manufacturer’s instructions for specific mounting details. |
| 2 | Secure the motor in place using sturdy brackets or clamps. Make sure it is tightly fastened to prevent any movement during operation. |
| 3 | Connect the motor to the bike’s drivetrain. This involves attaching the motor sprocket to the chain, ensuring a smooth transfer of power. |
| 4 | Install the battery onto the bike frame, preferably in a location that balances the weight distribution. Secure it tightly to prevent vibrations or accidental dislodging. |
Now that you’ve successfully installed the motor and battery, it’s time to move on to wiring and connecting the components.
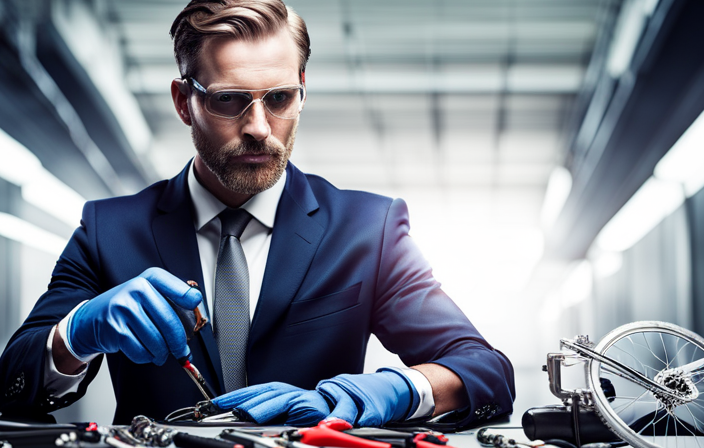
Wiring and Connecting the Components
After successfully installing the motor and battery, the next step is wiring and connecting the components.
Proper wiring techniques are crucial to ensure the smooth functioning of your electric bike. Start by identifying the compatible components to avoid any compatibility issues.
Begin by connecting the motor to the controller using appropriate wires, ensuring that the connections are secure and tight. Then, connect the battery to the controller, making sure to follow the specified polarity. Additionally, you will need to connect the throttle and brake sensors to the controller, ensuring proper functionality.
Take extra care to insulate and protect the wires to prevent any short circuits or damage.
Once all the components are properly connected, you can move on to the next step of mounting the controller and throttle, which will be discussed in the subsequent section.
Mounting the Controller and Throttle
Once the motor and battery are installed and the components are properly connected, the next step is mounting the controller and throttle.
To install the controller, begin by finding a suitable location on the frame that is easily accessible. Use zip ties or brackets to securely attach the controller in place. Make sure to leave enough space for the wires to reach the battery and motor.
Next, connect the throttle to the controller using the provided wiring harness. Adjust the throttle sensitivity according to your preference by tightening or loosening the throttle tension screw. This will determine how quickly the motor responds to your input.
Once the controller and throttle are securely mounted and adjusted, you can move on to adding the brakes and lights to complete your electric bike setup.
Adding the Brakes and Lights
To add the brakes and lights, you’ll need to ensure they are securely attached and properly wired to your electric bike. Start by checking your brake system for any signs of wear or damage. Replace any worn brake pads and adjust the brake cables if necessary. Proper brake maintenance is crucial for safe riding.
Next, install the lights on your electric bike. Choose lights that are bright and easily visible to enhance your visibility on the road. Attach the front light to the handlebars and the rear light to the seat post or rear rack. Make sure to connect the lights to the appropriate wires, following the manufacturer’s instructions.
Once you have completed adding the brakes and lights, you can move on to installing the electric bike conversion kit, which will allow you to convert your regular bicycle into an electric bike.
Installing the Electric Bike Conversion Kit
When installing the electric bike conversion kit, make sure all the necessary components are included and properly fitted. Before beginning, check that you have the motor, battery, controller, throttle, and wiring harness. These are essential for the conversion process. The first step is to remove the front wheel of your mountain bike and replace it with the electric motor wheel. Ensure that the motor is centered and aligned with the fork. Next, attach the battery to the frame using the provided brackets and secure it tightly. Connect the controller to the motor and throttle, making sure all connections are secure. Finally, install the wiring harness and test the system before riding. Troubleshooting common issues with electric bike conversion kits may include checking connections, battery charge, and motor functionality. Transition into the subsequent section by emphasizing the importance of testing and troubleshooting to ensure a successful electric bike conversion.
Testing and Troubleshooting
Now that you’ve successfully installed the electric bike conversion kit, it’s time to move on to the next crucial step: testing and troubleshooting.
This phase is essential to ensure that your electric bike functions properly and to address any potential issues that may arise.
Start by checking all the connections and making sure they are secure. Then, test the battery performance by fully charging it and taking the bike for a spin. Pay attention to any abnormal noises, vibrations, or sudden power loss. These could indicate a problem with the motor, controller, or wiring.
Troubleshooting common issues such as these will help you identify and fix any problems before they become major concerns.
Once you have completed the testing and troubleshooting, you can proceed to the next section about securing and adjusting the components.
Securing and Adjusting the Components
Make sure you secure and adjust all of the components properly to ensure the optimal functioning of your conversion kit.
Begin by securing the battery pack onto the frame using the provided brackets and screws. Double-check that it is tightly fastened and positioned in a way that doesn’t interfere with any other components.
Next, secure the motor to the frame using the appropriate brackets or clamps. Ensure that it is aligned properly and securely fastened to prevent any movement during operation.
Adjust the tension of the drive belt or chain to ensure smooth and efficient power transmission. Additionally, check the alignment of the brake calipers and adjust them if necessary.
Properly securing and adjusting these components will not only improve the performance of your electric bike but also ensure your safety while riding.
Now, let’s move on to adding optional features and accessories to enhance your riding experience.
Adding Optional Features and Accessories
To enhance your riding experience, you can consider adding optional features and accessories to your converted electric bicycle. Here are some customizing options that will not only make your bike look cool but also increase its functionality:
- LED Lights: Install bright LED lights to ensure visibility and safety, especially during night rides.
- Rear Rack: Attach a sturdy rear rack to carry your belongings or add panniers for extra storage space.
- Digital Display: Upgrade your bike with a digital display that shows important information like speed, battery life, and distance traveled.
- Suspension Seatpost: Improve your comfort by installing a suspension seatpost, which absorbs shocks and vibrations from the road.
Remember to follow safety precautions when adding these features.
Now, let’s move on to ensuring safety and compliance with regulations to ensure a smooth and legal ride.
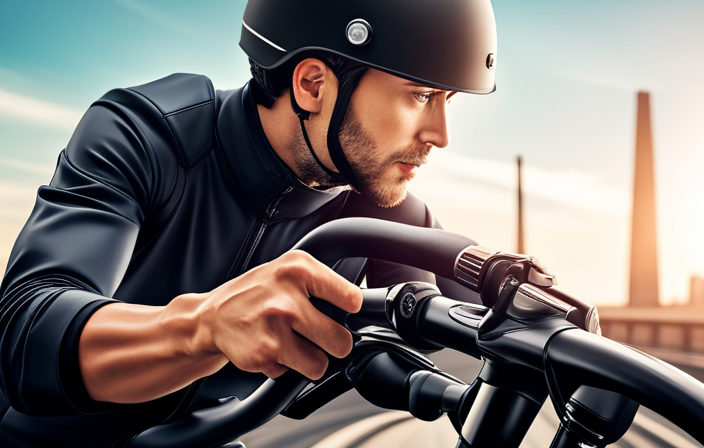
Ensuring Safety and Compliance
Ensuring safety and compliance with regulations is crucial for a smooth and legal ride on your converted e-bicycle. To meet legal requirements, it is important to research and understand the specific regulations and laws in your area regarding electric bikes. This may include limitations on speed, power, and where you can ride.
Additionally, wearing safety gear such as a helmet, reflective clothing, and gloves can greatly reduce the risk of accidents and injuries. It is also wise to take necessary precautions like installing lights, mirrors, and horns to enhance visibility and alert other road users. Regularly inspecting your bike’s components, such as brakes and tires, is essential to ensure they are in good working condition.
By ensuring legal compliance and taking safety measures, you can enjoy a worry-free ride on your electric bike.
Moving on to maintaining and servicing your electric bike, proper care and upkeep are crucial to prolong its lifespan and optimize performance.
Maintaining and Servicing Your Electric Bike
Taking care of your e-bike and regularly servicing it is essential to keep it running smoothly and efficiently. Here are some important steps to maintain and service your electric bike:
-
Maintaining electric bike batteries: Regularly check the battery charge level and ensure it is properly connected. Clean the battery terminals and keep them free from dirt and corrosion. Follow the manufacturer’s guidelines for charging and storage to prolong battery life.
-
Troubleshooting common electric bike issues: Familiarize yourself with the common problems such as motor malfunctions, brake issues, and electrical wiring faults. Inspect and tighten all connections regularly. Keep spare parts and tools handy for quick repairs.
-
Regular cleaning and lubrication: Clean your e-bike regularly to remove dirt, grime, and debris. Lubricate the chain, gears, and other moving parts to reduce friction and extend their lifespan.
-
Checking tire pressure and wear: Maintain the recommended tire pressure for optimal performance and safety. Inspect the tread for wear and replace the tires when necessary.
-
Periodic professional servicing: Schedule regular maintenance at a certified e-bike service center to ensure thorough inspection, adjustment, and repair of all components.
By properly maintaining and servicing your electric bike, you can enjoy a smoother and more enjoyable ride.
Now, let’s move on to the section on riding and enjoying your DIY electric bike.
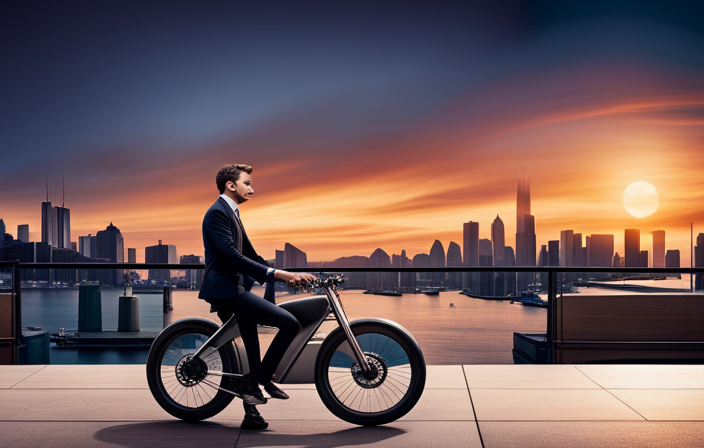
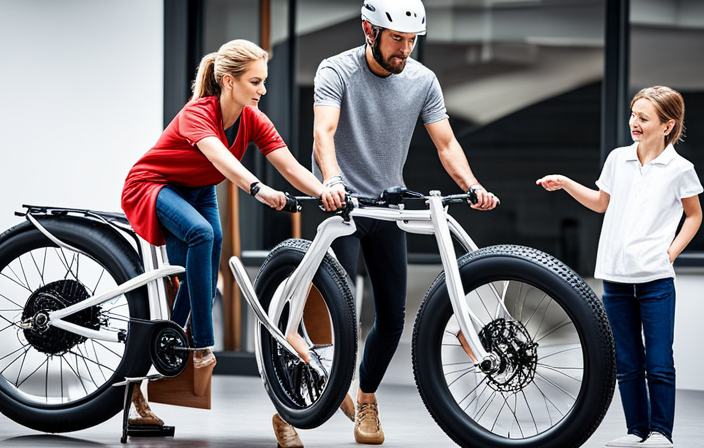
Riding and Enjoying Your DIY Electric Bike
Now that you’ve successfully assembled your DIY e-bike, it’s time to hit the road and enjoy the ride! Riding your electric bike can be a thrilling experience, but it’s important to prioritize safety precautions.
Before you embark on your enjoyable rides, always remember to wear a helmet and appropriate protective gear. Familiarize yourself with the controls and make sure you understand how the electric assistance works.
Start with shorter rides to get accustomed to the bike’s handling and power. While riding, be aware of your surroundings and follow traffic rules. Keep a safe distance from other vehicles and pedestrians, and use hand signals to indicate your intentions.
Regularly check your brakes, tire pressure, and battery levels to ensure a smooth ride. As you gain more confidence, you can explore further modifications and upgrades to enhance your e-bike’s performance and capabilities.
Exploring Further Modifications and Upgrades
To enhance your riding experience, you can consider exploring various modifications and upgrades for your DIY e-bike. These further performance enhancements will allow you to push the limits of your electric bike and truly enjoy the thrill of riding.
Here are some modifications you can consider:
-
Install a more powerful motor: Upgrading to a higher wattage motor will give you increased speed and torque, allowing you to tackle steep hills and ride with ease.
-
Upgrade your battery: Investing in a higher capacity battery will extend your range, allowing you to explore further without worrying about running out of power.
-
Install a suspension system: Adding front forks and a rear shock absorber will greatly improve your bike’s off-road capabilities, making it more capable on rough terrains.
-
Upgrade your tires: Opting for wider, knobby tires will provide better traction and stability, enabling you to confidently ride on various surfaces.
By exploring these modifications, you can take your DIY electric bike to new heights and enjoy the thrill of riding off-road with confidence.
Frequently Asked Questions
How much does it cost to build an electric bike at home?
The cost breakdown of building an electric bike at home depends on various factors.
DIY options can be more cost-effective as you have control over the components and can choose affordable options. However, it’s essential to consider the price of the motor, battery, controller, and other necessary parts.
Pre-built options may offer convenience but can be more expensive.
Ultimately, the cost will vary based on your preferences and the quality of components you choose.
Can I use any type of bike frame for an electric bike conversion?
When it comes to bike frame compatibility for electric bike conversions, not all frames are created equal. It’s like fitting a square peg into a round hole.
Common challenges arise when trying to retrofit certain frames due to their design, weight distribution, or lack of mounting points for components.
It’s crucial to choose a frame that is sturdy, has ample space for batteries and motors, and is compatible with the conversion kit you plan to use.
How long does it take to install the motor and battery system?
The installation time for the motor and battery system can vary depending on your experience and the complexity of the conversion kit. On average, it takes about 2-4 hours to install the motor and another 1-2 hours for the battery system.
It is important to carefully follow the instructions provided by the manufacturer to ensure proper installation.
Additionally, the battery life will depend on factors such as the capacity of the battery and the power usage of the motor.
What safety precautions should I take when wiring and connecting the components?
When wiring and connecting the components, it’s crucial to prioritize safety.
First, ensure you have the necessary safety gear, such as gloves and safety glasses, to protect yourself from potential hazards.
Additionally, proper grounding is vital to prevent electrical shocks or fires. Make sure all connections are secure and insulated, and double-check that the wiring is done correctly.
By following these precautions, you can minimize risks and enjoy a safe and successful electric bike build.
Are there any legal requirements or regulations I need to follow when riding my DIY electric bike on public roads?
To ensure the legality of your DIY electric bike conversion, it’s crucial to follow electric bike conversion guidelines and regulations set by your local authorities.
These guidelines typically include requirements such as maximum speed limits, power output limitations, and the need for certain safety features like lights and reflectors.
It’s important to familiarize yourself with these regulations to ensure a safe and legal ride on public roads.
Conclusion
Congratulations on completing your DIY electric bike! You’ve successfully transformed a regular bike into a powerful and eco-friendly mode of transportation.
Just like a skilled artist who breathes life into a blank canvas, you’ve breathed life into your bike, turning it into a magnificent machine.
Your dedication and effort have paid off, and now you can ride with pride and joy.
Remember, this is just the beginning. As you continue to explore further modifications and upgrades, your electric bike will continue to evolve, becoming an even more remarkable masterpiece.
Happy riding!