Imagine the thrill of riding your very own electric mini bike, custom-built to your specifications.
In this guide, I will share with you the step-by-step process of crafting a high-performance, eco-friendly ride.
From selecting the perfect components to fine-tuning its performance, you’ll learn everything you need to know to bring your mini bike to life.
So, strap on your helmet and get ready to embark on an electrifying adventure of DIY engineering!
Key Takeaways
- Research cost-effective components and compare prices and reviews to stay within budget.
- Choose a frame and wheels that are compatible and durable, made of strong and lightweight materials.
- Select a motor and battery that match the intended use of the mini bike, considering power output, torque capabilities, and voltage and capacity needed.
- When installing the motor, battery, and electrical system, securely mount the motor, position and secure the battery in a balanced manner, and double-check all connections for insulation and secureness.
Determine Your Budget and Research Components
You should determine your budget and research components before starting to build an electric mini bike. Researching cost-effective components is crucial in order to stay within your budget.
Start by comparing different motor and battery options to find the best fit for your needs. Look for motors that provide the right amount of power and torque for your desired speed and terrain. Consider battery options that offer a good balance between capacity and weight. Compare prices and read reviews to ensure you’re getting the most bang for your buck.
Once you have a clear understanding of the components you need, you can move on to choosing the right frame and wheels for your electric mini bike.
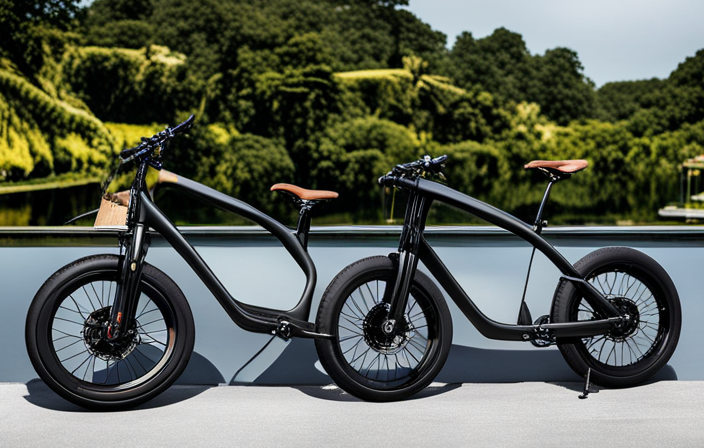
Choose the Right Frame and Wheels
When selecting the appropriate frame and wheels for your electric mini bike, make sure to consider their compatibility and durability. It is crucial to choose a frame that is specifically designed for electric mini bikes and can handle the power and weight of the motor and battery.
Additionally, the frame should be made of strong and lightweight materials such as aluminum or steel alloy to ensure stability and longevity.
As for the wheels, opt for ones that are suitable for electric mini bike tires, which are designed to provide better traction and handling on different terrains. Consider factors like tire size, tread pattern, and material composition. These elements will greatly impact the overall performance and safety of your electric mini bike.
Now, let’s move on to the next step and select an electric motor and battery for your project.
Select an Electric Motor and Battery
To select an electric motor and battery, consider the power requirements and compatibility with the frame and wheels of your project. When choosing an electric motor, evaluate its power output, RPM range, and torque capabilities. Match these specifications with the intended use of your electric mini bike. Additionally, ensure that the motor is compatible with the frame and wheel size you have selected. A higher power motor might require a sturdier frame and larger wheels for better stability.
In terms of battery selection, assess the voltage and capacity needed to power your electric motor. Consider the weight and size of the battery, as it will affect the overall weight distribution and handling of your mini bike. Lithium-ion batteries are commonly used due to their high energy density and lightweight nature.
Once the electric motor and battery are chosen, the next step is to install them onto the frame. This ensures that they are securely mounted and properly connected for optimal performance.
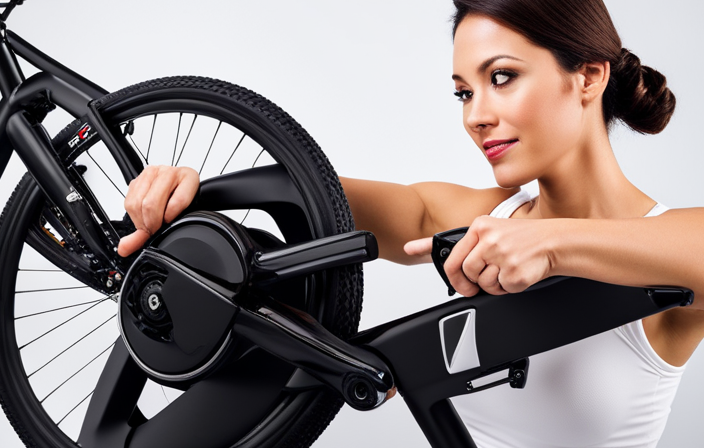
Install the Motor and Battery onto the Frame
Once you have selected the electric motor and battery, it’s time to install them onto the frame for optimal performance. Safety considerations during the installation process are crucial to ensure a smooth and secure setup. Here are some tips for maximizing the performance of the motor and battery system:
-
Begin by securely mounting the motor onto the frame using appropriate brackets and fasteners. Ensure that it is aligned properly and tightly secured to prevent any vibrations or movement during operation.
-
Next, carefully attach the battery onto the frame, making sure it is positioned in a balanced and stable manner. Use reliable straps or brackets to secure it firmly in place.
-
Lastly, double-check all the connections and fastenings to ensure everything is secure and tight.
By following these steps, you can guarantee a safe and efficient installation of the motor and battery system.
Once this is complete, you can now proceed to connect the wiring and test the electrical system for proper functionality.
Connect the Wiring and Test the Electrical System
After securely mounting the motor and battery onto the frame, it’s time to connect the wiring and test the electrical system for proper functionality.
To begin, carefully connect the motor wires to the corresponding terminals on the controller. Ensure that the connections are tight and secure, using electrical tape or wire connectors if necessary.
Next, connect the battery to the controller, making sure to match the positive and negative terminals correctly. Double-check all connections to ensure they are properly insulated and free from any loose wires or exposed metal.
Once the wiring is complete, it’s time to test the electrical system. Turn on the power and check if the motor engages smoothly. Test the throttle response, making sure it accelerates and decelerates as expected.
If any issues arise, refer to the troubleshooting tips provided in the instruction manual.
With the electrical system tested and functioning correctly, we can now move on to the next section and install brakes, suspension, and other components.
Install Brakes, Suspension, and other Components
Now that the wiring and electrical system have been tested, it’s time to install the brakes, suspension, and other components.
When it comes to mini bikes, regular maintenance is crucial to ensure optimal performance and safety. Installing brakes is a vital step in this process. Properly functioning brakes allow for quick and efficient stopping, preventing accidents and injury.
Additionally, suspension systems play a significant role in providing a smooth and comfortable ride. There are different types of suspension systems available for mini bikes, such as telescopic forks or swingarm suspensions, each offering varying levels of shock absorption. Carefully selecting the most suitable suspension system for your bike will enhance its handling and stability.
As we move forward, we will now discuss how to attach the handlebars and controls, ensuring complete control over your electric mini bike.
Attach the Handlebars and Controls
To attach the handlebars and controls, start by positioning them in the desired position on the bike frame. Ensure that the handlebars are aligned with the front wheel to maintain stability during riding.
Use a torque wrench to tighten the bolts securely, preventing any potential loosening during use.
When installing the controls, such as the throttle and brake levers, ensure they are positioned comfortably within reach of the rider’s hands. It is essential to test the functionality of the controls before finalizing the attachment.
Troubleshooting common handlebar issues may include adjusting the handlebar angle for better ergonomics or replacing worn-out grips.
Once the handlebars and controls are securely attached, you can proceed to the next step of adjusting and fine-tuning the bike’s performance, optimizing its overall riding experience.
Adjust and Fine-Tune the Bike’s Performance
Fine-tune your bike’s performance by making adjustments to optimize your riding experience. Here are four key adjustments you can make to enhance your electric mini bike’s performance:
-
Adjust Suspension: Start by finding the right balance between comfort and stability. Experiment with different suspension settings to ensure a smooth ride while maintaining control over rough terrains.
-
Optimize Battery Performance: To maximize your battery life, adjust the power settings according to your riding preferences. Fine-tuning the throttle response and power delivery will help you achieve the desired balance between speed and range.
-
Fine-tune Braking System: Ensure your bike’s braking system is properly adjusted to provide optimal stopping power. Adjust the brake lever reach and caliper alignment to improve responsiveness and control.
-
Check Tire Pressure: Maintaining the correct tire pressure is crucial for performance and safety. Adjust the tire pressure according to the manufacturer’s recommendations for a smooth and efficient ride.
Now, with your bike’s performance optimized, it’s time to take it for a test ride and make any necessary adjustments for the perfect riding experience.
Test Ride and Make Any Necessary Adjustments
After optimizing your bike’s performance, take it for a test ride and make any necessary adjustments for the perfect riding experience.
Start by adjusting the suspension to ensure a smooth and comfortable ride. Check the suspension settings and make any necessary changes to suit your preferences and riding style. It is important to ensure that the bike’s suspension is properly adjusted to absorb bumps and provide optimal traction.
Additionally, ensure that all safety measures are in place before hitting the road. Check the brakes, lights, and horn to ensure they are functioning properly. Adjust the seat height and handlebar position to achieve the most comfortable riding position.
Once all adjustments have been made, take your DIY electric mini bike for a spin and enjoy the exhilarating experience.
Enjoy Your DIY Electric Mini Bike!
Now it’s time to fully immerse yourself in the excitement of riding your DIY electric mini bike! After all the hard work and modifications you’ve made to create your own electric mini bike, it’s finally time to enjoy the fruits of your labor.
Here are three reasons why owning an electric mini bike is beneficial:
-
Environmentally friendly: With zero emissions and no reliance on fossil fuels, electric mini bikes are a sustainable transportation option. You can ride with peace of mind knowing that you’re reducing your carbon footprint.
-
Cost-effective: Unlike traditional motorcycles or scooters, electric mini bikes are much more affordable to operate. Electricity costs less than gasoline, and the maintenance requirements are minimal, saving you money in the long run.
-
Fun and versatile: Whether you’re using it for commuting, exploring off-road trails, or just having a blast with friends, electric mini bikes provide a thrilling and versatile riding experience.
So, strap on your helmet, hop on your DIY electric mini bike, and enjoy the freedom and excitement that comes with owning one!
Frequently Asked Questions
How long does it take to build an electric mini bike from start to finish?
It typically takes several weeks to build an electric mini bike from start to finish. Time management is crucial for efficient progress, and cost estimation should be done to ensure budgetary considerations are met.
Are there any legal requirements or restrictions for riding an electric mini bike?
When it comes to riding an electric mini bike, there are important safety precautions and rules to follow. These include wearing protective gear, obeying traffic laws, and checking local regulations for age restrictions and where you can ride.
Can I use any type of battery for my electric mini bike?
Yes, you can use various battery options for your electric mini bike. When choosing a battery, consider factors such as battery capacity, weight, size, and compatibility with your bike’s electrical system.
What tools and equipment will I need to build an electric mini bike?
To build an electric mini bike, you will need a variety of tools and equipment. Some of the tools needed include wrenches, screwdrivers, and pliers. Additionally, you will require equipment such as a soldering iron, wire cutters, and a multimeter for testing electrical connections.
Is it possible to convert a regular bicycle into an electric mini bike?
Yes, it is possible to convert a regular bicycle into an electric mini bike. The benefits of an electric mini bike include increased speed, improved mobility, and reduced effort required for pedaling.
Conclusion
After following the step-by-step process of building an electric mini bike, I can confidently say that the effort was worth it.
The research, selection of components, and installation process allowed me to create a personalized and efficient bike.
The test ride was exhilarating as I zoomed through the streets, feeling the power of the electric motor.
Now, as I sit back and admire my creation, I can’t help but wonder, ‘What other innovative projects can I tackle next?’