Looking to take your biking experience to the next level? Ever wondered if you could build your own electric bike motor? Well, wonder no more!
In this article, we will guide you through the process of creating your own electric bike motor from scratch. With the right tools, materials, and a little bit of technical know-how, you’ll be zipping down the streets on your very own DIY electric bike in no time.
So, why wait? Let’s get started!
Key Takeaways
- Install front and rear lights for better visibility in low-light conditions
- Consider adding a suspension fork for a smoother ride on rough terrain
- Use a bike lock to secure your electric bike when parked
- Regularly inspect and maintain the electric bike motor for optimal performance

COOSPO Color Touchscreen GPS Bike Computer CS600, Wireless IPX7 Waterproof Cycling GPS Speedometer with Bluetooth/ANT+, Backlight Route Navigation, Support Bike Radar & 36H Battery Life
2.4" HIGH-RESOLUTION COLOR TOUCHSCREEN: Features auto-backlight technology that intelligently adjusts to ambient light, ensuring optimal visibility and effortless...
As an affiliate, we earn on qualifying purchases.
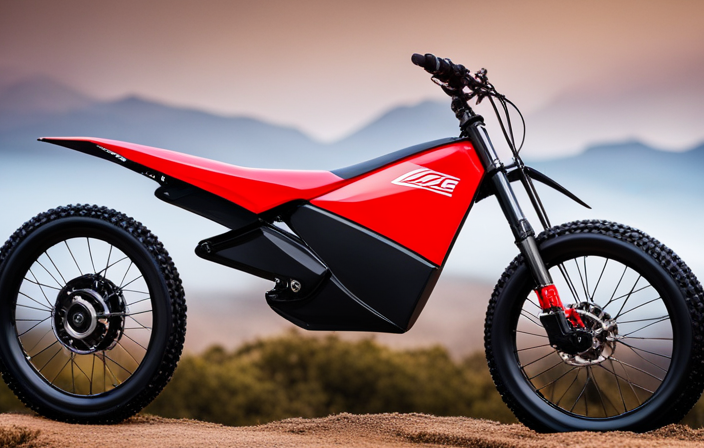
Understanding the Basics of Electric Bikes
Now that you understand the basics of electric bikes, let’s move on to how to build your own electric bike motor.
Building an electric bike motor requires precise knowledge and attention to detail. First, you need to determine the type of motor you want to build, whether it’s a hub motor or a mid-drive motor. Each type has its own advantages and considerations.
Next, you will need to select the appropriate motor and battery for your specific needs. Consider factors such as power output, voltage, and capacity. It is also important to choose the right controller and throttle for your motor setup.
Additionally, you will need to gather the necessary tools and materials, which we will discuss in the next section.
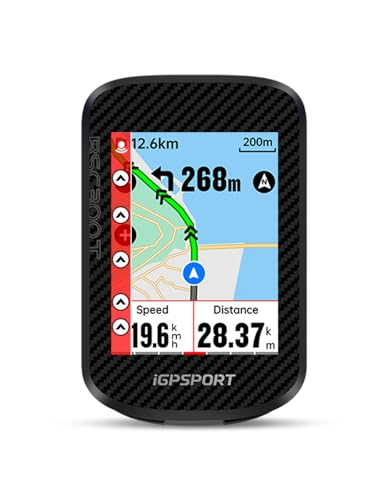
iGPSPORT BSC300T Wireless Bike Computer GPS, Touchscreen Offline MAP Navigation Off Course Warning Compatible with Insta360, for Ebike Road Bike MTB (Touch Screen&Button)
【Large Screen】The BSC300T wireless bike computer equipped with a 2.4'' touch screen and 6 buttons, allowing you to...
As an affiliate, we earn on qualifying purchases.
Gathering the Necessary Tools and Materials
To get started, you’ll need to gather all the tools and materials required for the project. Here are the three essential items you’ll need:
-
Battery Pack: Choose a high-quality lithium-ion battery pack that suits your needs. Look for one with a long range and a high discharge rate to power your electric bike motor efficiently.
-
Electric Motor: Select a motor that is specifically designed for electric bikes. Consider factors such as power output, torque, and size. A brushless motor is recommended for its efficiency and durability.
-
Motor Controller: This device regulates the power flow from the battery to the motor. Look for a controller that is compatible with your motor and offers features such as variable speed control and regenerative braking.
By gathering these tools and materials, you will be one step closer to building your own electric bike motor.
Now, let’s move on to choosing the right bike for your conversion.

Magicshine HORI1300S Bike Headlight, Compatible with Garmin/Wahoo, 1300 Lumens High & Low Beam Front Light, USB-C Rechargeable, IPX6 Waterproof for Night Riding and Urban Cycling-Black
DUAL OPTICS, HIGH & LOW BEAM: Max 1300LM high beam conquers the darkest trails. The anti-glare low beam...
As an affiliate, we earn on qualifying purchases.
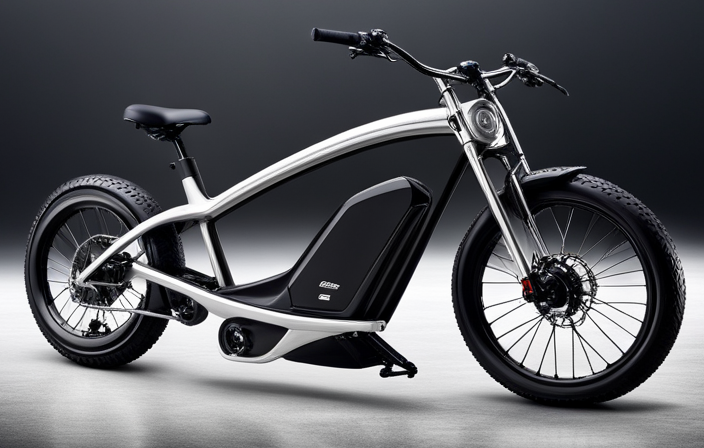
Choosing the Right Bike for Your Conversion
First, consider the type of bicycle you already own or would like to purchase for the conversion process. When choosing a bike for your electric bike motor conversion, it is crucial to select a suitable base that can handle the additional weight and power of the motor.
Ideally, you should opt for a sturdy and durable bike with a robust frame, preferably made of steel or aluminum. Make sure the bike has enough space to accommodate the battery and motor, and check if it has mounting points for easy installation. Additionally, consider the bike’s wheel size, as larger wheels can provide better stability and handling.
Once you have chosen the right bike, you can proceed to the next step of removing the existing bike components.

Varstrom 48V 1000W 1500W Rear & Front Hub Motor Kit - Ebike Conversion Kit for 26"/27.5"/28"/29"/700C Front Rear Wheel,Electric Bike Conversion Set with Display & Ebike Battery (Optional)
【POWERFUL 48V 1000W Front Hub Motor Kit】: 48V 1000W front wheel motor kit is designed for a variety...
As an affiliate, we earn on qualifying purchases.
Removing the Existing Bike Components
Start by carefully removing the existing components of your bicycle to make room for the conversion process. This step is crucial in ensuring a successful installation of your electric bike conversion kit. Take your time and follow these instructions to avoid damaging any parts of your bike. Refer to the table below for a detailed breakdown of the components that need to be removed.
| Component | Procedure |
|---|---|
| Pedals | Use a pedal wrench to unscrew the pedals counterclockwise |
| Crankset | Remove the crank bolts and slide the crankset off the bottom bracket |
| Front derailleur | Loosen the clamp bolt and slide the derailleur off the frame |
| Rear derailleur | Unscrew the derailleur from the derailleur hanger |
| Chain | Use a chain tool to disconnect the links |
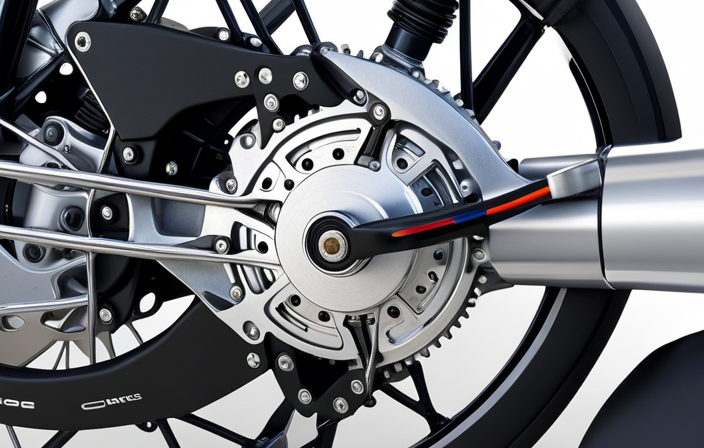
Installing the Electric Bike Conversion Kit
Now that you’ve removed the existing bike components, it’s time to begin the installation process of the electric bike conversion kit.
Start by attaching the motor to the bike’s rear wheel. Place the motor in the designated position and secure it using the provided bolts and washers.
Next, connect the motor wires to the battery. Make sure to match the positive and negative terminals correctly to avoid any electrical issues.
After that, mount the controller securely on the bike’s frame and connect it to the motor and battery. Double-check all connections to ensure they are tight and secure.
Finally, attach the throttle and brake sensors, making sure they are properly aligned and functioning.
With the installation complete, you can now move on to connecting and testing the electrical components.
Connecting and Testing the Electrical Components
Once you’ve securely mounted the controller and connected all the electrical components, it’s important to double-check all the connections for tightness and functionality.
Start by inspecting the wires to ensure they are properly inserted and securely fastened. Give each connection a gentle tug to make sure they are tightly secured.
Next, use a multimeter to test the voltage and continuity of each connection. Make sure that the voltage readings are within the specified range and that there is no break in the continuity.
Additionally, check the functionality of the throttle, brake sensors, and any other control components. Test them to ensure they are responsive and operating correctly.
Once you’ve confirmed everything is properly connected and functioning, you can move on to adjusting and fine-tuning the motor and battery to optimize performance.
Adjusting and Fine-Tuning the Motor and Battery
Before proceeding, it’s essential to ensure the motor and battery are properly adjusted and fine-tuned for optimal performance.
Start by checking the motor’s alignment with the bike’s frame, ensuring it’s securely mounted and level.
Next, adjust the motor’s tension to prevent any slippage or excessive noise.
Fine-tuning the battery involves checking its connections and securing them tightly.
Verify that the battery’s voltage and capacity are compatible with the motor’s requirements.
Additionally, calibrate the battery’s management system to ensure accurate readings and efficient power delivery.
Once the motor and battery are adequately adjusted and fine-tuned, you can move on to adding optional accessories and features to enhance your electric bike’s functionality and convenience.
These additions will further enhance your riding experience and provide additional features for your electric bike.
Adding Optional Accessories and Features
Adding optional accessories and features can greatly enhance the functionality and convenience of your electric bike. One popular accessory is a front or rear basket, which provides extra storage space for carrying groceries or other items.
Another useful addition is a smartphone holder, allowing you to easily navigate using GPS or monitor your speed and distance traveled. For increased safety, consider installing front and rear lights, ensuring visibility during low-light conditions.
Some electric bike models also offer the option to add a suspension fork, providing a smoother ride over rough terrain. Additionally, a bike lock can help secure your electric bike when parked.
These accessories and features can greatly improve your riding experience and make your electric bike more versatile. Now, let’s move on to maintaining and troubleshooting your electric bike motor.
Maintaining and Troubleshooting Your Electric Bike Motor
Maintaining and troubleshooting the electric bike motor is essential for ensuring optimal performance and longevity. Proper care and regular inspections will help you identify and address any issues before they become major problems. Here are some common maintenance tasks and troubleshooting tips to keep your electric bike motor running smoothly:
| Maintenance Tasks | Troubleshooting Tips |
|---|---|
| Check battery connections and voltage | Check for loose connections or damaged wires |
| Clean and lubricate the chain | Check for excessive wear or damage |
| Inspect brakes and adjust as necessary | Check for proper alignment and brake pad wear |
| Monitor motor temperature during use | Check for overheating or unusual noise |
Enjoying the Benefits of Your DIY Electric Bike
To fully experience the advantages of your DIY electric bike, it’s important to take it out for a ride and enjoy the freedom and convenience it provides.
Before you start, make sure your battery is fully charged and securely connected to the motor. Adjust the seat and handlebars for optimal comfort and control.
Begin by gently pedaling and feel the smooth assistance of the electric motor as it kicks in. Use the throttle to increase or decrease the level of assistance according to your preference.
When riding uphill, shift to a lower gear and let the motor do the work. Enjoy the exhilarating feeling of effortlessly cruising along at higher speeds.
Remember to always follow traffic rules and stay aware of your surroundings. With your DIY electric bike, you can explore new places and enjoy the benefits of an eco-friendly and cost-effective transportation option.
Conclusion
Congratulations! You’ve successfully built your very own electric bike motor. With your newfound knowledge and the right tools, you’ve transformed a regular bike into a powerful and efficient mode of transportation.
The sense of accomplishment and satisfaction you feel is unmatched. Now, you have the ability to zip through traffic effortlessly and conquer any terrain with ease.
Get ready to revolutionize your everyday commute and enjoy the freedom and thrill of riding your DIY electric bike.
So go ahead, hop on and experience the exhilaration of your own electrifying creation!