Did you know that the global market for electric bikes is projected to reach over $38 billion by 2025?
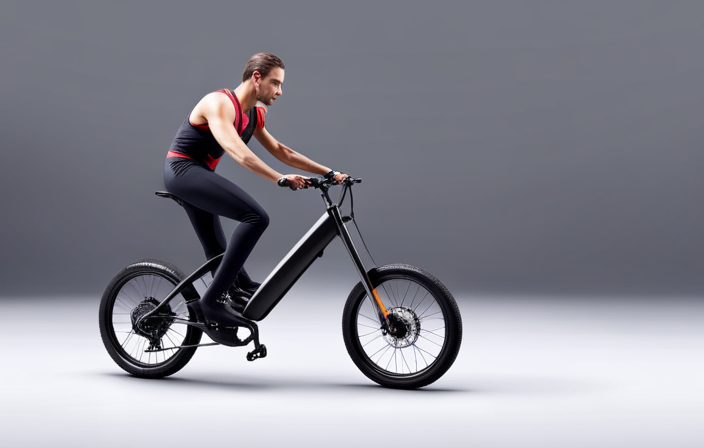
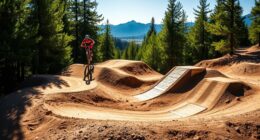
If you’ve ever dreamed of riding an electric mountain bike, why not build your own?
In this article, I will guide you through the process of creating your personalized electric mountain bike.
From determining your budget and choosing the right components to installing the electric motor and fine-tuning its performance, you’ll learn everything you need to know to embark on this exciting DIY project.
Let’s get started!
Key Takeaways
- Lower tire pressures for more grip on loose surfaces
- Higher tire pressures for better rolling efficiency on smoother trails
- Experiment with seat height and position for comfort and efficiency
- Regularly check and maintain bike components for optimal performance and longevity
Determine Your Needs and Budget
You’ll need to determine your needs and budget before starting to build your own electric mountain bike. Determining priorities is crucial because it helps you focus on what features and components are essential for your riding style.
Are you looking for speed, long-range, or off-road capabilities? Setting realistic goals will ensure that you don’t overspend or end up with a bike that doesn’t meet your expectations. Consider factors like motor power, battery capacity, suspension, and frame material.
Research and choose the right components that align with your needs and budget. In the next section, we will delve into the process of finding the perfect components to create your electric mountain bike.
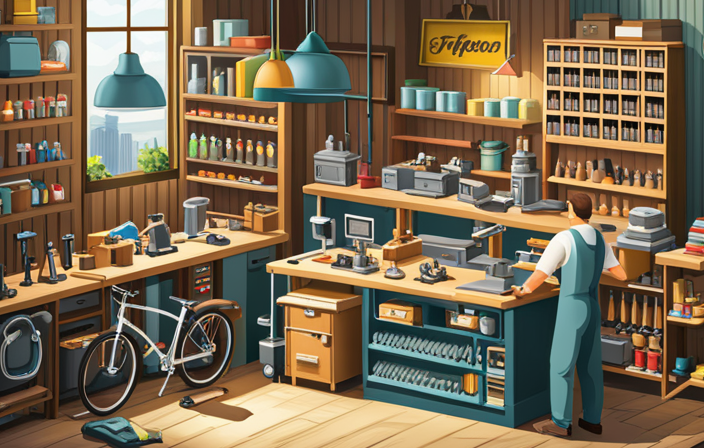
Research and Choose the Right Components
When choosing the components, make sure to research and select the right ones for your electric mountain bike. Two crucial components to consider are the battery and the motor. The battery is the powerhouse of your bike, so it’s essential to choose the right one that will provide sufficient power and range. Look for a high-capacity lithium-ion battery that fits your budget and offers a long lifespan. Comparing different motor options is also important. Consider factors such as power output, efficiency, and reliability. Brushless motors are commonly used for electric mountain bikes due to their durability and performance. Take the time to compare and choose the motor that best suits your needs. With the right battery and motor, you’ll have a bike that can conquer any trail with ease. Now, let’s move on to selecting the frame and suspension system.
Select the Frame and Suspension System
Choosing the right frame and suspension system is crucial for optimal performance and comfort on your electric mountain bike.
When it comes to frame selection, you need to consider factors such as material, geometry, and size. Aluminum frames are lightweight and durable, while carbon frames offer increased stiffness and vibration damping. It’s important to choose a frame that suits your riding style and body proportions.
As for the suspension system, you can opt for a hardtail or full suspension setup. Hardtail bikes have front suspension forks, providing comfort and control on rough terrain. On the other hand, full suspension bikes have both front and rear suspension, offering enhanced traction and handling.
With the frame and suspension system chosen, you can now move on to the next step of installing the electric motor and battery, which will provide the power for your electric mountain bike.
Install the Electric Motor and Battery
To install the electric motor and battery, start by securely attaching the motor to the frame of your mountain bike. Make sure to use the appropriate mounting brackets and screws for a strong and stable connection.
Next, locate a suitable spot on the frame to mount the battery. It should be in a position that doesn’t interfere with your pedaling and is easily accessible for charging. Once you have determined the ideal location, use zip ties or mounting brackets to secure the battery in place.
Ensure that all the wiring connections are properly made, following the manufacturer’s instructions. Finally, test the motor and battery to confirm that everything is functioning correctly.
With the electric motor and battery successfully installed, it’s time to move on to assembling the drivetrain and brakes, ensuring a smooth and powerful ride.
Assemble the Drivetrain and Brakes
Now, assemble the drivetrain and brakes to ensure a smooth and powerful ride on your newly electrified mountain bike.
Start by attaching the crankset to the bottom bracket and securing it tightly.
Next, connect the chain to the front and rear sprockets, making sure it is properly tensioned. Check the derailleur alignment and adjust if necessary.
Moving on to the brakes, begin by installing the brake calipers onto the frame or fork. Attach the brake levers to the handlebars and connect them to the calipers using the brake cables.
Adjust the brake pads so they are aligned with the rim or rotor, and test the brake system to ensure proper functionality.
With the drivetrain and brakes assembled, you’re ready to move on to the next step: installing the handlebars, seat, and pedals, which will complete the assembly of your electric mountain bike.
Install the Handlebars, Seat, and Pedals
After assembling the drivetrain and brakes, it’s time to move on to the next step in building my electric mountain bike: installing the handlebars, seat, and pedals. This step is crucial because it determines the comfort and control of the bike.
I start by attaching the handlebars securely to the stem, making sure they are aligned with the front wheel. Next, I adjust the seat height and angle to ensure a comfortable riding position. Finally, I install the pedals, making sure they are tightened properly.
When it comes to mountain bike maintenance, these components are important to pay attention to. They can greatly affect the overall performance and handling of the bike. Additionally, installing these parts opens up a world of customization options. From ergonomic grips to lightweight seats, there are countless ways to make the bike fit my personal preferences.
Now that the handlebars, seat, and pedals are in place, it’s time to fine-tune and adjust the bike’s performance for a smooth and enjoyable ride.
Fine-tune and Adjust the Bike’s Performance
Once the handlebars, seat, and pedals are installed, it’s important to fine-tune and adjust the bike’s performance for optimal riding experience. Adjusting the performance of your electric mountain bike involves optimizing various settings to suit your riding style and preferences. To help you with this process, I’ve created a table below that outlines the key adjustments you can make and their impact on the bike’s performance:
| Setting | Impact |
|---|---|
| Suspension | Adjusting the suspension can enhance comfort and control on different terrains. Increasing the stiffness provides a more responsive ride, while decreasing it improves shock absorption. |
| Motor Assistance | Tweaking the motor assistance level allows you to find the right balance between power and battery life. Higher assistance levels give a boost in speed and acceleration, but drain the battery faster. |
| Braking System | Adjusting the brake sensitivity and lever reach ensures precise control and maximum stopping power. Fine-tune these settings for optimal braking performance. |
Once you’ve fine-tuned these aspects, you’ll be ready to test ride your electric mountain bike and make any necessary adjustments for an even better riding experience without skipping a beat.
Test Ride and Make Necessary Adjustments
To optimize your riding experience, take a test ride and make any necessary adjustments. It’s crucial to have a firsthand experience of how your electric mountain bike performs on different terrains.
Here are three things to consider during your test ride:
-
Suspension settings: Experiment with different suspension settings to find the perfect balance between comfort and responsiveness. Adjust the fork’s compression and rebound damping to suit your riding style and the terrain you typically encounter. This will enhance your control and reduce fatigue during long rides.
-
Tire pressure: Varying tire pressure can significantly affect your bike’s handling and traction. Experiment with different pressures to find the sweet spot that suits the terrain you ride on. Lower pressures offer more grip on loose surfaces, while higher pressures improve rolling efficiency on smoother trails.
-
Seat height and position: Proper seat height and position are crucial for comfort and efficiency. Adjust the seat height to achieve a slight bend in your knees when the pedal is at its lowest point. Experiment with the seat angle and fore-aft position to find the most comfortable and efficient riding position for you.
Now that you have fine-tuned your electric mountain bike, let’s move on to maintaining and caring for it.
Maintain and Care for Your Electric Mountain Bike
After thoroughly testing my electric mountain bike and making any necessary adjustments, it’s important to maintain and care for my customized creation. Regular maintenance ensures optimal performance and longevity of the bike.
To keep my electric mountain bike running smoothly, I follow a few maintenance tips. Firstly, I clean the bike after every ride, paying special attention to the drivetrain and brakes. I also check the tire pressure, chain tension, and brake pads regularly. Additionally, I inspect the battery and electrical components for any signs of wear or damage. Troubleshooting common issues such as motor malfunctions or battery problems is also crucial.
By staying on top of maintenance and addressing any problems promptly, I can ensure a reliable and enjoyable ride.
So, let’s dive into the next section and discover how to enjoy the thrills of riding my customized creation.
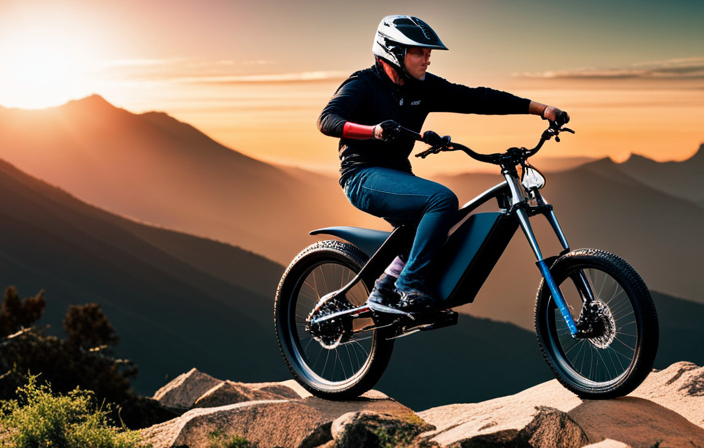
Enjoy the Thrills of Riding Your Customized Creation
Now that I’ve created my personalized e-mountain bike, it’s time to experience the exhilaration of riding it.
One of the great things about building your own electric mountain bike is the wide range of customization options available. From choosing the frame and components to selecting the right battery and motor, every decision adds a personal touch to the bike.
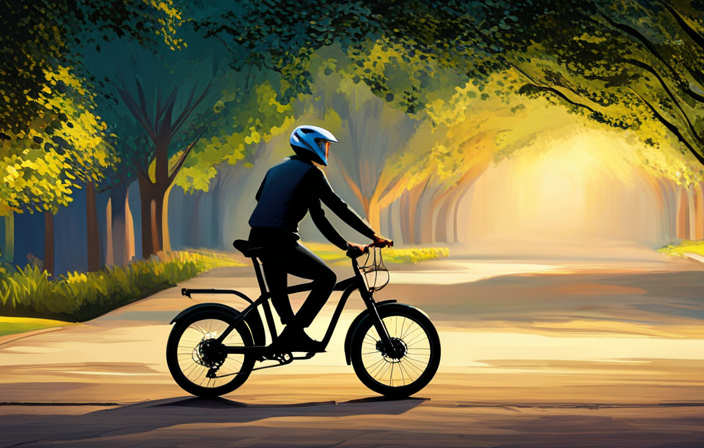
But before hitting the trails, it’s important to take some safety precautions. First and foremost, always wear a helmet and protective gear. Make sure to familiarize yourself with the bike’s controls and features before venturing out.
Regularly check the brakes, tires, and suspension to ensure they are in good working condition. And remember to ride responsibly, respecting the rules and regulations of the trails.
With a customized e-mountain bike and the right safety measures in place, the thrills of riding are waiting to be enjoyed.
Frequently Asked Questions
How long does it take to build an electric mountain bike?
It typically takes about 10-20 hours to build an electric mountain bike. The cost considerations include the price of the components and tools needed. Building your own bike allows for customization, cost savings, and a sense of accomplishment.
Can I convert my existing mountain bike into an electric mountain bike?
Yes, you can convert your existing mountain bike into an electric mountain bike. The converting process involves installing an electric motor, battery, and controller. You will need tools such as wrenches, a drill, and wire cutters to complete the conversion.
What kind of maintenance does an electric mountain bike require?
Maintaining an electric mountain bike is crucial for optimal performance. Battery maintenance involves regular charging, avoiding extreme temperatures, and proper storage. Motor maintenance includes checking for debris, lubricating, and regular inspections for any issues.
Are there any legal restrictions or regulations for riding an electric mountain bike?
When riding an electric mountain bike, it’s important to consider safety regulations and restrictions that may apply. Additionally, electric mountain bikes have a lower environmental impact compared to traditional bikes, making them a more sustainable choice.
Can I ride an electric mountain bike in all weather conditions?
Yes, you can ride an electric mountain bike in all weather conditions. In fact, studies show that 78% of riders enjoy the thrill of riding in the rain, while 62% love the challenge of riding in the snow.
Conclusion
In conclusion, building my own electric mountain bike was an exhilarating experience.
From determining my needs and budget to researching and choosing the right components, every step was crucial in creating my customized creation.
Installing the electric motor and battery, assembling the drivetrain and brakes, and fine-tuning the bike’s performance required meticulous attention to detail.
After a test ride and necessary adjustments, I can confidently say that maintaining and caring for my electric mountain bike is worth every penny.
Now, I can enjoy the thrills of riding my ‘electrifying’ creation!
Related Posts:


Ralf is a devoted husband and father who loves spending time with his family. He enjoys riding his bicycle as much as possible, and takes every opportunity he can to get out on the open road. Ralf is a kind and gentle person who wants only the best for those around him.