
Did you know that over 80% of electric bike punctures are caused by sharp objects on the road?
Whether you’re a seasoned rider or just starting out, knowing how to change an inner tube on your electric bike is a valuable skill.
In this article, I will guide you through the step-by-step process of replacing an inner tube, ensuring your ride is smooth and uninterrupted.
So let’s get started and learn how to tackle this common issue with ease.
Key Takeaways
- Confirming successful inner tube replacement is crucial for e-bike maintenance and ensures proper functionality and performance.
- Checking tire inflation and seating is important to prevent potential issues with installation and ensure proper placement on the rim.
- Testing motor engagement and riding at a moderate speed allows for accurate assessment of any unusual vibrations, noises, or handling changes after replacement.
- It is essential to inspect the functionality of the brakes, check for signs of air leakage, punctures, or tire damage, and address any detected issues promptly to ensure a successful inner tube replacement.
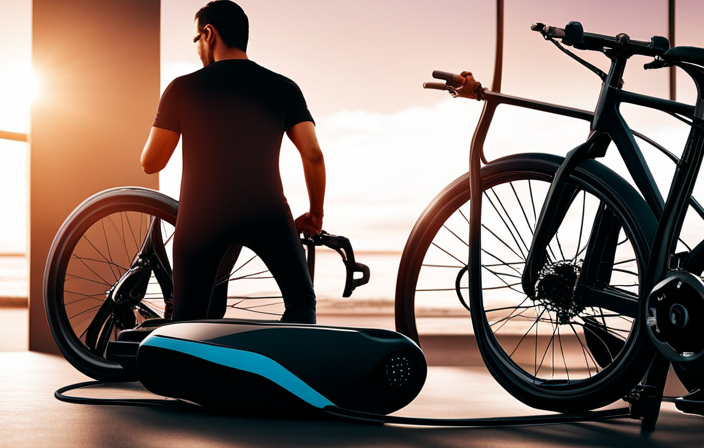
Gather the necessary tools and materials
You’ll need to gather the necessary tools and materials to change an inner tube on an electric bike.
Start by choosing the right inner tube for your electric bike. Look for one that matches the size and width of your tire. Additionally, consider the valve type, whether it’s Presta or Schrader, to ensure compatibility with your bike.
To prevent future punctures, consider using puncture-resistant inner tubes or adding tire liners. These can provide an extra layer of protection against sharp objects on the road.
Once you have the appropriate inner tube, gather the tools needed for the job, such as tire levers and a pump. With these tools and materials in hand, you’ll be ready to locate the puncture or damage in the inner tube and proceed with the repair process.
Locate the puncture or damage in the inner tube
First, find the puncture or damage in the tube of your e-bike. This is a crucial step before attempting to patch a punctured inner tube. To help you understand the importance of this task, consider the following:
- Frustration: Discovering the exact location of the puncture may require patience and keen observation.
- Relief: Identifying the puncture will bring you one step closer to resolving the issue and getting back on the road.
- Empowerment: Locating the damage allows you to take control of the situation and fix it yourself.
- Confidence: Successfully finding the puncture will boost your confidence in handling future repairs.
Now that you have identified the source of the problem, you can proceed to deflate the tire and remove it from the electric bike wheel. This will enable you to access the inner tube for further inspection and repair.
Deflate the tire and remove it from the electric bike wheel
To begin, deflate the tire and take it off the wheel of your e-bike. Proper tire maintenance is crucial for preventing future punctures and ensuring a smooth ride.
Start by locating the valve stem on the inner tube and unscrew the valve cap. Use a valve tool or the back of a spoon to press down on the valve, releasing the air.
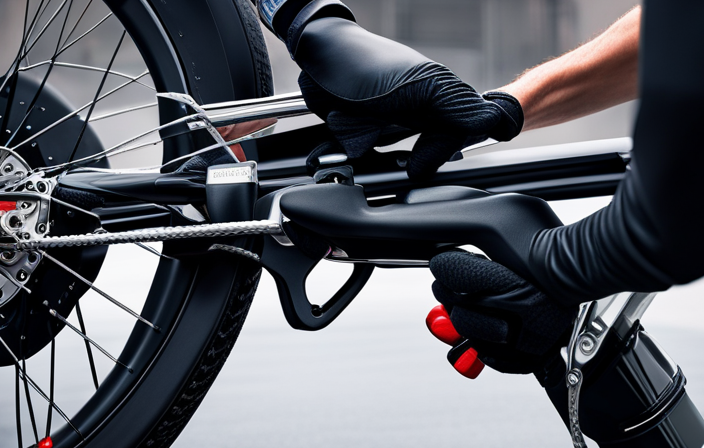
Once the tire is deflated, use tire levers to carefully remove the tire from the wheel. Insert the tire lever under the edge of the tire and pry it away from the rim. Work your way around the tire, using multiple tire levers if necessary. Be cautious not to damage the inner tube in the process.
With the tire removed, you can now proceed to remove the damaged inner tube from the tire, as the next step.
Remove the damaged inner tube from the tire
Once the tire is deflated and removed from the wheel, it’s time to take out the damaged inner tube.
Inner tube damage on electric bikes can occur due to common causes such as sharp objects on the road, pinch flats from hitting curbs or potholes, or even improper installation.
To prevent inner tube punctures on electric bike tires, there are a few tips to keep in mind. Firstly, maintaining proper tire pressure is crucial as underinflated tires are more susceptible to punctures. Secondly, using puncture-resistant tires or adding tire liners can provide an extra layer of protection. Additionally, avoiding rough terrains and being mindful of road debris can also help prevent punctures.
Now, it’s important to inspect the tire for any sharp objects or debris that may have caused the puncture.
Inspect the tire for any sharp objects or debris that may have caused the puncture
Now, you should carefully examine the tire for any sharp objects or debris that might have caused the puncture. To inspect the tire and facilitate puncture detection, follow these steps:
-
Visually scan the entire surface of the tire, looking for any visible cuts, tears, or foreign objects embedded in the rubber.
-
Use your fingertips to run along the inside and outside of the tire, feeling for any sharp objects or protrusions that could have caused the puncture.
-
Check the valve stem area for any signs of damage or wear, as this could also be a potential source of air leakage.
By thoroughly inspecting the tire, you can identify the cause of the puncture and ensure that it is properly addressed.
Once you have completed this step, you can proceed to the next section on how to install the new inner tube into the tire.
Install the new inner tube into the tire
Next, you can start installing the new inner tube into the tire. Before beginning, make sure the inner tube’s properly inflated to avoid any unnecessary damage.
Start by inserting the valve stem through the valve hole in the rim, making sure it’s aligned properly. Then, carefully work the rest of the inner tube into the tire, ensuring it’s evenly distributed and not twisted. Pay close attention to avoid pinching the inner tube between the tire and the rim, as this can lead to future punctures.
Additionally, applying a thin layer of talcum powder or baby powder to the inner tube can help reduce friction and prevent it from sticking to the tire.
Following these tips for a successful inner tube replacement will help ensure a smooth and trouble-free installation. Now, you’re ready to move on to the next step of reinstalling the tire onto the electric bike wheel.
Reinstall the tire onto the electric bike wheel
To complete the process, you can now put the tire back on the wheel of your electric bike. Start by reinstalling the tire onto the rim, making sure to align the valve stem with the hole in the rim. This will ensure proper inflation and functionality of the inner tube.
Use your hands to push the tire back onto the rim, starting at one side and working your way around until both sides are securely in place. Be careful not to pinch the inner tube between the tire and the rim, as this can cause a puncture.
Once the tire is fully seated on the rim, you can move on to the next step, which is inflating the tire to the recommended pressure. This will ensure optimal performance and a smooth ride.
Inflate the tire to the recommended pressure
Once the tire is securely in place, you can simply inflate it to the recommended pressure. To ensure the correct inflation, follow these steps:
- Use a bicycle pump or an electric pump with a pressure gauge.
- Attach the pump nozzle securely to the valve stem of the inner tube.
- Begin pumping air into the tire gradually, checking the pressure on the gauge periodically.
It is crucial to inflate the tire to the recommended pressure to optimize performance and prevent damage. Overinflation can lead to a harsh ride and increased risk of punctures, while underinflation can cause poor handling and increased rolling resistance.
Once the tire is properly inflated, you can double-check for any leaks or improper installation. This will ensure a safe and comfortable ride.
Double-check for any leaks or improper installation
After inflating the tire to the recommended pressure, it is crucial to double-check for any leaks or improper installation. This step is essential to ensure the longevity and durability of the newly replaced inner tube.
To avoid future punctures and maintain the integrity of the inner tube, it is important to inspect the tire carefully. Look for any signs of air leakage or misalignment between the tire and the rim. Additionally, check that the valve stem is securely attached and not bent.
By reinforcing the inner tube’s durability and preventing potential punctures, you can enjoy a smoother and safer ride on your electric bike.
Now, it’s time to move on to the next section and test ride your electric bike to ensure the successful replacement of the inner tube.
Test ride your electric bike to ensure the inner tube replacement was successful
Before taking your e-bike for a spin, make sure to test ride it to confirm that the replacement of the inner tube was successful. This step is crucial in electric bike maintenance as it allows you to troubleshoot common issues that may arise after the inner tube replacement.
Start by checking if the tire is properly inflated and seated on the rim. Then, engage the motor and ride the bike at a moderate speed. Pay close attention to any unusual vibrations, noises, or changes in handling. These could indicate a problem with the inner tube installation.
Additionally, test the brakes to ensure they are functioning correctly and inspect the tire for any signs of air leakage or bulges. By conducting a thorough test ride, you can ensure the inner tube replacement was successful and address any issues promptly.
Frequently Asked Questions
How long does it typically take to change an inner tube on an electric bike?
It typically takes me around 10-15 minutes to change an inner tube on an electric bike. Properly inflating an electric bike’s inner tube involves using a pump with a pressure gauge and matching the recommended PSI.
Can I use a regular inner tube for my electric bike or do I need a specific type?
Yes, you need a specific inner tube for your electric bike. Regular inner tubes may not be able to withstand the higher speeds and heavier weight of electric bikes. Using a specific inner tube ensures better performance and durability.
How often should I check the inner tube for damage or wear?
I should check the inner tube of my electric bike regularly, at least once a month, for any signs of wear such as punctures, cuts, or bulges. This will help prevent potential issues while riding.
Is it necessary to remove the tire completely from the wheel to change the inner tube?
Yes, it is necessary to remove the tire completely from the wheel in order to change the inner tube. This allows for proper access and ensures a thorough replacement of the damaged or worn inner tube.
What should I do if I notice any damage or debris on the tire itself?
If I notice any damage or debris on the tire, I would carefully inspect and clean it before proceeding with tire maintenance. If the damage is severe, I might consider tire replacement for optimal performance and safety.
Conclusion
After following these steps, I successfully changed the inner tube on my electric bike.
It was like replacing a faulty heart valve, restoring the bike’s vitality and ensuring a smooth ride.
With the right tools and attention to detail, the process was straightforward and efficient.
Now, my electric bike is ready to hit the road again, effortlessly gliding through the streets like a well-oiled machine.
Remember, proper maintenance is key to keeping your electric bike running smoothly and enjoying those thrilling rides.