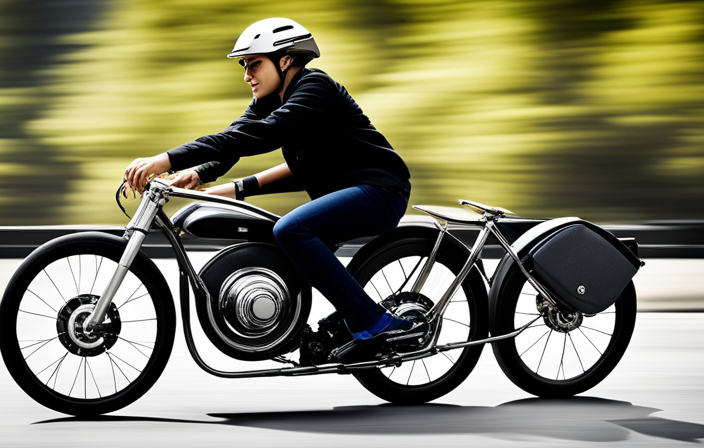
Give your roaring ride new life with this in-depth guide on repairing the electric starter on your dirt bike.
Tackling technical troubles head-on, you’ll learn the step-by-step process of troubleshooting and repairing your bike’s electric start system.
From checking the battery to inspecting the carburetor, this detailed article will equip you with the knowledge and know-how to get your dirt bike firing up effortlessly.
So saddle up, strap on your helmet, and let’s dive into the world of electrical restoration for your two-wheeled companion.
Key Takeaways
- Testing and inspecting components is crucial for fixing the electric start on a dirt bike.
- Seeking professional help is recommended if needed to ensure proper fixing.
- A fully charged battery and clean connections are essential for the electric start to function properly.
- The role of the kill switch and starter button should not be overlooked and proper care is necessary for their maintenance.
Checking the Battery
To check the battery, you’ll need to use a voltmeter to measure the voltage. First, ensure the dirt bike is turned off and the key is removed from the ignition.
Locate the battery, usually found under the seat or side panel. Start by inspecting the battery terminals for any signs of corrosion or loose connections. If there is corrosion, clean the terminals with a wire brush.
Once the terminals are clean, connect the positive voltmeter lead to the positive terminal and the negative lead to the negative terminal. The voltmeter should display a voltage reading. If the voltage is below 12.4 volts, the battery may need to be charged or replaced.
Transitioning into testing the starter motor, it is important to ensure the battery is in good condition to provide the necessary power.
Testing the Starter Motor
First, you’ll need to check if the starter motor is functioning properly. To do this, follow these steps:
- Begin by disconnecting the battery to ensure your safety during the testing process.
- Locate the starter motor on your dirt bike. It is usually situated near the engine and connected to the flywheel.
- Inspect the motor for any visible damage or signs of wear. Look out for loose connections or corroded terminals.
- Now, using a multimeter, set it to the resistance measurement mode. Connect the positive lead to the starter motor’s positive terminal and the negative lead to the motor’s negative terminal.
- Check the multimeter reading. If it shows continuity, the motor is functioning correctly. However, if there is no continuity or the reading is significantly higher than the specified range, it indicates a faulty starter motor.
Next, we will move on to inspecting the wiring and connections to further troubleshoot the ignition system.
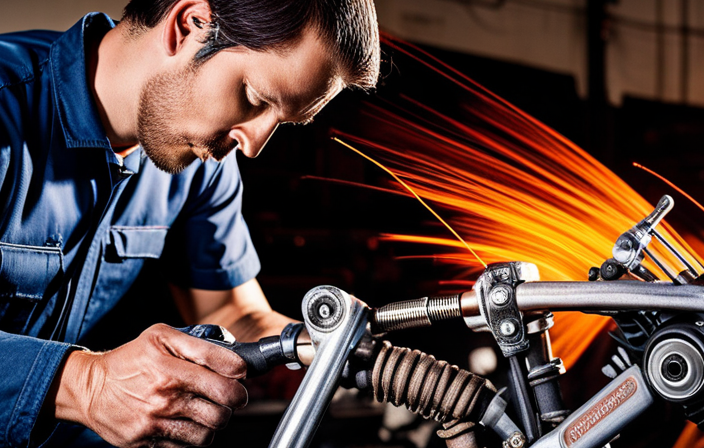
Inspecting the Wiring and Connections
Now, it’s time to take a look at the wiring and connections to ensure everything is in proper working order. To start, check the wiring harness for any signs of damage or loose connections. Inspect each wire carefully, paying attention to any frayed insulation or exposed metal. Use a multimeter to test the continuity of the wires and make sure there are no breaks in the circuit.
Next, inspect the ignition coil, which is responsible for generating the high voltage needed to ignite the fuel mixture. Check for any cracks or signs of damage on the coil itself and ensure that all connections are secure. Use the multimeter to test the resistance of the ignition coil and compare it to the manufacturer’s specifications.
By thoroughly checking the wiring harness and inspecting the ignition coil, you can identify any potential issues that may be causing the electric start problem on your dirt bike. Once these components are confirmed to be in good condition, you can move on to cleaning the battery terminals to further troubleshoot the problem.
Cleaning the Battery Terminals
Once you’ve inspected the wiring and connections, it’s time to clean the battery terminals on your dirt bike. Battery maintenance is crucial for ensuring proper functioning of the electric start system.
To begin, make sure your dirt bike is turned off and the key is removed from the ignition. Start by disconnecting the negative (black) terminal followed by the positive (red) terminal. Take a wire brush and gently scrub the terminals to remove any corrosion or dirt buildup. Pay close attention to the crevices and corners.
Afterward, rinse the terminals with a mixture of baking soda and water to neutralize any remaining acid. Dry the terminals thoroughly before reconnecting them, ensuring a tight fit. This troubleshooting technique can help resolve many electric start issues.
Now, let’s move on to the next section about replacing a dead battery and getting your dirt bike back on track.
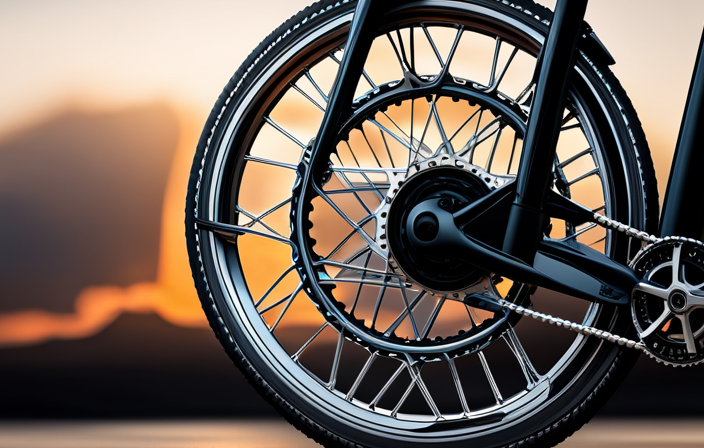
Replacing a Dead Battery
To replace a dead battery, you’ll need to disconnect the terminals and remove the old battery from your vehicle. Here’s a step-by-step guide to help you through the process:
- Start by turning off the engine and locating the battery on your dirt bike.
- Use a wrench to loosen and remove the negative (-) terminal connector first, followed by the positive (+) terminal connector.
- Carefully lift the old battery out of its compartment, being mindful of any cables or wires connected to it.
- Take the old battery to a recycling center and dispose of it properly.
Now that you have removed the dead battery, you have two options: recharging the battery if possible or purchasing a new battery. Once you have made your choice, you can proceed to the next section on tightening loose connections.
In the next section, we will discuss the importance of tightening loose connections to ensure proper functionality of your dirt bike’s electric start system.
Tightening Loose Connections
Tightening loose connections is crucial for maintaining the proper functionality of your dirt bike’s electrical system. One important connection to check is the spark plug. A loose or dirty spark plug can cause poor ignition and lead to starting issues. Start by removing the spark plug wire and using a spark plug wrench to remove the plug. Inspect the plug for any signs of wear or damage. If necessary, clean it with a wire brush and adjust the electrode gap to the manufacturer’s specifications. Once the spark plug is clean and in good condition, reinstall it and tighten it securely. This will ensure a strong spark and improve the overall performance of your dirt bike.
Now, let’s move on to checking the ignition switch.
Checking the Ignition Switch
Now, let’s see if the ignition switch is functioning properly.
First, check the ignition coil by disconnecting the spark plug wire. Use a spark plug tester to see if there is a spark when you try to start the bike. If there is no spark, the ignition coil may need to be replaced.
Next, troubleshoot the spark plug wire by inspecting it for any damage or wear. If the wire is damaged, it should be replaced. Also, make sure the wire is securely connected to both the ignition coil and the spark plug.
Lastly, check the ignition switch itself by turning it on and off several times. Make sure it feels smooth and responsive. If there are any issues with the ignition switch, it may need to be replaced.
Now, let’s move on to inspecting the starter relay to continue troubleshooting the electric start.
Inspecting the Starter Relay
First, you should check the starter relay to ensure it is functioning properly. The starter relay is a small device that allows the electrical current to flow from the battery to the starter motor. Testing the voltage and checking the starter relay coil can help you determine if the relay is the cause of the electric start issue on your dirt bike.
To test the voltage, you will need a multimeter. Set the multimeter to the DC voltage setting and connect the positive probe to the positive terminal of the battery. Then, connect the negative probe to the input terminal of the starter relay. If the voltage reading is within the manufacturer’s specified range, the relay is receiving power correctly.
Next, inspect the starter relay coil. Use the multimeter to check the coil’s resistance. If the resistance is outside of the recommended range, the coil may be faulty and needs to be replaced.
In the next section, we will discuss how to test the solenoid, another component that can affect the electric start on your dirt bike.
Testing the Solenoid
To continue troubleshooting the electric start on your dirt bike, the next step is testing the solenoid. The solenoid is responsible for engaging the starter motor and transferring the electrical current from the battery to the motor.
Before proceeding, ensure that the battery is fully charged and all connections are clean and tight.
To test the solenoid, follow these troubleshooting tips:
- Use a multimeter to check for continuity between the solenoid terminals.
- Apply power directly to the solenoid to see if it engages the starter motor.
- Inspect the solenoid for any signs of damage or corrosion.
Common solenoid issues include a faulty coil, worn contacts, or a stuck plunger. If any of these issues are identified, the solenoid may need to be replaced.
Now, let’s move on to troubleshooting the kill switch to further diagnose the electric start problem.
Troubleshooting the Kill Switch
Check if your kill switch is functioning properly by testing its connection and inspecting for any signs of damage or corrosion. The kill switch is an essential component of the electric start system on your dirt bike. It is responsible for cutting off the ignition and stopping the engine when activated. Common issues with the kill switch include a non-responsive or malfunctioning switch. To troubleshoot these issues, start by checking the connection of the kill switch to ensure it is securely fastened. Inspect the switch for any signs of damage or corrosion, which may require cleaning or replacement. Additionally, proper maintenance and care for the kill switch is crucial to ensure its longevity and functionality. Once you have completed troubleshooting the kill switch, you can move on to examining the starter button to continue diagnosing the electric start issue.
Examining the Starter Button
After troubleshooting the kill switch, it’s important to examine the functionality and condition of the starter button.
The starter button is responsible for initiating the electric start process on your dirt bike. Start by visually inspecting the button for any signs of damage, such as cracks or wear.
Next, check if the button is making proper contact when pressed. Sometimes, dirt or debris can accumulate and hinder the button’s performance. Use a clean cloth or compressed air to remove any obstructions.
If the button still doesn’t work, it may be necessary to replace it. Common starter button problems include faulty wiring connections or a worn-out switch mechanism. Ensure that all connections are secure and free from corrosion.
With the starter button examined, let’s move on to checking the fuse in the subsequent section.
Checking the Fuse
Now, it’s important to inspect the fuse to determine if it is causing any issues. The fuse is a small device that protects the electrical system from overloads. To check the fuse, follow these steps:
- Locate the fuse box on your dirt bike. It is usually located near the battery or under the seat.
- Open the fuse box and carefully remove the fuse that corresponds to the electric start system.
- Inspect the fuse for any signs of damage, such as a broken filament or a burnt appearance.
- If the fuse is damaged, replace it with a new one of the same amperage rating.
- Once the new fuse is in place, try starting your dirt bike again to see if the issue is resolved.
Checking the fuse is a crucial step in troubleshooting common issues with the electric start system. If the fuse is not the problem, the next step is to move on to cleaning the spark plug.
Cleaning the Spark Plug
To ensure optimal performance, it’s important to clean the spark plug on a regular basis. A clean spark plug allows for better ignition and combustion, resulting in improved power and fuel efficiency.
Here are some cleaning techniques to follow:
- Remove the spark plug using a spark plug socket and extension.
- Inspect the spark plug for any signs of damage or wear.
- Use a wire brush or spark plug cleaner to remove carbon deposits and dirt from the electrode.
- Check the spark plug gap and adjust it if necessary using a gap tool.
By regularly cleaning your spark plug, you can prevent issues such as misfires and poor starting.
If cleaning the spark plug does not resolve the electric start problem, the next step is to inspect the carburetor. This will help identify any fuel-related issues that might be causing the problem.
Inspecting the Carburetor
The next step is to check the carburetor for any fuel-related issues. The carburetor plays a crucial role in delivering the right amount of fuel to the engine.
Start by inspecting the carburetor for any visible damage or leaks. Look for loose or damaged connections and ensure that the fuel lines are properly attached.
If everything appears to be in good condition, you may need to make some carburetor adjustments. Common carburetor problems include a clogged jet or a dirty fuel bowl. Use a carburetor cleaner to remove any dirt or debris that may be causing these issues.
Once you have made the necessary adjustments and cleaned the carburetor, you can move on to the next step of fixing your electric start.
If you are unsure about any of these steps, it’s always best to seek professional help.
Seeking Professional Help if Needed
If you’re uncertain about any of these steps, it’s best to seek professional assistance. Seeking professional advice when troubleshooting the electric start on your dirt bike can save you time and prevent any further damage.
A professional mechanic has the knowledge and experience to diagnose and fix the issue efficiently. They have access to specialized tools and equipment that can help identify the root cause of the problem. Additionally, they can provide valuable insights and troubleshooting techniques that may not be readily available to the average person.
It’s important to remember that attempting to fix the electric start on your own without the necessary expertise can lead to more problems and potentially worsen the existing issue. So, don’t hesitate to reach out to a professional if you’re unsure about how to proceed.
Frequently Asked Questions
How do I know if the electric start on my dirt bike is not working?
To determine if the electric start on your dirt bike is not functioning properly, there are several troubleshooting steps you can follow.
First, check the battery to ensure it has enough charge.
Next, inspect the starter motor and solenoid for any signs of damage or wear.
Additionally, examine the wiring connections for any loose or corroded terminals.
Other potential causes of electric start failure include a faulty ignition switch or a defective starter relay.
Can I jump-start my dirt bike if the electric start is not working?
If the electric start on your dirt bike isn’t working, don’t worry! There are jump-starting alternatives you can try.
First, check the battery connections to make sure they’re secure. If that’s not the issue, it’s likely a problem with the starter motor or solenoid.
To troubleshoot, you’ll need a multimeter to test the voltage. If you’re not comfortable with electrical work, it’s best to consult a professional.
Remember, with some troubleshooting and know-how, you can get your dirt bike up and running again in no time.
How often should I clean the battery terminals on my dirt bike?
To ensure optimal performance of your dirt bike’s battery, it is recommended to clean the battery terminals regularly. Use a wire brush or abrasive pad to remove any corrosion or dirt buildup from the terminals.
Ensure the bike is turned off and the terminals are disconnected before cleaning.
For best results, use a battery terminal cleaner or a mixture of baking soda and water. This will help maintain a strong electrical connection and extend the lifespan of your battery.
What are the common signs of a faulty ignition switch on a dirt bike?
If you’re experiencing electric start issues on your dirt bike, one common culprit could be a faulty ignition switch. There are several signs to look out for that may indicate a faulty ignition switch, such as the bike not starting or the electric start not working at all.
To troubleshoot this issue, you may need to consider ignition switch replacement. It’s important to consult your bike’s manual or a professional for proper guidance and instruction.
What should I do if my dirt bike’s electric start works intermittently?
If your dirt bike’s electric start works intermittently, there are a few steps you can take to troubleshoot the issue.
Start by checking the dirt bike battery maintenance. Ensure that the battery terminals are clean and securely connected.
Next, inspect the wiring and connectors for any signs of damage or loose connections.
If everything looks fine, it’s recommended to consult a professional for further troubleshooting of dirt bike electrical issues.
Conclusion
Congratulations! You are now equipped with the knowledge and skills to fix the electric start on your dirt bike like a pro. By following the steps outlined in this article, you have the power to resurrect your ride and unleash its true potential.
Remember, the devil is in the details, so be thorough in checking the battery, starter motor, wiring, and connections. Don’t shy away from getting your hands dirty and cleaning those battery terminals and spark plug.
And if all else fails, don’t hesitate to seek the assistance of a professional.
Now go forth and conquer the dirt with your fully functioning electric start!