Did you know that electric bike sales have been steadily increasing over the past decade, with a 22% rise in 2020 alone?
If you’re looking to join the growing number of people enjoying the benefits of an electric bike, installing a rear electric bike wheel is a great way to upgrade your current ride.
In this article, I will guide you through the step-by-step process of installing a rear electric bike wheel, ensuring that you have all the tools and knowledge necessary to successfully complete the installation.
Let’s get started!
Key Takeaways
- Proper installation of the rear electric bike wheel is crucial for a seamless conversion process.
- Compatibility with the bike frame should be considered when selecting a conversion kit.
- The installation process should be easy and straightforward to ensure a successful upgrade.
- Upgrading to a rear electric bike wheel can greatly enhance the overall riding experience.
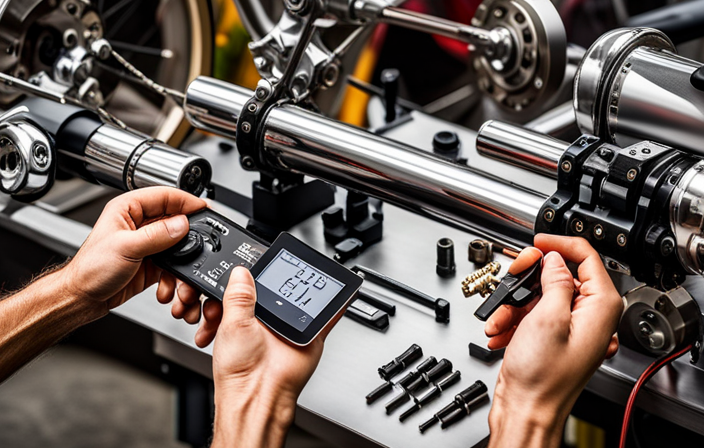
Gathering the Necessary Tools and Materials
You’ll need to gather the necessary tools and materials to install a rear electric bike wheel. Before starting the installation process, make sure you have the following tools on hand: a wrench set, a screwdriver set, pliers, and a spoke wrench.
These tools will help you remove the old wheel and install the new one correctly. Additionally, you’ll need to select the right materials for the installation. This includes choosing a rear electric bike wheel that is compatible with your bike’s frame and tire size. It’s important to check the specifications of your bike and consult the manufacturer’s guidelines to ensure a proper fit.
Once you have gathered the tools and selected the appropriate materials, you’ll be ready to move on to the next steps of the installation process.
Preparing Your Bike for Installation
First, make sure your bicycle is ready for the new addition. Start by preparing the bike frame for the installation of the rear electric bike wheel. Inspect the frame for any damages or cracks that may affect the installation or performance of the wheel.
Ensure that the frame is clean and free from any debris or dirt that could interfere with the installation process.
Next, check the wheel alignment by placing the bike on a level surface and observing if the rear wheel is properly aligned with the frame. Use a ruler or measuring tape to measure the distance between the rear wheel and the frame on both sides to ensure they are equal. Adjust the wheel alignment if necessary to ensure a smooth and balanced ride.
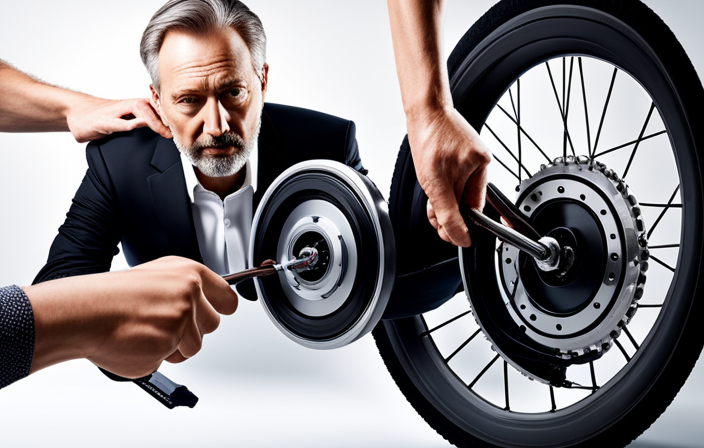
Removing the Rear Wheel
To begin, I always make sure my bicycle is in good condition before removing the rear wheel. This includes checking the tire pressure, inspecting the brakes, and ensuring the chain is properly lubricated.
Once I am confident that everything is in order, I proceed with the removal process. First, I shift the gears to the smallest chainring and smallest rear cog to relieve tension on the chain. Then, I loosen the quick-release skewer or axle nuts and carefully slide the wheel out of the dropouts. It’s important to be mindful of any fenders or disc brake rotors that may be attached to the wheel.
If you encounter any issues during the removal, such as a stuck skewer or difficulty aligning the wheel, troubleshooting guides are available online or from the manufacturer.
Installing the Electric Bike Conversion Kit
Once everything is properly aligned, you can easily attach the electric bike conversion kit to your bicycle.
Start by placing the electric motor in the center of your rear wheel, ensuring that it is aligned with the frame.
Next, secure the motor to the frame using the provided mounting brackets and screws. Make sure the motor is tightly fastened to prevent any vibrations or movement during operation.
Once the motor is securely attached, connect the motor cables to the corresponding connectors on the controller. Double-check that the connections are secure to avoid any electrical issues.
Finally, attach the battery pack to the frame using the provided straps or brackets.
Troubleshooting common installation issues may include checking the wiring connections, ensuring proper alignment, and tightening any loose components.
Mounting the Electric Wheel onto Your Bike
Before attaching the motor, ensure that the center of the wheel is properly aligned with the frame. This is crucial for a smooth and stable ride. Here are a few important mounting techniques to keep in mind:
- Securely fasten the axle nuts on both sides of the wheel to prevent any wobbling or misalignment.
- Make sure the wheel is centered within the frame by adjusting the spacers on each side if necessary.
- Double-check the brake alignment to ensure it is not rubbing against the wheel rim.
- Use a torque wrench to tighten all bolts to the manufacturer’s recommended specifications.
If you encounter any issues during mounting, here are some common troubleshooting tips:
- If the wheel is not spinning freely, check for any obstructions or misalignment in the brake system.
- If the wheel is wobbling, make sure the axle nuts are tightened evenly on both sides.
- If the wheel is not centered, adjust the spacers or consult the manufacturer’s instructions for proper alignment.
Following these mounting techniques and troubleshooting common issues will ensure a successful installation of your rear electric bike wheel.
Connecting the Electric Motor to the Battery
When connecting the electric motor to the battery, it is crucial to ensure that all connections are secure and properly insulated. This ensures the efficient and safe operation of your rear electric bike wheel.
Start by locating the throttle control, which is responsible for regulating the speed of the electric motor. Connect the throttle control to the designated port on the motor, making sure it is firmly attached.
Next, install the battery holder onto your bike frame. This holder is specifically designed to securely hold and protect the battery during rides. Attach the battery to the holder, ensuring that it is securely fastened and properly aligned with the motor.
Once all connections are in place, double-check that everything is secure and tight before testing the electric wheel.
Securing the Wiring and Cables
To ensure the safe operation of your electric motor, make sure to securely fasten and insulate all wiring and cables. This step is crucial in preventing any loose connections or potential damage to the electrical components.
Start by using high-quality cable ties to secure the wiring to the frame of your bike. Make sure to place the ties at regular intervals to keep the wiring in place and prevent any movement during rides.
Additionally, it is important to waterproof all electrical connections to protect them from moisture and other environmental factors. This can be done using waterproof connectors or by applying a layer of electrical tape around the connections.
By taking these measures, you can ensure the longevity and reliability of your rear electric bike wheel.
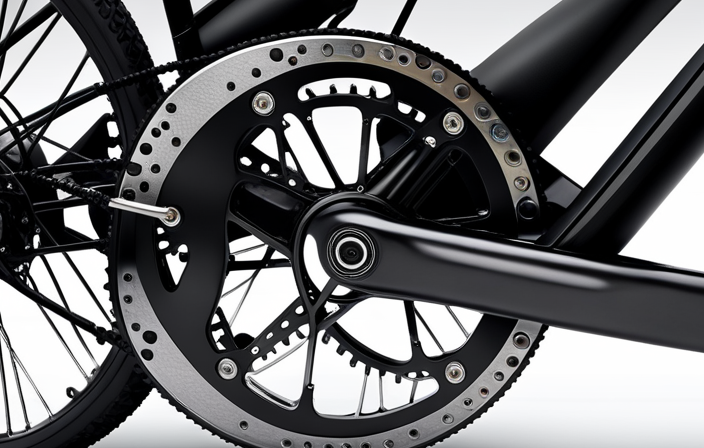
Adjusting the Brakes and Gears
Adjusting the brakes and gears is essential for optimal performance and smooth operation of your bike. When installing a rear electric bike wheel, it is important to make sure that the brakes and gears are properly adjusted to ensure safe and efficient riding.
To adjust the brakes, start by aligning the brake pads with the rim of the wheel. Use a 2-column and 4-row table to illustrate the steps involved in adjusting the brake pads. In the first column, list the steps such as loosening the brake pad mounting bolt and aligning the brake pad with the rim. In the second column, provide detailed instructions on how to perform each step.
Next, fine-tune the derailleur to ensure smooth shifting between gears. Explain the process of adjusting the derailleur using precise instructions. Provide tips on how to properly align the derailleur and adjust the tension of the cable.
By following these steps and adjusting the brakes and gears correctly, you can ensure that your rear electric bike wheel is installed and functioning properly for an optimal riding experience.
Testing the Electric Bike Conversion
After adjusting the brakes and gears, it is important to test the electric bike conversion to ensure proper functionality. Testing the conversion allows you to verify that all components are working correctly and identify any potential issues that may need troubleshooting.
Here are some benefits of electric bike conversion:
- Increased range: With the electric motor, you can go farther without getting tired.
- Improved efficiency: The motor assists your pedaling, making it easier to navigate hills and ride longer distances.
- Environmentally friendly: Electric bikes produce zero emissions, reducing your carbon footprint.
When testing the conversion, pay attention to common issues such as motor noise, battery performance, and throttle responsiveness. Ensure that the motor engages smoothly and provides the desired level of assistance. Test the battery to make sure it charges properly and holds a sufficient charge. Troubleshoot any issues promptly to maximize the benefits of your electric bike conversion.
Enjoying Your Upgraded Electric Bike Experience
Now that you’ve completed the conversion, it’s time to fully enjoy the upgraded experience of your electric bike.
One of the key aspects to enhancing your electric bike experience is upgrading your bike’s battery power. A higher capacity battery will provide you with increased range and power, allowing you to go further and conquer more challenging terrains.
Additionally, choosing the right electric bike conversion kit is crucial in maximizing your enjoyment. Consider factors such as motor power, wheel size, and compatibility with your bike frame. A well-designed kit will ensure a seamless installation and optimal performance.
Take the time to research and select a conversion kit that suits your needs and preferences. By upgrading your battery power and choosing the right conversion kit, you can truly elevate your electric bike experience to new heights.
Frequently Asked Questions
How do I choose the right size rear electric bike wheel for my bike?
To choose the right size rear electric bike wheel, measure the diameter and width of your current wheel. A larger wheel provides increased speed and stability, while a smaller wheel offers better maneuverability. Consider your riding style and terrain when making your selection.
Can I install a rear electric bike wheel on any type of bike?
Yes, you can install a rear electric bike wheel on most types of bikes. Customizing bikes with an electric conversion offers numerous benefits, such as increased speed and range, easier uphill rides, and a more eco-friendly transportation option.
Do I need any special knowledge or skills to install a rear electric bike wheel?
Installing a rear electric bike wheel requires basic mechanical knowledge and skills. You’ll need installation tools like wrenches and screwdrivers. Common mistakes include improper alignment and overtightening, so be cautious and follow the instructions carefully.
Can I still use my bike’s original brakes with a rear electric bike wheel installed?
Yes, you can still use your bike’s original brakes with a rear electric bike wheel installed. However, there may be compatibility issues with different brake systems, requiring potential adjustments for optimal brake performance.
How long does it typically take to install a rear electric bike wheel?
Typically, the installation of a rear electric bike wheel takes around 30-60 minutes. However, the time may vary depending on the individual’s experience and the specific challenges encountered during the process.
Conclusion
In conclusion, installing a rear electric bike wheel is a relatively straightforward process that can greatly enhance your biking experience. By following the steps outlined in this article, you can successfully convert your regular bike into an electric one.
An interesting statistic to note is that electric bike sales have been steadily increasing over the years, with a 145% growth in sales from 2019 to 2020. This indicates a growing interest and demand for electric bikes, making it a worthwhile investment for any biking enthusiast.