Were you aware that defective brakes are a primary reason behind bicycle accidents? A study reveals that brake-related problems account for nearly 25% of all bicycle incidents. It’s vital to make sure that your bike’s brakes are in excellent condition prior to venturing out on the road.
Loose brakes can be a frustrating issue for any cyclist. They can affect your confidence while riding and put you at risk of an accident.
In this article, I’ll guide you through the steps to loosen your bike brakes and ensure they’re functioning correctly. With just a few tools and some know-how, you can quickly get your bike back in tip-top shape.
Key Takeaways
- Loosening up bike brakes requires proper tools such as a wrench or an Allen key and pliers or a cable cutter.
- Adjusting brake cable tension is crucial for efficient stopping, and common issues include brakes that don’t engage, rub on the wheel, or engage too suddenly.
- Regular brake pad replacement and brake rotor maintenance are necessary for effective and safe braking.
- Fine-tuning the brakes involves checking the brake pad alignment, adjusting the lever position, and testing the brakes for optimal performance.
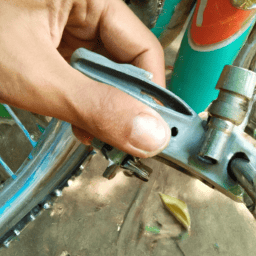
Gather the Necessary Tools
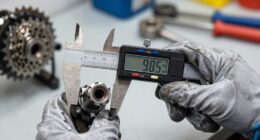
Now, you’re gonna need a few tools to loosen up those brakes – don’t worry, it won’t be anything too complicated.
First off, you’ll need a wrench or an Allen key, depending on the type of brake system you have. Make sure you select the proper size tool to avoid stripping any bolts or damaging your bike. You may also need pliers or a cable cutter to adjust any cables that are too tight or to trim any excess cable.
Common mistakes when selecting tools for brake adjustment include using the wrong size wrench or Allen key, or using pliers instead of a cable cutter. This can cause damage to your bike or make the adjustment process more difficult.
Once you have all the necessary tools on hand, you can move on to identifying the type of brake system you have.
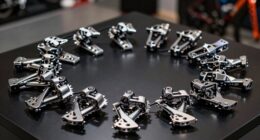
Identify the Type of Brake System
First things first, do you know that there are two main types of brake systems commonly used on bicycles? These are the rim brakes and disc brakes.
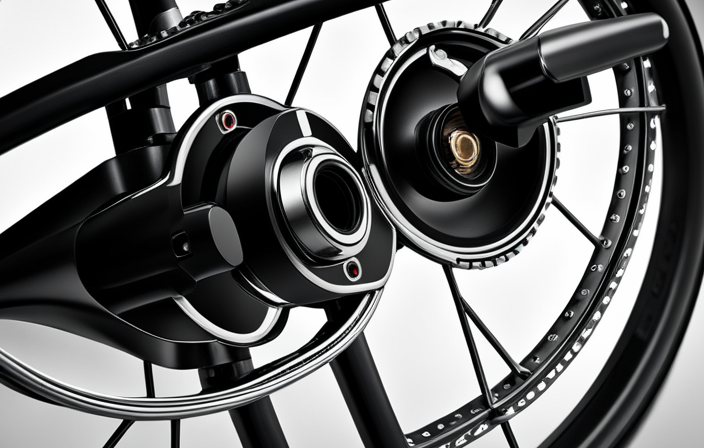
Rim brakes are the traditional type of bike brakes, and they work by applying pressure to the rim of the wheel to slow down or stop the bike. On the other hand, disc brakes are newer and more advanced, and they work by squeezing a rotor attached to the wheel hub.
Understanding the different types of bike brakes is important because it can help you identify the cause of common brake problems. For instance, rim brakes tend to wear out the rims faster than disc brakes. On the other hand, disc brakes can be more expensive to replace than rim brakes.
Knowing the type of brake system on your bike can also help you determine the best way to loosen the brakes without causing any damage. With this in mind, let’s move on to the next step and adjust the brake cable tension.
Adjust the Brake Cable Tension
To ensure your bike stops smoothly and efficiently, you’ll need to make sure the brake cable tension is properly adjusted. Common issues with brake cable tension include brakes that don’t engage at all, brakes that rub on the wheel, or brakes that engage too suddenly.
Before adjusting the tension, it’s important to troubleshoot the issue and identify the root cause. One troubleshooting technique is to check if the brake pads are properly aligned. If the brake pads are not aligned, they may be rubbing against the wheel even when the brake lever is not engaged. Another technique is to check if the brake cable is frayed or damaged. A damaged cable can cause the brakes to engage too suddenly or not at all.
Once you’ve identified the issue, you can adjust the brake cable tension accordingly. To test the brakes after adjusting the tension, take your bike for a short ride and test the brakes at different speeds. Make sure the brakes engage smoothly and that the bike comes to a complete stop. Don’t forget to test both the front and rear brakes.
With properly adjusted brake cable tension, you can ensure a safe and efficient ride.
Test the Brakes
Before you hit the road, make sure your bike’s ability to stop is up to par by giving the brakes a test run – think of it as a pilot doing a pre-flight check before takeoff.
To test the brakes, start by squeezing the brake lever – the brake pads should grip the brake rotor smoothly and firmly. If the brake pads feel spongy or the lever goes all the way to the handlebar, it may indicate that the brake cable needs to be tightened or the brake pads need to be replaced.
Next, take your bike for a slow ride and apply the brakes gently to see if the bike comes to a stop smoothly. If the bike feels wobbly or the brakes make a grinding noise, it could be a sign that the brake rotor needs some maintenance or the brake pads need to be replaced.
Regular brake pad replacement and brake rotor maintenance are crucial to ensure your bike’s braking system functions effectively and safely.
With these tests completed, it’s time to fine-tune the brakes for optimal performance.
Fine-Tune the Brakes
Now that the brakes have been tested, it’s time to make any necessary adjustments for optimal performance.
One of the first things to check is the brake pad alignment. If the pads aren’t aligned correctly, they may not make proper contact with the rim, which can result in poor braking performance.
To adjust the alignment, loosen the brake pad attachment bolt and adjust the pad so that it’s centered on the rim. Make sure that the pad is as close to the rim as possible without actually touching it. Repeat the process for the other brake pad.
Another important factor to consider when fine-tuning your brakes is the brake lever position. The lever should be positioned in a way that allows you to apply the brakes with ease and comfort. If the lever’s too far away, you may have to exert more force than necessary to apply the brakes. Conversely, if the lever’s too close, you may accidentally apply the brakes when you don’t intend to.
To adjust the lever position, loosen the clamp bolt and move the lever to the desired position. Tighten the bolt securely and test the brakes to make sure they’re working properly.
Frequently Asked Questions
How often should bicycle brakes be checked and adjusted?
Keeping your brakes in top shape is crucial for your safety. I recommend checking and adjusting your bicycle brakes every 3-6 months. Use a combination of barrel adjusters, brake pads, and cable tension to achieve optimal stopping power.
What are common signs that indicate the brake pads need to be replaced?
When the brake pads become worn, they can create a squeaking or grinding noise. Check for wear indicators on the pads to determine if they need to be replaced. Proper brake maintenance and safety precautions are important for optimal performance.
Can a bike mechanic adjust the brake system more accurately than someone without experience?
Yes, a bike mechanic has advantages over someone without experience in adjusting the brake system more accurately. DIY brake adjustment can be tricky and requires knowledge of brake components and proper adjustments.
Are there any special considerations for adjusting hydraulic brake systems?
Although hydraulic brake maintenance may seem daunting, troubleshooting hydraulic brake issues is straightforward with proper knowledge and tools. It’s crucial to follow manufacturer guidelines to avoid potential safety hazards and ensure optimal brake performance.
Is it possible to damage the brake system if the tension is adjusted incorrectly?
Adjusting tension on hydraulic brakes is critical for brake maintenance. Incorrect adjustment can cause damage to the brake system, potentially leading to failure. Proper techniques and knowledge are necessary to avoid any complications.
Conclusion
In conclusion, loosening a bicycle brake may seem like a simple task, but it requires attention to detail and precision. It’s important to gather the necessary tools and identify the type of brake system before adjusting the brake cable tension. The brakes should always be tested before taking the bike out for a ride, and fine-tuning may be necessary for optimal performance.
As I tighten and loosen the brake cable, I’m reminded of the delicate balance required in life. Just as a bike needs properly functioning brakes to maintain control and safety, we must find the right balance in our own lives to navigate the ups and downs.
Just like a bike, we need occasional adjustments to our tension and fine-tuning to stay on track. So, take the time to adjust your brakes, but also take the time to adjust your life. Find the right balance and keep moving forward.