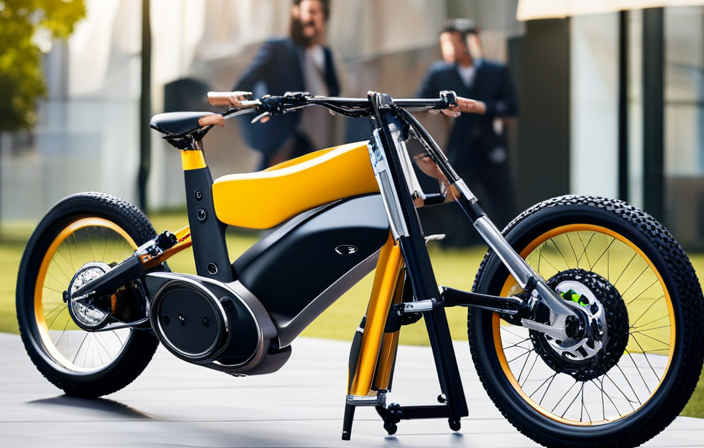
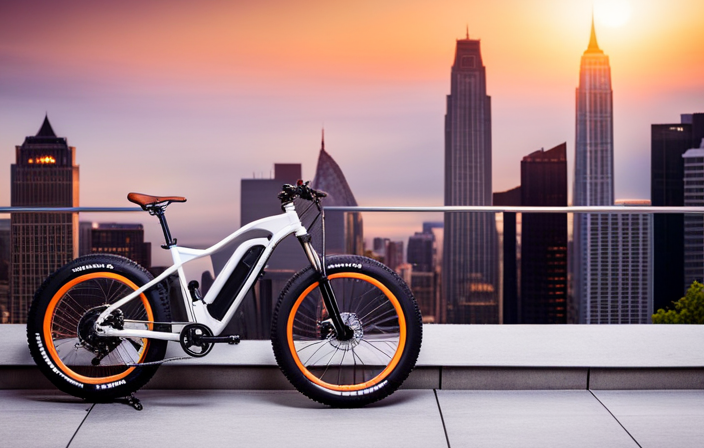
I’ve always been fascinated with the idea of building my own electric bike, a DIY project that combines my love for engineering and adventure.
In this article, I’ll guide you through the step-by-step process of creating your very own electric bike from scratch. With the right tools, materials, and a bit of technical knowledge, you’ll be able to transform a regular bicycle into a powerful and eco-friendly mode of transportation.
So, let’s dive in and embark on this electrifying journey together!
Key Takeaways
- Assess travel distance, terrain, and desired speed
- Research and estimate budget for necessary components
- Prioritize safety with protective gear and tools
- Consider frame material, size, and compatibility for the bike
Assess Your Needs and Budget
First, you’ll need to determine your needs and budget for building an electric bike. To do this, you must first assess your requirements. Consider factors such as the distance you plan to travel, the terrain you’ll be riding on, and the speed you desire. This will help you determine the power and battery capacity you need for your bike.
Additionally, think about your budget. Research the cost of components such as the motor, battery, controller, and frame. Estimate the costs of any additional parts you may need, such as brakes, lights, and tires. By determining your requirements and estimating costs, you can create a realistic budget and ensure that you have all the necessary resources to build your electric bike.
With your needs and budget in mind, you can now move on to gathering the necessary tools and materials.
Gather the Necessary Tools and Materials
Next, you’ll need to gather all the necessary tools and materials for the project. It’s important to be well-prepared before you start building your electric bike. Here are the items you’ll need:
-
Motor Kit: Look for a high-quality motor kit that suits your needs and budget. Consider factors like power, efficiency, and compatibility with your bike.
-
Battery: Choose a reliable battery that provides sufficient range and power. Consider factors like capacity, voltage, and weight.
-
Wiring and Connectors: Ensure you have the necessary wiring and connectors to connect the motor, battery, and controller.
-
Tools: Gather a set of basic tools such as wrenches, screwdrivers, pliers, and wire cutters. These will come in handy during the assembly process.
-
Safety Gear: Don’t forget to prioritize safety. Get a good helmet, gloves, and protective eyewear to ensure your well-being throughout the project.
Now that you have all the tools and materials ready, it’s time to move on to the next step: choosing the right bicycle frame.
Choose the Right Bicycle Frame
To choose the right bicycle frame, you’ll want to consider factors like size, material, and compatibility with the motor kit and battery.
When it comes to frame materials, there are a few options to consider. Aluminum frames are lightweight, durable, and affordable, making them a popular choice for electric bikes. Carbon fiber frames are even lighter and provide excellent vibration dampening, but they can be more expensive. Steel frames offer a smooth ride and durability, but they tend to be heavier.
As for frame geometry, it’s crucial to find a frame that suits your riding style. Consider factors like the frame’s top tube length, seat tube angle, and head tube angle. These factors will affect the bike’s stability and handling.
Now that you’ve chosen the right frame, let’s move on to selecting the electric motor and battery.
Select the Electric Motor and Battery
Now, let’s talk about how you can choose the right electric motor and battery for your bicycle.
When it comes to electric motor selection, you need to consider factors such as power output, torque, and efficiency. Determine the power output you require based on your desired speed and the terrain you’ll be riding on. Torque is important for uphill climbs, so choose a motor that offers sufficient torque for your needs. Efficiency is crucial for maximizing the battery life, so opt for a motor that is known for its energy efficiency.
Moving on to battery selection, consider the capacity, voltage, and weight. Higher capacity batteries provide longer range, while higher voltage batteries offer better performance. Finally, choose a battery that is lightweight to avoid adding unnecessary weight to your bicycle.
With the right electric motor and battery selected, you can now move on to installing them onto the bicycle frame.
TRANSITION: Now that you have selected the appropriate electric motor and battery, it’s time to install them onto the bicycle frame.
Install the Motor and Battery onto the Bicycle Frame
Once you have chosen the right electric motor and battery, it’s time to mount them onto the bicycle frame. This step is crucial in ensuring a proper and secure installation. Here are some motor installation tips and battery attachment techniques to help you get started.
To begin, gather the necessary tools and equipment, including mounting brackets, bolts, and a wrench. Refer to the manufacturer’s instructions for specific details on the motor and battery mounting points.
Next, position the motor onto the frame using the mounting brackets. Make sure it is aligned properly and securely fastened. Double-check all bolts for tightness to prevent any potential issues during operation.
For battery attachment, locate a suitable position on the frame that provides stability and balance. Use straps or brackets to secure the battery in place, ensuring it is snug and won’t move during rides.
Remember to consider the weight distribution and center of gravity when mounting both the motor and battery. This will impact the bike’s stability and handling.
Now that the motor and battery are securely mounted, it’s time to connect the wiring and controls to complete the installation seamlessly.
Connect the Wiring and Controls
Now that you have the motor and battery securely mounted, it’s time to connect the wiring and controls for a seamless installation.
Start by identifying the wires coming from the motor and battery. Typically, there will be a set of wires for the motor and a separate set for the battery.
Carefully connect the corresponding wires, ensuring a snug fit and proper alignment. Double-check the connections to avoid any potential issues. If you encounter any wiring troubleshooting, consult the manual or seek assistance from an expert.
Once the wiring is complete, move on to customizing the controls. This may involve adjusting the throttle sensitivity or programming the controller settings to your liking. By personalizing the control setup, you can optimize your riding experience.
Now, let’s transition to the next section and discuss how to attach the pedal assist sensor.
Attach the Pedal Assist Sensor
To attach the pedal assist sensor, carefully align and connect the sensor wires to the corresponding connectors on the motor and controller. This sensor is a crucial component of the electric bike conversion kit as it detects the rotational movement of the pedals and provides assistance to the rider accordingly.
Here are some key points to consider when attaching the pedal assist sensor:
- Ensure that the sensor wires are not twisted or tangled to prevent any signal interference.
- Double-check that the connectors are securely plugged in to maintain a reliable connection.
- Test the sensor by gently rotating the pedals to verify that the motor responds appropriately.
Pedal assist troubleshooting: If you encounter any issues with the pedal assist function, check the sensor connections and make sure they are properly aligned and securely attached. Additionally, ensure that the sensor is positioned correctly near the pedals.
Benefits of pedal assist: The pedal assist feature enhances the riding experience by providing additional power when needed, making uphill climbs and long distances more manageable. It promotes a healthier and more active lifestyle while reducing the strain on the rider.
Now that we have successfully attached the pedal assist sensor, let’s move on to installing the electric bike conversion kit.
Install the Electric Bike Conversion Kit
You’ll need a set of basic tools to complete the installation of the conversion kit. Before beginning, make sure you have a wrench, pliers, screwdriver, and wire cutters on hand.
Now, let’s get started!
First, locate the center of the bike’s frame and attach the battery mount securely using the provided screws.
Next, mount the motor onto the rear wheel axle, making sure it is aligned properly.
Connect the motor wires to the controller, ensuring the color-coded wires match. It’s important to double-check all connections to avoid any potential issues later on.
Once everything is securely attached, test the electric bike to ensure it is functioning correctly. Troubleshooting tips will come in handy if any problems arise.
Finally, fine-tune the electric bike by adjusting the pedal assist levels and brake sensors for optimum performance.
With this installation complete, you can now enjoy the benefits of using an electric bike conversion kit, such as increased speed and convenience.
Test and Fine-Tune the Electric Bike
To ensure optimal performance, adjust the pedal assist levels and brake sensors on your electric bike after testing it.
Testing your electric bike is crucial to identifying any performance issues and fine-tuning it for a smooth ride. Start by testing the pedal assist levels to find the one that suits your riding style. Make sure to test the different levels on various terrains to gauge the bike’s performance in different conditions.
Next, check the brake sensors to ensure they are responsive and provide adequate stopping power. Troubleshoot any common electric bike issues, such as motor noise or battery efficiency, by referring to the manufacturer’s manual or seeking professional assistance.
Once you have tested and fine-tuned your electric bike, you can move on to the next section and add additional accessories and features to enhance your riding experience.
Add Additional Accessories and Features
Once you’ve tested and fine-tuned your electric bike, it’s time to consider adding extra accessories and features to enhance your riding experience.
There are a variety of additional accessories available on the market that can be easily installed on your electric bike. Some popular options include front and rear lights, fenders to protect against splashes, and a comfortable saddle.
You can also explore customization options such as different handlebars or grips to suit your riding style. Additionally, features like a bike computer can provide valuable information such as speed, distance, and battery life.
Remember to choose accessories that are compatible with your electric bike’s specifications and ensure proper installation. These accessories can greatly enhance your riding experience and make your electric bike truly personalized.
However, it’s important to ensure proper safety measures and maintenance to keep your bike in optimum condition.
Ensure Proper Safety Measures and Maintenance
Ensuring proper safety measures and maintenance is essential for keeping your electric bike in optimal condition. Here are some key steps to help you maintain your electric bike and ride safely:
- Regularly check the tire pressure to ensure proper inflation.
- Inspect the brakes for wear and tear and adjust or replace as necessary.
- Clean the chain and lubricate it to reduce friction and maintain smooth operation.
- Regularly inspect the electrical components, such as the battery and motor, for any signs of damage or malfunction.
By following these safety measures and performing regular maintenance, you can enjoy your homemade electric bike on your commutes and adventures without any worries.
It’s important to prioritize safety and take care of your bike to ensure a smooth and enjoyable riding experience.
Enjoy Your Homemade Electric Bike on Your Commutes and Adventures
When you ride your homemade electric bike on your commutes and adventures, you’ll experience a thrilling sense of freedom and excitement.
The benefits of having a homemade electric bike are numerous. Firstly, it provides a cost-effective mode of transportation, as you can convert a regular bicycle into an electric one at a fraction of the cost of buying a new electric bike.
Secondly, it is an environmentally friendly option, reducing your carbon footprint and contributing to a cleaner environment.
However, there are challenges involved in building your own electric bike. These include sourcing the necessary components, ensuring proper installation, and troubleshooting any technical issues that may arise.
Despite these challenges, the sense of accomplishment and satisfaction you’ll gain from riding your homemade electric bike makes it all worth it.
As you delve deeper into the world of DIY electric bikes, joining online communities and forums for support and tips becomes essential. These platforms provide a wealth of knowledge and guidance from experienced enthusiasts, ensuring you have the necessary support to overcome any obstacles you may face.
Join Online Communities and Forums for Support and Tips
Joining online communities and forums is a great way to get support and tips for building your own electric bike. These virtual spaces provide a wealth of knowledge and expertise from fellow enthusiasts who have already embarked on similar DIY projects.
Here are four reasons why joining these online communities and forums can be beneficial:
-
Access to a vast network of experienced builders and riders who can offer valuable advice and guidance.
-
Opportunities to learn about the latest technologies, components, and techniques in the electric bike world.
-
The ability to ask specific questions and receive tailored answers to address your unique challenges.
-
A platform to share your progress, ideas, and accomplishments with like-minded individuals who understand your passion.
By actively participating in these communities, you can tap into a wealth of resources and cultivate a supportive network while building your electric bike at home.
Now, let’s explore how you can share your experience and DIY electric bike project with others.
Share Your Experience and DIY Electric Bike Project
Sharing your experience and DIY electric bike project with others can inspire and motivate fellow enthusiasts to embark on their own creative endeavors. As someone who has successfully built their own electric bike, I know firsthand the sense of accomplishment and satisfaction it brings.
When sharing your story, highlight the challenges you faced and how you overcame them. These DIY electric bike success stories serve as valuable resources for beginners, offering insights into different approaches and solutions.
Additionally, don’t shy away from discussing troubleshooting common electric bike issues. By sharing your knowledge and experiences, you can help others avoid potential pitfalls and save them time and frustration.
The exchange of information and support within the electric bike community is crucial for everyone’s growth and success in this field. So, let’s continue learning and improving our electric bike skills together.
Continue Learning and Improving Your Electric Bike Skills
As I continue to enhance my electric bike skills, I don’t be afraid to explore new techniques and experiment with different components to achieve optimal performance.
One way to improve efficiency is by regularly maintaining and lubricating the moving parts of the bike, such as the chain and gears. This will reduce friction and ensure smooth operation.
Additionally, I can troubleshoot problems by checking the battery and connections for any loose or damaged components. Ensuring a secure and stable electrical connection is crucial for the bike to function properly.
Moreover, I can also check the tire pressure regularly to ensure optimal performance and reduce rolling resistance.
Frequently Asked Questions
Can I use any bicycle frame for an electric bike conversion, or do I need a specific type?
You need a specific frame for an electric bike conversion. An electric bike frame is designed to accommodate the added weight and components of an electric motor and battery. Using the right frame ensures better stability and performance.
How long does it take to install the motor and battery onto the bicycle frame?
Installing the motor and battery onto the bicycle frame is a straightforward process, taking approximately 2-3 hours for someone with basic mechanical skills. It is not difficult, as long as you follow the instructions carefully and have the necessary tools.
Are there any special tools required for connecting the wiring and controls?
To ensure proper electrical connections, special tools are needed for wiring and controls. Some tips for this include using wire cutters, crimping tools, and a multimeter to test connections. It’s important to follow proper wiring diagrams and secure all connections tightly.
Can I still pedal the electric bike without using the motor?
Yes, you can still pedal the electric bike without using the motor. It’s a great way to exercise and extend the range of your hybrid electric bike. By using the motor sparingly, you can maximize your bike’s range.
What are some common maintenance tasks I need to perform on my homemade electric bike?
Some common maintenance tasks for a homemade electric bike include checking the battery, inspecting the wiring connections, lubricating the chain, adjusting the brakes, and monitoring tire pressure. A troubleshooting guide can help identify and fix any issues that may arise.
Conclusion
In conclusion, creating your own electric bike at home can be a rewarding and cost-effective project. It allows you to customize your bike according to your needs and budget.
As per a recent survey, DIY electric bikes have gained popularity, with over 30% of bike enthusiasts choosing to build their own electric bikes. By joining online communities and forums, you can gain valuable support and tips from others who have embarked on similar projects.
Remember to share your experience and continue learning to enhance your electric bike skills. Start your journey towards an exciting and eco-friendly mode of transportation today!


