
If you’re on the hunt for a cost-effective method to stay in shape without leaving your house, converting a bicycle into a stationary bike might be the ideal option for you. This approach not only breathes new life into an old bicycle but also allows you to tailor it to meet your specific fitness requirements.
In this article, I’ll provide a step-by-step guide on how to transform your bicycle into a stationary workout machine. To get started, you’ll need some basic materials and tools, including a bicycle, a trainer stand, and a few accessories. With just a little bit of effort and know-how, you can set up your bike and trainer stand in no time and customize your stationary bike to maximize your workout.
I’ll also provide some tips on how to maintain your stationary bike so that it lasts as long as possible. So, let’s get started!
Key Takeaways
- Making a stationary bike out of a bicycle is an affordable and customizable way to get fit from home by repurposing an old bike.
- Proper positioning and choosing the right trainer stand are crucial for safety and efficiency, and resistance modifications can be made to adjust workout intensity and target different muscle groups.
- Customizing the stationary bike can maximize the workout and make it more enjoyable, while maintaining the bike is important to ensure it lasts for years to come.
- Proper posture, breathing techniques, and stretching routines can prevent injuries and improve performance. Additionally, setting goals, tracking progress, and varying routines with different workouts and intensities can help maximize the workout.

PEXMOR Foldable Bike Cargo Trailer with Universal Bike Hitch, Bicycle Wagon Trailer with 16" Wheels & Reflectors, Large Loading Bike Trailer Storage Cart
【FOLDABLE & EASY TO INSTALL】- Comes with detailed instructions for easy installation and foldable design makes it easy...
As an affiliate, we earn on qualifying purchases.
Gather the Necessary Materials and Tools
Now, you’re going to need a few things to get started, so let’s gather up some materials and tools!
First, you’ll need an old bicycle that you can repurpose into a stationary bike. Look for one that’s in good condition and has a sturdy frame. If you don’t have an old bike laying around, check online classifieds or local bike shops for used bikes.
Next, you’ll need a DIY bike trainer stand. There are many different options available for building a stand, from using PVC pipe to repurposing an old tire. Do some research to find the best option for your needs and budget.
Once you have your materials, follow the instructions carefully to assemble your stand.
With your bike and trainer stand ready to go, it’s time to move on to setting up your bike and trainer stand in preparation for your workout.

VEVOR Bike Cargo Trailer, 275 lbs Load Capacity, Foldable Compact Storage & Quick Release with Universal Hitch, 20" Wheels, Fits Most Bike Wheels, Carbon Steel Frame, Heavy-Duty Bicycle Wagon Cart
Professional Tire Design: Our bike trailer comes equipped with sporty 20" tires and iron hubs, providing excellent stability...
As an affiliate, we earn on qualifying purchases.
Set Up Your Bike and Trainer Stand
Now that I’ve gathered all the necessary materials and tools, it’s time to set up my bike and trainer stand.
First, I’ll install the trainer stand securely on a flat surface.
Then, I’ll mount my bike onto the trainer stand, ensuring that it’s fastened tightly to avoid any accidents.
Finally, I’ll adjust the resistance on the trainer stand to my desired level, making sure that I’m comfortable with the intensity of the workout.
Install the Trainer Stand
Once you’ve got the trainer stand assembled, it’s time to get it attached to your bike.
The first thing to do is to stabilize your bike by placing it on a level surface and tightening the clamps on the trainer stand. This will prevent your bike from wobbling or moving around during your workout. You can also use stabilization techniques such as placing sandbags on the base of the trainer stand or using a mat underneath your bike to absorb any vibrations.
Next, you’ll want to reduce noise levels during your workout. One way to do this is to ensure that your bike is properly attached to the trainer stand. Make sure that the clamps are firmly secured to the bike frame and that the wheels are properly aligned.
You can also use noise reduction accessories such as a trainer tire or a noise-dampening mat to further reduce any unwanted sounds.
With your trainer stand securely attached to your bike and noise levels minimized, you’re now ready to mount your bike and start pedaling.
Mount Your Bike
To securely attach your ride to the trainer stand, make sure the clamps are tightened and the wheels are aligned. Proper positioning is crucial for safety and efficiency during your ride. Ensure your bike is level and stable, and that your handlebars and saddle are at the right height and distance from each other. This will help you avoid injuries and make your ride more comfortable.
Choosing the right trainer stand is important. There are many types of stands available, each with different features and resistance levels. Consider your fitness goals, budget, and bike type before making a decision. Once your stand is set up and your bike is mounted, you can begin your workout by adjusting the resistance.
Adjust the Resistance
Don’t let a lack of variety in your indoor cycling routine hold you back – it’s easy to adjust the resistance on your trainer stand! Resistance modifications are the key to changing your workout intensity and targeting different muscle groups.
Here are three ways to adjust the resistance on your stationary bike:
-
Use the resistance knob on your trainer stand. Turning it to the right increases the resistance, while turning it to the left decreases it. Start with a lower resistance and gradually increase it as you become more comfortable with your indoor cycling routine.
-
Shift gears on your bike. This is another way to increase or decrease the resistance on your stationary bike. Shift to a higher gear to increase resistance and make your workout more challenging, or shift to a lower gear to decrease resistance and make it easier.
-
Incorporate interval training. This involves alternating between high resistance and low resistance intervals to increase your workout intensity. For example, you could pedal at a high resistance for 30 seconds, then decrease the resistance and pedal at a low intensity for 30 seconds. Repeat these intervals for the duration of your workout.
Adjusting the resistance on your stationary bike is an essential part of customizing your workout to your fitness level and goals. Once you’ve found the right resistance level, you can move on to the next step of customizing your stationary bike.

VEVOR Bike Cargo Trailer, 160 lbs Load Capacity, Heavy-Duty Bicycle Wagon Cart, Foldable Compact Storage & Quick Release with Universal Hitch, 16" Wheels, Safe Reflectors, Fits 22"-28" Bike Wheels
160 lbs High Load Capacity: Our bike cargo trailer is your ultimate travel companion, providing a sturdy build...
As an affiliate, we earn on qualifying purchases.
Customize Your Stationary Bike
If you’re looking to really make your stationary bike your own, you’ll want to customize it to fit your body and your exercise needs. Start by choosing equipment that will help you achieve your fitness goals.
Add a comfortable seat that supports your body and a set of pedals that work well with your feet. You may also want to add some handlebars or a bottle holder to make your workout more comfortable and enjoyable.
Safety precautions should also be considered when customizing your stationary bike. Make sure that all the equipment is properly installed and secure before using it. Check all the bolts and screws to ensure that they are tight and in place. Additionally, make sure that you have enough space around the bike to prevent any accidents or injuries.
Customizing your stationary bike is a great way to maximize your workout and make it more enjoyable. In the next section, I’ll show you some tips on how to further enhance your stationary bike routine.

Mongoose Men's Elroy Adventure Bike 700C Wheel Bicycle, Blue, 54cm frame size
Versatile adventure touring bike features capable adventure bike geometry, a sleek alloy frame and steel fork for the...
As an affiliate, we earn on qualifying purchases.
Maximize Your Workout
When it comes to maximizing my workout on a stationary bike, there are three key points that I always keep in mind.
First, it’s important to set goals and track progress in order to stay motivated and continually challenge myself.
Second, warming up and cooling down properly can help prevent injury and improve overall performance.
Finally, varying my routine with different workouts and intensities can keep things interesting and prevent boredom.
By focusing on these key points, I can ensure that I’m getting the most out of my stationary bike workout.
Set Goals and Track Progress
To keep myself motivated, I set specific goals and track my progress using a fitness app. This helps me measure my progress and see how far I’ve come. I also use motivation techniques, such as rewarding myself for achieving a goal or finding a workout buddy to keep me accountable.
When setting goals, it’s important to make them realistic and achievable. Starting with small goals and gradually increasing them will help prevent burnout and injury.
Tracking progress also helps identify areas where I need to improve or where I’m excelling. By doing so, I can adjust my workouts accordingly and continue to make progress.
Now, let’s talk about the importance of warming up and cooling down to prevent injury.
Warm Up and Cool Down
Warming up and cooling down are crucial for preventing injury during exercise, so it’s important to incorporate these activities into your fitness routine. Before hopping onto your stationary bike, take a few minutes to warm up your muscles by doing some light cardio exercises like jumping jacks or jogging in place. This will help increase your heart rate and get your blood flowing to your muscles, preparing them for the workout ahead.
The benefits of warming up are numerous. It not only helps prevent injury, but it also improves your performance during the workout. By warming up, you’re increasing your range of motion, which can lead to better flexibility and mobility.
Cooling down, on the other hand, helps bring your heart rate back to its resting state and prevents blood pooling in your legs. It’s important to take a few minutes to cool down after your workout to prevent muscle soreness and stiffness the next day.
So remember, warm up before and cool down after your stationary bike workout to ensure a safe and effective exercise routine.
Transitioning into the subsequent section, remember to vary your routine to keep your workout interesting and challenging.
Vary Your Routine
Varying your exercise routine can be a game changer in achieving your fitness goals. The benefits of variation are vast and can keep you motivated and engaged in your workout regimen.
Incorporating different types of workouts, intensities, and durations can challenge your body in new ways, leading to better strength gains and overall fitness improvements. Studies have shown that regularly changing up your workouts can lead to a 20% increase in strength gains over time. This is because your muscles become accustomed to the same routine, and they need to be challenged in new ways to continue to grow stronger.
However, it’s important to balance the benefits of variation with the importance of consistency. While it’s essential to mix things up, it’s equally important to maintain a consistent exercise routine to see results. Consistency means carving out time each day to exercise, sticking to a regular schedule, and committing to your fitness goals.
By doing this, you’ll be more likely to follow through with your plan and see significant progress over time. With that in mind, let’s transition to the next section, where we’ll discuss how to maintain your stationary bike to ensure it lasts for years to come.
Maintain Your Stationary Bike
Make sure you’re wiping down your stationary bike after each use to prevent sweat and dirt buildup. You can use a damp cloth to wipe down the handlebars, seat, and pedals.
It’s important to keep your bike clean to prevent rust and other damage.
In addition to cleaning your bike, it’s also important to maintain its overall condition. This includes checking the tension on the flywheel, tightening any loose bolts, and lubricating the chain.
By keeping your bike in good condition, you can extend its lifespan and ensure a smooth ride every time.
Remember to also incorporate proper posture, breathing techniques, and stretching routines to prevent injuries and improve your overall performance.
Frequently Asked Questions
How much will it cost to make a stationary bike out of a bicycle?
To create a DIY stationary bike, cost will vary depending on the budget friendly alternatives chosen. Factors like the type of bike, resistance mechanism and accessories will impact the final price.
Can any type of bike be used to make a stationary bike?
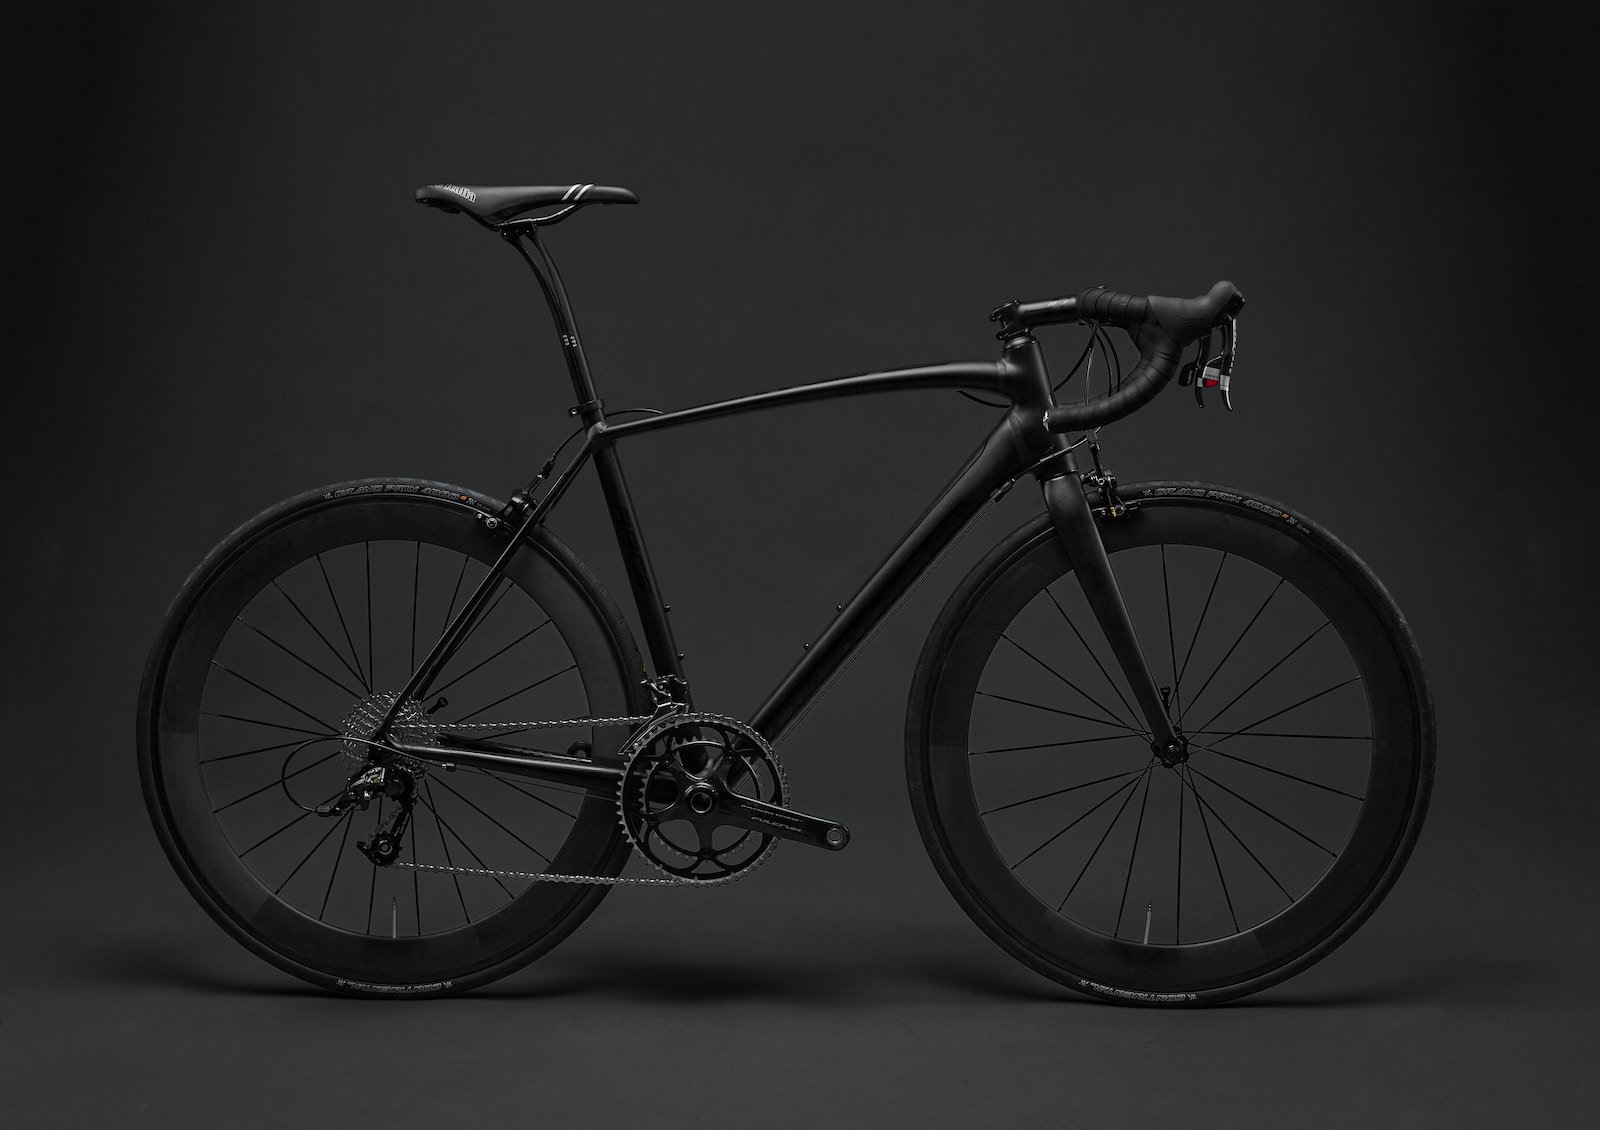
Yes, not all bikes are compatible for a stationary bike conversion. A road bike with a smooth rear tire is ideal. Equipment needed includes a trainer, riser block, and bike skewer.
How loud will the bike be when in use as a stationary bike?
The noise level of a stationary bike depends on the type of resistance used. Magnetic resistance bikes tend to be quieter than direct contact resistance bikes. Flooring requirements vary, but a sturdy surface is needed to support the bike during use.
Can the bike be easily converted back to a normal bicycle?
Converting a bicycle to a stationary bike has pros and cons. Advantages include indoor exercise and convenience. Disadvantages include less versatility and difficulty returning to a normal bike. Precise adjustments are needed for optimal performance.
Is it safe to use a homemade stationary bike for high-intensity workouts?
When it comes to high-intensity workouts, I would recommend using a commercial stationary bike over a DIY one. Safety precautions must be taken when using a DIY bike, such as ensuring stability and proper maintenance.
Conclusion
In conclusion, making a stationary bike out of a bicycle is a cost-effective and practical way to stay fit and healthy at home. With the right materials and tools, you can easily set up your bike and trainer stand to create a personalized workout machine that suits your needs and preferences.
From there, you can customize your stationary bike with accessories and modifications that can help you maximize your workout and achieve your fitness goals. Maintaining your stationary bike is also crucial to ensure its longevity and performance. Regular cleaning, lubrication, and inspection can help prevent wear and tear, reduce noise and vibration, and keep your bike in top condition.
So, whether you’re a beginner or a pro, creating your own stationary bike can be a rewarding and enjoyable experience that can help you achieve a healthier and happier lifestyle. With a little bit of effort and creativity, you can transform your ordinary bicycle into a hyperbolic fitness machine that’ll make your friends and family jealous!