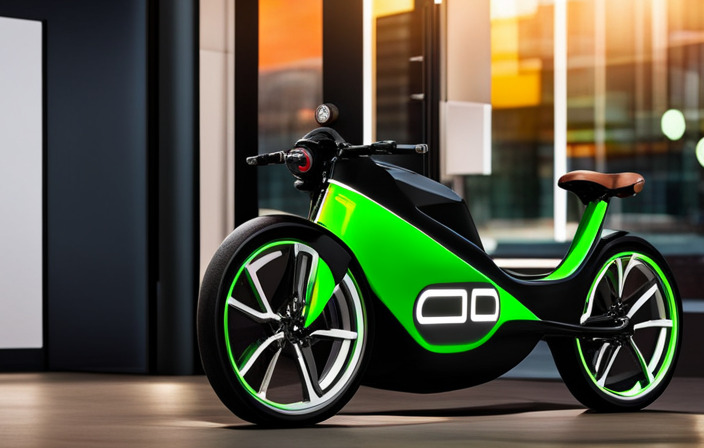
Coincidentally, have you ever wondered how to transform your regular BMX bike into an electrifying ride? Well, look no further!
In this comprehensive guide, I will walk you through the step-by-step process of converting your BMX bike into an electric powerhouse.
From assessing compatibility to choosing the right conversion kit, gathering tools, and installing the motor and battery, I’ll cover it all.
So, get ready to elevate your BMX experience to new heights with your very own electric BMX bike.
Let’s dive in!
Key Takeaways
- Assess frame design and material for weight and space requirements
- Ensure compatibility between bike components and chosen conversion kit
- Consider weight and balance when selecting motor, battery, and controller
- Use proper tools and equipment for successful conversion
Assess Your BMX Bike’s Compatibility for Conversion
Assess your BMX bike’s compatibility for conversion by checking if it’s equipped with a suitable frame and components.
Start by evaluating compatibility based on the frame’s design and material. Look for a frame that can handle the added weight and stress of an electric conversion kit. The frame should also have enough space to accommodate the battery and motor.
Additionally, consider if the bike has the necessary components for the conversion, such as a standard bottom bracket and rear wheel hub. Modifications may be required to fit these components, so it’s crucial to assess your bike’s compatibility before proceeding.
Once you have determined that your BMX bike is compatible, you can move on to choosing the right electric conversion kit, which will be discussed in the subsequent section.
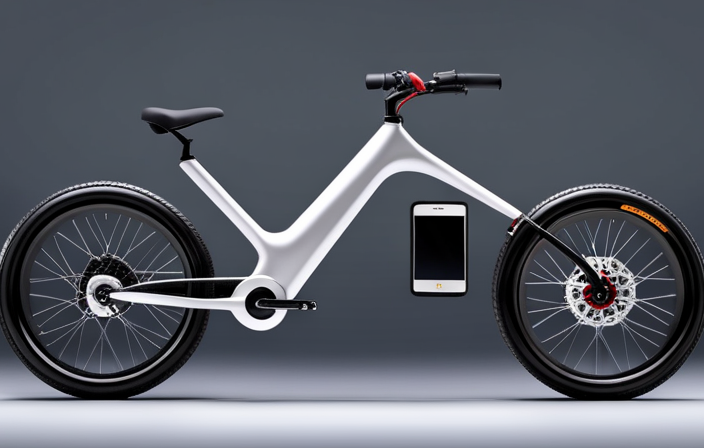
Choose the Right Electric Conversion Kit
Decide on the appropriate electric conversion kit for your BMX bike.
When choosing the right motor, battery, and controller for your electric BMX bike, it’s important to consider the weight and balance of the bike.
The motor should be powerful enough to provide the desired speed and acceleration, while the battery needs to have enough capacity to provide sufficient range.
The controller should be compatible with the motor and battery, allowing for smooth and responsive control.
Additionally, it’s important to ensure that the added weight of the electric components does not negatively impact the balance and maneuverability of the bike.
Once you have chosen the right conversion kit, you can move on to the next step of gathering the necessary tools and equipment for the conversion process.
Gather the Necessary Tools and Equipment
To gather all the necessary tools and equipment, you’ll need to make sure you have a comprehensive list of items required for the conversion process.
First and foremost, choosing the right battery size is crucial for the performance and range of your electric BMX bike. Consider factors like voltage, capacity, and weight to ensure optimal performance.
Next, finding the best motor placement is essential for a balanced and efficient ride. It’s important to consider the weight distribution and ease of installation when selecting the motor location.
Additionally, you’ll need tools such as wrenches, screwdrivers, allen keys, and a torque wrench to disassemble components and install the electric conversion kit.
Once you have gathered all the necessary tools and equipment, you can proceed to the next step of removing the pedals, crankset, and bottom bracket to prepare for the conversion process.
Remove the Pedals, Crankset, and Bottom Bracket
Start by removing the pedals, crankset, and bottom bracket to prepare for the conversion process. This step is crucial as it allows for a smooth transition to the electric components.
Assessing compatibility is the first sub-list on this topic. It is essential to check if the conversion kit you have chosen is compatible with your bike’s frame and specifications. This will ensure a proper fit and functionality.
The second sub-list focuses on choosing the right conversion kit. Consider factors such as motor power, battery capacity, and range to match your desired performance and riding needs.
Lastly, evaluate the ease of installation and any additional features offered by the conversion kit.
Now that the necessary components have been removed, it’s time to move onto the next step: installing the electric motor and battery.
Install the Electric Motor and Battery
First, you’ll need to attach the electric motor and battery to your bike. Begin by selecting a suitable location to mount the electric motor. Ensure it is securely fastened to the frame using the provided mounting brackets and screws. Take care to position it in a way that allows for proper chain alignment.
Next, find a suitable spot for the battery placement. It is important to choose a location that is easily accessible and provides a stable base for the battery. Once you have determined the optimal position, secure the battery mount to the frame using the provided hardware.
With the electric motor and battery securely in place, you are now ready to wire them to the bike’s electrical system. This will be discussed in the subsequent section.
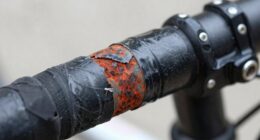
Wire the Motor and Battery to the Bike’s Electrical System
After successfully installing the electric motor and battery onto the bike, it is now time to wire them to the bike’s electrical system. This step is crucial in ensuring that the motor and battery work together seamlessly to power your electric BMX bike. To begin, it is important to have a clear understanding of motor wiring tips and battery connection methods.
When it comes to motor wiring, it is essential to follow the manufacturer’s instructions carefully. This includes correctly identifying the motor’s positive and negative terminals and connecting them to the corresponding wires on the bike’s electrical system. Additionally, using proper wire connectors and ensuring a secure connection is vital to avoid any electrical shorts or malfunctions.
As for battery connection methods, there are various options available depending on the bike’s electrical system and the type of battery being used. Common methods include using battery connectors, soldering wires, or utilizing plug-and-play connectors.
By properly wiring the motor and battery to the bike’s electrical system, you can ensure optimal performance and safety. Once this step is complete, you can move on to the next section, which involves reassembling the crankset and pedals.
Reassemble the Crankset and Pedals
To reassemble the crankset and pedals, you’ll need to carefully align the crank arms and secure them tightly onto the spindle. Start by placing the crank arms onto the spindle, making sure that they are oriented correctly. The left crank arm should have a threaded hole for the pedal, while the right crank arm should have a square tapered hole that fits onto the spindle. Use a crank puller tool to tighten the crank arms onto the spindle, ensuring they are securely attached.
If you encounter any issues during this process, such as difficulty aligning the crank arms or a loose fit, there are troubleshooting techniques you can employ. Double-check the orientation of the crank arms, ensuring they are correctly aligned. If the fit is loose, you may need to apply some grease to the spindle or use a crank puller tool to tighten the arms further.
With the crankset and pedals reassembled, we can now move on to the next step of the process: testing and fine-tuning the electric BMX bike.
Test and Fine-Tune the Electric BMX Bike
Now it’s time to test and fine-tune the electric BMX bike after reassembling the crankset and pedals.
Start by checking the battery and making sure it’s fully charged. This will ensure optimal performance during the testing phase.
Next, test the motor by engaging the throttle and observing how it responds. Pay attention to any unusual noises or vibrations.
Once the motor has been tested, evaluate the bike’s overall performance by taking it for a ride. Test its acceleration, top speed, and handling on different terrains.
During the test ride, also assess the braking system to ensure it’s responsive and reliable.
After the initial testing, fine-tune the bike by adjusting the motor’s power output and the responsiveness of the throttle.
Lastly, evaluate the bike’s battery life by monitoring how long it lasts during a ride.
Now that we’ve tested and fine-tuned the electric BMX bike, it’s important to ensure safety measures and precautions are in place before riding.
Ensure Safety Measures and Precautions
Before riding, it’s crucial to ensure that all safety measures and precautions are in place.
Safety gear is essential when riding an electric BMX bike. Make sure to wear a helmet, knee pads, and elbow pads to protect yourself in case of falls or accidents.
Additionally, it is important to wear appropriate clothing that covers your body and provides protection.
Understanding proper riding techniques is also vital for your safety. Familiarize yourself with how to properly balance, steer, and brake the electric BMX bike before hitting the trails. Practice different maneuvers and control techniques in a safe and controlled environment.
Once you have mastered these skills, you can enjoy your upgraded electric BMX bike with confidence, knowing that you have taken all necessary precautions to ensure your safety on the road.
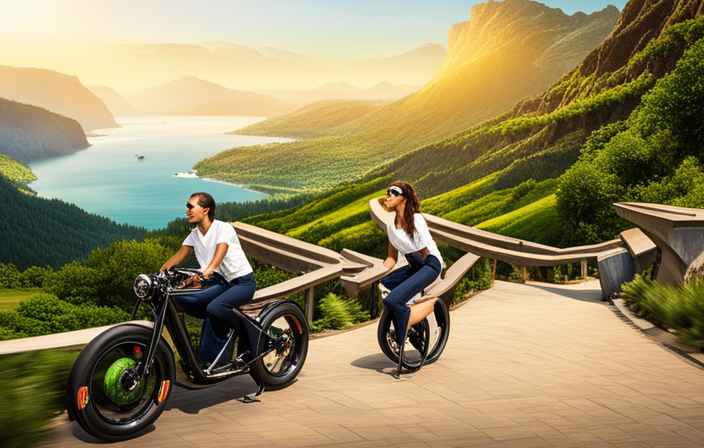
Enjoy Your Upgraded Electric BMX Bike
Have fun riding your upgraded electric BMX bike and take full advantage of its enhanced features!
Electric BMX bikes offer several advantages over traditional bikes, including increased speed, improved acceleration, and the ability to tackle challenging terrains with ease.
To ensure the longevity of your electric BMX bike, it is important to follow proper maintenance tips.
Regularly check and tighten all bolts and screws to prevent any loosening during rides.
Keep the battery charged and avoid overcharging to maintain its lifespan.
Clean the bike regularly and lubricate the chain to prevent rust and ensure smooth operation.
Additionally, it is crucial to store your electric BMX bike in a cool and dry place to avoid any damage from moisture or extreme temperatures.
By following these maintenance tips, you can enjoy a thrilling ride on your upgraded electric BMX bike for years to come.
Frequently Asked Questions
How long does it typically take to complete the conversion process?
Factors affecting the conversion time include the individual’s experience level, availability of tools and parts, and the complexity of the bike. Tips for a smooth conversion process include thorough planning, gathering all necessary materials beforehand, and seeking guidance from experienced individuals or online resources.
Can any type of BMX bike be converted into an electric bike?
Yes, any type of BMX bike can be converted into an electric bike. The conversion process involves adding an electric motor, battery, and controller to the existing bike frame. Electric bike compatibility will depend on the bike’s frame and components.
What kind of range can I expect from the electric motor and battery?
I can expect a range of around 20-40 miles on my electric bike, depending on factors like terrain and speed. The battery life will also vary, but typically lasts between 2-4 hours of continuous riding.
Are there any specific maintenance requirements for an electric BMX bike?
Maintenance tips for an electric BMX bike include regularly checking tire pressure, cleaning the chain, and inspecting brakes. To optimize battery life, avoid extreme temperatures, charge it fully, and store it in a cool, dry place.
Are there any legal restrictions or regulations regarding the use of electric bikes in my area?
Ironic Statement: Surprisingly, there are no legal restrictions or regulations regarding the use of electric bikes in my area. However, it is important to prioritize safety concerns and adhere to traffic rules to avoid any accidents.
Conclusion
In conclusion, converting a BMX bike into an electric one is a challenging yet rewarding project. By following the steps outlined in this article, you can successfully transform your traditional bike into a powerful electric machine.
Remember to assess compatibility, choose the right conversion kit, gather the necessary tools, and ensure safety precautions. Once completed, you will have a high-performance electric BMX bike that will provide you with an exhilarating and thrilling riding experience.
So, why wait? Start your electric BMX adventure now and embrace the future of cycling!