Taking off a bike chain might seem like a challenging job, needing many tools and a complex procedure. Do not worry, as I am here to assist you in navigating through this seemingly intimidating task.
In this article, we will delve into the precise steps and techniques needed to successfully remove a bicycle chain. By following these instructions and utilizing the necessary tools, you’ll soon find yourself confidently disassembling your bike’s chain like a seasoned professional.
Let’s get started!
Key Takeaways
- Gather the necessary tools and prepare your workspace
- Shift the chain to the smallest chainring and locate the quick link or master link
- Clean the chain using degreaser and a brush to remove dirt and grime
- Install a new chain if necessary, ensuring proper chain length and using a chain tool to connect it

Under Armour Squeeze Water Bottles, 32 oz Water Bottles, Sideline Sports Water Bottle with Quick-Shot Lid, Quick & Easy Hydration, Gym Water Bottles, Squeeze Bottle, 1 32oz Bottle
- Easy Hydration: Quick-shot lid and one-way valve
- On-the-Go Use: One-hand operation for active hydration
- Measurement Markings: Ounces and milliliters for tracking
As an affiliate, we earn on qualifying purchases.
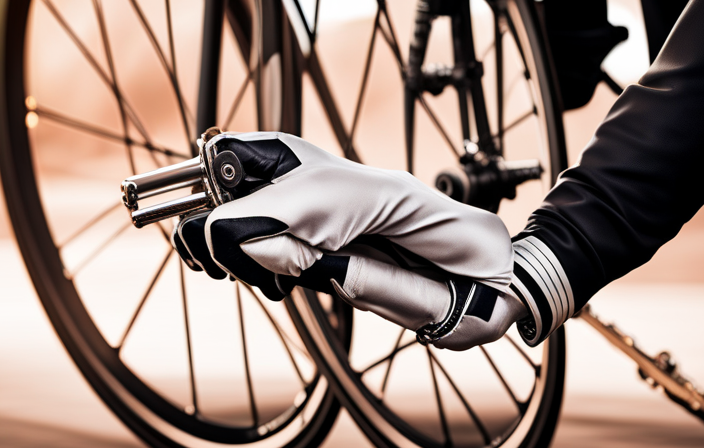
Gather the Necessary Tools
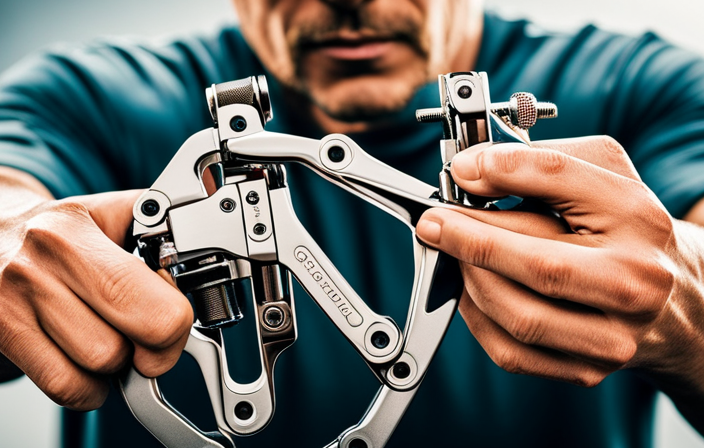
You’ll need a few tools to remove a bicycle chain. Before starting, make sure you have a chain tool, a pair of pliers, and a rag.
The chain tool is essential for pushing out the chain pins, while the pliers will help you hold the links in place. The rag is useful for wiping off any excess grease or dirt.
Proper workspace organization is key to an efficient chain removal process. Lay out your tools in a neat and accessible manner, ensuring that everything is within reach. This will save you time and prevent frustration.
Additionally, take a moment to inspect your chain and perform any necessary maintenance tasks, such as lubrication or cleaning.
Now that you have gathered your tools and prepared your workspace, let’s move on to the next section about preparing your workspace for chain removal.
Prepare your Workspace
First, make sure your workspace is clean and organized. A well-organized workspace is essential for a smooth and efficient chain removal process. Not only does it help you find the tools you need quickly, but it also reduces the chances of misplacing small parts. To keep everything in order, I recommend using a table with three columns and five rows. In the first column, list the necessary tools, such as a chain tool, pliers, and a cleaning brush. In the second column, note any safety precautions, like wearing gloves and protective eyewear. And in the third column, mention other workspace organization tips, such as having a clean rag nearby and a small container to hold the removed chain. With your workspace set up, you can now move on to shifting the chain to the smallest chainring.
Shift the Chain to the Smallest Chainring
To shift the chain to the smallest chainring, start by gently pressing the shift lever. This will initiate the shift technique, causing the chain to move from the larger chainring to the smaller one.
Ensure that you apply just enough pressure to engage the gear, avoiding any excessive force that could damage the chain or derailleur.
Once the shift is complete, check the chainring size to confirm that it has correctly moved to the smallest one. You can do this by visually inspecting the chainring or comparing it to the other chainrings on your bicycle. This step is crucial as it ensures the chain is correctly positioned for the subsequent steps.
Now, let’s move on to locating the quick link or master link for the next stage of removing the bicycle chain.
Locate the Quick Link or Master Link
Once you’ve shifted the chain to the smallest chainring, the next step is to find the quick link or master link. These links are designed to make chain removal easier and quicker. However, it’s important to be aware of common mistakes when using a quick link.
One common mistake is not aligning the link properly before closing it. This can cause the chain to become loose or even come off while riding. Another mistake is not checking the link for any signs of wear or damage, as this can compromise its strength and reliability.
Alternatives to using a quick link for chain removal include using a chain tool to break the chain or removing the rear wheel to take the chain off.
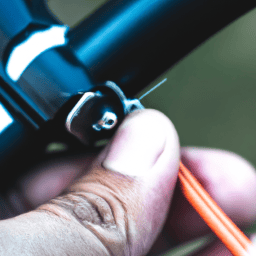
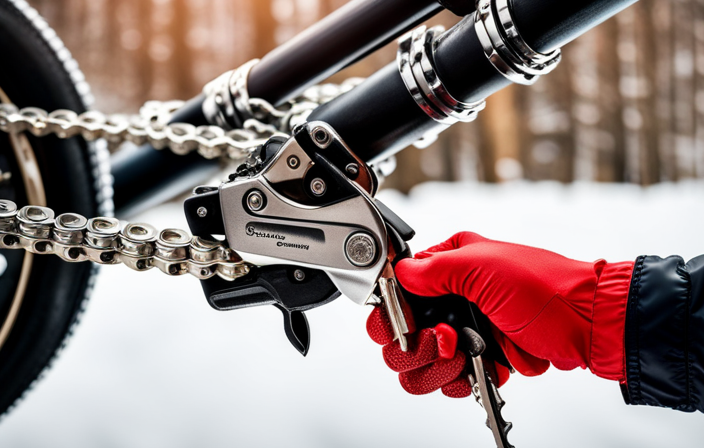
To move forward with opening the quick link, use pliers to grip the link and carefully pull it apart.
Use Pliers to Open the Quick Link
To open the quick link, simply use pliers to grip the link and carefully pull it apart. Ensure that the pliers have a strong grip on the link to avoid any slippage.
Alternatively, you can use a quick link tool specifically designed for this purpose. However, pliers are a common and easily accessible tool that can be used effectively.
When using pliers, avoid applying excessive force as it may damage the link or cause it to snap unexpectedly. Additionally, be careful not to pinch your fingers while gripping the link with the pliers.
Once the quick link is open, gently slide the chain off the chainring to proceed with the disassembly process.
Slide the Chain Off the Chainring
You can easily slide the chain off the chainring. Before doing so, make sure you have removed any quick links or master links that may be holding the chain together. Once you have done that, follow these steps to slide the chain off the chainring:
| Step | Action |
|---|---|
| 1 | Shift the chain onto the smallest chainring at the front and the smallest cog at the rear. |
| 2 | Hold the chain with one hand and use your other hand to push the rear derailleur forward, creating slack in the chain. |
| 3 | Slide the chain off the chainring, ensuring it doesn’t catch on any teeth or components. |
| 4 | Carefully set aside the old chain, as you will need to install a new chain later. |
By sliding the chain off the chainring, you can troubleshoot common chain issues and prepare to thread the chain through the rear derailleur in the next section.
Thread the Chain through the Rear Derailleur
After sliding the chain off the chainring, the next step is to thread the chain through the rear derailleur. This is a critical part of the process as it requires careful attention to detail.
To begin, ensure that the rear derailleur is in the smallest chainring and the smallest rear cog. This will create enough slack in the chain to easily thread it through.
Using a threading technique, guide the chain through the jockey wheels of the rear derailleur. Make sure the chain is properly seated on the teeth of the jockey wheels to ensure smooth shifting later on.
Once the chain is threaded through the rear derailleur, it’s important to adjust the derailleur if necessary. This will help ensure optimal shifting performance.
Now, we can smoothly transition into the next step of removing the chain from the rear cassette.
Remove the Chain from the Rear Cassette
Once the chain is threaded through the rear derailleur, it’s time to take it off the rear cassette. To remove the chain, we need to dismantle the cassette. Here is a step-by-step guide:
- Shift the chain onto the smallest chainring and smallest rear cog.
- Use a chain whip tool to hold the cassette in place, preventing it from spinning.
- Using a cassette lockring tool, fit it onto the lockring and turn counterclockwise to loosen it.
- Once loose, remove the lockring and carefully slide the cassette off the freehub body.
- Gently lift the chain off the cassette cogs, taking care not to damage the teeth.
Now that the chain is removed from the rear cassette, we can move on to the next step of cleaning the chain (optional). Simply follow the instructions in the next section to ensure your chain is free from dirt and grime.
Clean the Chain (optional)
To clean your chain, you can use a degreaser and a brush to remove any dirt and grime. Start by applying the degreaser to the chain, making sure to cover all the links. Let it sit for a few minutes to penetrate and break down the grease.
Then, take a brush with stiff bristles and scrub the chain thoroughly, paying attention to all sides of the links. This will help remove any stubborn dirt or debris. Once you’ve scrubbed the entire chain, rinse it off with water to remove the degreaser and any remaining dirt.
Cleaning your chain regularly not only improves its performance but also extends its lifespan. A clean chain reduces friction, enhances shifting efficiency, and prevents premature wear. With a clean chain, you’ll enjoy smoother and more reliable rides.
Now, let’s move on to installing a new chain if necessary.
Install a New Chain (if necessary)
If you need to replace your chain, start by ensuring that the new chain matches the number of gears on your bike’s cassette.
Installing a new chain is a straightforward process that can help improve your bike’s performance. Here is a step-by-step guide to installing a new chain:
-
Begin by shifting the chain onto the smallest chainring and the smallest rear cog.
-
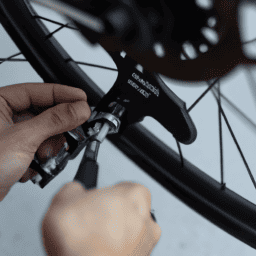
Use a chain tool to break the old chain and remove it from the bike.
-
Thread the new chain through the rear derailleur, making sure it passes through the jockey wheels.
-
Connect the ends of the chain using a quick link or a chain pin, ensuring that it is properly secured.
By following these steps, you can successfully install a new chain and troubleshoot common chain issues. Once the new chain is installed, you can proceed to the next step of reinstalling the chain on the rear cassette.
Reinstall the Chain on the Rear Cassette
To ensure optimal performance, it is important to reinstall the chain correctly after installing a new one. This step is crucial in maintaining smooth gear shifting and preventing any potential damage to the drivetrain. In order to reinstall the chain on the rear cassette, start by placing the chain on the smallest chainring at the front and the smallest cog at the rear. Then, adjust the chain tension by using the derailleur’s tension adjustment screws. These screws can be found on the derailleur body and allow for fine-tuning of the chain’s tension. As you turn the screws, pay close attention to the chain’s movement and ensure that it is running smoothly without any skipping or excessive noise. Once the chain tension is properly adjusted, you can proceed to the next step of threading the chain through the rear derailleur.
Thread the Chain through the Rear Derailleur
Next, you’ll want to carefully guide the chain through the rear derailleur. This step is crucial to ensure smooth shifting and proper functioning of the bike.
To thread the chain, start by positioning the chain onto the smallest rear cog of the cassette. Then, locate the lower jockey wheel of the rear derailleur and thread the chain through it from behind. Make sure the chain sits snugly on the jockey wheel teeth.
Next, move the chain over the top of the upper jockey wheel, ensuring it is properly seated. Check for any twists or kinks in the chain and straighten them out if necessary. Additionally, make sure the chain is properly aligned with the derailleur cage.
Once you have completed this step, you can now smoothly transition into the subsequent section about sliding the chain onto the chainring.
Slide the Chain onto the Chainring
After carefully threading the chain through the rear derailleur, it’s time to move on to the next step: sliding the chain onto the chainring. This is a crucial step in the process of removing a bicycle chain as it ensures that the chain is securely attached to the front gear system. To do this, I will use a slide technique, gently guiding the chain onto the teeth of the chainring. It’s important to be precise and careful during this step to avoid any damage to the chain or the chainring. Once the chain is properly seated on the chainring, I can proceed to the next section where I will explain how to close the quick link or master link. This will ensure that the chain is securely joined together and ready for use.
Close the Quick Link or Master Link
Now it’s time to securely close the quick link or master link to ensure the chain is properly joined together. Follow these steps to close the quick link without pliers:
-
Use your fingers to push the plates of the quick link together until they are fully engaged. Make sure they align properly to prevent any misalignment issues.
-
Apply pressure on the quick link by squeezing it with your fingers. This will ensure a tight connection and prevent the link from coming loose during use.
-
Give the chain a gentle tug to confirm that the quick link is securely closed. If the link doesn’t come apart, you have successfully closed it.
-
If you don’t have a quick link, you can use an alternative method to close the chain. One method is to use a chain tool to press the pins together and secure the chain.
Once you’ve closed the quick link or used an alternative method, it’s time to test the chain’s functionality and ensure it moves smoothly and without any issues.
Test the Chain’s Functionality
To ensure the chain is functioning properly, give it a gentle tug to confirm it is securely closed. This step is crucial in maintaining the durability of the chain and preventing any potential accidents.
By testing the chain’s functionality, we can troubleshoot common chain issues and address them promptly. Start by pulling the chain in a straight line, checking for any resistance or abnormal movements. If the chain feels loose or slips off the gear teeth, it may indicate a worn chain or a problem with the derailleur.
Additionally, check for any stiff links or tight spots, which can cause skipping or grinding during pedaling. Taking the time to test the chain’s durability will ensure a smoother and safer cycling experience.
Frequently Asked Questions
How do I clean the chain before reinstalling it?
To clean the chain before reinstalling it, I use various cleaning methods like degreaser and a brush to remove dirt and grime. Proper chain maintenance is important to ensure smooth operation and prevent premature wear and tear.
What should I do if I cannot locate the quick link or master link?
If I cannot locate the quick link or master link, there are alternative chain removal methods. One option is using a chain tool to break the stubborn chain. This tool allows me to push out the chain pin and separate the chain links.
Are there any specific tools I need to install a new chain?
To install a new chain without tools, start by threading the chain through the derailleur and cassette. Then, use your hands to push the chain onto the chainrings. Remember, proper chain tension is crucial for smooth shifting and efficient power transfer.
Can I remove the chain without shifting it to the smallest chainring?
Yes, it is possible to remove the chain without shifting it to the smallest chainring. However, this may cause potential issues such as difficulty in accessing and removing the chain due to the tension created by the chainring. Alternative methods should be considered to avoid these challenges.
How do I test the functionality of the chain after reinstalling it?
To test the functionality of the chain after reinstalling it, I recommend using various testing methods. These include checking for proper tension, smoothness of movement, and inspecting for any signs of wear or damage. Regular chain maintenance is crucial for optimal performance.
Conclusion
In conclusion, removing a bicycle chain requires the right tools, a well-prepared workspace, and careful execution. By following the steps outlined in this article, you can successfully remove your chain without any issues.
Remember to locate the quick link or master link, use pliers to open it, thread the chain through the rear derailleur, slide it onto the chainring, and finally, close the quick link or master link.
Don’t forget to test the chain’s functionality before hitting the road. Now you’re ready to hit the ground running with your newly removed chain!