I’ve got the ultimate guide for testing a 24v controller electric bike. Get ready to dive into the nitty-gritty details of this technical process.
We’ll be checking battery voltage, inspecting wiring connections, and testing throttle and brake functions.
Not to mention, we’ll be putting the bike through its paces on different terrains to evaluate its performance.
Stick around to learn how to verify the charging system and troubleshoot any issues that may arise.
Let’s get started!
Key Takeaways
- Regular maintenance and troubleshooting are important for the smooth operation of a 24v controller electric bike.
- Key components to check during maintenance include the battery, motor, controller, and throttle.
- Testing and checking electrical components such as battery voltage, wiring, throttle and brake functions, motor performance, and pedal assist system is crucial.
- Troubleshooting issues, evaluating performance on different terrains, and inspecting various bike components are essential for identifying potential problems and ensuring optimal functionality.

50 Strong Sports Water Bottles 6-Pack – Reusable 22 oz BPA-Free Plastic Bottles with Pull Top Cap – Made in USA – Top Rack Dishwasher Safe – Fits Most Bike Cages Brand - Clear
- Capacity: 22 oz per bottle
- Material: BPA-Free polyethylene
- Dishwasher Safe: Top rack dishwasher safe
As an affiliate, we earn on qualifying purchases.
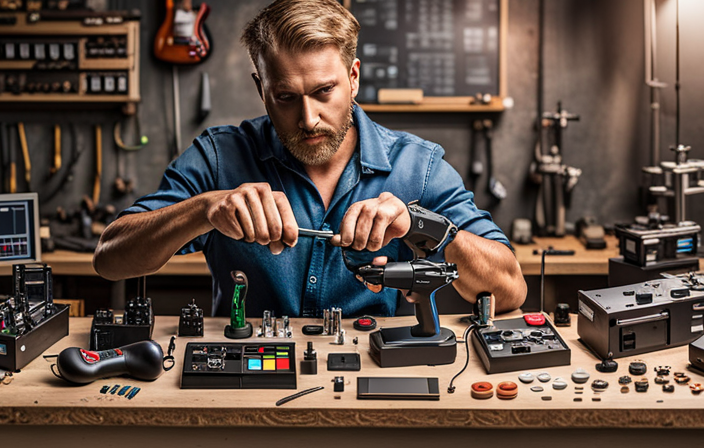
Understand the Basics of a 24v Controller Electric Bike
To understand the basics of a 24v controller electric bike, you’ll need to learn about its key components and how they work together.
A 24v controller electric bike is equipped with several essential parts that allow it to function properly. These include the battery, the motor, the controller, and the throttle.
The battery serves as the power source for the bike and needs to be charged regularly for optimal performance. The motor is responsible for converting electrical energy into mechanical energy, which propels the bike forward. The controller acts as the brain of the system, regulating the flow of electricity from the battery to the motor. Lastly, the throttle is what allows the rider to control the speed of the bike.
In terms of bike maintenance, it is crucial to regularly inspect and maintain these components to ensure the smooth operation of your electric bike. Performing routine checks on the battery, motor, controller, and throttle can help identify any potential issues before they become major problems. Troubleshooting tips for a 24v controller electric bike include checking for loose connections, inspecting the wiring for any signs of damage, and testing the functionality of the throttle and controller.
Now, let’s move on to the next section where we will discuss how to check the battery voltage and connections.
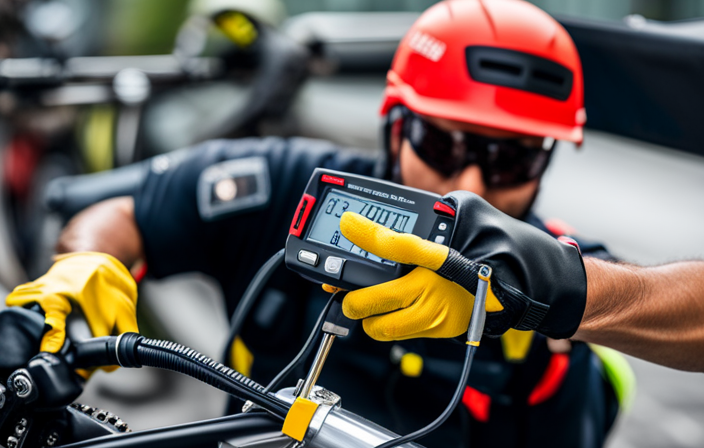
Check the Battery Voltage and Connections
Before checking the battery voltage and connections, make sure everything is securely connected. To properly test the battery of a 24v controller electric bike, it is crucial to check its capacity and verify the functionality of the charger. This will ensure that the battery is providing sufficient power to the bike’s controller system. Here is a table summarizing the steps to check the battery voltage and connections:
| Step | Task | Description |
|---|---|---|
| 1 | Check battery capacity | Use a multimeter to measure the voltage of the battery. Compare the reading with the manufacturer’s specifications to determine if the battery is still in good condition. |
| 2 | Verify charger functionality | Connect the charger to the battery and check if it is charging properly. Observe any unusual behavior or errors during the charging process, which may indicate charger malfunctions. |
| 3 | Inspect battery connections and wiring | Examine the battery connections and wiring for any signs of damage, corrosion, or loose connections. Tighten any loose connections and replace any damaged components if necessary. |
Inspect the Wiring and Connections
Check if the wiring and connections in your bike are secure and free from any damage or corrosion. This is crucial for ensuring the proper functioning of your electric bike’s electrical system.
To inspect the wiring and connections, start by visually examining all the wires and connections throughout the bike. Look for any loose connections and make sure they are securely fastened. Additionally, check for any frayed wires or exposed connections, as these can cause electrical malfunctions or even pose a safety hazard.
Next, it’s important to test for proper voltage flow. Use a multimeter to measure the voltage at different points in the electrical system. This will help you identify any potential issues with the wiring or connections. Make sure the voltage is flowing consistently and within the expected range.
Ensure all connections are secure and free of damage. Check for any signs of corrosion, such as rust or greenish deposits, as this can interfere with the electrical flow. Clean the connections if necessary and apply a protective coating to prevent future corrosion.
Finally, test the functionality of all electrical components. Turn on the bike and check if all the lights, indicators, and other electrical features are working as they should. If you notice any issues, trace them back to the wiring and connections and address them accordingly.
Now that the wiring and connections have been inspected, it’s time to move on to testing the throttle and brake functions.
Test the Throttle and Brake Functions
Make sure you properly engage the throttle and brakes to ensure they are functioning correctly on your bike. Testing the throttle and brake functions is an essential step in evaluating the overall performance of your 24v controller electric bike.
To do this, you need to assess the battery life and evaluate the controller’s responsiveness.
To test the battery life, you can start by fully charging it and noting the initial voltage. Then, take your bike for a ride, making sure to use both the throttle and brakes frequently. After the ride, check the battery voltage again. If there is a significant drop in voltage, it may indicate a weak battery that needs replacement.
Next, you need to evaluate the controller responsiveness. This can be done by observing how quickly the bike accelerates when you engage the throttle. A delay in response could indicate a problem with the controller. Additionally, test the brakes by applying them at different speeds and assessing their effectiveness in stopping the bike smoothly and promptly.
Check the Motor Performance
To evaluate the motor performance, you should assess how smoothly and quickly the bike accelerates when you engage the throttle. This is an important indicator of motor efficiency and overall performance. One way to evaluate motor performance is by measuring the torque generated by the motor. Torque is the rotational force produced by the motor and is crucial in determining the bike’s ability to accelerate and climb hills.
To measure torque, you can use a torque sensor or a torque wrench. Attach the torque sensor to the motor and engage the throttle to measure the torque output. Alternatively, you can use a torque wrench to measure the torque generated by the motor when the bike is stationary.
In addition to torque measurement, it is also important to consider the overall efficiency of the motor. A more efficient motor will convert a higher percentage of electrical energy into mechanical energy, resulting in better performance and longer battery life.
Transitioning into the next section about testing the pedal assist system, it is important to ensure that the motor seamlessly integrates with the pedal assist system. This will allow for a smooth and efficient transfer of power between the motor and the rider.
Test the Pedal Assist System
After thoroughly checking the motor performance, it’s time to move on to testing the pedal assist system of the 24v controller electric bike.
The pedal assist system is an essential component that helps riders maximize their pedaling efficiency. It provides varying levels of assistance based on the rider’s input.
To begin, adjust the pedal assist levels according to your preference. This can usually be done through a control panel or display unit on the handlebars. Start with the lowest level and gradually increase it to find the setting that suits you best.
If you encounter any issues with the pedal assist system, troubleshooting is necessary.
First, check the connection between the sensor and controller. Ensure that all the wires are securely connected and free from any damage.
Next, inspect the sensor itself for any signs of wear or malfunction. If everything appears to be in order, it may be necessary to recalibrate the system or update the firmware if applicable.
Once you have successfully tested and adjusted the pedal assist system, it’s time to move on to the next step: measuring the speed and distance traveled.
Measure the Speed and Distance
You can easily measure the speed and distance traveled by using the built-in speedometer and odometer on your handlebar display. These features provide valuable information about your electric bike’s performance and efficiency. To measure the acceleration, simply note the time it takes for your bike to reach a certain speed. This can be done by using a stopwatch and recording the time it takes for your bike to go from 0 to a specific speed. This will give you an idea of how quickly your electric bike can accelerate.
In addition to measuring speed and acceleration, you can also calculate the battery efficiency of your electric bike. This can be done by tracking the distance traveled and the amount of battery power consumed. By dividing the distance traveled by the amount of battery power used, you can determine the efficiency of your electric bike’s battery. This information can be useful in determining how far you can travel on a single charge and can help you plan your rides accordingly.
| Measurement | Description |
|---|---|
| Speed | The rate at which the bike is moving |
| Distance | The total distance traveled |
| Acceleration | The rate at which speed increases |
| Battery Efficiency | The effectiveness of the battery in powering the bike |
Now that you have measured the speed and distance, it’s time to test the lights and horn of your electric bike.
Test the Lights and Horn
After measuring the speed and distance, it is important to test the lights and horn on the 24v controller electric bike. This step ensures that the bike is equipped with all the necessary safety features.
To begin, I inspect the wiring and connections for any issues. This involves visually examining the wires for any signs of damage or loose connections. It is crucial to identify and address any potential wiring problems to ensure the lights and horn function properly.
Next, I proceed to test the functionality of the lights. I turn on the bike’s main power and activate the headlight, taillight, and turn signals. I observe if the lights illuminate brightly and if they function correctly when signaling. This step verifies that the lighting system is in good working condition.
Finally, I test the horn to ensure it produces a loud and clear sound. I press the horn button and listen for any abnormalities or weak sounds. A functioning horn is essential for alerting pedestrians and other road users of my presence.
Transitioning into the subsequent section about ‘check the display and controls,’ it is important to thoroughly inspect all the components of the bike for optimal performance.
Check the Display and Controls
I check if the display is functioning properly and ensure that the controls are responsive. The display is an essential component of the electric bike as it provides important information such as speed, distance, and battery life.
To begin, I turn on the bike and examine the display screen for any signs of damage or malfunction. I make sure that all the information is displayed clearly and accurately. If there are any issues, I troubleshoot common display problems such as loose connections or software glitches.
Additionally, I test the responsiveness of the controls, such as the buttons or touch screen, to ensure that they are working as intended. If I encounter any unresponsiveness or delays, I investigate the cause and address it accordingly.
Once I am satisfied with the functionality of the display and controls, I move on to the next step where I inspect the frame and components for any damage. This ensures the overall safety and performance of the electric bike.
Inspect the Frame and Components for any Damage
To inspect the frame and components for any damage, begin by carefully examining the condition of each part. Check for rust, as it can weaken the structure and compromise the bike’s stability. Assess the frame stability by looking for any cracks or dents that could indicate structural issues. Pay close attention to the welds, as they should be smooth and free from any signs of cracking or stress. Additionally, check the handlebars, stem, and fork for any signs of damage or misalignment.
To help you understand the importance of inspecting the frame and components, here is a table showcasing the potential risks of not properly checking for damage:
| Damage | Risk | Consequence |
|---|---|---|
| Rust | Weakening | Frame failure |
| Cracks | Structural issues | Loss of control |
| Misalignment | Poor handling | Accidents |
As you can see, neglecting to inspect the frame and components can lead to serious consequences. Therefore, it is crucial to dedicate time and attention to this step before riding your electric bike.
Now, let’s move on to assessing the suspension and braking system to ensure a safe and smooth ride.
Assess the Suspension and Braking System
Check the suspension and braking system to ensure a safe and smooth ride by inspecting the condition of each component and assessing their functionality. It is crucial to maintain the suspension system and braking system of your electric bike to guarantee optimal performance and safety.
Here are three important areas to focus on during your inspection:
-
Inspect the tire pressure and tread depth: Proper tire pressure is essential for good traction and control. Use a tire gauge to check the pressure and adjust it if necessary. Additionally, examine the tread depth to ensure it meets the recommended level for efficient grip on various surfaces.
-
Assess the shock absorber performance: The shock absorbers play a vital role in providing a comfortable ride by absorbing bumps and vibrations. Inspect the shock absorbers for any signs of leakage, damage, or excessive wear. Test their performance by compressing and rebounding them to ensure they function correctly.
-
Check the braking system: Examine the brake pads, rotors, and calipers for wear and tear. Ensure that the brake pads have sufficient thickness and that the rotors are not warped or damaged. Test the brakes by applying them gently and checking for any unusual noises or vibrations.
By focusing on these areas, you can ensure that your electric bike’s suspension and braking system are in top-notch condition.
Next, we will move on to testing the bike’s performance on different terrains to evaluate its overall capabilities.
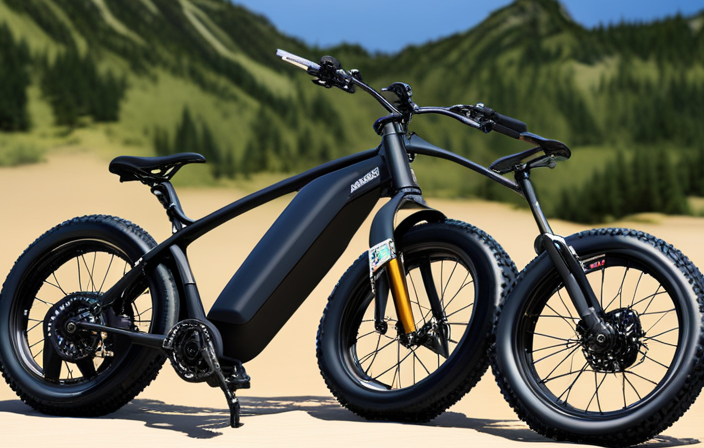
Test the Bike’s Performance on Different Terrains
By evaluating how the bike performs on various terrains, you can gauge its overall capabilities. One important aspect to consider is the battery life. Testing the bike on different terrains allows you to assess how long the battery lasts under different conditions. For example, you can evaluate how the battery performs on flat roads versus uphill climbs. This information is crucial in determining the bike’s suitability for your needs.
Another factor to consider is the power output on different terrains. By comparing the bike’s performance on various surfaces such as gravel, pavement, and off-road trails, you can get a better understanding of its power delivery. This will help you determine if the bike has enough power to handle the type of terrain you plan to ride on regularly.
Once you have evaluated the bike’s performance on different terrains, it is important to verify the charging system. This ensures that the battery is charging properly and can provide the necessary power for your rides.
Verify the Charging System
Once you’ve evaluated the bike’s performance on different terrains, it’s crucial to ensure that the charging system is functioning properly. To verify the charging system, there are a few key steps to follow.
First, check the charger output and voltage. Use a multimeter to measure the output voltage of the charger. It should match the voltage specifications stated in the user manual. Additionally, inspect the charger for any signs of damage or wear.
Next, test the battery charging time and capacity. Connect the charger to the battery and monitor the time it takes for the battery to reach full charge. If it takes an unusually long time or if the battery does not reach full capacity, there may be an issue with the charging system. This could indicate a problem with the charger or the battery itself.
Consult the User Manual for Troubleshooting Tips
If any issues are detected during the charging system verification process, consult the user manual for troubleshooting tips. Troubleshooting techniques are essential for identifying and resolving common issues that may arise with the 24V controller electric bike. The user manual provides detailed instructions on how to diagnose and fix various problems that may occur during the charging process. By following these troubleshooting techniques, users can effectively address issues and ensure the smooth operation of their electric bike.
To provide a comprehensive overview of troubleshooting tips, I have compiled a table below outlining some common issues and possible solutions:
| Common Issues | Troubleshooting Techniques |
|---|---|
| Battery not charging properly | – Check the power supply connection |
- Ensure the charger is functioning correctly
- Examine the battery for any damage or defects
- Reset the charging system |
| Controller not responding | – Check the wiring connections - Inspect the controller for any visible damage
- Reset the controller
- Update the firmware, if applicable |
| Overheating | – Verify proper ventilation - Reduce the load on the bike
- Allow the bike to cool down before using it again |
Schedule Regular Maintenance and Service Checks
Regular maintenance and service checks are essential for ensuring the optimal performance and longevity of my 24V controller electric bike. As a responsible owner, I understand the importance of keeping my bike in top shape. Regular maintenance includes tasks such as inspecting the frame for any cracks or damage, checking the tires for proper inflation and wear, and lubricating the chain to avoid any unnecessary friction.
Additionally, service checks are crucial to identify any potential issues before they become major problems. These checks involve inspecting the battery connections for any loose or corroded terminals, testing the brakes for proper functionality, and ensuring that all electrical components are working correctly. By conducting these checks regularly, I can catch any issues early on and prevent them from causing further damage to my electric bike.
To schedule regular maintenance and service checks effectively, I recommend setting a specific time interval or mileage goal. This way, I can ensure that I am consistently taking care of my bike and addressing any potential issues promptly. It is also important to keep a detailed record of all maintenance and service checks performed, including the date, specific tasks completed, and any parts that were replaced or repaired.
Frequently Asked Questions
How often should I schedule regular maintenance and service checks for my 24v controller electric bike?
I would recommend scheduling regular maintenance and service checks for your 24v controller electric bike every three to six months.
This ensures that all components are functioning optimally and helps prevent any potential issues from arising.
During these checks, it is important to inspect and clean the electrical connections, test the battery performance, and assess the overall condition of the controller.
Additionally, it is crucial to follow the manufacturer’s guidelines for maintenance intervals and procedures.
Where can I find the user manual for troubleshooting tips for my 24v controller electric bike?
To find troubleshooting techniques for your 24v controller electric bike, I recommend referring to the user manual. It is the most reliable source for detailed information on identifying and resolving issues.
You can typically find the user manual either in the package when you purchased the bike, or on the manufacturer’s website as a downloadable PDF. Make sure to consult the manual for step-by-step instructions and troubleshooting tips specific to your model.
What are some common issues that can affect the motor performance of a 24v controller electric bike?
Common motor issues that can affect the performance of a 24v controller electric bike include overheating, poor acceleration, and sudden loss of power.
To troubleshoot these problems, first check for any loose connections or damaged wiring.
Inspecting the motor brushes and ensuring they are clean and properly aligned can also help.
Additionally, examining the battery voltage and charge level is crucial.
How can I test the pedal assist system of my 24v controller electric bike?
To test the pedal assist system of my 24v controller electric bike, I would begin by troubleshooting any issues that may be affecting its performance.
Firstly, I would check the wiring connections to ensure they’re secure and functioning properly.
Next, I would test the sensors that detect pedal movement and ensure they’re sending accurate signals to the controller.
What are the recommended ways to verify the charging system of a 24v controller electric bike?
To verify the charging system of a 24v controller electric bike, I employ various troubleshooting techniques.
First, I meticulously inspect the battery connections, ensuring they are secure and free from corrosion.
Next, I utilize a multimeter to measure the voltage output of the charger to ensure it is within the specified range.
Additionally, I check the charging indicator light for any abnormalities.
Conclusion
In conclusion, testing a 24v controller electric bike requires attention to detail and adherence to proper procedures. By checking the battery voltage, inspecting wiring, and testing throttle and brake functions, one can ensure the bike’s optimal performance.
Additionally, assessing motor performance and testing the bike on various terrains provides valuable insights. Verifying the charging system and referring to the user manual for troubleshooting tips is crucial.
Lastly, scheduling regular maintenance and service checks will help maintain the bike’s efficiency. Remember, meticulous testing and maintenance lead to a flawless ride.