Are you aware that well-maintained brakes are essential for the safety and performance of your electric bike?
In fact, statistics show that a significant number of accidents involving electric bikes are caused by brake failure.
That’s why it’s essential to know how to tighten your electric bike brakes.
In this informative and detailed article, we’ll guide you through the step-by-step process of tightening your electric bike brakes, ensuring optimal stopping power and peace of mind on your rides.
Key Takeaways
- Brake failure is a significant cause of accidents involving electric bikes.
- Properly tightened brakes ensure safety and performance.
- Brake maintenance is crucial for safety while riding.
- Understanding the brake system helps troubleshoot and tighten brakes effectively.
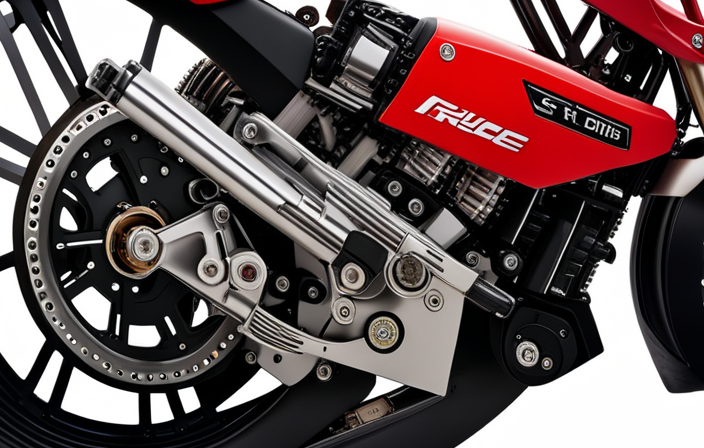
Understand the Brake System of Your Electric Bike
You need to understand the brake system of your electric bike so you can properly tighten the brakes. Electric bike brake maintenance is crucial for ensuring your safety while riding. Troubleshooting electric bike brakes involves identifying any issues with the brake system and addressing them promptly.
To begin, familiarize yourself with the different components of the brake system, such as the brake pads, calipers, and rotors. Check for any signs of wear or damage, and replace any worn-out parts. Additionally, ensure that the brake cables are properly adjusted and that there is sufficient tension in the system.
By understanding the brake system of your electric bike, you’ll be able to troubleshoot and tighten the brakes effectively. Now, let’s move on to the next step, which is gathering the necessary tools.
Gather the Necessary Tools
To properly perform this task, it is crucial to have all the required tools. Here are the tools needed to tighten the brakes on your electric bike: These tools typically include an Allen wrench, a screwdriver, and a torque wrench to ensure proper adjustments. Before you begin, make sure your bike is on a stable surface to prevent any accidental movement. Using the correct tools will help you tighten brakes on electric bike safely and effectively.
- Allen wrench set: This will be useful for adjusting the brake calipers and pads.
- Cable cutter: You may need to trim the brake cable if it is too long.
- Pliers: These will help you grip and manipulate small parts.
- Adjustable wrench: This will come in handy for loosening and tightening nuts and bolts.
- Screwdriver set: You might need different screwdrivers for adjusting brake levers and other components.
When tightening the brakes on your electric bike, it is important to follow some best practices. Make sure to check the manufacturer’s instructions for your specific bike model. Additionally, take your time and be patient when making adjustments.
Now, let’s move on to the next step and identify the brake cable.
Identify the Brake Cable
Now, let’s start by identifying the brake cable.
The brake cable is a crucial component of your electric bike’s braking system. It connects the brake lever to the brake caliper, allowing you to control the brakes. To ensure proper brake cable tension and efficient braking, it is important to install the brake cable correctly.
Locate the cable running from the brake lever down to the brake caliper. It should be a thin, metal cable housed in a protective outer casing. Take note of any bends or kinks in the cable, as these can affect its performance.
Once you have identified the brake cable, you can proceed to the next step of loosening the brake cable adjustment barrel to fine-tune the brake tension.
Loosen the Brake Cable Adjustment Barrel
First, locate the brake cable adjustment barrel and loosen it to adjust the brake tension. This barrel is typically located near the brake lever or caliper, and it allows you to fine-tune the amount of tension in the brake cable.
To loosen the brake cable adjustment barrel, follow these steps:
-
Use a 5mm Allen wrench or a screwdriver to turn the barrel counterclockwise. This will release tension on the brake cable.
-
Keep turning the barrel until you feel the brake cable slacken. Be careful not to loosen it too much, as this can cause the brakes to become ineffective.
-
Test the brakes by squeezing the brake lever. If the brakes feel too loose, tighten the adjustment barrel slightly until you achieve the desired tension.
Once you have loosened the brake cable adjustment barrel, you can move on to tightening the brake cable to ensure optimal brake performance.
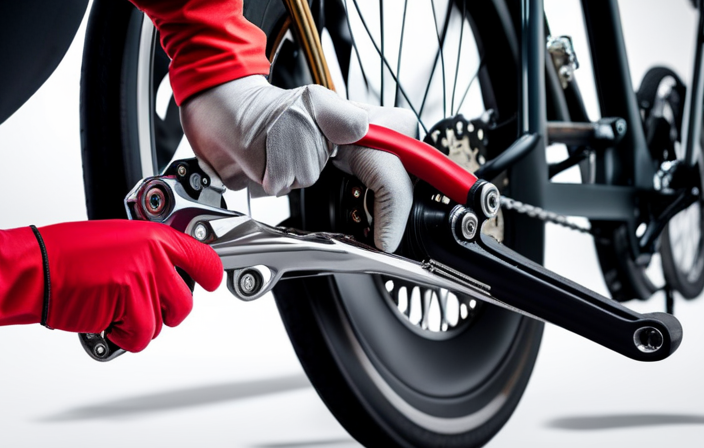
Tighten the Brake Cable
You can increase the tension in the brake cable to improve brake performance. To tighten the brake cable, start by locating the brake cable adjustment barrel. This is usually located near the brake lever or on the brake caliper.
Use a 5mm Allen wrench to turn the adjustment barrel clockwise, increasing the tension in the cable. As you turn the barrel, you will feel the tension in the cable increase. Be careful not to overtighten the cable, as this can cause the brakes to drag and reduce their effectiveness.
Once you have tightened the brake cable to your desired tension, check the brake levers for any excessive play or looseness. This will ensure that the brakes engage properly.
Now, you can move on to the next step of testing the brakes to ensure they are working correctly.
Test the Brakes
To ensure your brakes are working properly, give them a test by applying pressure to the brake levers. Start by squeezing the levers firmly to check if the brakes engage smoothly and effectively.
Here are some key things to look out for during the test:
- Ensure that the brake pads make full contact with the rim or disc, providing optimal stopping power.
- Listen for any unusual noises, such as squeaking or grinding, which may indicate the need for brake pad replacement.
- Pay attention to the feel of the brakes. They should offer a firm and responsive grip, without feeling loose or spongy.
After testing the brakes, if you notice any issues, it’s essential to address them promptly.
In the next section, we will discuss how to adjust the brake pads to further improve brake performance.
Adjust the Brake Pads
To improve the performance of your brakes, it’s important to make sure the brake pads are properly adjusted. One of the key factors in achieving optimal braking is brake pad alignment. When the brake pads are misaligned, they may not make full contact with the brake rotor, resulting in reduced braking power.
To adjust the brake pads, start by loosening the bolts that hold them in place. Gently realign the pads so that they are centered on the rotor. Once they are aligned, tighten the bolts back up.
Additionally, it is crucial to regularly check the brake pad wear. If the pads are worn down too much, they will not be effective and should be replaced. By ensuring proper alignment and monitoring wear, you can maintain the effectiveness of your electric bike brakes.
Now, let’s move on to the next step and check the brake lever.
Check the Brake Lever
To continue tightening your electric bike brakes, the next step is to check the brake lever.
The brake lever is an essential component that controls the brake system. Begin by adjusting the brake lever position. Make sure it is positioned comfortably within reach of your fingers, allowing for easy and quick access.
If the lever is too far or too close, it can affect your braking efficiency. You can adjust the lever by loosening the clamp bolt and sliding it to the desired position, then tightening the bolt again.
If adjusting the lever doesn’t improve the braking performance, you may need to consider replacing the brake lever entirely.
Once you have adjusted or replaced the brake lever, it is time to test the brakes again to ensure they are working effectively.
Test the Brakes Again
Now, you should give the brakes another test to ensure they are functioning properly. Start by squeezing the brake lever and observing if the brake pads make contact with the rim or disc. If they don’t, you may need to realign the brake calipers.
Loosen the mounting bolts on the calipers and adjust them until the pads are centered on the rim or disc. Once aligned, tighten the bolts securely.
Next, check the brake lever tension. If it feels loose or too tight, you can adjust it by turning the barrel adjuster located near the lever. Turn it clockwise to increase tension or counterclockwise to decrease tension.
After making any necessary adjustments, test the brakes again to ensure they are functioning properly. This will help guarantee your safety while riding your electric bike.
Moving on to regular maintenance and inspection…
Regular Maintenance and Inspection
For regular maintenance and inspection, you should regularly check the condition of your brake pads and make sure they are not worn down. Brake pads are a vital component of your electric bike’s braking system and can wear out over time due to friction and heat.
It is important to inspect them regularly to ensure they are in good condition and replace them if necessary. To check the brake pads, start by visually inspecting them for any signs of wear or damage. If the pads appear worn down or have uneven wear, it is time to replace them.
Additionally, if you notice any common brake issues such as squeaking, grinding, or reduced braking performance, it is recommended to inspect the brake pads as they could be the cause.
Regular maintenance and inspection of your brake pads will help ensure your electric bike’s brakes are functioning optimally and provide you with safe and reliable stopping power.
Frequently Asked Questions
How do I know if my electric bike brakes need tightening?
To determine if your electric bike brakes need tightening, check for signs of brake pads rubbing against the wheel rim, excessive brake lever travel, or a loose brake cable. Avoid common mistakes, such as overtightening the brakes or misaligning the brake pads. Proper maintenance is crucial for optimal brake performance.
Can I tighten the brake cable without any tools?
To tighten the brake cable on your electric bike without any tools, you can try manually adjusting the tension by hand. However, it is recommended to use the proper tools for more precise and effective DIY brake adjustments.
Will tightening the brake cable affect the performance of the brake pads?
Tightening the brake cable won’t directly affect brake pad performance. However, excessive wear on the brake pads can decrease their efficiency. Alternative methods for brake tightening include adjusting the caliper or replacing worn brake pads.
How often should I tighten the brake cable on my electric bike?
To ensure proper maintenance for your electric bike brake cables, it is important to regularly inspect and tighten them. Inspections should be done frequently to prevent any potential issues and ensure optimal performance and safety.
What are the signs of worn-out brake pads that may require replacement instead of just tightening?
If your brake pads are worn out, you may notice signs such as reduced braking power, squealing or grinding noises, or a longer stopping distance. When these signs appear, it is time to replace the brake pads.
Conclusion
Congratulations! You’ve successfully tightened the brakes on your electric bike. By following the steps outlined in this article, you’ve taken control of your bike’s safety and ensured optimal performance.
Remember, maintaining your bike’s brakes is crucial for your overall riding experience. So, keep up with regular maintenance and inspections to ensure your brakes are always in top-notch condition.
Just like a well-oiled machine, your electric bike will continue to glide smoothly on the roads of life.