
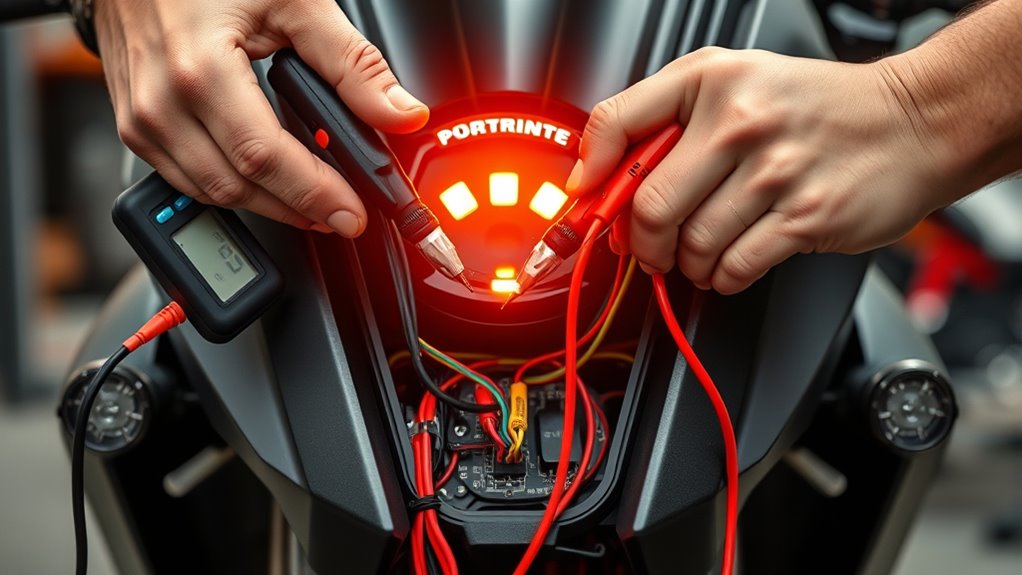
To inspect your electric motorbike’s electrical system, start by checking the battery voltage and ensuring the terminals are clean and tight. Test fuses for continuity and verify all ground connections. Inspect the ignition coils, pickups, and wiring for damage or corrosion. Use a multimeter to measure resistance and voltage at key points, and consider diagnostic tools for a thorough analysis. If you follow these steps, you’ll discover how to keep your bike running smoothly and reliably.
Key Takeaways
- Check battery voltage and ensure proper charging with a multimeter, aiming for at least 12V when fully charged.
- Inspect wiring, fuse continuity, and ground connections for corrosion, looseness, or damage.
- Test the alternator/stator output voltage and resistance to confirm proper charging function.
- Measure ignition coil and pickup coil resistances, verifying they fall within manufacturer specifications.
- Use diagnostic tools to analyze voltage, resistance, and wiring integrity for comprehensive system inspection.
Checking the Battery and Power Supply

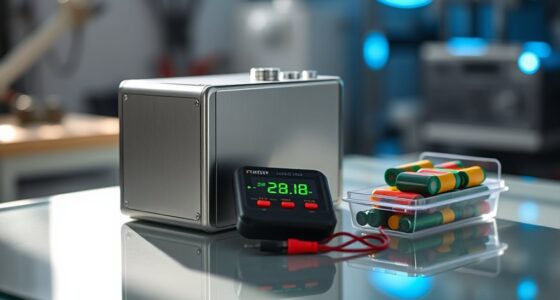
To guarantee your electric motorbike’s electrical system is functioning properly, start by inspecting the battery and power supply. Check the battery’s voltage with a multimeter— a fully charged battery should read at least 12 volts without load. During engine start, ensure the voltage stays above 10.8V, confirming the battery can supply sufficient power. Examine the terminals and cables for corrosion, looseness, or damage, as poor connections can disrupt the electrical system. Use a load tester or perform a voltage check while starting to verify the battery’s ability to deliver current. Additionally, confirm the alternator or stator is charging correctly by measuring voltage across the battery terminals; it should be between 13.5 and 14.5 volts when the engine runs. Understanding the role of the battery in power distribution can help diagnose potential issues more effectively. Properly maintaining the contrast ratio of your electrical components can ensure clearer diagnostics and prevent misinterpretation of readings. It’s also important to check for any signs of electrical system wear or damage that could affect overall performance. Regular inspections can help identify early signs of electrical component failure, reducing the risk of unexpected breakdowns.
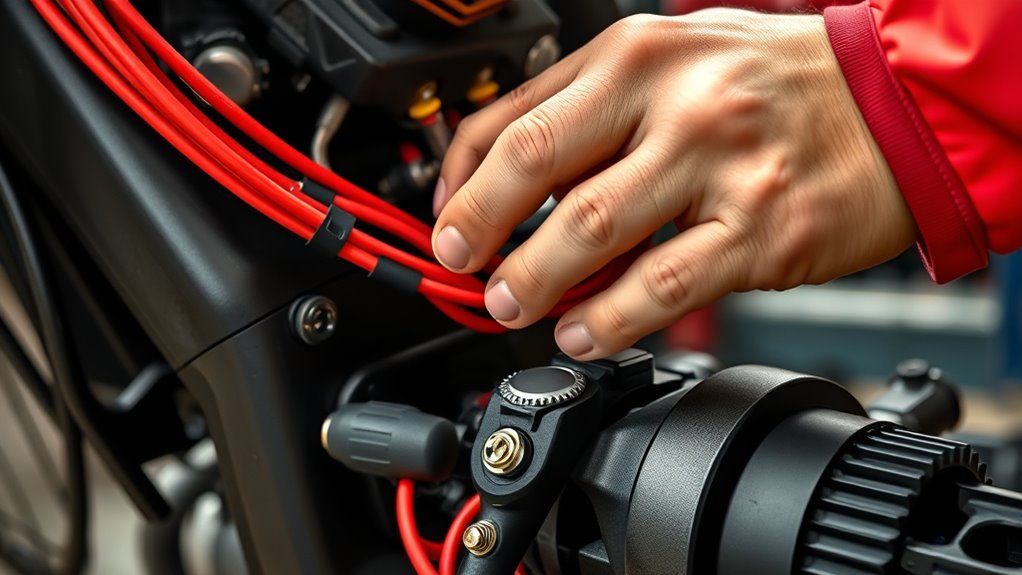
Inspecting Fuses and Ground Connections
After confirming the battery and power supply are functioning properly, it’s important to check the fuses and ground connections. Start by inspecting the fuse for continuity using a multimeter; a blown fuse will show no resistance and could disrupt your system. Next, examine the fuse holder for corrosion, damage, or loose connections, ensuring the fuse sits securely. Then, inspect all ground wires and points for corrosion, looseness, or breaks. Clean or tighten these connections to maintain a solid electrical path. Use your multimeter to verify that ground connections have near-zero resistance, indicating good continuity. Replace any faulty or aged fuses and repair loose or corroded ground wires to prevent electrical failures and keep your motorbike running safely. Additionally, understanding electrical system components can help you identify potential issues more effectively, especially as advancements in automated diagnostic tools continue to improve troubleshooting efficiency. Incorporating AI-enhanced diagnostics in your maintenance routine can further streamline fault detection and system analysis. Recognizing the importance of regular inspections can also help prevent major electrical problems before they occur. Moreover, staying informed about local repair resources can facilitate timely assistance if complex issues arise.
Testing the Ignition System Components
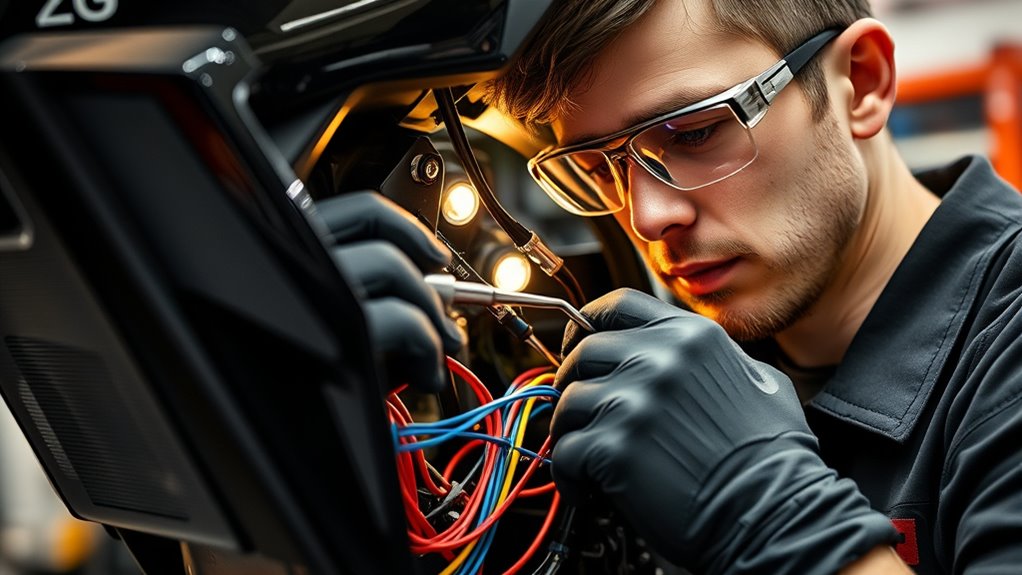
Testing the ignition system components is a crucial step in guaranteeing your electric motorbike runs reliably. Begin by checking the ignition coil’s primary resistance with a multimeter, measuring between the positive terminal and ground; it should be around 0.5 to 1.5 Ohms. Next, test the secondary resistance by measuring between the spark plug cap and ground; a markedly different reading from the manufacturer’s specs indicates a fault. Inspect the spark plugs for proper gap and condition. Use the multimeter to verify the ignition switch’s continuity in different positions—ON and OFF—to guarantee proper engagement. Finally, confirm the ignition system produces a strong spark by testing the spark gap, which should jump at least 5-7mm. These steps help identify issues before riding. Incorporating protective styling benefits can help maintain the integrity of your wiring and components during regular use. Additionally, regularly inspecting electrical connections ensures reliable performance and prevents potential malfunctions. Consistent system testing as part of your maintenance routine can help detect early signs of failure and extend the lifespan of your ignition components. Proper maintenance of ignition system components is essential for optimal engine performance and longevity. Remember that using quality spark plugs can significantly influence ignition performance and overall engine health.
Evaluating the Charging and AC System
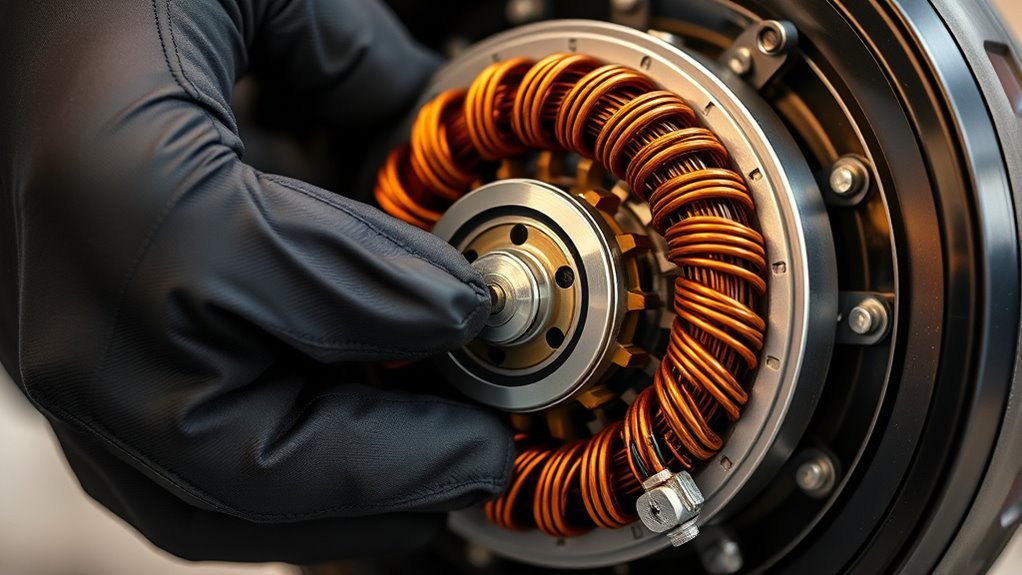
To guarantee your motorbike’s charging system works properly, start by testing the stator’s AC voltage between its output terminals at around 3,000 to 4,000 rpm—consistent readings mean it’s functioning correctly. Next, check the resistance of the stator windings; high or infinite resistance signals a problem. Finally, verify the regulator/rectifier’s output voltage and inspect it for signs of damage to confirm it’s maintaining a stable 14V for proper charging. Incorporating safety standards and performance tuning techniques can also help optimize your electrical system’s efficiency and reliability, especially when considering modifications like ECU remapping found in some Honda Tuning options. Regular maintenance and inspections can prevent potential electrical failures and ensure your motorbike runs smoothly.
Testing Stator Output
How can you verify that your electric motorbike’s stator is generating the correct AC power? Start by measuring the stator output AC voltage with a multimeter. With the engine running at around 2000 rpm, check the voltage between each pair of the three output terminals; they should be similar, typically 20-50V AC, indicating proper function. Next, perform resistance testing by unplugging the stator connector and measuring resistance between each pair of wires—values should be under 1 Ohm. Finally, test for ground issues by measuring resistance from each stator wire to the engine ground; readings should be infinite. Ensure the wiring harness is clean and free of dirt or oil, as contamination can skew results. This process confirms the integrity of your stator output and overall electrical system. Additionally, inspecting the electrical connections regularly can help prevent potential issues and ensure consistent performance. Monitoring voltage stability over time can also help detect early signs of system failure.
Regulator/Rectifier Function
After verifying that your stator is producing the correct AC power, the next step is to assess the regulator/rectifier’s ability to convert this AC into stable DC voltage. The regulator/rectifier uses diodes to rectify the AC, ensuring the electrical system receives consistent DC power. A proper voltage regulator maintains a steady voltage output, typically around 14V, vital for the charging system and electrical components. To test it, check the diode function with a multimeter and verify that the voltage output stays within the manufacturer’s specified range during engine operation. A faulty regulator/rectifier can lead to overcharging, damaging the battery, or undercharging, causing electrical system failure. Ensuring its proper function protects your motorbike’s electronic components and overall electrical system health.
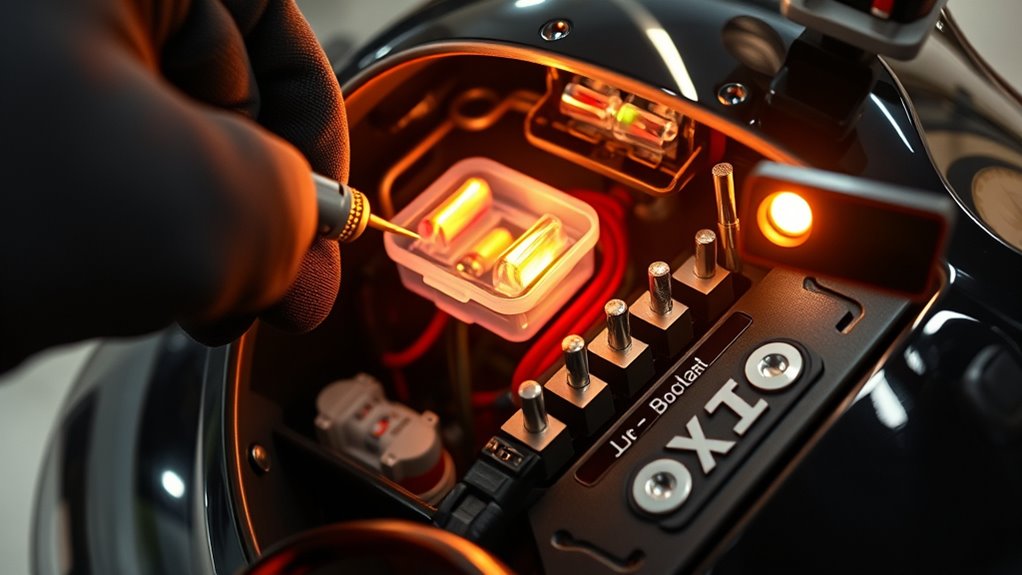
Assessing the Coils and Pickup Components
Start by checking the resistance of the ignition coil with a multimeter, ensuring it falls within the specified primary and secondary ranges. Then, measure the pickup coil resistance and verify the gap between the coil and magnet to prevent misfiring. Finally, test the source coil resistance to confirm it’s within the manufacturer’s recommended values.
Coil Resistance Values
Measuring coil resistance is essential for evaluating the condition of your electric motorbike’s ignition system. Using a multimeter set to ohms, you can check the resistance values of your pickup coil and ignition coil. Here’s what to do:
- Measure the coil resistance between the positive terminal and ground; typical values range from 0.5 to 1.5 ohms.
- Check the secondary resistance by measuring between the high-tension lead and ground; expect around 5kΩ to 15kΩ.
- Test the pickup coil by unplugging its connector and measuring resistance; it should be between 200Ω and 1kΩ, with an infinite reading to ground indicating no short circuit.
Ensure resistance values are within specifications to diagnose electrical issues effectively.
Pickup Coil Alignment
Proper pickup coil alignment is crucial for reliable engine performance, as even slight deviations can cause weak or no spark. You need to ensure the pickup coil is correctly positioned near the magnet on the engine’s camshaft or crankshaft, with a gap typically between 0.2mm and 0.5mm. Use a multimeter to check the coil’s resistance, which should fall within the manufacturer’s specified range—usually 200 to 1,000 ohms. Verify the alignment by confirming that the pickup coil is centered and at the proper gap relative to the magnet. Misalignment or an incorrect gap can result in poor or absent spark, affecting engine start-up and operation. If resistance readings are outside the range or the coil appears misaligned, it may need realignment or replacement.
Testing With Multimeter
Using a multimeter to test your coils and pickup components is essential for diagnosing electrical issues in your electric motorbike. Proper testing helps identify faulty parts and ensures your electrical system functions correctly. When testing:
- Set your multimeter to resistance (2k ohms) and check the pickup coil’s resistance, comparing it to manufacturer specs. A reading outside the range indicates a faulty coil.
- Remove the pickup coil connector and verify the resistance is not infinite or markedly outside the specified range, which suggests a break or short.
- Measure the ignition coil’s primary (0.5–1.5 ohms) and secondary resistance (thousands of ohms). Also, confirm the pickup coil resistance from the coil to ground is infinite, indicating no short circuit.
Using Diagnostic Tools to Identify Faults
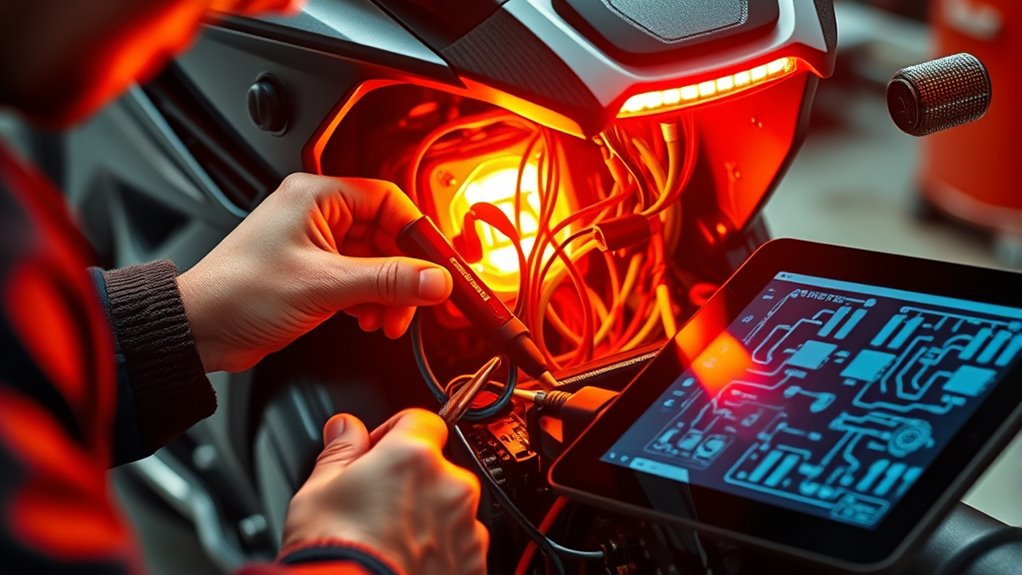
Diagnostic tools like the Ancel MT700 are essential for accurately pinpointing electrical faults in your electric motorbike. They analyze the entire electrical system, including the battery, wiring, and components, providing clear system readouts and error codes. These tools measure voltage, resistance, and continuity in real-time, helping you identify shorts, open circuits, or low-resistance wiring faults quickly. You can test components like the CDI box, pickup coil, and rectifier without disassembly, saving time and effort. Proper interpretation of the diagnostic data allows you to target specific issues, such as faulty sensors or bad connections, ensuring precise repairs. Using these tools streamlines troubleshooting, minimizes guesswork, and prevents unnecessary part replacements, keeping your electric motorbike running reliably.
Frequently Asked Questions
How to Check Motorcycle Electrical System?
To check your motorcycle’s electrical system, start by testing the battery voltage with a multimeter; it should read at least 12 volts. While the engine runs, measure the voltage at the battery to make certain the charging system works properly, between 13.5 and 14.5 volts. Inspect all fuses, ground wires, and connections for corrosion or damage. Finally, verify switch and coil resistances match manufacturer specs to spot faults quickly.
How to Check Motorcycle Stator?
To check your motorcycle stator, start by disconnecting the stator connector to avoid false readings. Use a multimeter set to AC volts and measure between each coil terminal and ground at around 3,000 to 4,000 RPM; readings should be similar. Then, set the multimeter to resistance mode and check between coil pairs; values should be within the manufacturer’s specifications, usually 0.3 to 1 ohm.
Do Electric Motorcycles Need Maintenance?
Think of your electric motorcycle’s electrical system as the heartbeat that keeps you moving. Yes, it needs regular checkups—batteries, wiring, and connections—just like a essential sign. Routine maintenance prevents surprises, extends component life, and keeps you safe. Keep everything clean, secure, and up-to-date. By caring for it, you guarantee your ride remains reliable and efficient, turning every journey into a smooth, worry-free experience.
How to Check Motorcycle Voltage With a Multimeter?
To check your motorcycle’s voltage with a multimeter, first set it to DC voltage. Connect the red lead to the positive terminal and the black lead to the negative terminal of your battery. Make certain the connections are secure. For a resting battery, you should see around 12.5–12.8V. When the engine runs, rev it to 3,000–4,000 rpm and verify the voltage is between 13.5V and 14.5V for proper charging.
Conclusion
By regularly inspecting your electric motorbike’s electrical system, you keep it running smoothly—like a well-oiled machine. Remember, neglecting these checks is like ignoring a ticking time bomb; it may not blow today, but it will someday. Stay vigilant and proactive, because your bike’s reliability depends on your care. When you understand your system, you’re not just maintaining a machine—you’re safeguarding your journey’s future. After all, prevention is the best form of rebellion.