To install bike accessories, start by choosing compatible options that match your bike’s frame and mounting points, like eyelets or bosses. Gather the right tools such as Allen wrenches and screwdrivers, then follow manufacturer instructions closely for secure attachment. Be sure to verify weight limits and proper positioning, especially for locks, lights, or racks. Using correct techniques guarantees safety and durability; keep exploring further tips to perfect your setup.
Key Takeaways
- Check your bike’s mounting points and compatibility before selecting accessories to ensure proper fit.
- Use appropriate tools like Allen wrenches and screwdrivers, following manufacturer instructions for secure installation.
- Match accessories to your bike type and frame to avoid compatibility issues and ensure safety.
- Secure locks and security devices tightly, locking both the frame and wheel to a fixed, well-lit object.
- Regularly inspect and tighten all accessories before rides to maintain safety and prolong their lifespan.
Choosing the Right Accessories for Your Bike
When selecting accessories for your bike, it’s vital to guarantee they’re compatible with your bike’s frame and components. Check that your bike accessories, like bottle cages or racks, match your frame’s mounting points to ensure secure attachment. Prioritize security by choosing locks rated by Sold Secure, giving you peace of mind during rides or stops. Lighting is essential for safety, so pick front and rear lights suited to your riding conditions; bright, high-quality options enhance visibility. Also, consider your riding style—whether commuting, touring, or mountain biking—and select accessories that meet those needs without adding unnecessary weight. By focusing on compatibility, security, and effective lighting, you’ll enhance your riding experience while keeping safety front and center.
Understanding Compatibility and Mounting Points
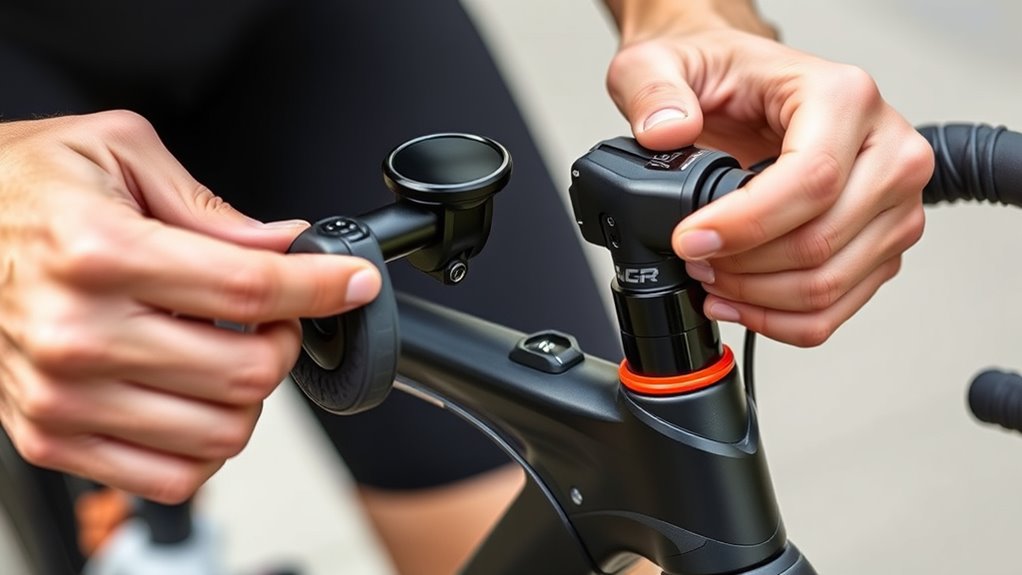
To make certain your accessories fit properly, you need to understand your bike’s mounting points, like threaded bosses, eyelets, or rack mounts. Check if the hardware and accessories match these points in size and type to avoid issues later. Proper installation techniques will help you secure everything safely and keep your bike functioning well. Additionally, verifying the compatibility of your accessories with your bike’s specific mounting points can prevent fitment problems and ensure safety during use. Being aware of standardized mounting systems can also simplify the process of finding compatible accessories and improve overall compatibility. Recognizing types of mounting points common on various bikes can further assist in selecting accessories that fit seamlessly. Understanding compatibility standards across different brands can also help streamline your accessory selection process and ensure a secure fit. Familiarity with Gold IRA regulations can additionally guide you in choosing accessories that are designed to support specific bike features and safety requirements.
Frame Mounting Points
Are you aware of where your bike has dedicated mounting points for accessories? These mounting points are specific locations on your bike frame designed to attach accessories like bottle cages, racks, and fenders. They’re usually found on the downtube, seat tube, or rear stays. Compatibility depends on your frame’s design; some bikes have integrated mounts, while others need additional hardware or adapters. Standard threaded mounts typically use screws or bolts, often sized M5, M6, or M8, depending on the accessory and frame. Keep in mind, certain frames—especially carbon or integrated designs—may have proprietary or minimalist mounts that limit what you can attach. Always check your bike’s frame specifications and accessory mounting requirements to ensure a secure and proper fit. Incorporating AI-driven design tools can help identify optimal mounting locations tailored to your specific bike model, especially when considering luxurious tiny house-inspired features such as streamlined and stylish mounting options. Additionally, understanding industry standards can help you select accessories that are more likely to be compatible with your bike’s mounting points. Being aware of electric dirt bike horsepower can also guide you in choosing accessories that won’t interfere with your bike’s performance or weight balance.
Compatibility of Accessories
Understanding the compatibility of accessories with your bike hinges on matching the right mounting points and standards. For example, mountain bike pedals, bottle cages, and other accessories rely on specific bike fittings like threaded holes, frame bosses, or braze-ons. Different bike types—road, mountain, touring—have varied attachment options, so what fits on one may not suit another. Many accessories need adapters or mounts to match your frame size or shape, especially for racks or bottle cages. Brake fittings, such as ISO, Post Mount, or Flat Mount, also influence what accessories can be installed without interference. Always verify your bike’s specifications, including clearance, weight limits, and existing mounting points, to ensure accessory compatibility for safe, secure installation. Additionally, understanding standardized fittings and their industry standards can help you identify compatible accessories across different bike models and brands. Recognizing size restrictions is essential when selecting accessories to ensure they fit within your bike’s dimensions and legal parameters. Paying attention to compatibility guidelines can simplify the process of choosing accessories that are compatible and safe to use. Knowing the mounting system types helps prevent incompatible accessories and ensures secure attachment.
Proper Installation Techniques
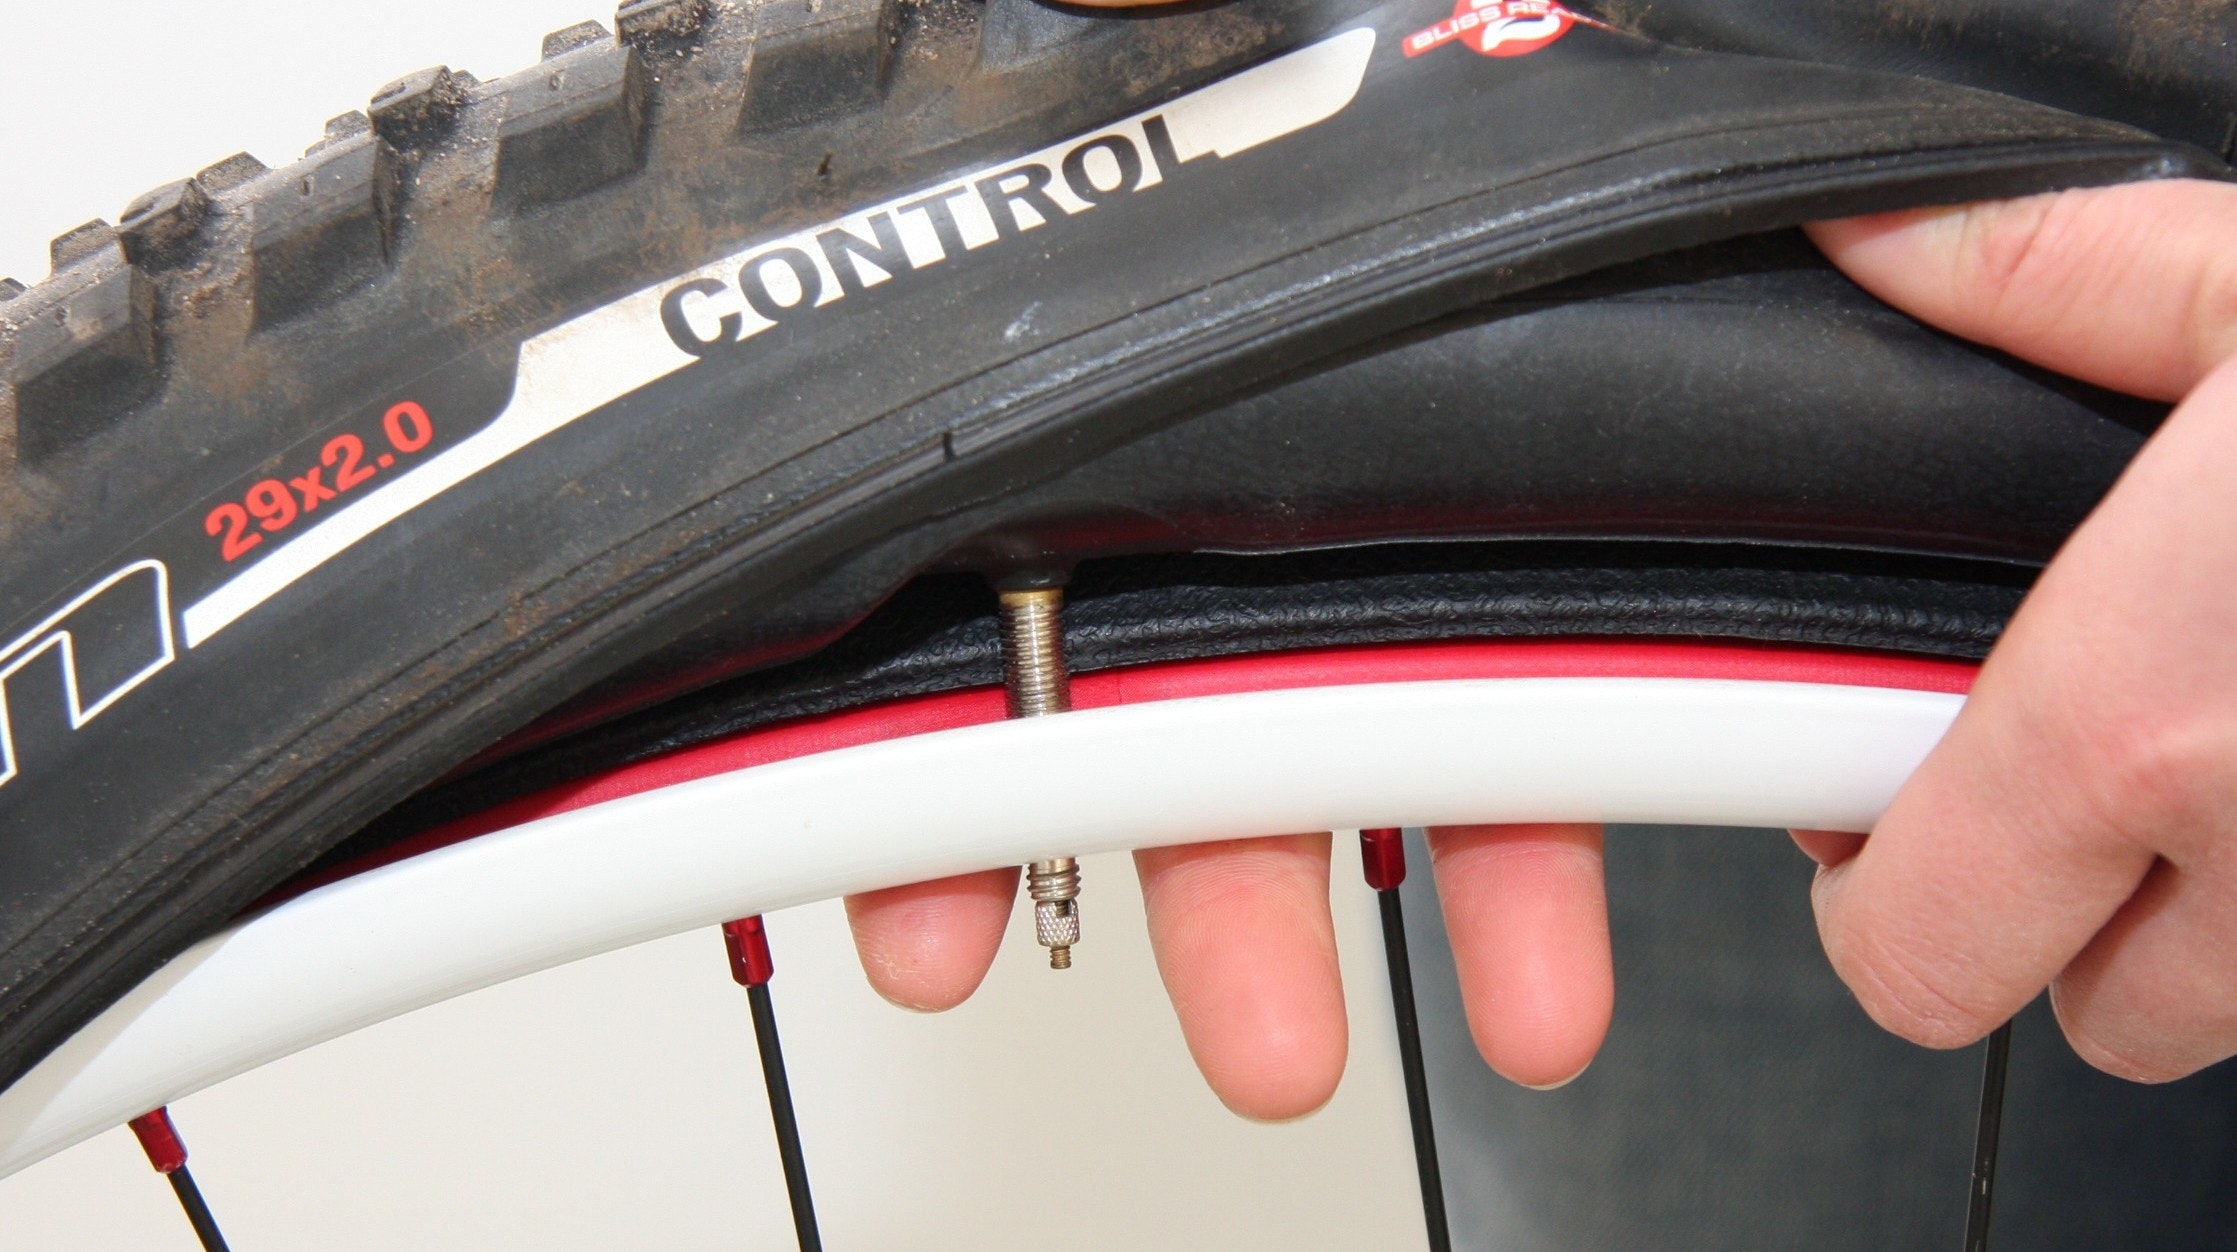
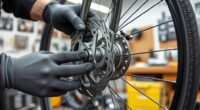
Ensuring proper installation begins with verifying that your accessories are compatible with your bike’s mounting points and frame design. Locate designated mounting points, such as frame bosses or eyelets, to guarantee correct attachment. Use the right tools, like Allen wrenches or screwdrivers, to securely fasten your accessories without over-tightening, which could damage components. Always follow the manufacturer’s instructions to maintain proper orientation, alignment, and secure fitting. Check the weight limits and load capacities to avoid stressing your bike’s parts during use. Proper installation isn’t just about attaching accessories; it’s about ensuring they’re firmly and safely mounted. Taking these steps guarantees a secure fitting, prolongs the lifespan of your accessories, and keeps your ride safe and enjoyable. Additionally, understanding proper installation techniques can prevent potential damage and ensure your accessories perform optimally.
Tools and Equipment Needed for Installation
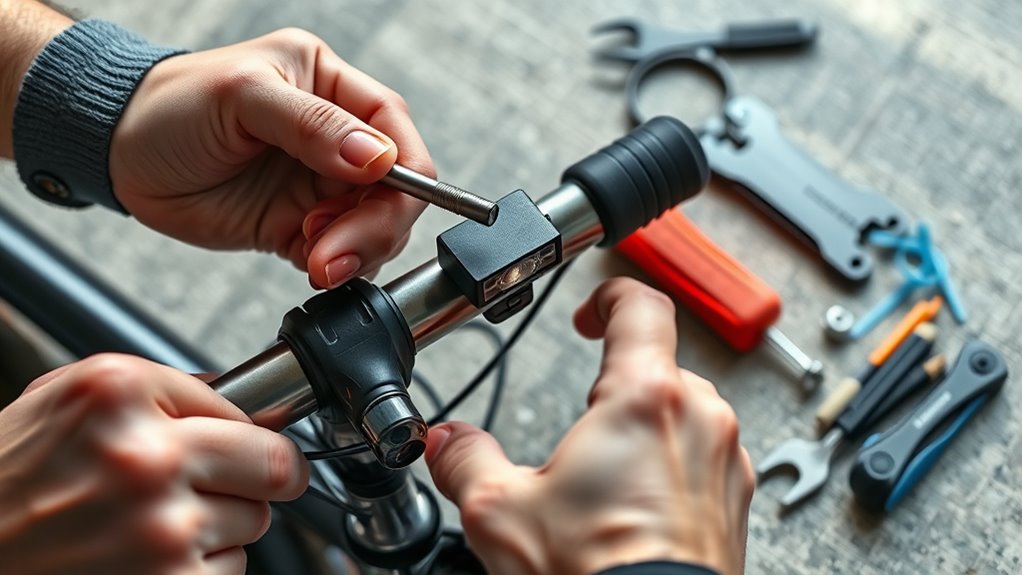
To install bike accessories correctly, you need the right tools and equipment. A multi-tool with Allen keys, screwdrivers, and torx bits is essential for most tasks, while safety gear like gloves keeps you protected. Ensuring you have the correct tools helps make the installation smooth and prevents damage. Additionally, understanding effective strategies for weight loss can help you maintain the energy and motivation needed for outdoor activities like biking. Using high-quality airless paint sprayers can also facilitate home improvement projects, making tasks quicker and more efficient. Being familiar with dog breeds can inspire you to choose the perfect pet to accompany you on outdoor adventures. For specific projects, selecting the appropriate nozzle size and equipment can significantly improve your results and efficiency.
Essential Hand Tools
When installing bike accessories, having the right hand tools is essential to guarantee a smooth and safe process. You’ll need Allen wrenches in various sizes, a screwdriver (Phillips and flat-head), a torque wrench, and pliers. These tools help you tighten bolts, secure screws, and avoid over-tightening. A rubber mallet can assist with fitting stubborn parts gently. Here’s a quick overview:
| Tool | Purpose | Usage Tip |
|---|---|---|
| Allen wrenches | Tightening hex bolts | Use the correct size to avoid stripping |
| Screwdriver | Securing screws on accessories | Match screwdriver type (Phillips or flat-head) |
| Torque wrench | Precise tightening to specifications | Prevent damage by following torque settings |
| Pliers | Gripping or bending parts | Use for holding components firmly |
Additionally, understanding proper installation techniques can help ensure your accessories are mounted securely and function correctly.
Compatibility and Fit
Before installing bike accessories, it’s crucial to verify that all components are compatible with your bike’s specific frame and mounting points. Check the manufacturer’s specifications to ensure the accessory’s fit with your bike’s mounting points, such as threaded holes, boss mounts, or frame bosses. Confirm that the hardware included matches your bike’s standards. Use the right tools—Allen wrenches, screwdrivers, and torque wrenches—to secure accessories properly without damaging threads or over-tightening. Before fully tightening, test the fit to prevent interference with moving parts, brakes, or cables. Ensuring compatibility and proper fit helps avoid issues down the road and guarantees your accessories stay secure during rides. Always double-check these details before proceeding with installation.
Safety Equipment Needed
Having the right tools and equipment ready is vital for a smooth and safe installation of your bike accessories. Start with a helmet to protect yourself during the process. A torque wrench is essential for tightening bolts on safety equipment like lights and locks to the manufacturer’s specifications, preventing over-tightening or damage. Gather screwdrivers, Allen keys, and pliers to install racks, bottle cages, or additional accessories properly. Make sure you have compatible mounting brackets and adapters that fit your bike’s frame and components. Wear protective gloves and eye protection to avoid injuries from sharp tools or slips. Always follow the manufacturer’s instructions carefully, paying attention to torque settings and proper placement to ensure your accessories function safely and effectively.
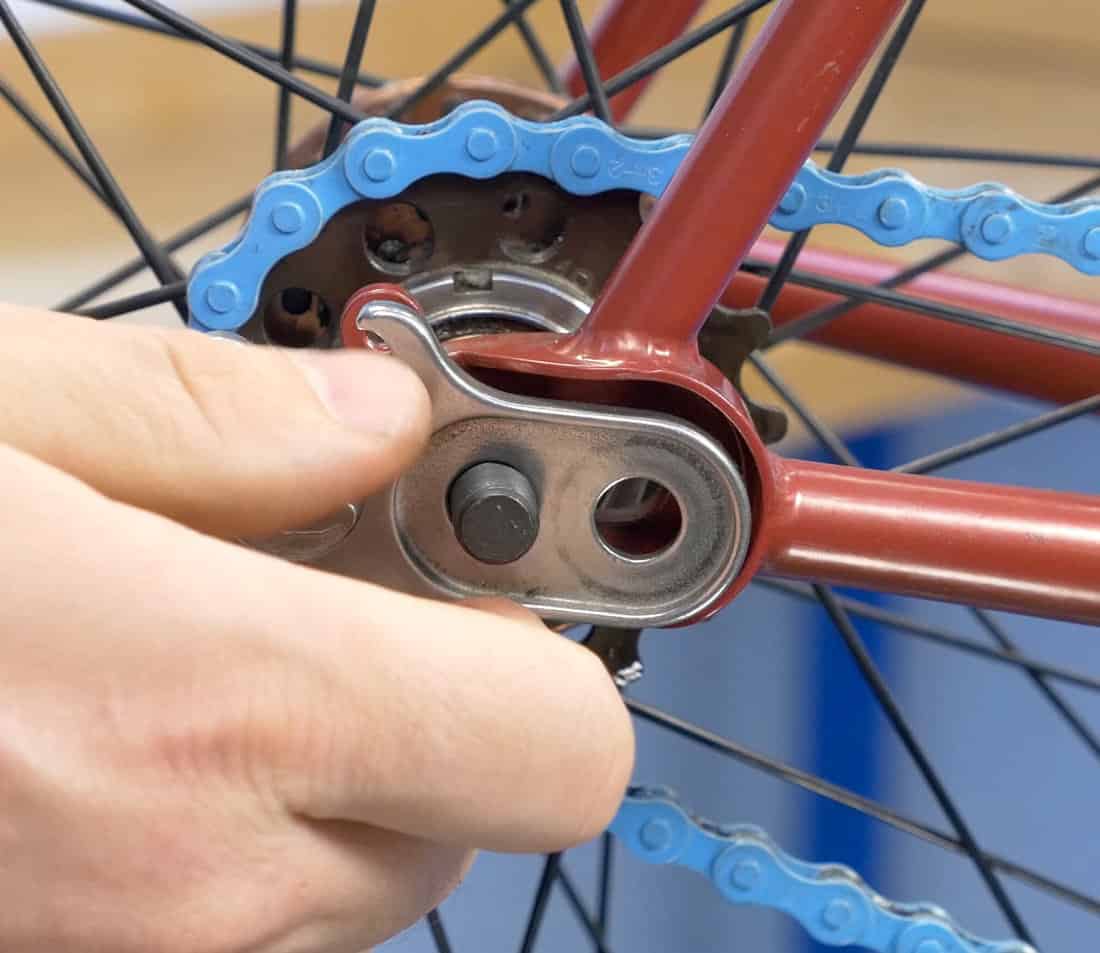
Step-by-Step Guide to Installing Locks and Security Devices

Installing locks and security devices correctly is essential to protect your bike from theft. Start by choosing a high-quality bike lock, such as a Sold Secure gold-rated U-lock or chain lock, for maximum security. Secure the bike frame and at least one wheel to a fixed, immovable object in a well-lit, high-traffic area to deter thieves. Use a proper locking technique by positioning the lock so the shackle is as tight as possible around the bike frame and the anchoring object, minimizing leverage points. Avoid locking only a wheel or the frame alone; lock both to prevent quick component theft. Regularly check your security device for signs of tampering or wear, and ensure it’s fully engaged and secure before leaving your bike unattended.
Attaching Luggage and Storage Solutions
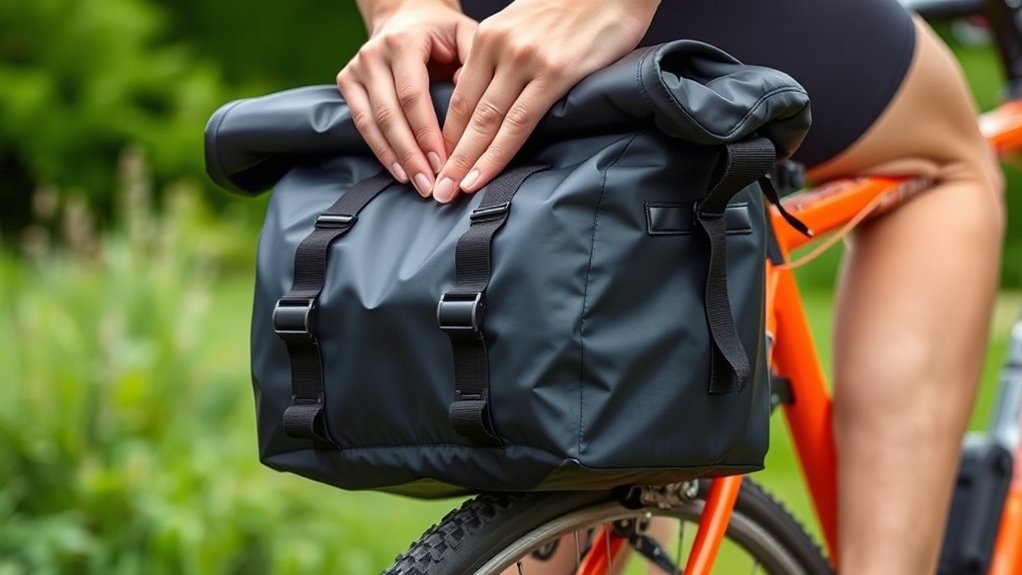
Attaching luggage and storage solutions securely guarantees your gear stays in place and doesn’t interfere with your ride. Choose the right bike accessories, like saddle bags, handlebar bags, or racks designed for your bike. Use straps or mounting brackets to fasten them tightly, ensuring they’re securely attached. For frame-mounted luggage, follow the manufacturer’s instructions and align brackets with existing eyelets or mounting points. Always verify that your storage solutions are balanced, avoiding interference with pedaling, steering, or brakes. Before every ride, check and tighten all straps, bolts, and mounting hardware to prevent accidental detachment. Properly installed storage solutions keep your gear safe and your ride smooth, making your cycling experience more enjoyable and worry-free.
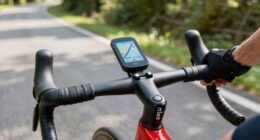
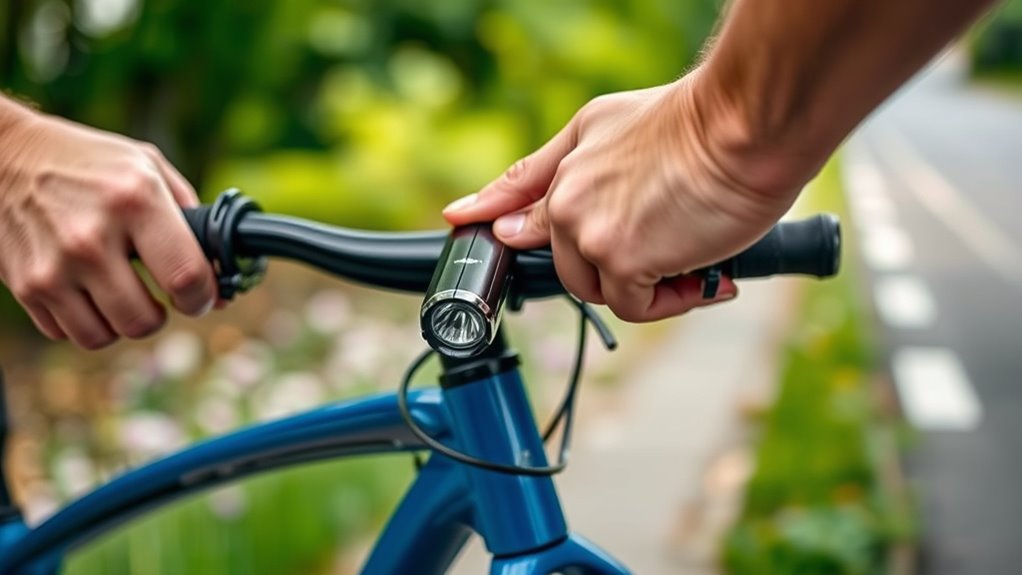
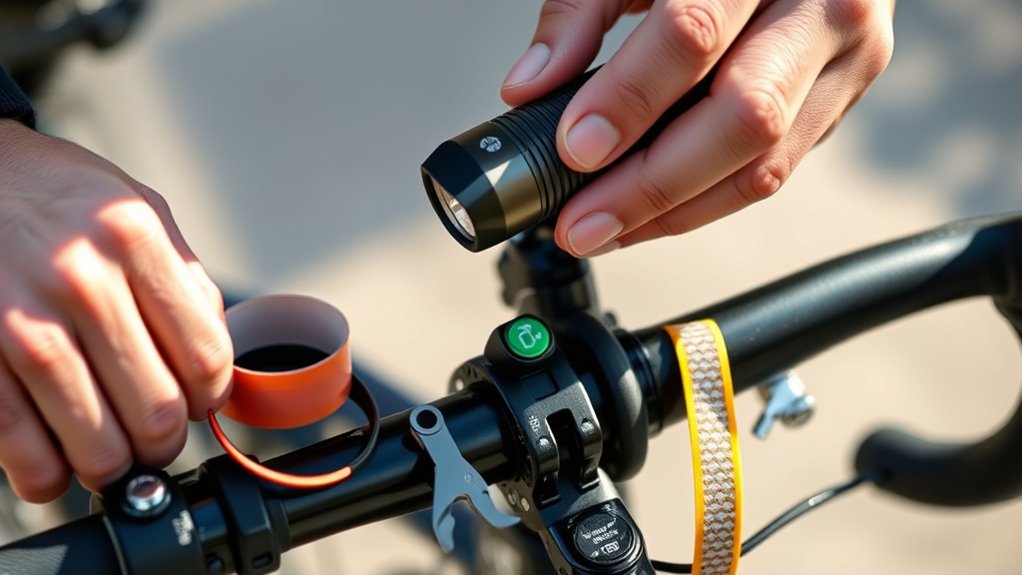
Installing Lights, Reflectors, and Visibility Enhancers
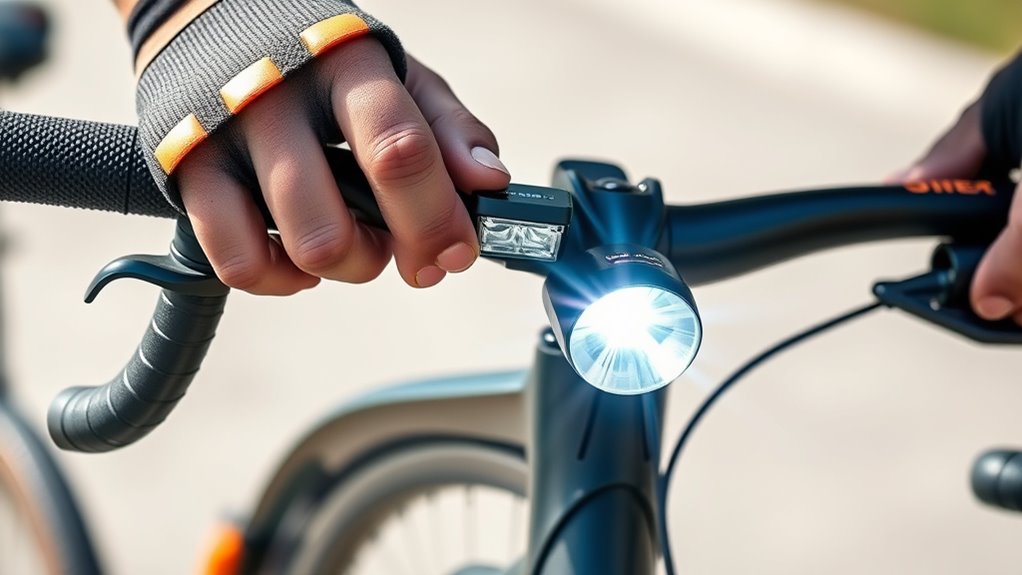
Ensuring your bike is visible during low-light conditions is essential for safety, which is why proper installation of lights and reflectors is crucial. Attach bike lights to designated mounting points on the frame or handlebars, ensuring they are secure and aligned for maximum visibility. Use the included brackets or straps to prevent movement, especially on rough terrain. Position rear lights high enough to be seen from a distance and avoid obstructions, while front lights should illuminate the road ahead effectively. Regularly check that all lights work and recharge or replace batteries as needed. Adding reflectors or reflective tape enhances passive visibility when lights aren’t in use. Here’s a quick overview of common mounting options:
| Location | Type of Visibility Tool | Mounting Method |
|---|---|---|
| Front of bike | Bike lights | Handlebar mounts |
| Rear of bike | Rear lights | Seat post or rear frame |
| Pedals & wheels | Reflectors | Clips or adhesive tape |
Adding Water Bottle Holders and Hydration Gear
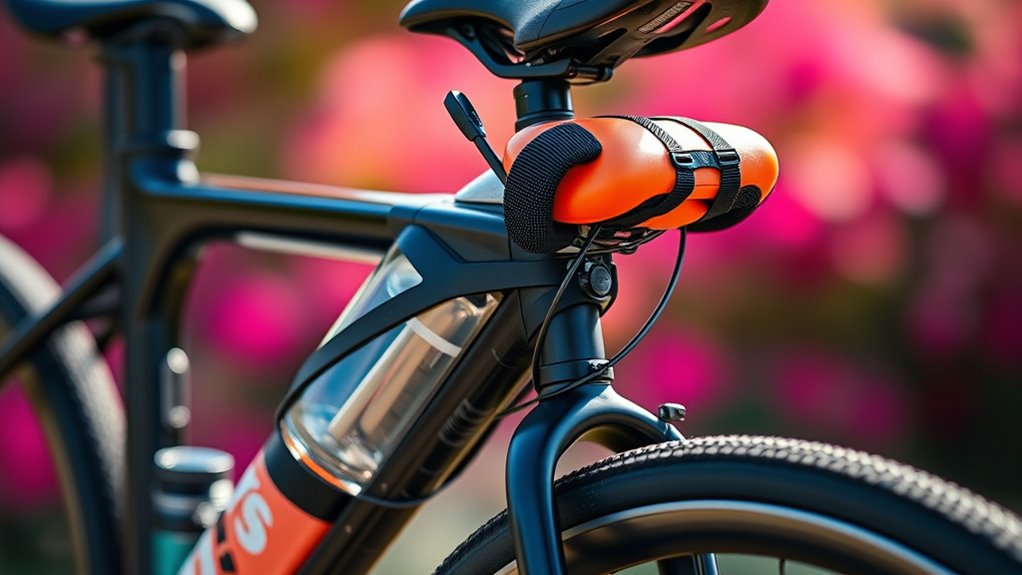
Adding water bottle holders and hydration gear is a practical step to keep you fueled during your rides. These essential bike accessories help you stay hydrated without stopping, especially on longer journeys. Water bottle cages typically attach to frame bosses with two or three screws, fitting most bikes comfortably. Choose a secure water bottle with a screw-on cap and a removable top for easy cleaning, ensuring it fits snugly in the cage to prevent spills. Position the cage within easy reach on the downtube or seat tube for quick access. Hydration gear options include frame-mounted bottles, hydration packs with reservoirs, and hip packs, each offering varied capacity and convenience. Properly installing and selecting your hydration gear helps you stay comfortable and secure your bike during every ride.
Tips for Maintaining and Checking Your Accessories
To keep your bike accessories functioning safely and effectively, it is vital to regularly inspect and maintain them. Proper inspection helps identify signs of wear or damage before they cause issues. Here are key tips:
- Check for wear, damage, or loose fittings, such as frayed straps, cracked mounts, or loose screws.
- Clean and lubricate moving parts like locks, quick-release mechanisms, and straps to ensure smooth performance.
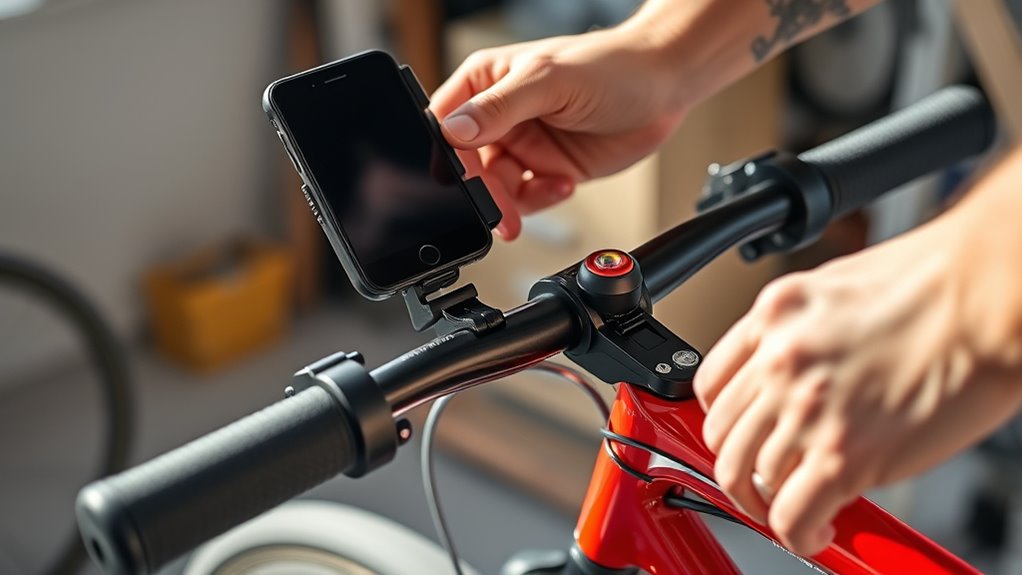
- Test electronic accessories like lights and GPS devices before each ride to confirm they’re operational.
Additionally, periodically tighten mounting points, replace worn components like batteries or straps, and address any damage immediately. Consistent maintenance preserves the performance and safety of your accessories, guaranteeing they work reliably and last longer.
Frequently Asked Questions
How to Assemble a Bike for Beginners?
When you assemble your bike, start by inspecting all components to make certain everything’s secure and properly aligned. Attach and tighten the handlebars, saddle, and wheels first. Check the brakes and gears to make sure they work smoothly. Adjust the seat height for comfort. Once assembled, give your bike a quick test ride to confirm everything functions correctly. Remember, patience and careful checks make for a safe, enjoyable ride.
What Accessories Do I Need for My New Bike?
So, you’re wondering what accessories you need? Well, don’t forget the essentials like a sturdy lock, a good pump, and spare inner tubes—because flats happen more often than you’d think. Add a set of panniers for groceries, bright LED lights for night adventures, and a water bottle for hydration. And, of course, a helmet and reflective gear—because safety isn’t just a suggestion, it’s a necessity.
Should My Leg Fully Extend on a Bike?
You shouldn’t let your leg fully extend when pedaling. When your pedal is at the bottom, your knee should have a slight bend of about 25-35 degrees. Fully straightening your leg can cause discomfort and decrease efficiency. Adjust your saddle so that your heel just touches the pedal at the lowest point. If your leg stays straight or your hips move, your saddle height needs to be changed for a better fit.
In What Order Do You Assemble a Bike?
You should assemble your bike in a logical order to guarantee safety and ease. Start by attaching the frame components like the fork and headset for a sturdy base. Next, install the groupset, including crankset and derailleurs, for proper shifting. Then, mount the wheels, making sure they’re aligned. Attach the handlebars, brake levers, and shifters, adjusting cables. Finish by adding accessories like pedals, lights, and bottle cages, securing everything tightly.
Conclusion
Installing bike accessories might seem simple, but it’s a journey from basic tools to personalized rides. Just like choosing the right gear enhances your ride, proper installation guarantees safety and durability. Think of your bike as a blank canvas—each accessory adds color and function. With patience and care, you turn a basic bike into a trusted companion, blending practicality with personality. So, embrace the process, and enjoy the ride with your newly equipped bike!