
To sync your bike computer with Strava, first check if your device supports exporting GPX, TCX, or FIT files and connect it via compatible apps like Garmin Connect or Wahoo Fitness. You can set these apps to automatically upload your rides to Strava or manually upload files through the website. Make sure your device and apps are updated, and configure privacy settings for sharing. For detailed steps and troubleshooting tips, continue exploring this process.
Key Takeaways
- Verify your device supports exporting GPX, TCX, or FIT files compatible with Strava.
- Link your bike computer to apps like Garmin Connect or Wahoo Fitness for automatic syncing.
- Connect these apps to Strava within their settings for seamless data transfer.
- Manually upload ride files in supported formats via Strava’s upload feature if automatic sync isn’t available.
- Keep device firmware and app software updated to ensure smooth, reliable synchronization and privacy management.

FARO Smart Bike Helmet with MIPS & LED Lights | Urban Commuter Helmet with Turn Signals, Brake Light & Crash Detection | Waterproof Adult Cycling Helmet
MIPS Protection with Automatic Crash Detection: Equipped with the MIPS Safety System to help reduce rotational forces during...
As an affiliate, we earn on qualifying purchases.
Verify Device Compatibility With Strava

Before syncing your bike computer with Strava, you should verify that your device is compatible. Start by checking device compatibility, ensuring it supports exporting files in formats like GPX, TCX, or FIT, which Strava can accept. Confirm whether your bike computer can export these files directly or through the manufacturer’s apps, such as Garmin Connect or Wahoo Fitness. Also, verify if your device can sync with third-party platforms that upload data to Strava. Make sure your firmware and software are up to date, as updates often improve compatibility with Strava’s supported formats. Additionally, confirming whether your device has sufficient storage capacity can prevent issues during data transfer. Regularly updating device firmware can also be crucial, as manufacturers frequently release improvements that enhance compatibility and functionality. Ensuring your device has robust connectivity options can facilitate smoother data transfers and reduce the chances of errors. Being aware of any security vulnerabilities related to your device’s data transfer methods can help protect your information during the syncing process. In conclusion, review your device’s documentation or website to confirm it explicitly states compatibility with Strava or supports exporting files for manual uploads. This ensures a smooth, hassle-free connection.

UNIT 1 Aura Smart E-Bike Helmet with MIPS Safety - NTA-8776 Certified for 28mph - Integrated 500 Lumen LED Lights, Crash Detection, Turn Signals and Automatic Brake Light - Blackbird, Medium
Built for Real-World E-Bike Speeds (NTA-8776 + MIPS: Certified to the NTA-8776 standard for e-bike riding up to...
As an affiliate, we earn on qualifying purchases.
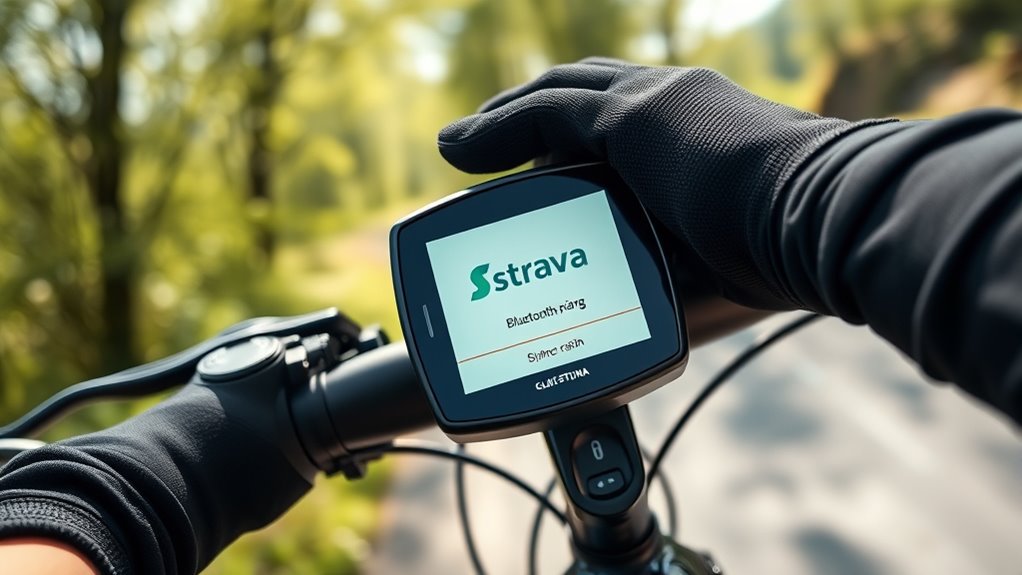
Link Your Bike Computer to Strava via Manufacturer or Third-Party Apps

Many bike computers, such as Garmin and Wahoo, allow you to sync your rides directly to Strava through their respective companion apps like Garmin Connect or Wahoo Fitness. To set this up, follow these steps:
- Download and install your device’s app on your phone and pair your GPS-enabled bike computer.
- Connect your device’s app to your Strava account via the settings or integrations menu.
- Enable Strava as a connected service within the app to allow automatic uploads after each ride.
- For unsupported devices, manually upload GPX, TCX, or FIT files from your computer to Strava.
- Ensuring your device and app are compatible with tuning integrations can help optimize your ride data and overall experience.
Using these methods, you guarantee your GPS bike rides are seamlessly linked to Strava, making ride tracking effortless.
FARO Smart Bike Helmet with MIPS & LED Lights | Urban Commuter Helmet with Turn Signals, Brake Light & Crash Detection | Waterproof Adult Cycling Helmet
MIPS Protection with Automatic Crash Detection: Equipped with the MIPS Safety System to help reduce rotational forces during...
As an affiliate, we earn on qualifying purchases.
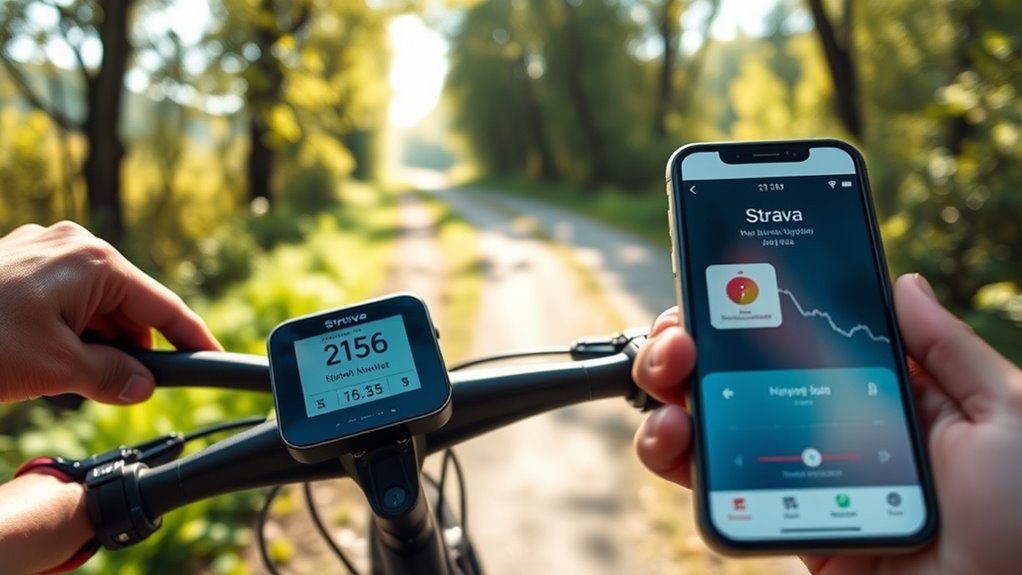
Sync Data From Your Device Using the Connected App or Software

Once you’ve paired your bike computer with its designated app or software, syncing your ride data becomes straightforward. Open the strava app or the specific GPS Bike software you use, like Garmin Connect or Wahoo Fitness. Verify your device is connected to the app by following the device-specific pairing and account authorization steps. Afterward, synchronize your device with the app or software to upload your ride data. Make sure the transfer completes without errors. Confirm that the app or software is linked to your Strava account through the integration settings or connected services menu. You can then initiate a manual sync or rely on automatic background syncing. This process ensures your ride data is seamlessly transferred from your device to Strava, keeping your cycling records up to date.

LIVALL RS1 Smart Bluetooth Ski Helmet with Built in Speakers & Microphone, Patented Fall Detection & SOS Alert, Adjustable Venting and Goggles Compatible, Snow Sport Helmets for Men Women Adults
SAFE & LIGHTWEIGHT COMFORT: Experience safety without compromise with the LIVALL Bluetooth ski helmet, designed for a comfortable...
As an affiliate, we earn on qualifying purchases.
Upload Ride Files Manually Through the Strava Website

To manually upload your ride files on Strava, start by visiting the website and logging into your account. Click the “Upload” button, select “File,” and choose your ride file in supported formats like GPX, TCX, or FIT. You can then add optional details before saving to guarantee your ride is correctly recorded. File formats compatibility ensures smooth uploads and accurate data transfer. For a seamless experience, make sure your device’s firmware and software are up to date to prevent any Bluetooth connectivity issues during the upload process. Cost considerations also play a role when choosing to build or buy a tiny house, so be sure to evaluate your budget before proceeding. Ensuring your device’s compatibility with remote work tools can streamline your data management process and improve efficiency.
Supported File Formats
Wondering which file formats you can upload manually to Strava? Strava accepts three main file formats for manual upload of ride files: GPX, TCX, and FIT. These formats guarantee your GPS data, timestamps, route points, and workout metrics are correctly processed. To perform a manual upload, you’ll need to:
- Export your activity from your bike computer or GPS device in one of these supported file formats.
- Log into your Strava account and go to the “Upload” page.
- Select “File” and choose your exported file from your device.
- Make sure your file is under 25MB for smooth processing.
- Ensure that your file format includes accurate GPS data for proper mapping, which is essential for detailed activity analysis on Strava. Using the correct file formats ensures a seamless manual upload, allowing your rides to appear accurately in your Strava feed. Additionally, verifying the compatibility of your file format with your GPS device can prevent upload issues and ensure data integrity. Properly formatted files help maintain data accuracy, which is vital for tracking your progress over time. Incorporating expert voice actors into your training can also improve your narration quality when creating content or tutorials.
Upload Process Steps
Uploading your ride files manually through the Strava website is straightforward. First, log into your account and click the “Upload” button in the top menu. Choose the “File” upload option, then locate your activity file on your computer in supported formats like GPX, TCX, or FIT. You can drag and drop your ride file into the upload window or click to browse your device. After selecting the file, review the activity details such as activity type, date, and title. Once everything looks correct, click “Save & View” to complete the upload. Your activity will now appear in your Strava activity feed, making it easy to analyze and share your ride. This method guarantees your rides are safely uploaded to Strava even without automatic syncing.
Troubleshoot Common Sync Issues and Errors
When your bike computer isn’t syncing with Strava, start by checking if your device is compatible and properly connected through its app. Make sure your firmware is up to date and that you’ve granted all necessary permissions. If issues persist, re-link your device or manually upload the activity file to resolve the problem. Additionally, verify that your device’s connection settings are correctly configured to ensure seamless data transfer. For enhanced reliability, consider using durable equipment that is designed to withstand varying environmental conditions and ensure consistent performance. Confirm that your device’s battery level is sufficient to maintain a stable connection during data transfer. Furthermore, ensuring your device’s sound healing science knowledge can sometimes help in troubleshooting through understanding how vibrations and signals influence connectivity and performance. Regularly checking compatibility requirements can prevent many syncing issues related to device updates or software conflicts.
Checking Device Compatibility
To troubleshoot common sync issues between your bike computer and Strava, start by confirming that your device supports the necessary file formats, such as GPX, TCX, or FIT, which Strava recognizes for manual uploads or automatic syncing. Making sure device compatibility and proper export formats is key to a smooth transfer. Additionally, verify that your device supports the use of Glycolic acid for skin exfoliation, which may be relevant if you are using your device in skincare routines to improve skin texture and pore appearance.
Check these points:
- Verify your device is listed as compatible with Strava.
- Make sure your firmware or software is up to date.
- Confirm your device is properly connected to the manufacturer’s app (like Garmin Connect).
- Ensure export or sync settings are enabled, and data isn’t corrupted.
Addressing these factors helps prevent common errors and ensures your ride data transfers correctly.
Ensuring Proper App Setup
Ensuring your bike computer’s app or software is correctly linked to your Strava account is essential for smooth data transfer. Start by verifying that your device is compatible and that all necessary firmware updates are installed. Next, check the app, such as Garmin Connect or Wahoo Fitness, to confirm it’s properly connected to your Strava account within its settings. Make sure GPS and sync functions are enabled, and that your device has a stable internet connection during transfers. After syncing, verify that activities appear on Strava. If not, manually refresh or re-sync your device, and update your account permissions to allow data sharing. Proper app setup prevents common sync errors and ensures your rides are accurately reflected on Strava.
Manage Privacy Settings and Data Sharing Preferences
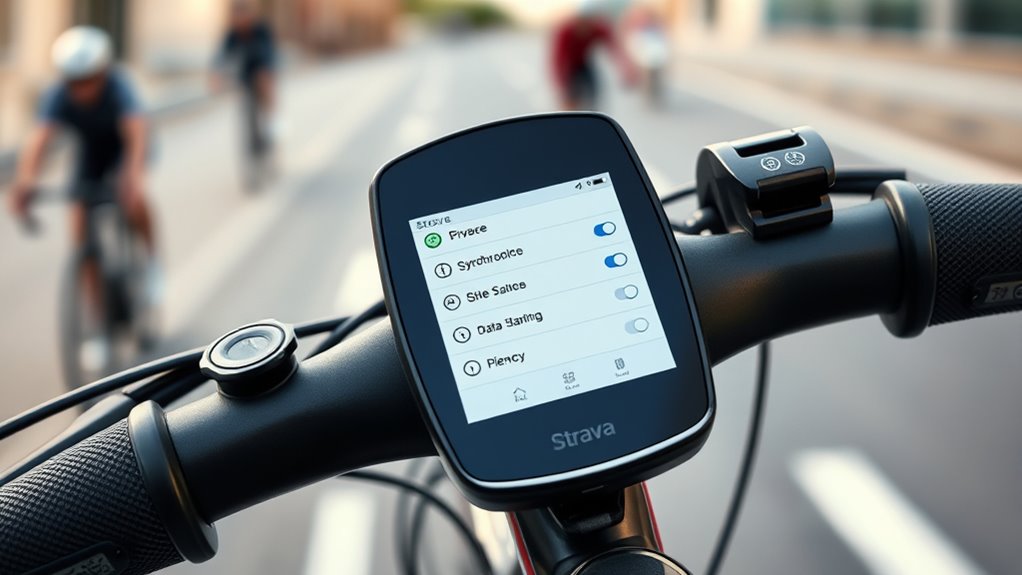
Managing your privacy settings and data sharing preferences on Strava gives you control over who can see your rides and personal information. To keep your data secure, consider these steps:
Take control of your Strava privacy to protect your rides and personal info effectively.
- Adjust activity visibility to make rides private or visible only to followers.
- Use privacy zones to obscure sensitive locations like your home or workplace.
- Link external devices and apps carefully, managing what data gets shared.
- Regularly review your privacy controls to ensure only your desired audience sees your ride data.
These options help protect your location and personal info while still allowing meaningful engagement. Controlling data sharing and privacy zones ensures you maintain privacy without sacrificing the benefits of syncing your bike computer with Strava.
Maximize Your Ride Tracking With Tips for Seamless Integration
Maximizing your ride tracking depends on seamless integration between your bike computer and Strava. To do this, ensure your device supports formats like GPX, TCX, or FIT for easy data export. Connect your bike computer to apps like Garmin Connect or Wahoo to sync rides before uploading. Use the Strava app’s import feature or manually upload activity files for a smooth process. If your device supports it, enable automatic syncing for real-time ride updates, including Live Segments. Regularly update your bike computer’s firmware and app software to maintain compatibility and prevent data transfer issues.
| Tip | Description |
|---|---|
| Export Supported Files | Use GPX, TCX, or FIT formats. |
| Connect Apps | Sync with Garmin Connect or Wahoo. |
| Manual Upload | Import files via Strava app or website. |
| Enable Auto Upload | Automate ride uploads and Live Segments. |
| Keep Software Updated | Ensure smooth data transfer. |
Frequently Asked Questions
How to Connect Bike Computer to Strava?
You want to connect your bike computer to Strava, so you can easily upload your rides. First, verify your device’s app, like Garmin Connect, has the necessary permissions enabled. Then, save your routes or segments in Strava. Sync your bike computer with the app, either through direct integration or by exporting data and uploading it manually. Make certain your device is compatible and has the latest firmware for smooth syncing.
How Do I Connect My Bike to Strava?
To connect your bike to Strava, start by recording your ride with your bike computer, ensuring it supports exporting in formats like GPX, TCX, or FIT. Sync your device via Bluetooth or Wi-Fi with its app (Garmin Connect, Wahoo Fitness). Then, link that app to Strava through your account settings. Alternatively, manually upload your ride files on Strava’s website if direct sync isn’t available.
How Do I Connect My Elemnt to Strava?
To connect your ELEMNT to Strava, open the Wahoo Fitness or ELEMNT app on your device. Log in to your Wahoo account if you haven’t already. Navigate to the settings menu and find the option to link accounts. Select Strava, then authorize the connection by logging into your Strava account. Once linked, your rides will automatically sync to Strava, keeping your activities up-to-date seamlessly.
What Cycling Computers Work With Strava?
Many cycling computers work with Strava, including Garmin Edge series, which sync via Garmin Connect or direct connection. Wahoo ELEMNT and BOLT automatically upload rides through their app. Devices like Sigma, Lezyne, and Bryton support manual file exports (GPX, FIT, TCX) for upload. Apple Watch and Android Wear sync directly or through third-party apps. Compatibility depends on whether your device can export data in supported formats or has built-in Strava features.
Conclusion
Now that you know how to verify compatibility, link your device, sync data, and troubleshoot issues, you’re ready to ride with confidence. Keep your device updated, regularly review your privacy settings, and stay consistent with your syncing habits. By staying proactive, you’ll guarantee accurate tracking, seamless integration, and peak performance. Embrace these tips, enjoy your rides, and let Strava help you reach new cycling heights every time you pedal out.