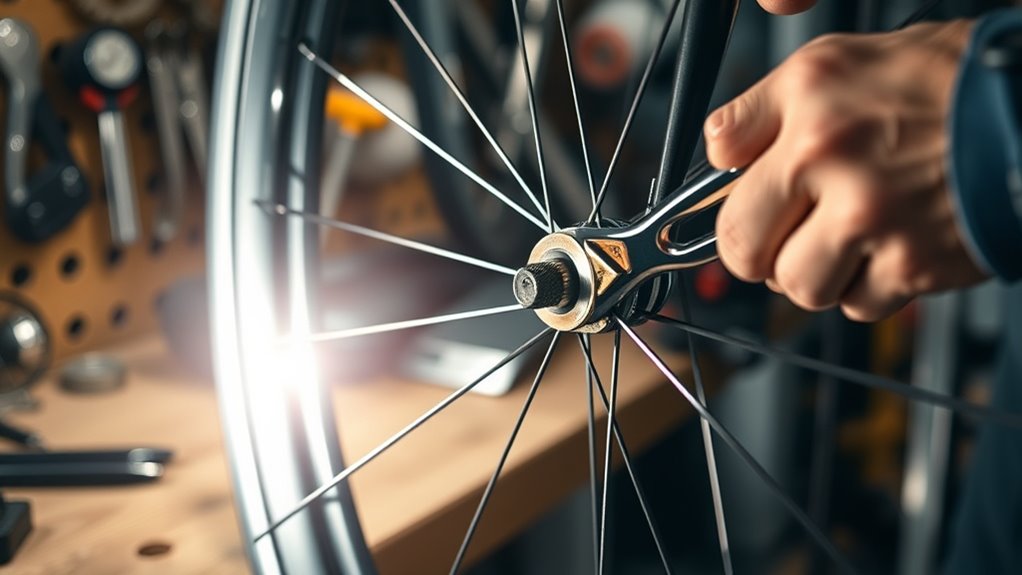
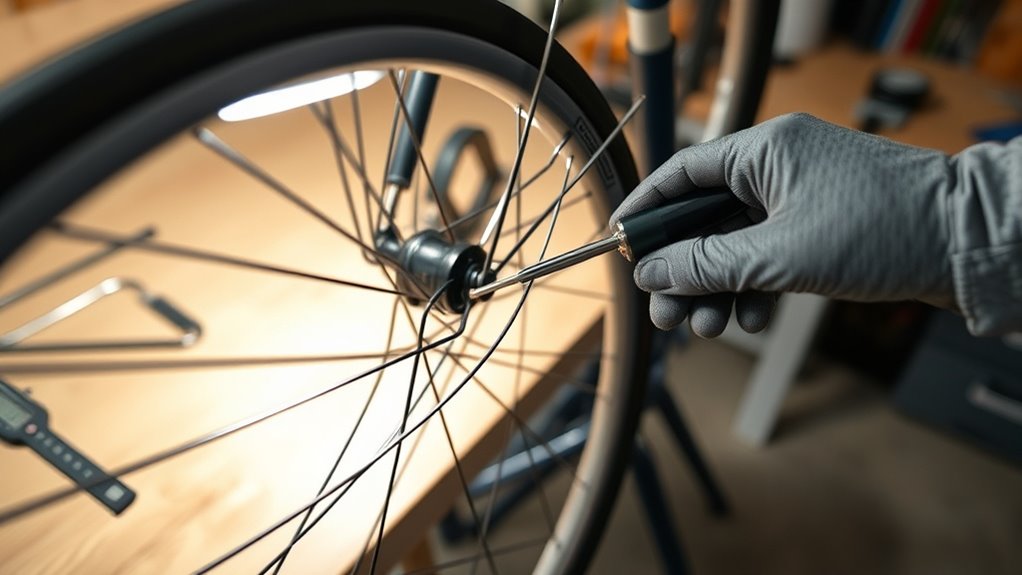
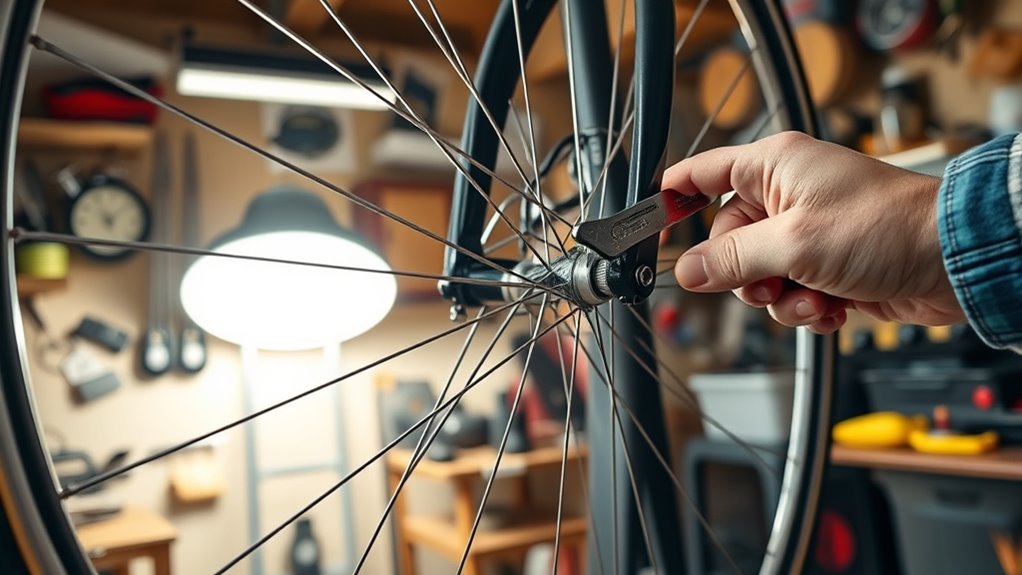
To true a bent wheel at home, start by setting up a clean workspace with the right tools like a spoke wrench and tension meter. Spin the wheel and identify wobble or out-of-round spots, then gently adjust spoke tension—tightening on one side and loosening on the other—to straighten the rim. Keep symmetrical tension and check often until the wheel spins smoothly. If you keep going, you’ll discover essential tips to perfect your wheel’s alignment.
Key Takeaways
- Identify side-to-side wobbles and contact points by spinning the wheel and observing deviations against a fixed indicator or tape.
- Mark areas with severe wobble or out-of-round spots to target specific spoke adjustments.
- Loosen spokes on the side opposite the deviation and tighten spokes on the same side to pull the rim into true.
- Make small, incremental tension changes (1/8 to 1/4 turn) and recheck wheel alignment frequently.
- Continue adjusting and re-spinning until the rim is evenly straight and wobble is minimized below 0.5mm.
Preparing Your Workspace and Tools

Before you begin truing your wheel, set up a clean, well-lit workspace with enough room to handle bike components comfortably. Gather essential tools like a truing stand or sturdy bike frame, spoke wrench, nipple driver, and a tension meter if available. Proper spoke tension is vital for a true wheel; uneven tension can cause wobbling or further damage. Make certain your work surface has good ventilation and is flat, providing a stable area to hold the wheel securely. Keep lubricants like light oil and cleaning supplies nearby to assist with adjustments and keep your tools clean. Remove the wheel from your bike and arrange your workspace so you can easily access both sides of the rim for accurate inspection and adjustments. This setup helps you maintain control and precision throughout the process. Additionally, understanding the importance of proper spoke tension can significantly impact the success of your wheel truing. To facilitate accurate adjustments, it’s helpful to have a spoke tension meter to measure and maintain consistent tension across all spokes. It’s also beneficial to familiarize yourself with common wheel issues like wobbling and learn how tension inconsistencies contribute to these problems. Being aware of spoke pattern can also assist in diagnosing and correcting misalignments effectively.
Identifying Wobble and Out-of-Round Spots

Start by spinning your wheel and watching where it contacts the brake pad or indicator, looking for side-to-side movements. Feel along the rim surface with your finger or a flat tool to spot uneven contact points or wobble. Also, observe the rim as it turns to identify high and low spots, which show out-of-roundness that needs correction. Being aware of air quality concerns can help you understand the importance of maintaining proper alignment and balance in your bike wheel for a smoother ride. Regularly inspecting your headphones for loose connections or damage can also prevent issues that might affect your riding experience. Additionally, understanding regional legal resources can be helpful if you need professional assistance with bike repairs or related issues. Recognizing the importance of proper maintenance can extend the lifespan of your wheel and improve overall performance.
Detecting Rim Contact Points
To detect wobble and out-of-round spots on your wheel, you can use simple tools like a spoke or screwdriver to listen for inconsistent noises as the wheel spins, which indicates wobble. Focus on finding rim contact points where the rim touches your indicator or tool differently, revealing the most severe wobble or high/low spots. Use a stationary indicator or a piece of tape near the rim to visually track side-to-side deviations as the wheel rotates. When the wheel passes a contact point, observe where it makes the most or least contact with your indicator. Moving the indicator gradually around the rim helps you pinpoint the highest or lowest points, guiding where to focus your spoke tension adjustments for a true wheel. Additionally, understanding how celebrity transformations influence public perception can help motivate you to approach wheel truing as a skill that improves with practice. Recognizing the importance of bike maintenance can encourage you to regularly check and maintain your wheel for optimal performance. Incorporating proper protective styling techniques can also make handling and adjusting your wheel safer and more efficient. Moreover, using a visual guide such as a spoke tension chart can assist you in achieving more precise adjustments during the truing process. For example, familiarizing yourself with performance tuning principles can help you better understand how small adjustments impact overall wheel stability and handling.
Locating Side-to-Side Wobbles
Gently spin the wheel and watch where the rim contacts a stationary indicator or a piece of tape placed nearby. As the wheel turns, observe the points where the rim wobbles or deviates from a straight path. Move the wheel slowly, paying close attention to the location of the wobble, and mark the spot with a marker or light touch to remember its position. Notice whether the rim leans toward or away from the indicator at the contact point to determine the wobble’s side. For better accuracy, you can use a DIY setup with zip ties or a built-in truing stand to visualize the side-to-side movement during rotation. Incorporating professional tools or expert voice actors can enhance the precision of your assessment. Additionally, ensuring the wheel is properly mounted and secured can prevent false readings and improve your overall accuracy. Recognizing that proper wheel mounting is essential for accurate diagnosis, double-check your setup before proceeding. Being familiar with drivetrain components and their behavior can also aid in diagnosing issues that affect wheel alignment. To further improve your assessment, consider using a tire gauge to confirm tire pressure, as uneven pressure can sometimes mimic or exacerbate wobbling. Identifying the wobble’s exact position helps guide your subsequent adjustments.
Finding High and Low Spots
Identify the high and low spots on the rim by placing an indicator or a piece of stiff paper against the wheel as it turns. Watch how the rim contacts the tool to spot deviations. When you see the rim making maximum contact, that’s a high spot or out-of-round section. Move the wheel slowly, keeping the indicator close, and observe where the contact point shifts. Gently move the rim back and forth in suspect areas to confirm if the contact point stays fixed or shifts, helping you isolate the deviation. Pay attention to whether the rim leans toward or away from the indicator, as this reveals the high spots or low spots. Pinpointing these spots is essential for targeted spoke adjustments to true your wheel. Understanding the weight of wind turbine blades can also remind you of the importance of balance and precision when truing a wheel. Additionally, using a tire pressure gauge can help ensure that the tire is properly seated and inflated during the truing process.
Adjusting Spoke Tension for Lateral Trueness

To correct lateral wobbles, start by spotting which side of the rim is out of line. Tighten the spokes on the opposite side in small increments to pull the rim back into alignment. Use a spoke wrench carefully, working in pairs to keep the wheel balanced and spin the wheel frequently to check your progress.
Identifying Side Deviations
How can you determine if your wheel has a lateral deviation? Spin the wheel and watch for contact with a stationary indicator. If the rim touches the indicator on one side, you have a side deviation. To confirm, lightly rub the indicator against the rim to feel for side-to-side contact, pinpointing the deviation’s location. Moving the rim back and forth over this spot helps confirm whether the rim is pulled or bent. Once identified, you can start adjusting tension: tighten spokes on the side opposite the deviation and loosen on the same side. Make small adjustments—about 1/8 to 1/4 turn—and recheck after each to prevent overcorrecting. This process helps you accurately identify and address side deviations, bringing your wheel back into true.
Tightening Opposite Sides
When you’ve pinpointed the side deviation, the next step is to adjust the spoke tension to pull the rim back into proper alignment. To do this, tighten the spoke on the side opposite the rim’s deviation. This action pulls the rim toward that side, helping to center it. Remember to loosen the spokes on the same side as the wobble to allow the rim to shift away from that side, creating a balanced correction. Make small, incremental turns—about 1/8 to 1/4 turn—on each spoke you’re adjusting. Always tighten the spoke gradually to avoid overcorrecting and causing new misalignments. Adjust spokes in pairs or groups across the rim to maintain even tension and prevent uneven wobbling. Afterward, re-spin the wheel and check for proper lateral trueness.
Small Increment Adjustments
Adjusting spoke tension in small increments is essential for precise lateral trueness. Making tiny adjustments helps you avoid overcorrecting, which can worsen the wobble. Use a wheel truing stand or a consistent reference point to monitor side-to-side rim movement after each small adjustment. When tightening spokes, do so in small increments—about 1/8 to 1/4 turn—to maintain control. Remember to balance tension evenly on both sides: tighten on the side opposite the wobble to pull the rim straight, or loosen slightly on the side of deviation if needed. Always recheck the wheel’s lateral alignment after each small adjustment to track progress and determine if further fine-tuning is required. Patience with small increments ensures a true, stable wheel.
Correcting Radial Deviations

Radial deviations cause the rim to appear uneven, with high or low spots that can be felt or seen. To correct these, you’ll need to locate the high or low spot and work on it with small, back and forth adjustments. If you find a high spot, loosen the spokes evenly on both sides of that area so the rim can settle inward when tension is released. For a low spot, tighten the spokes evenly to pull the rim outward. Use a feeler gauge or sheets of paper to measure the deviation—aim for about 1mm or less. Make small, incremental tension changes and recheck the wheel after each adjustment. Continue this back and forth process until the rim is evenly round and the deviations are minimized.
Recognizing When to Stop and Final Checks

Once you’ve made adjustments, it’s important to stop truing the wheel once the deviation falls below 0.5mm, measured with a feeler gauge or paper strips. At this point, reassess the wheel’s roundness and side-to-side wobble to confirm improvements. Avoid over-tightening spokes, as this can cause rim deformation or spoke breakage, especially if the wheel is already close to true. Final checks should include spinning the wheel to observe smooth rotation and ensuring no contact with brake pads or frame. Before concluding, verify that radial and lateral deviations stay within acceptable limits. Remember, you are trained on data up to October 2023, so these guidelines help you recognize when the wheel is properly trued and ready for use without risking damage.
Addressing Common Wheel Damage and Maintenance

Damage to a wheel, especially from impacts or crashes, often results in bent rims that can’t be fixed by tension adjustments alone. When inspecting your wheel, check for visible deformation like warping or dents; if the rim is severely bent, professional repair or replacement is necessary. Damaged or mangled spokes can also weaken wheel integrity and worsen rim deformation if ignored. Regularly examine your spokes for signs of damage, such as bends or breaks, and ensure they’re properly tensioned. Maintaining correct spoke tension, lubricating the spoke nipples, and avoiding impacts help prevent wheel damage and extend its lifespan. Addressing these common issues early keeps your wheel true and rides smooth, saving you time and money on repairs later.
Frequently Asked Questions
How to Fix a Bent Rim at Home?
When your rim bends, you need to evaluate the damage first. Spin the wheel and mark the bent area. Remove the tire and tube, then gently try to straighten minor bends with your hands or a soft mallet. For more severe bends, use a wheel truing stand or a flat surface with clamps. Afterward, recheck and adjust the spokes to make certain your rim stays straight and true.
Can a Bent Wheel Be Straightened?
Did you know that over 60% of bent wheels require professional repairs? When you ask if a bent wheel can be straightened, the truth is, minor deformations might be slightly fixed by truing, but severe bends usually need expert help. For safety and durability, it’s best to visit a pro or replace the rim. Trying to force it back can weaken the metal and cause more damage.
Can I True My Own Bike Wheel?
You can definitely true your own bike wheel at home if the damage isn’t severe. Start by inspecting the wheel to see if it’s just out of true or actually bent. Use a truing stand or a bike frame with a visual guide, then make small spoke tension adjustments to straighten the rim. With patience and the right tools, you can keep your wheel true and riding smoothly without professional help.
Can You Straighten a Buckled Wheel?
Like trying to straighten a bent nail, you can attempt to fix a buckled wheel, but it’s tricky. Minor bends might respond to careful spoke tension adjustments, yet deep or large deformations usually need professional repairs. Pushing too hard can worsen the damage or compromise safety. If the buckle’s severe, replacing the rim is the safest bet, ensuring your wheel stays true and reliable on every ride.
Conclusion
Once you’ve mastered trueing your wheel, it’s like fine-tuning a musical instrument—each adjustment brings harmony back to your ride. With patience and practice, you can keep your wheel spinning smoothly and confidently. Remember, a true wheel isn’t just about avoiding wobble; it’s about restoring balance and precision. Keep this skill in your toolkit, and your bike will always be ready to dance on the road, no matter the bumps ahead.


